Tuesday, December 7, 2021

Easy Poinsettia Holiday Card! Craft Collabs IG Hop & Giveway

 Hello!

Today I am part of a fun IG Holiday Hop & Giveaway with Craft Collabs!  All of the instructions are on IG posts and you can start at my stop @darbycreekdiaries!  It's a hashtag driven hop as well #ChristmasCardCC.  There's a $20 gift card prize, so enter as many stops as you can!

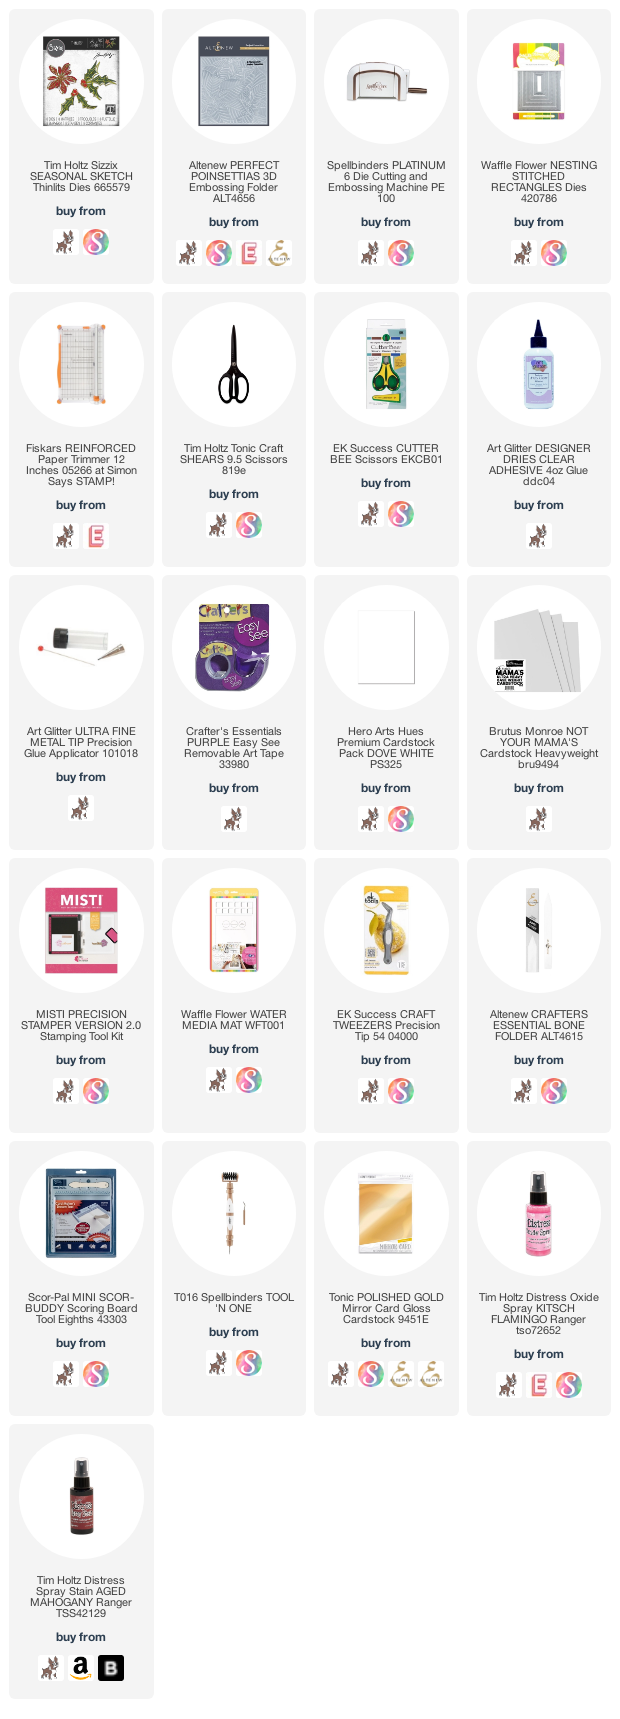
I enjoyed using the Altenew Poinsettia embossing folder (supplies are linked below AFIL-- Thank you!)  I spritzed on several Distress Spray Stains and inkblended a little at the center of the two main flowers (although they are technically called "brachts."  LOL!)


I added some gold foiled poinsettias from Sizzix's Tim Holtz line and cut off the word peace from a Simon Says Stamp die Peace, Hope, Love.  I trimmed with gold foil paper strip scraps, layered on burgundy card stock and placed on white card base.  Super Simple!


Here is the supply list:
Take care and I'll be back soon!
Gale

Wednesday, December 1, 2021

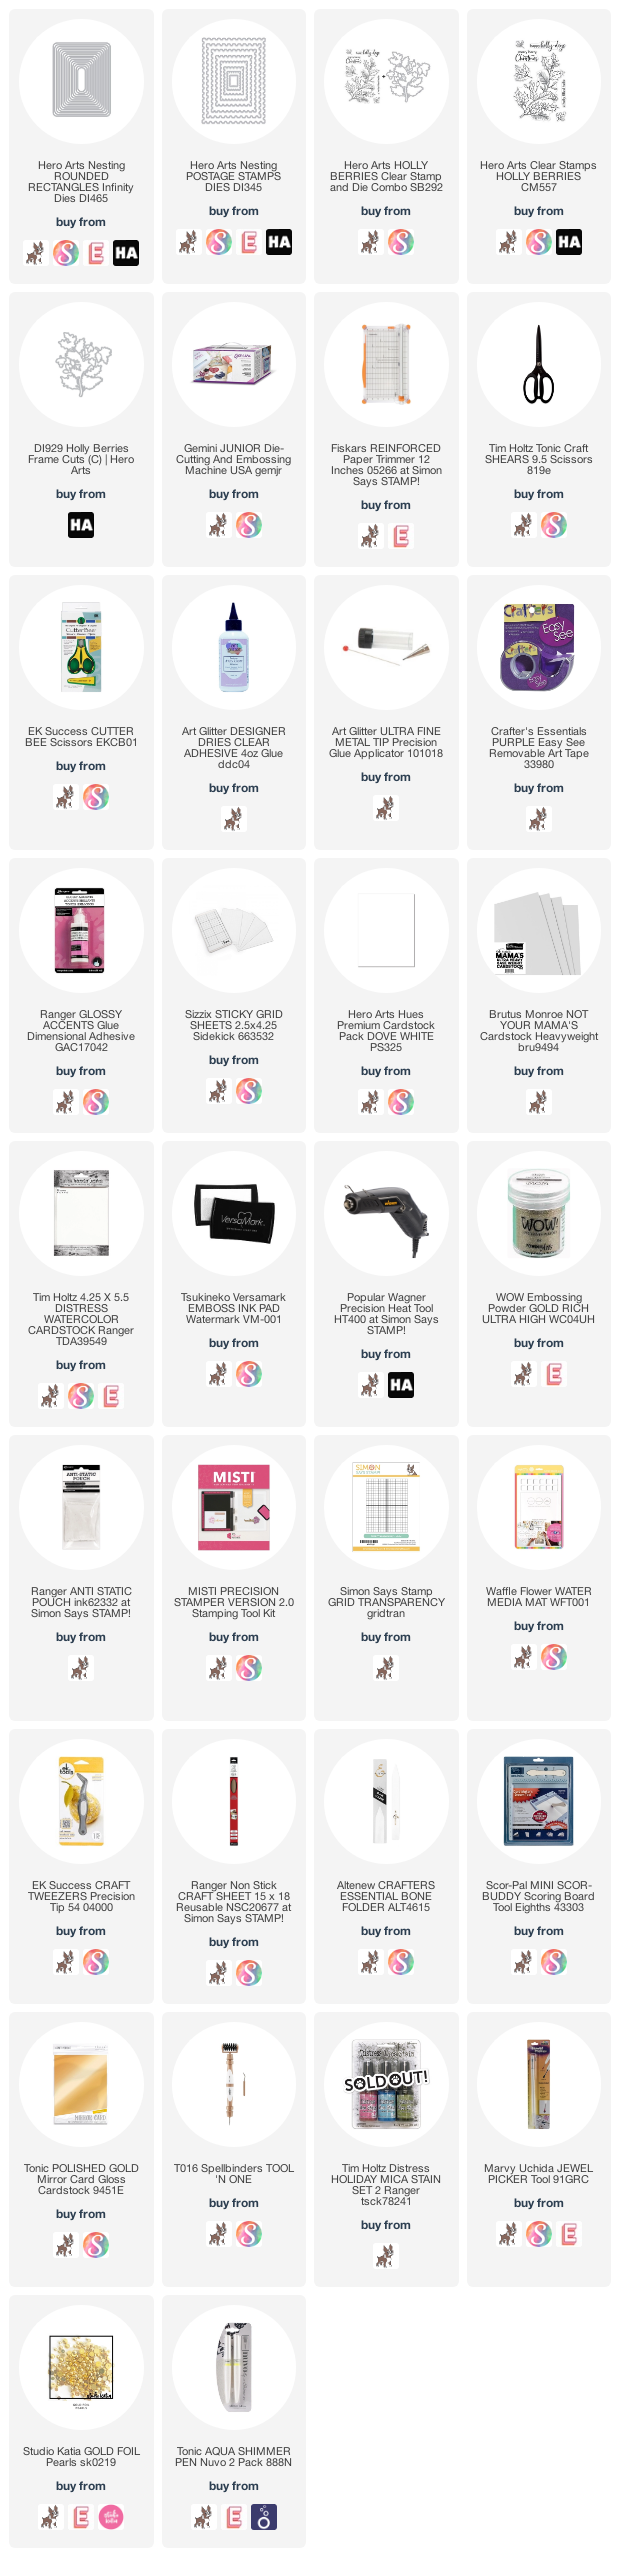
How To Easily Watercolor Embossed Images!

 Hello!

My shoulder is getting better every day, so I thought I would start with some simple "messy" watercoloring!  I used the Distress Holiday Mica Sprays, but watercolors, brush markers or anything you have would work fine.


Here's the tutorial:


Here is the supply list (AFIL-  Thank you!!) 

I'll be back soon!!

Gale

Friday, November 19, 2021

The MOST USEFUL Craft Supplies Gift List!

 Hello!

It's beginning to look a lot like Christmas (or your preferred holiday!)  Here is a list of gifts (many inexpensive) that the craft lover will appreciate and use (or maybe you need it yourself!)  You can share this with whoever normally gets you socks, etc and get things you really like!


Supplies are linked below (AFIL-Thank you!) Enjoy!

I'll be back soon!!
Gale

Tuesday, November 16, 2021

Puttin' On The Glitz! "A Blog Named Hero" November Challenge Inspiration!

 Hello!

I'm back with more inspiration for the current challenge.  I hope you will enter as it's a lot of fun and you could win one of two gift certificates!


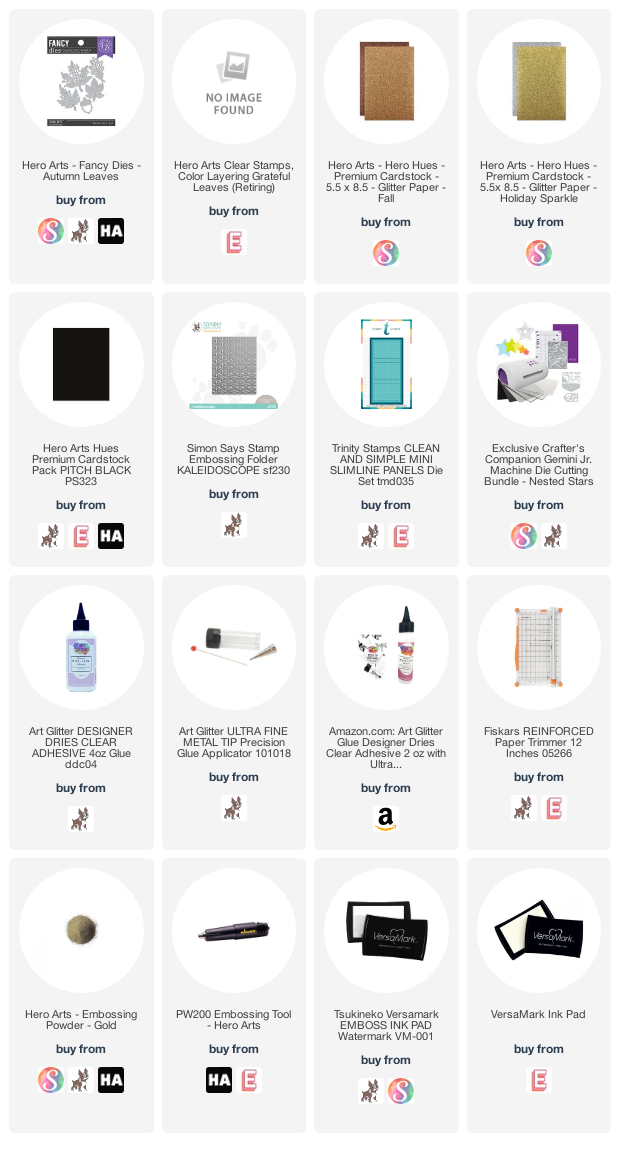
I went full on glitz with these leaves which are diecut out of Hero Arts glitter paper!  The supplies are linked below (AFIL-Thank you!)

All I really did was layer a gold rectangle a little smaller than the card black card base using a mini slimline die.  I then diecut a another black piece and ran it through an embossing folder, then shimmer spritzed for more interest.  I took a black scrap and heat embossed the sentiment and lined up the leaves.  Easy peasy!

I will be back very soon with some holiday inspiration!  The deadline to enter the challenge is 11/26/21.  Just post your project on Instagram using and tag @ablognamedhero and #abnhnovemberchallenge!

Take care!
Gale

Monday, November 1, 2021

Fun Fall Foiled Leaves-- "A Blog Named Hero's" November Glitz Challenge Inspiration!

 Hello!

October flew by!  I know you don't normally think of November as glitzy, but I like to be a bit different:)


The "A Blog Named Hero" challenge this month is "Glitzy."  Be sure to enter your projects that uses Hero Arts products at @abnhnovemberchallenge and tag @ablognamedhero by November 26th!  The team will choose a winner for the $50 Hero Arts gift card and then there will be a drawing from the rest of the entries for a $25 gift card!  

The full Youtube tutorial is here:


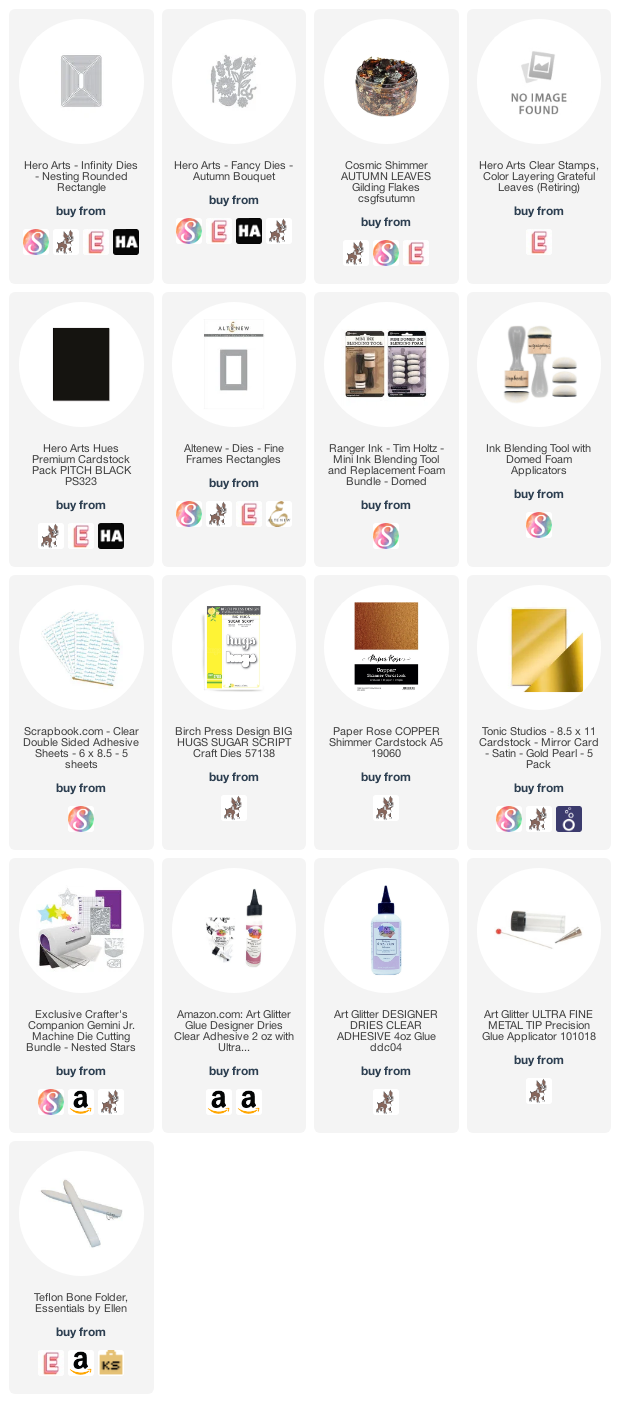
I thought it would be fun to try Cosmic Shimmer foil flakes.  They are gorgeous, however one has to be careful to contain them (and definitely turn off fans, possibly stop breathing LOL!)

I used a fairly heavy cardstock and applied a double sided adhesive panel.  I laid it in a cardboard box, then carefully pulled off the release paper a bit a time and added flakes, burnishing at first with fingers.  

Next, I laid the release paper back on top and burnished with a bone folder.   Finally, just ran it through my diecutter to get the pieces (saving extra bits for later.  I hate waste!)  The supplies are all linked below (AFIL-thank you!)

After that it was just simple layering of the panels on top of a Z-fold copper base.  A Z-fold is simply an A2 base, with the front folded on back to itself.  

Here's the inside:


Here are the supplies I used:

I will be back soon with loads of holiday inspiration!  If you haven't already, please visit/follow my IG account @darbycreekdiaries as I don't always post everything here or my Youtube channel  Https://youtube/c/GaleThompson

Take care!
Gale

Saturday, October 16, 2021

A Ton Of Texture Inspiration! "A Blog Named Hero's" October Challenge

Hi there!

I can't believe I have two blog posts in one day!  Getting ready to have my shoulder replaced on 10/20 and am under the gun! 


Anyway, here is another "A Blog Named Hero" inspiration project for this month's Texture challenge.  Be sure to enter on Instagram, tag #abnhoctoberchallenge and @ablognamedhero for a chance to win one of two gift cards to Hero Arts!

There is a ton of texture on this card!  I will have a special tip Youtube video shortly, so stay tuned!  (Subscribe over at my channel and hit that bell for notifications!  You won't want to miss it!)

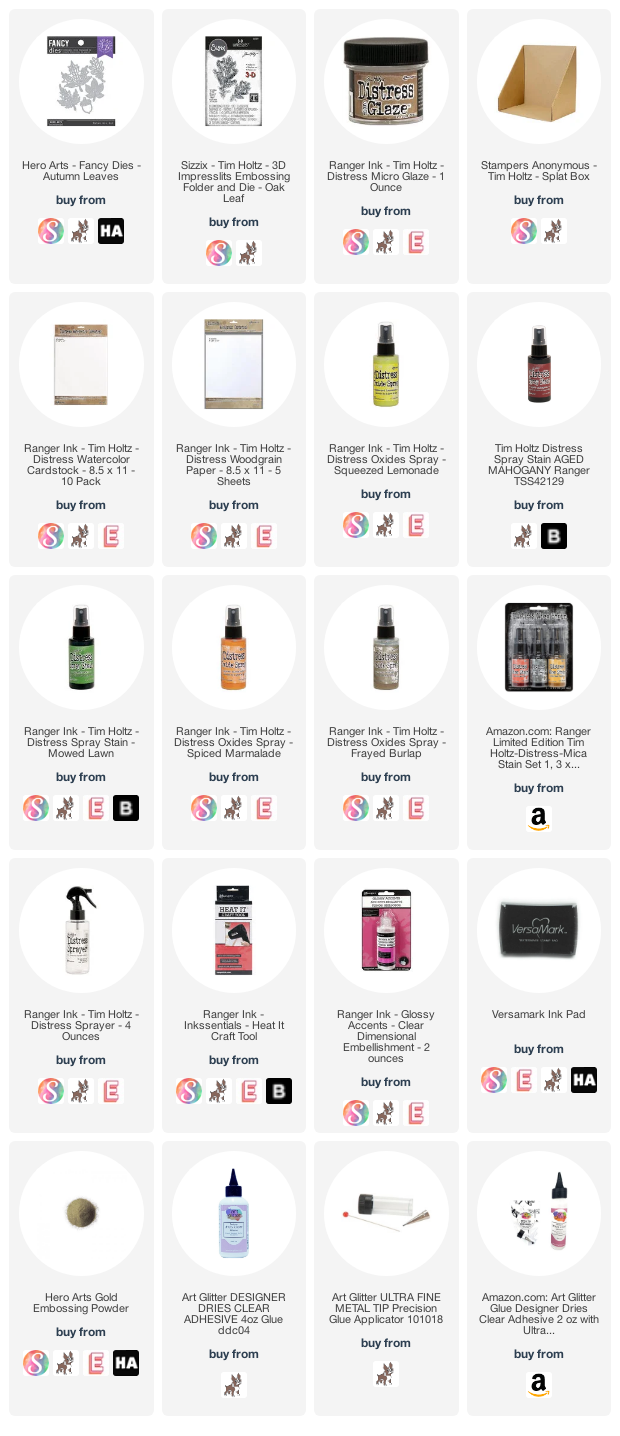
The supplies I used are linked below (AFIL- Thank you!)  I simply sprayed Frayed Burlap Oxide ink on a white woodgrain panel and misted with water to get the "drippage."


The wreath is part of a past Hero Arts My Monthly Hero kit, but there are loads of twiggy wreath dies out there in the crafty world.  I layered three but didn't glue the tips.  Then sprayed Crooked Broomstick Distress Mica spray (also probably unavailable by now as it was part of the Halloween Distress collection, but there are gold sprays out there as well!)

11/10/21 edit:  Here is a brief tutorial of how I made the leaves:


I crimped up the loose edges for extra twig-like texture and arranged my pretty darn authentic leaves like a bow.  Lastly, I added some gold baubles to cover up the intersection.  The leaves are a project on their own, so be sure to see that tutorial once I get it posted!  I've got a lot to do before I have my good arm strapped to me for 6 weeks!   The leaves begin with Hero Arts Autumn Leaf fancy dies.

I attached the panel to a complimentary colored base and called it a day!

Here are the supplies I used:

Check out my other post for today about a fun YouTube hop and lovely Fall projects!

Take care,
Gale

Treat or Treat? Lawn Fawn Fan Fall Hop Treat Bags!

Hello!

It's that time again!  Sadly, this will be my last post for this wonderful hop as I want to give someone else who loves Lawn Fawn an opportunity to participate.  

This group is awesome and I've learned so much!  I will miss it, but it's time for me to try new challenges (after my shoulder replacement surgery next week...boo!)

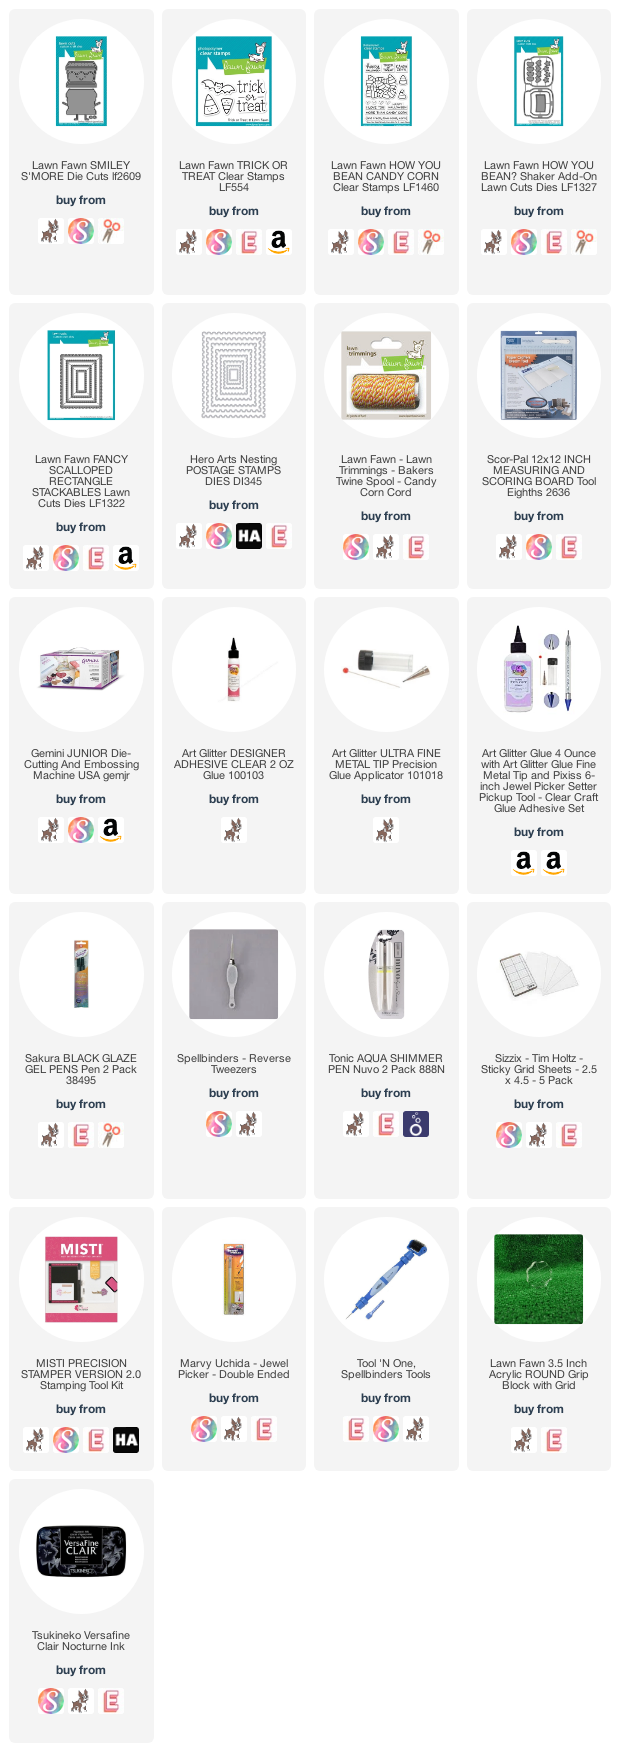
These treat bags are stinkin' cute and easy to make!  The link to the YouTube tutorial is below for all the details. (I hope you will consider subscribing while you're there!)  BTW, Lawn Fawn is sponsoring a $25 gift card to one lucky commenter at one of the stops!  Winner will be announced 10/23.


Here are the supplies I used (AFIL- Thank you!!)

I'm preparing some tutorials for while my arm is in a sling and I have a talented friend doing a guest spot, so stay tuned!!

Take care and come back soon!
Gale
Friday, October 1, 2021

"A Blog Named Hero's" October Challenge: Texture!


Hello there!

Happy October!  This is probably my favorite month!  It's texture overload with this inspiration for the new "A Blog Named Hero" monthly challenge over on Instagram!  To enter your project use #abnhoctoberchallenge and tag @ablognamedhero.  

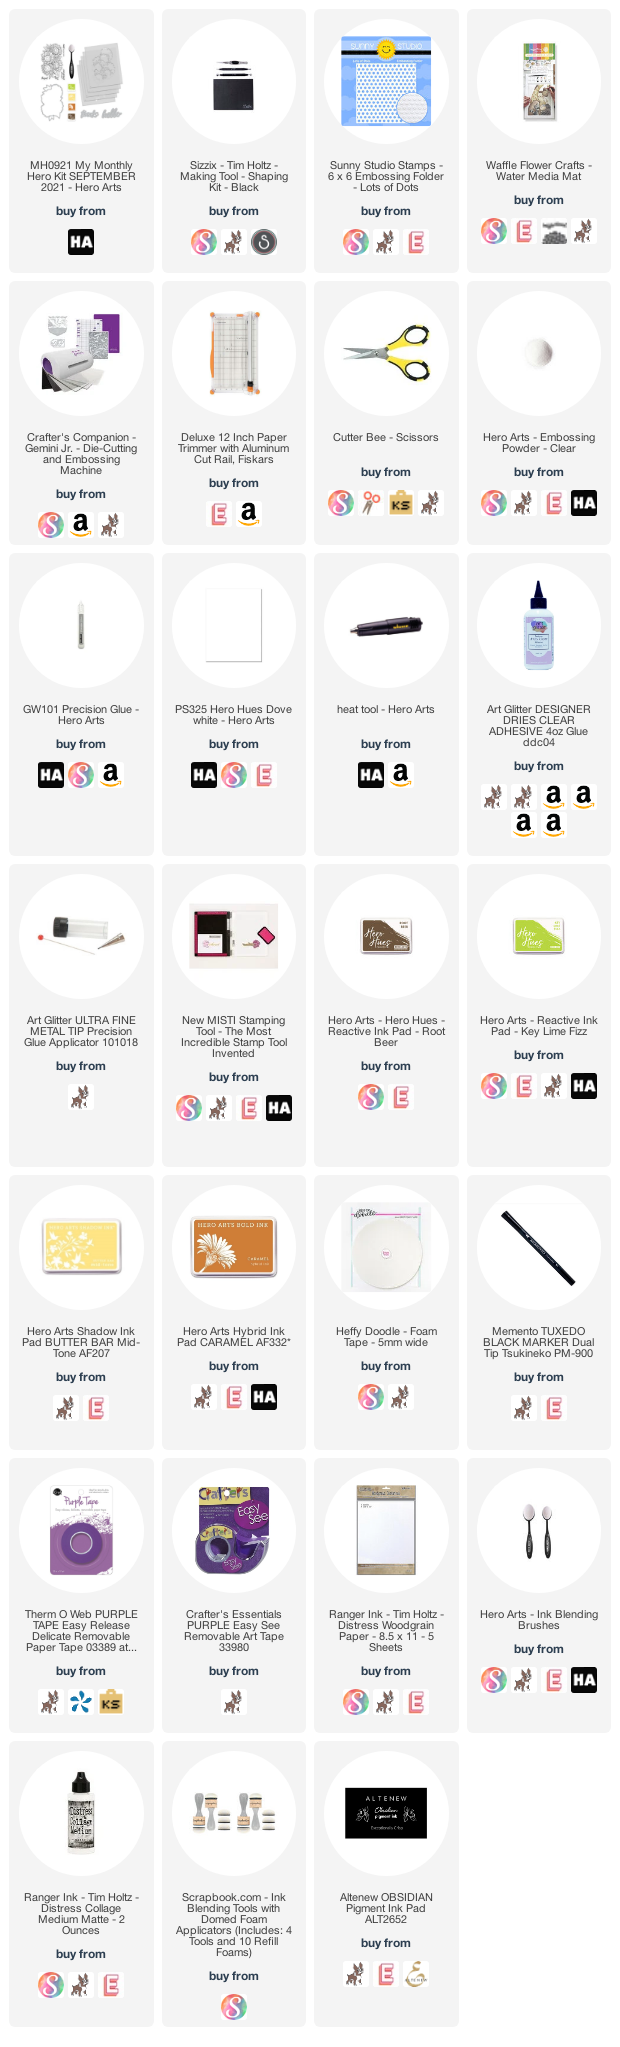
The link to the tutorial is below as well as the supply list (AFIL-Thank you!)  Most of the supplies are in the kit linked below.


Can you spot all of the texture?  I count 7!


I used the stencils from the kit as directed as well as the accompanying inks.  After stamping and embossing the outline, I flipped it over and dry embossed the flower centers.  I cut the hello out of some leftover woodgrain cardstock and mounted it on 3 layers of yellow cardstock.  I layered it on a brown panel that was run through an embossing folder and just built the card using foam tape to help bridge the twine.

Here's the link to the tutorial:

https://youtu.be/9f3ggxd3ecQ


Here's the supply list:
I'll be back soon with a new tutorial!  Take care!
Gale

Friday, September 17, 2021

How To Make A "True" Clean & Simple (CAS) Card--" A Blog Named Hero's September Challenge!

 Hello and Welcome!


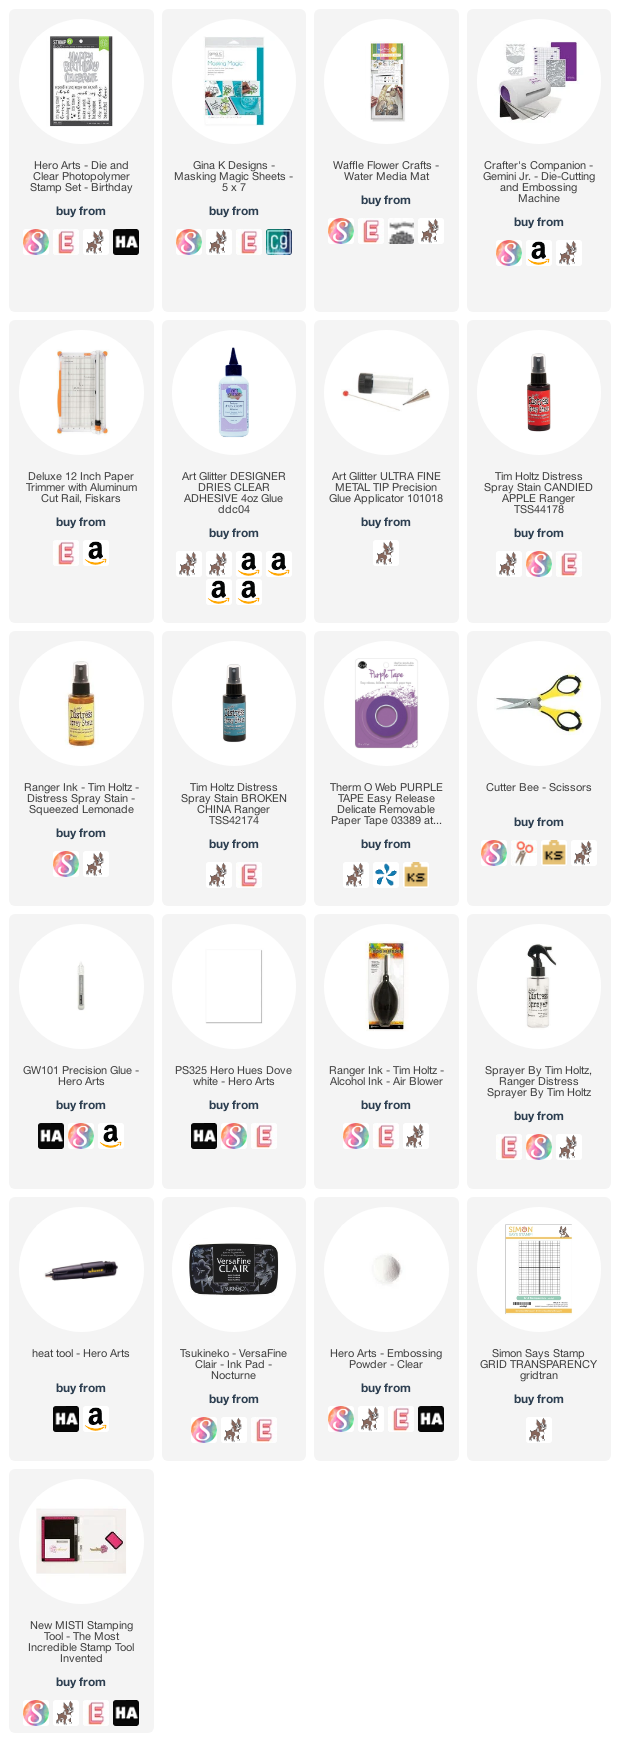
Today's inspiration for the "A Blog Named Hero" September challenge is a quick 'n easy one!  The YT video is linked below.  


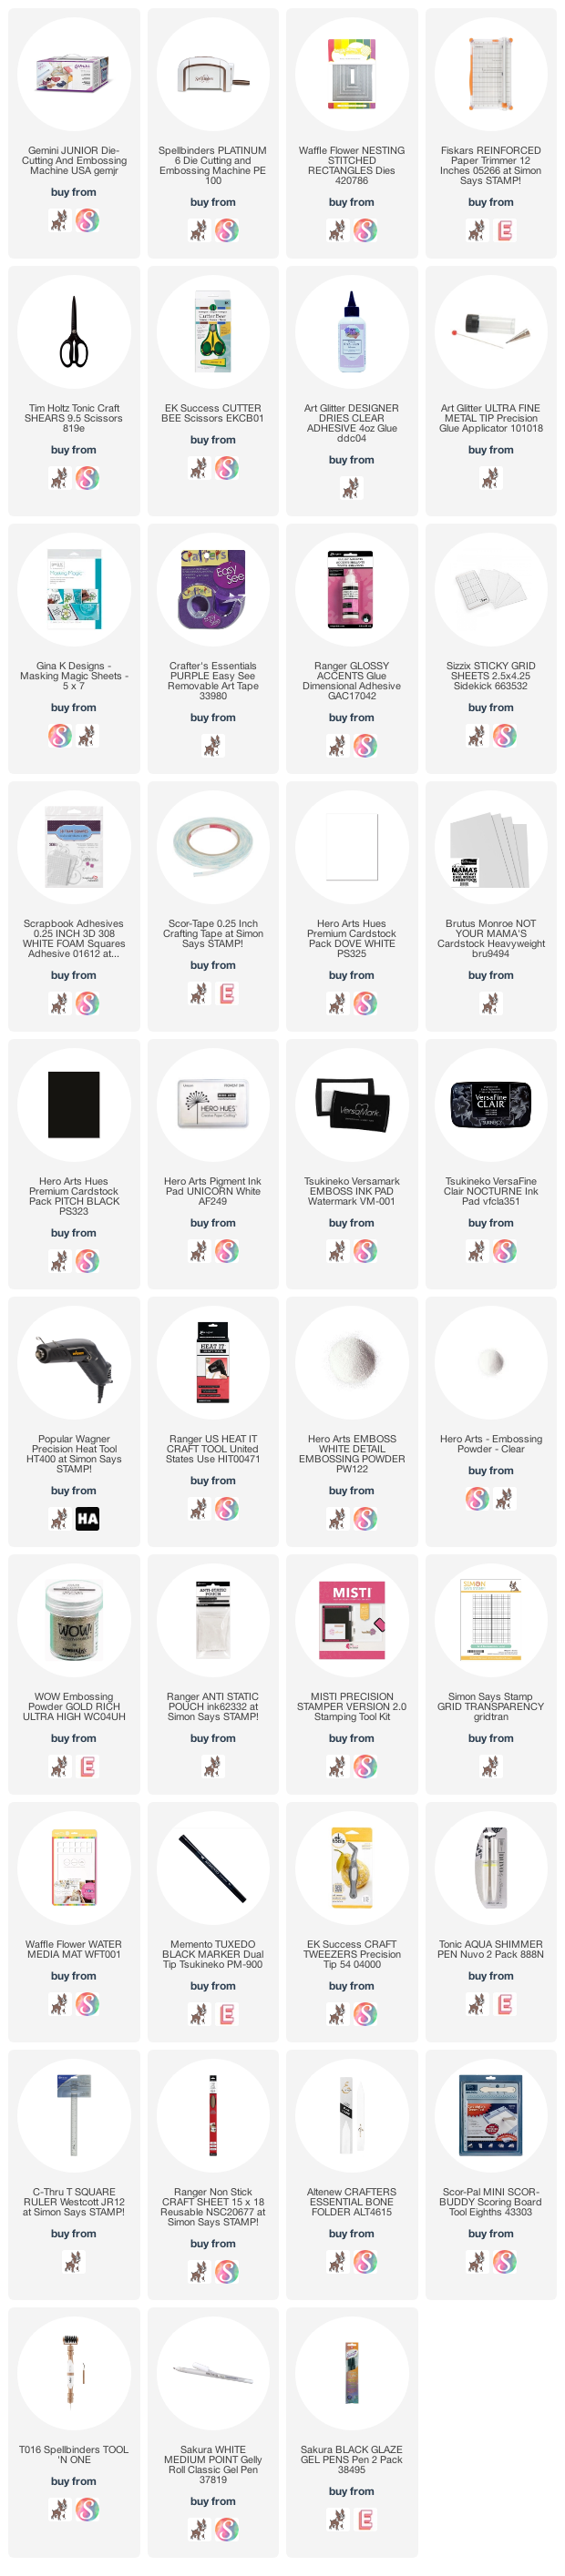
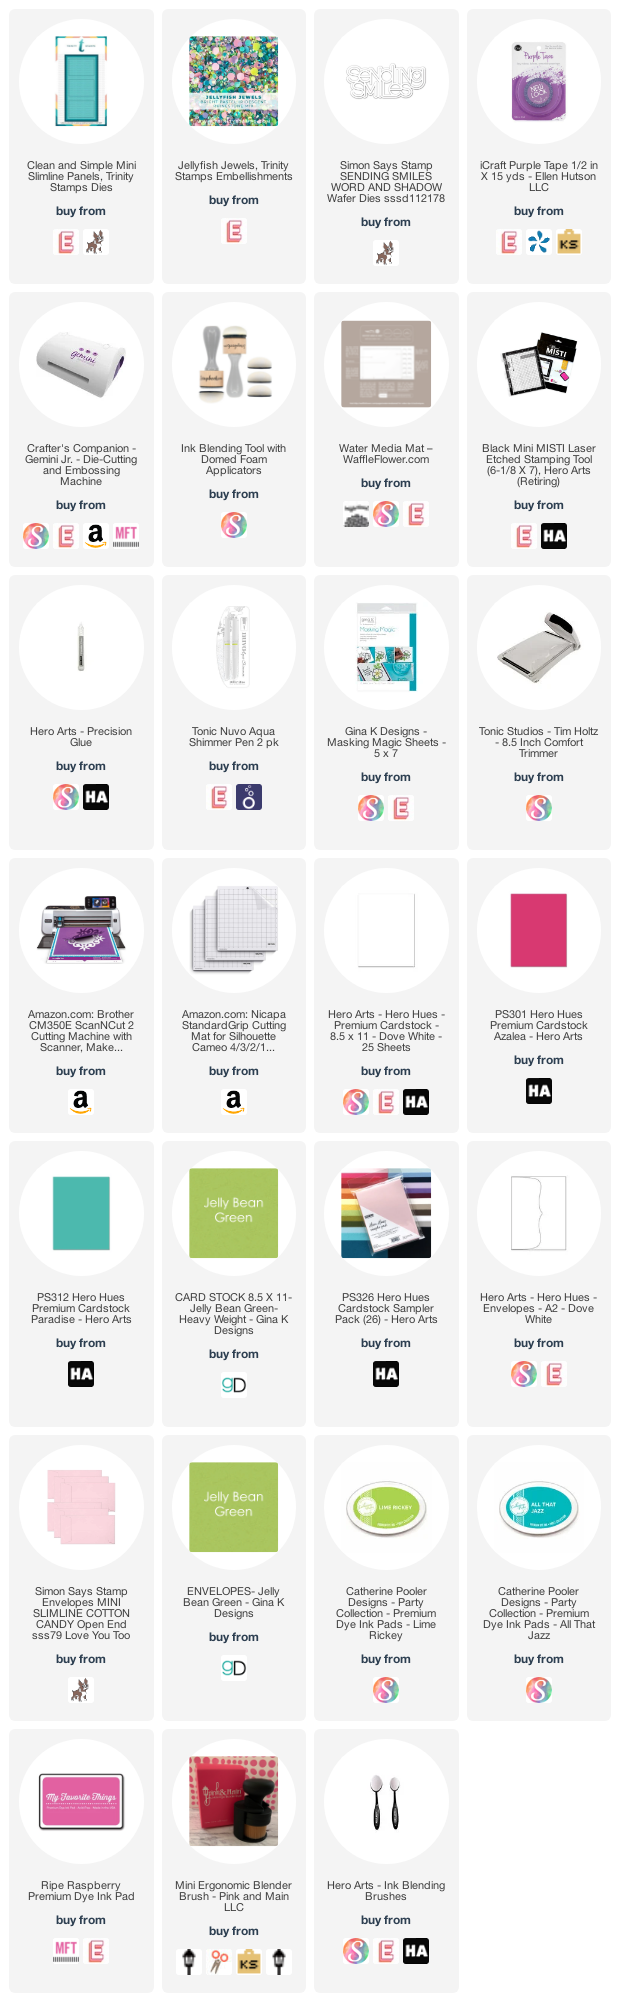
I diecut the sentiment out of Masking Magic, placed it firmly on the background and used just three sprays to color it.  Pull off the masking and there you have it!  Supplies are linked below (AFIL-thank you for your support!)


Until next time,
Gale

Sunday, September 5, 2021

Don't Do It Gale!!! Real Life Cardmaking Tricks 'N Treats

 Howl-o!

Halloween is just around the corner...well, sort of... 

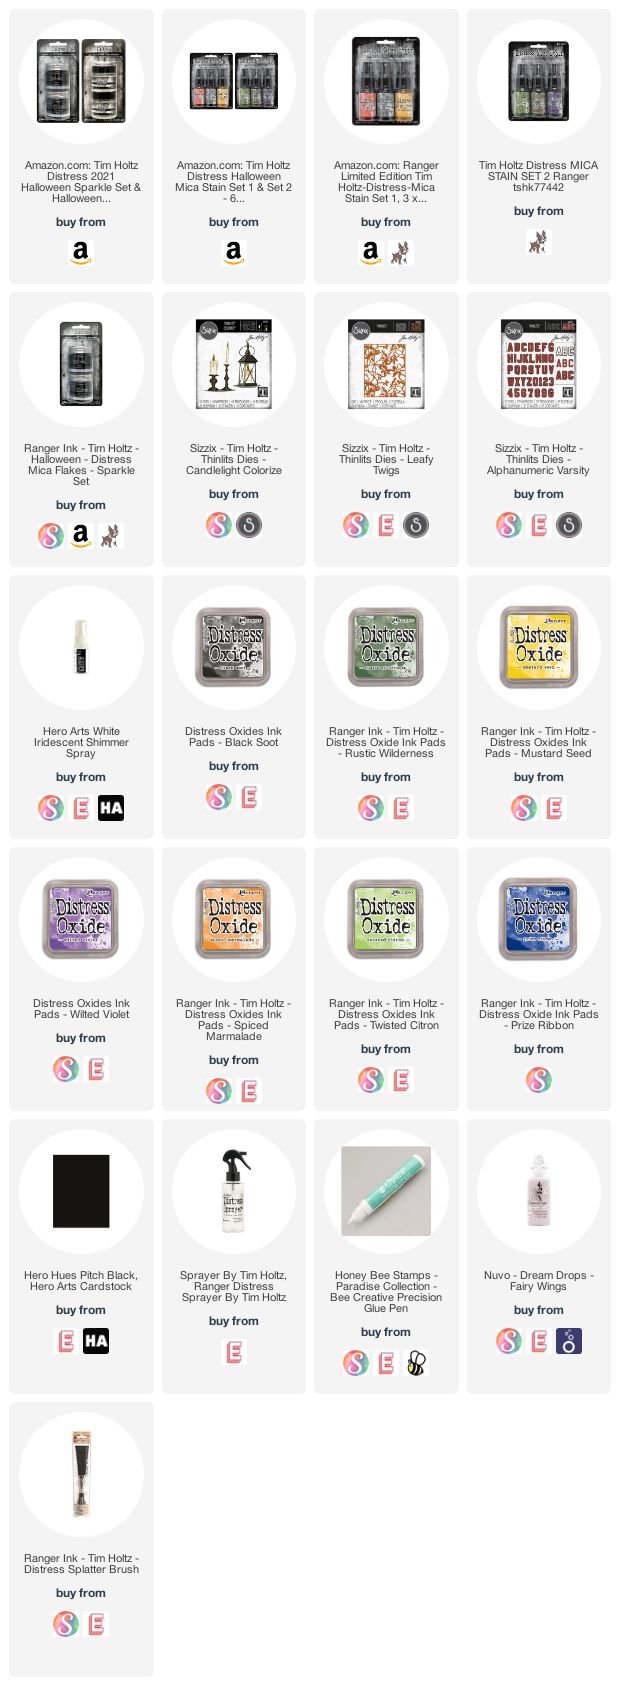
The process of making this card took a life of its own!  All of the fun is worked out during the tutorial as I like to keep it real!  I hope you enjoy it and like the final project!  The tutorial is linked below as well as links to the supplies (AFIL, thank you for your support!)


Here's the link to the tutorial:


Supplies:

I'll be back soon with more seasonal cards and techniques!
Gale

Wednesday, September 1, 2021

Clean 'n Simple Halloween Card For "A Blog Named Hero's" September 2021 Challenge!

 Hello!

Seems a little early for Halloween, but Fall is only a weeks away! 


This month's challenge is "Clean 'n Simple" truth be told, I am cheating a little bit.  My understanding is a clean and simple card is one layer, mostly white (or lots of empty space) with little or no adornments.  I simply can't wrap my head around it! 

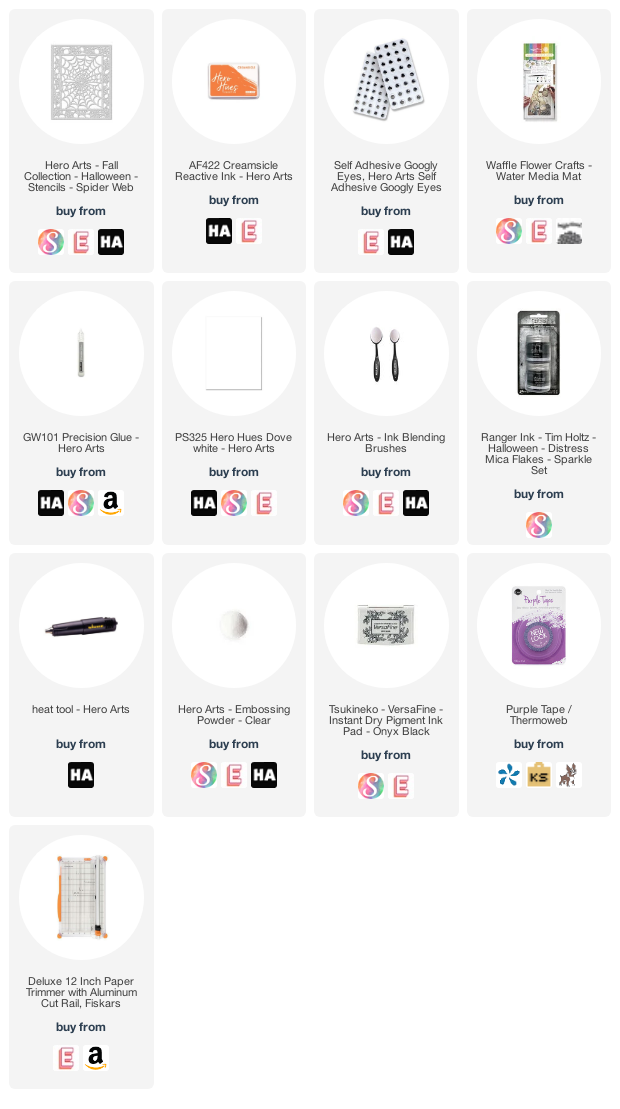
Most supplies are linked below (some aren't available and are left out.)  All I did was mask off the center of my Hero Arts Spider Web stencil and applied orange ink.  Since it was showing the positive area as white, I applied Ranger's Halloween glitter using a fine tip glue along the strands.  Let dry before removing excess.  (Pro Tip:  this glitter is awesome, but super fine and super hard to clean up.  Ask me how I know!  It's so full of static it sticks to my water mat and everything else.  So contain the bling carefully!

I heat embossed blank ink with clear powder for the sentiment (from a past MMH kit that's sold out.)  I added a couple googly eyes and a few spider confettis I had in my stash.

The "A Blog Named Hero" challenges are now held over on our Instagram page @ablognamedhero so be sure to enter there for a chances at a $50 and $25 Hero Arts shopping spree!  The challenges go from the 1st through the 26th of each month.

Here are the links (AFIL-Thank you!):

I hope you are beating the heat and enjoying what is left of Summer!
Until next time,
Gale

Tuesday, August 17, 2021

A Background Two-Fer For The August "A Blog Named Hero" Create a background Challenge!

 Hello!

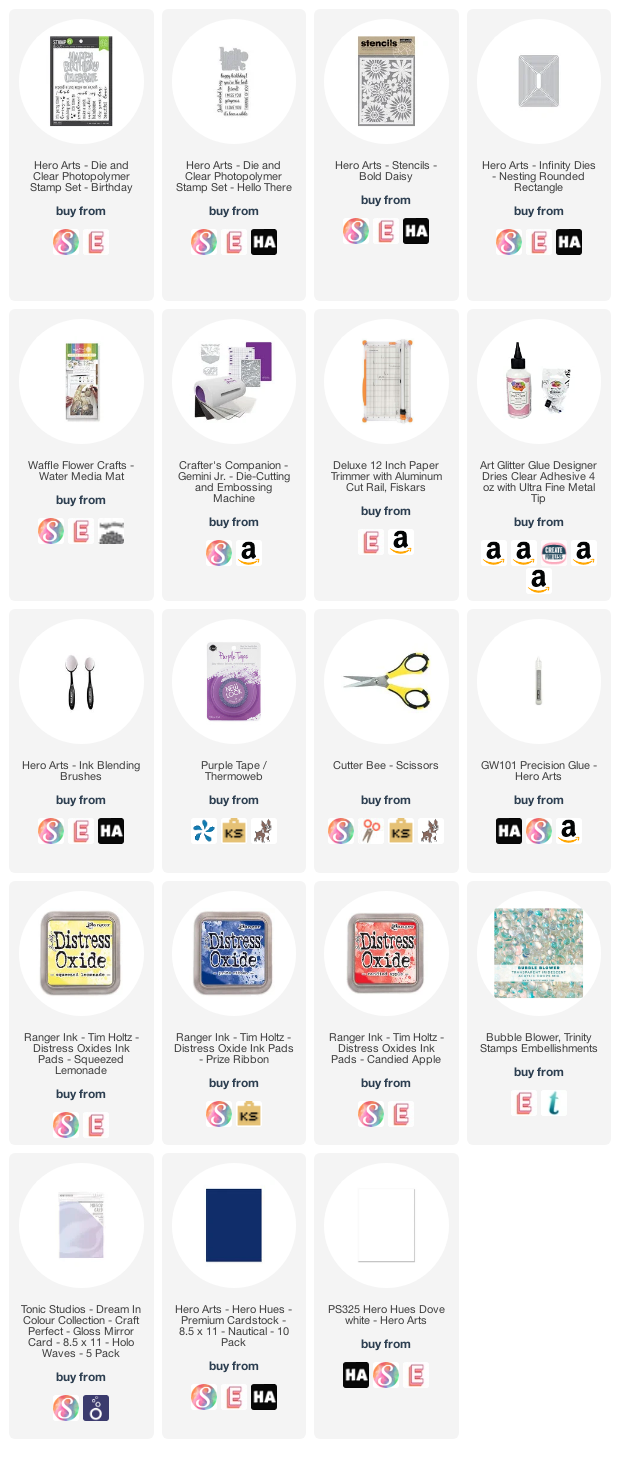
Welcome to my blog!  I hope all is well with you!  Today I'm sharing a super easy and basic background and how I got two-for-one when I inked it! The YouTube tutorial link is below!   I hope you will enjoy it (and consider subscribing!)


The supplies are linked below (AFIL-Thank you for your support!!)

Here's the video link:


The complete tutorial is on my YouTube Channel ,  but basically I inked the stencil with primary colors (red, yellow, blue) and they mixed to create all the colors one would really ever need.  

(Pro Tip:  black, red, yellow, blue and clear embossing inks are essential if you are just beginning your crafting journey.  You don't need all the things:)

After lifting the stencil, I spritzed it LIGHTLY with water and carefully laid it down on another sheet of paper.  Lightly press it down and then hold one side down and lift the other one carefully for the dismount.

I added Bubble Blower droplets to the flower centers and diecut sentiments on holographic cardstock.  The top card I also offset a blue sentiment so it would stand out.

That's pretty much all.  Fun, quick and easy... my favorite trifecta of words!

Supply List:

Until next time!
Gale

Thursday, July 29, 2021

A Blog Named Hero's Repetition Challenge (Closed--but here's one more project!)


 Hello again!

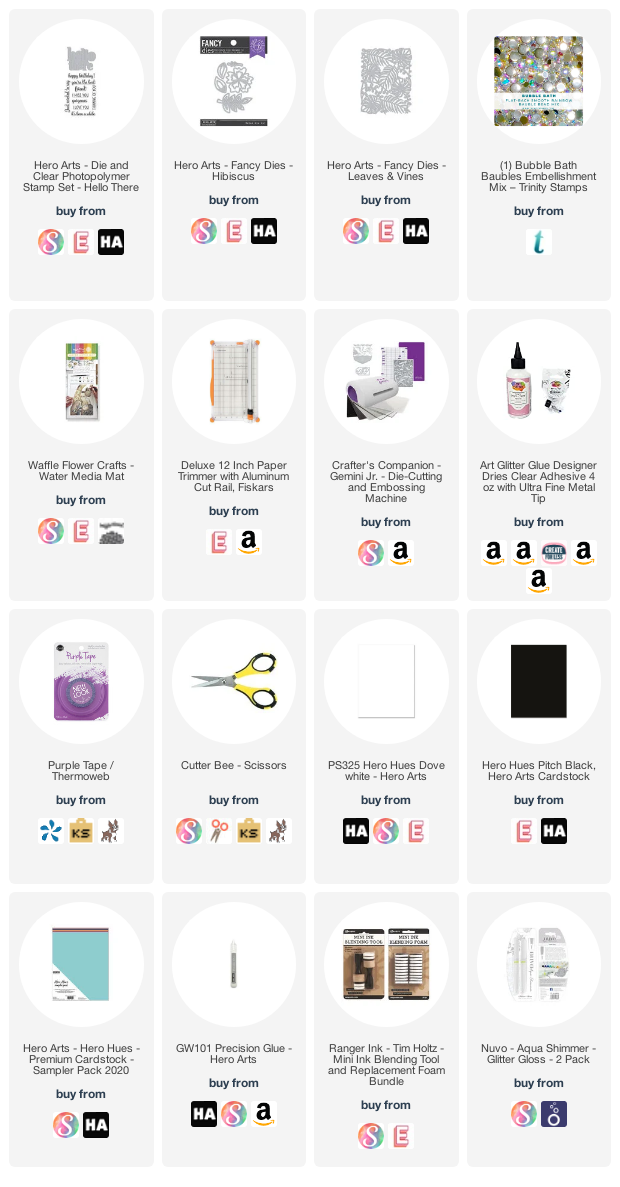
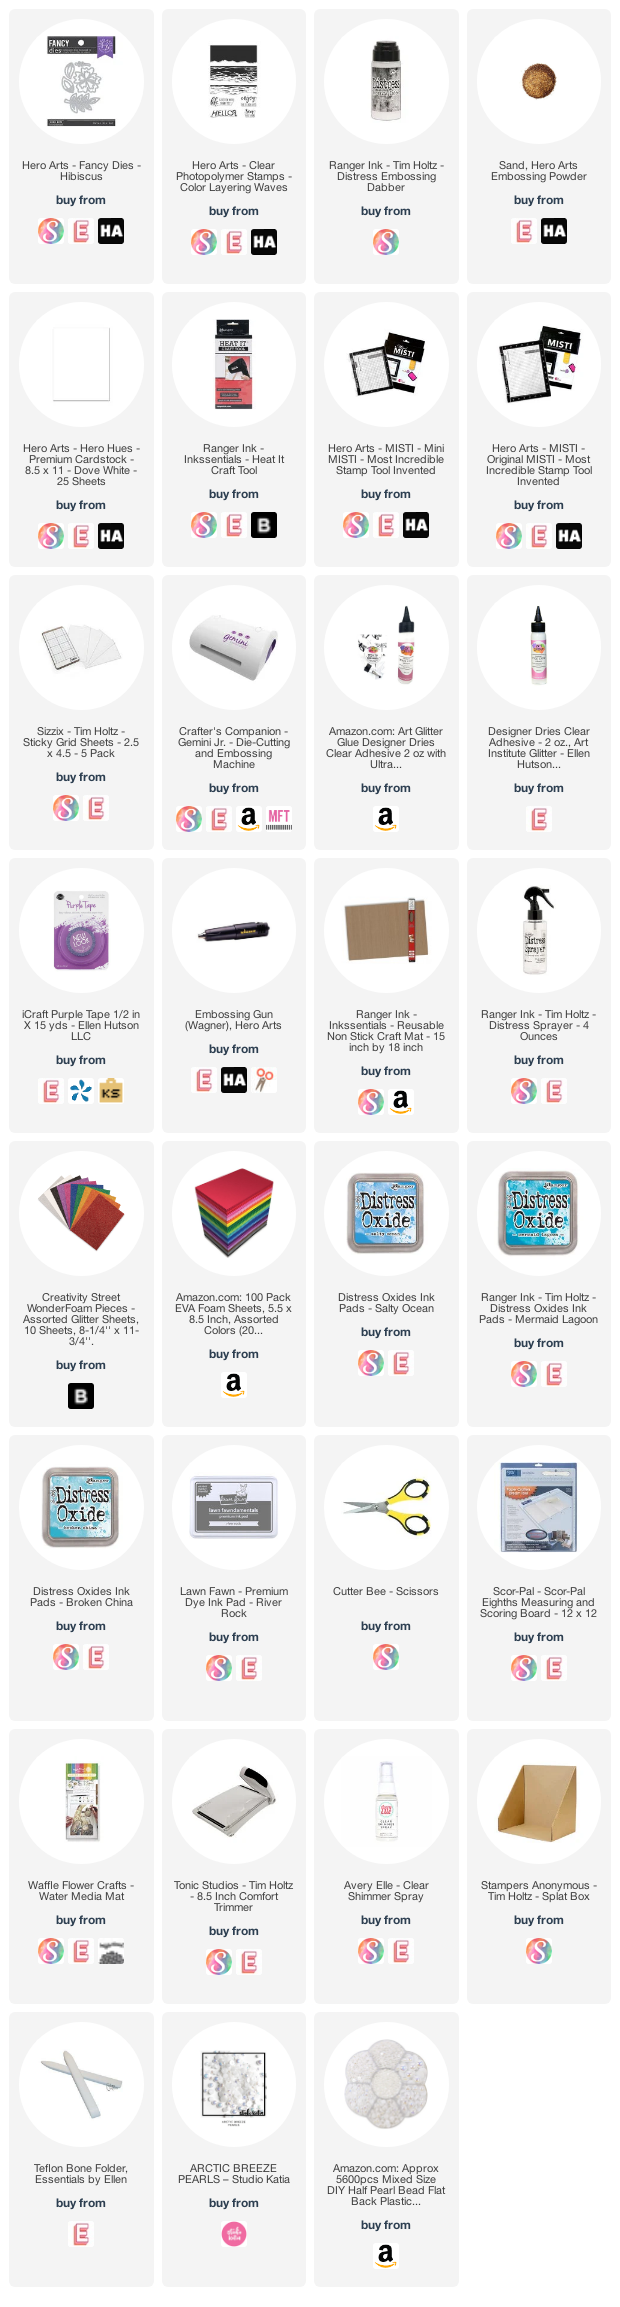
Here's a tropically inspired card repeating the Hero Arts Hibiscus Fancy Dies.  (supplies are linked below AFIL-Thank you!)  


Our "A Blog Named Hero" Monthly Challenges end on the 26th of each month, so this one is closed.  But be sure to join the August one for a chance at winning one of two Hero Arts gift cards!  Currently, please link them on our Instagram page @ablognamedhero as our website is under major reconstruction!

Today's project is stamp-free and very quick to pull together.  I had some leftover hibiscus pieces from a previous card.  I die cut the tropical background once in black and once in green, then layered offsetting the green one slightly.  I glued that piece on an A2 size green sheet, then just layered the flowers!  I built up the center one for texture.  

The sentiment is half of the Hero Arts Hello There stamp 'n cut.  I layered three black diecuts and added a little sparkle with a glitter brush pen.  To top it off I used some Trinity Stamps Bubble Bath Baubles for the flower centers and placed the panel on an A2 card base.  That's it!

Here are the supplies!  

Wednesday, July 28, 2021

How To Stamp With A Simple (& Cheap!) Foam Block!

 Hello!


Although I fight it when it's 90 degrees out, I guess it's time to do some Fall and Winter cards! I first learned about stamping foam blocks in the mid-90s and am using my original one today.  It works great, but there is a "new block on the block!"  All of the supplies are linked below (AFIL-Thank you!!)  

I have a brief Youtube tutorial linked below:  (I hope you'll consider subscribing!)


Here are some other backgrounds from the video using all sorts of objects:


Here is the supply list... Enjoy!


Until next time!
Gale

Tuesday, July 13, 2021

Repeat After Me! "A Blog Named Hero's" July Repetition Challenge!

Hello!


I'm finally back crafting a bit!  Hope you are doing well!  The complete tutorial is at my YouTube Channel linked below.


Our "A Blog Named Hero" challenge this month is "repetition."  When I started in the 1990s (horse and buggy days for stampers) repeating was a daunting task.  Although there are other ways to repeat now, the MISTI tool was a game changer for me and most every other stamper I know.  So may new techniques!  A higher price point than some tools, but save up because it's worth it!

Today I used a tiny stamp from Hero Arts "Color Layering Sea and Sky."  I'm not great at scene building, so was glad to find a use for this Adirondack chair!  Once it's set up (I'll show you on YT tutorial--hard to explain here) it's easy, peasy!  I stamped on the smallest Trinity Mini-Slimline Die rectangle, then layered on the medium one with yellow cardstock, then layered onto the largest black rectangle and adhered to a mini-slimline base.  I added a few embellishments and I was done.  One of the cards is actually a salvaged boo-boo!  Guess which one!  The answer will be in the tutorial!  

Be sure to enter the challenge for a chance to win one of two generous Hero Arts gift cards!!!

The supplies are linked below (AFIL-Thank you so much!):

Take care,

Gale

Friday, June 18, 2021

Lawn Fawn Fan Summer Hop--How To Make A Light Up/Pop Up Card & Giveaway!

Welcome back Lawn Fawn lovers!  

It's that time again!  Summer is here and so is the Lawn Fawn Fan Hop and Giveaway.  Lawn Fawn is giving away a $25 gift card to one lucky commentor from one of the stops. (Drawing is 6/28/21.)

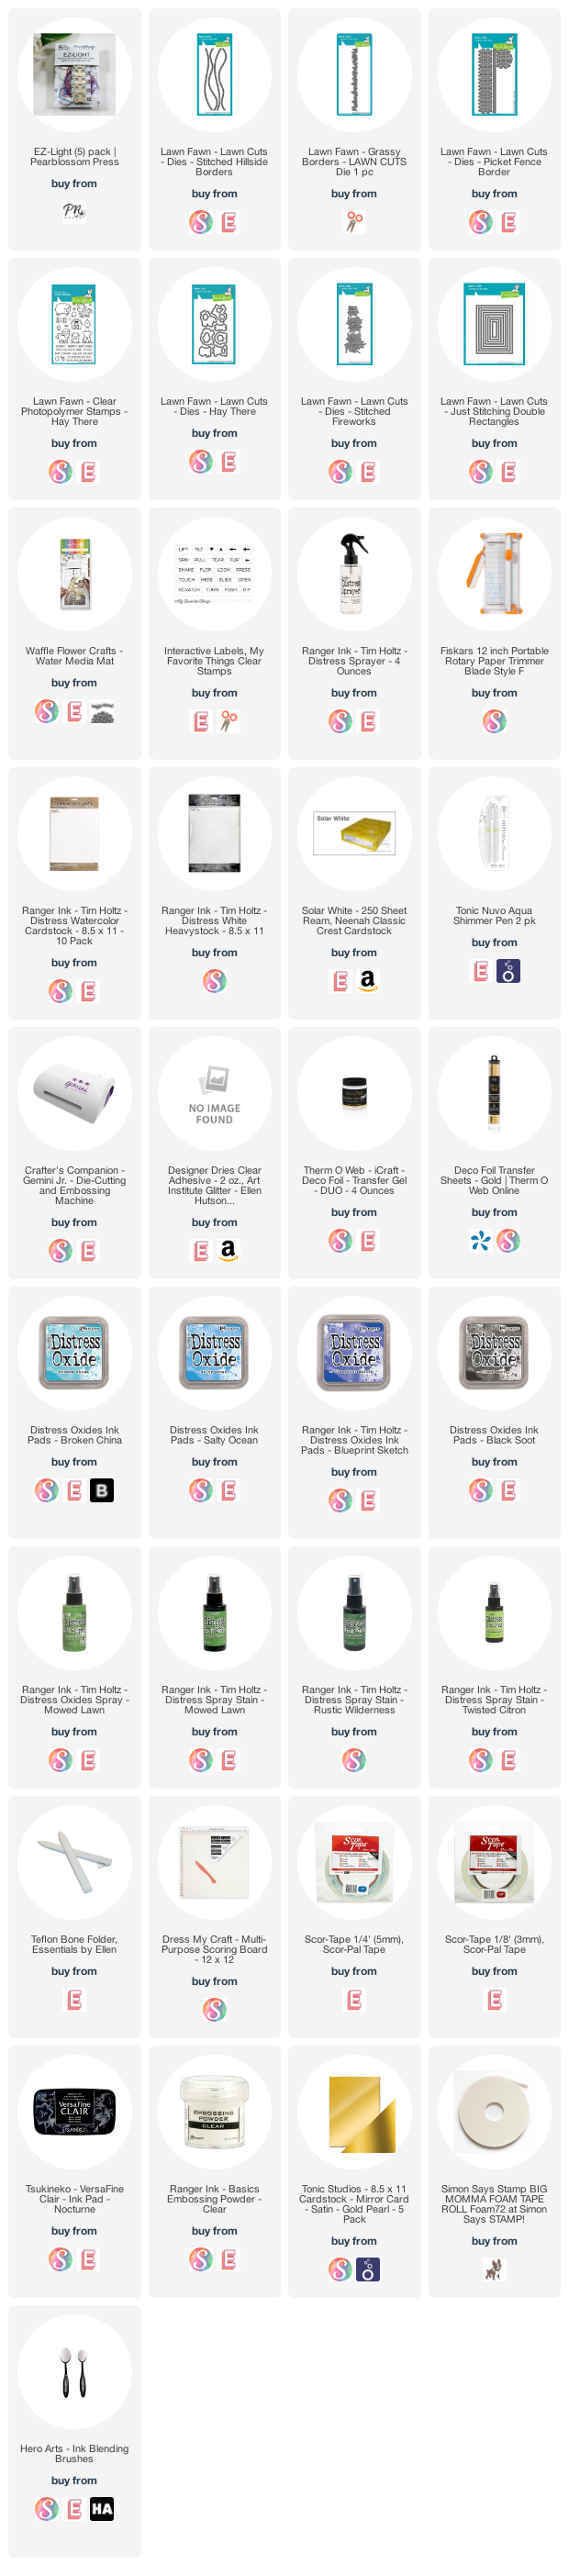
Today we are lighting up the fireworks using Pear Blossom Press  E-Z lights (most supplies are linked below AFIL- Thank you!)  


I demonstrate the no heat necessary foiling method and some other tips and tricks along the way!  I hope you will like, subscribe and comment on everyone's stop.  It means so much to us!  Here's the link!


Enjoy the hop (the next one will be in September.) Here are most of the supplies:

Take care, I'll see you again soon!
Gale

Tuesday, June 8, 2021

Big Hugs For A Blog Named Hero's Monotone Challenge!

 Hi there!

I've been a wee bit busy here at The 'Creek!  This card was quick to put together because I already had some backgrounds made.  All I had to do was diecut, glue and mount everything!  (Well, for this card...the first one I made, I wound up pitching:(lol!)  If at first you don't succeed...


The supplies I used are linked below (AFIL-Thank You!!)


Monday, June 7, 2021

Super Easy Stencil Tips (& More!)

 Hi! 

Today I am playing with a stencil set that has been in my to-do box for too long!  It's Pinwheel Party by The Greetery.  There's also a little tip about what to do if you don't have the dies.

Here is the tutorial (supplies are linked below AFIL-Thank you!!):


I hope you enjoy it!  Please consider subscribing and sharing with your friends!

Supply list:

Take care and see you soon!
Gale

Thursday, May 20, 2021

Just Channeling My Hippie-ness! "A Blog Named Hero" Shaped Card Challenge Inspiration!

 Hello!!

We're nearing the end of the current challenge, so hurry and get entered for a chance to win!  I chose to do a "hippie hexagon" with a rainbow of inks!


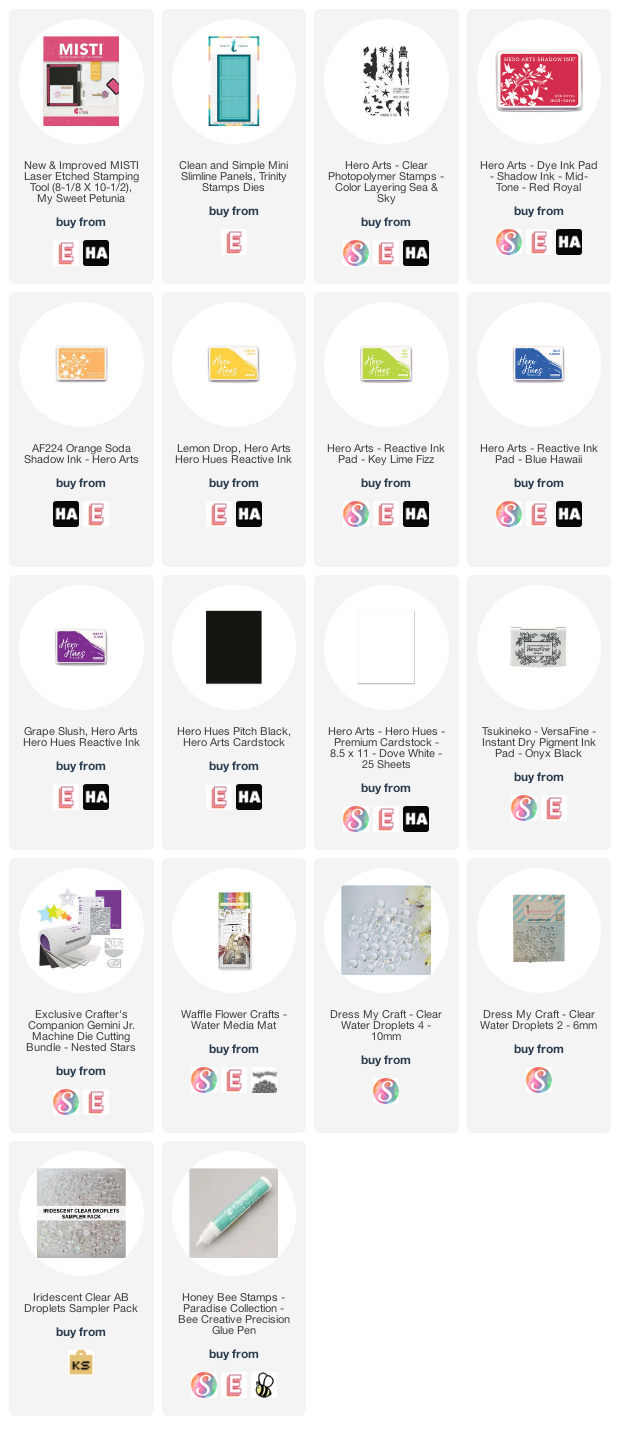
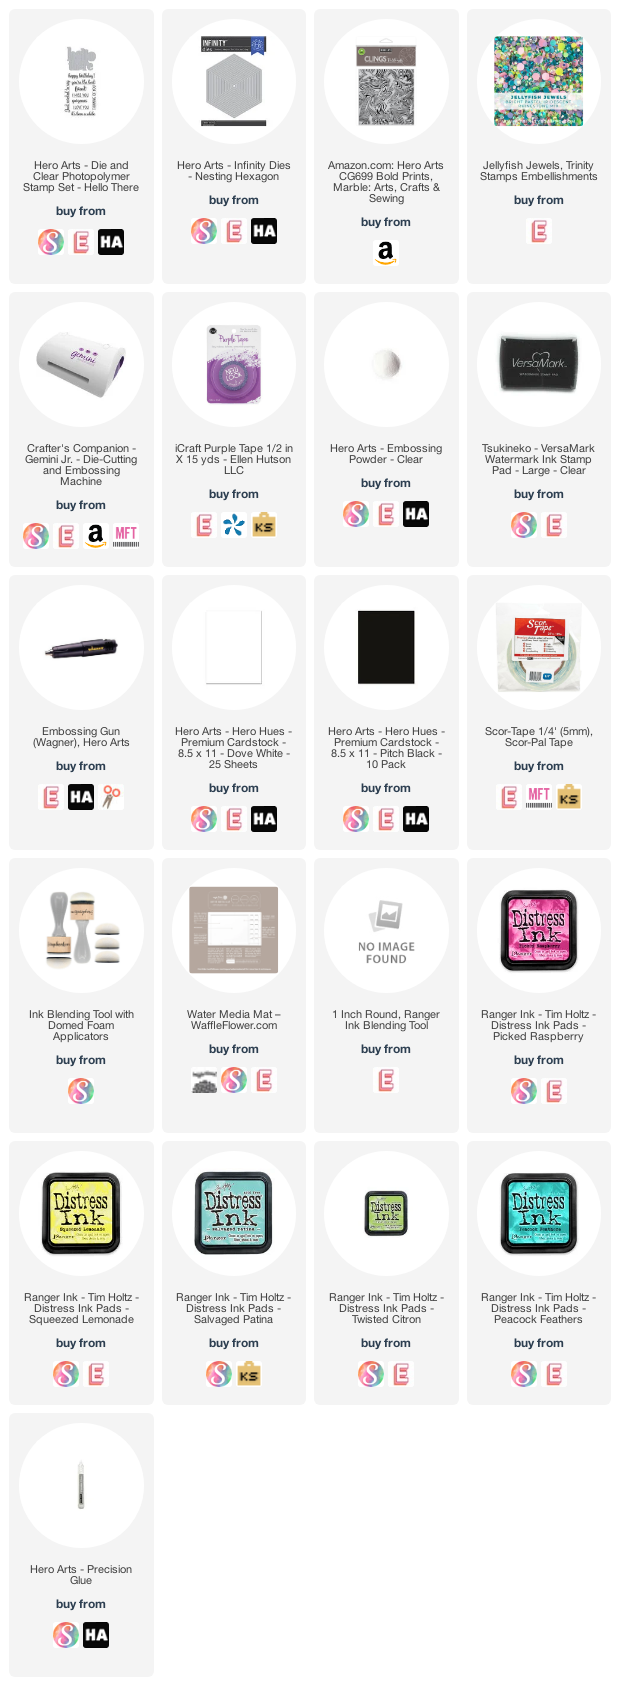
I die-cut 3 of the largest hexagon panels and scored one at 1/4" from the top.  I added Scor-tape to make a hinge.  Then I ink-blended randomly the last panel.  I stamped the Marble cling stamp with Versamark and used clear embossing powder.  I ran over the whole top with my darkest ink (Peacock Feathers- Everything is linked below--AFIL Thank you!!)

I layered the panels and added a thin black frame by using the two largest dies together.  I die-cut the sentiment three times and stacked for dimension.

Lastly, I added some hippy looking flower sequins and placed a jewel in the middle.  Super simple!

Here are the supplies I used:
I'll see you in a couple weeks with a brand new challenge!  (Of course, I hope to have a YT tutorial before that:)
Gale

Friday, May 14, 2021

How to Make & Shape Brushstroke Flower Cards That Pop!

 Hello!

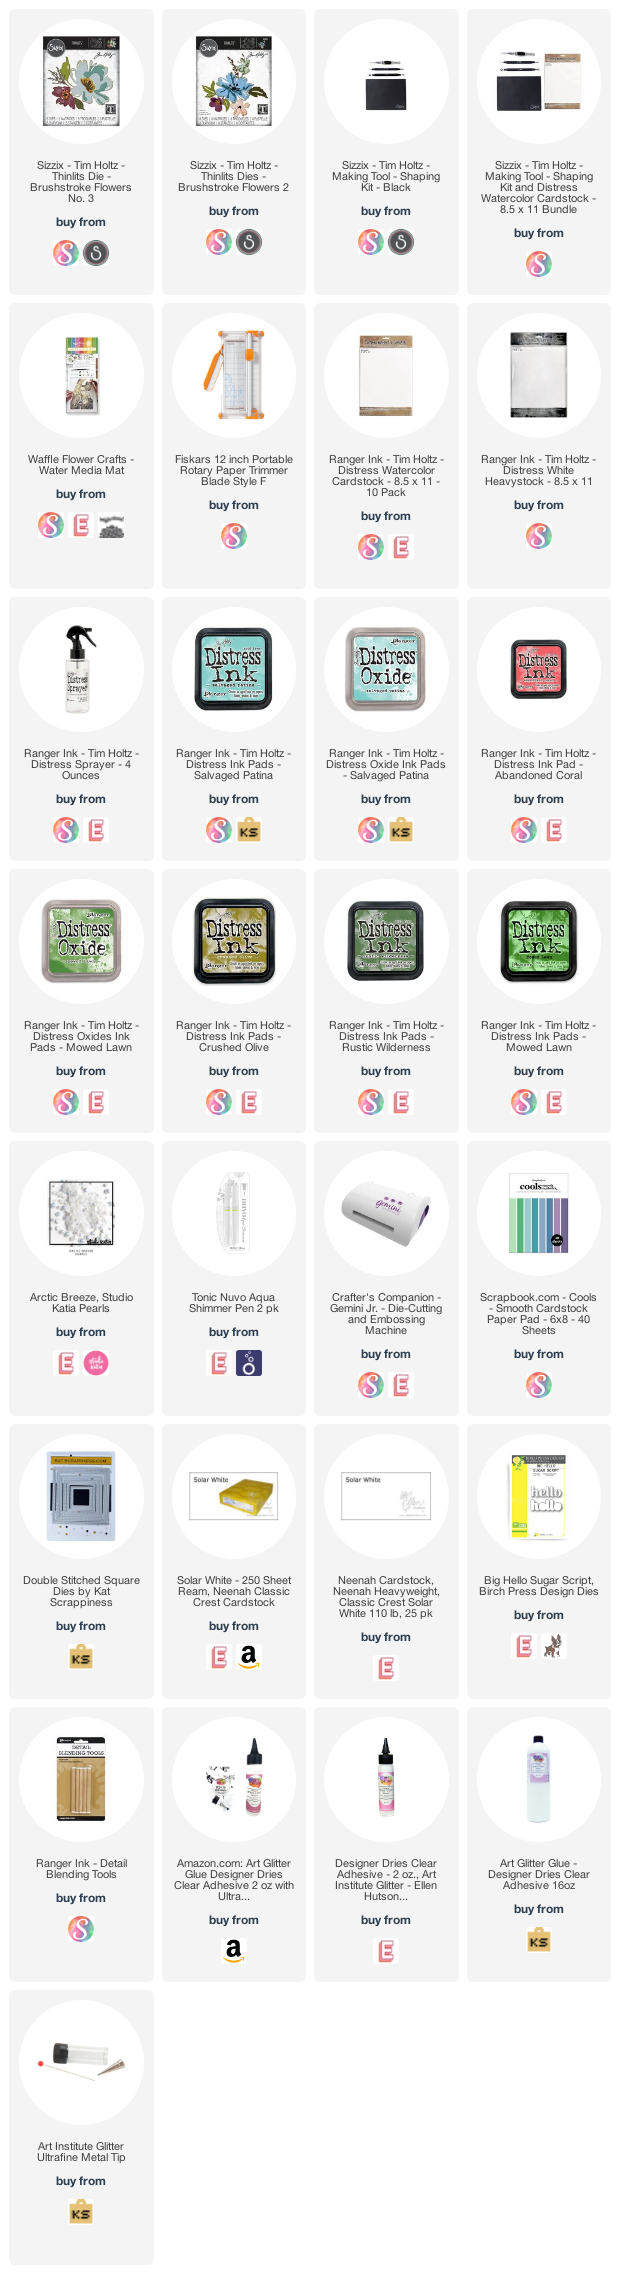
I hope all is well with you!  I had a blast making this card because it's easy, colorful and dimensional!  There are a ton of ways to make it, but I hit the highlights in my Youtube tutorial:


If you like it, please consider subscribing, liking, commenting and sharing!  Here are the supplies I used (Afil links--Thank you for your support and no extra cost to you!)

I will see you again soon!  Take care!
Gale

Tuesday, May 4, 2021

Fun Flip Flop Shaped Card W/Free Template--"A Blog Named Hero's" Shaped Card Challenge!

Hello!!

It's a sunny day here in Ohio, but too cold just yet to go to the beach.  But I can dream!!


I don't have a flip flop die and decided not to "cheat" and use my Scan 'n Cut because many folks don't have them.  So, I made an "old-fashioned" hand drawn template!  You can download it free below.  I also have all the supplies linked below for you convenience (AFIL-Thank You for your support!)

All of the instructions are included on my Youtube video also linked below.  I hope you will enjoy it (and if you do...please like, subscribe and hit that bell for notifications!)  


 Flip Flop Template


Supply List:


Friday, April 16, 2021

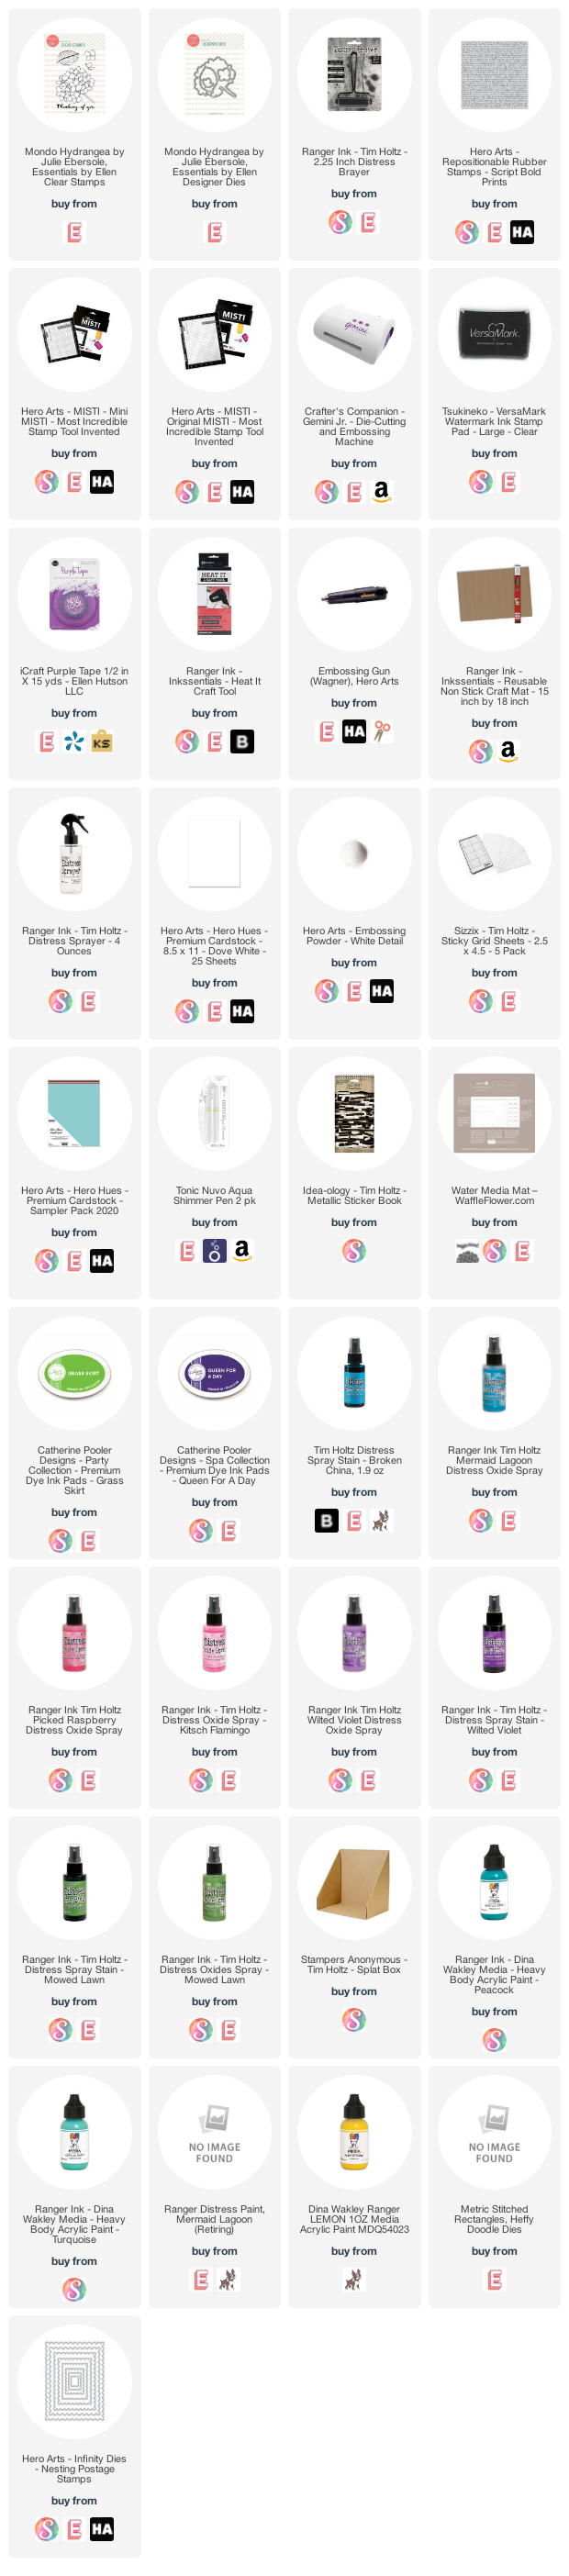
How to Layer Papers, Paint, Powders & More! Featuring Mondo Hydrangea!

Hello!!  

Hope you are well and enjoying Spring (if you're here in the Northern Hemisphere!)  Today I brought out an older set that deserves some love as it's pretty and versatile!  All the supplies are linked below (AFIL- Thank you!)


All the details are in the tutorial below which is part of the "How Does Your Garden Grow Youtube Hop."  Some of the stops are offering prizes, so I'll list below for you to check out or the next stop will be in my video description box!


Here's the hop list:

Here's the supply list:

Friday, April 2, 2021

Happy 9th Anniversary "A Blog Named Hero!"

 Hello!

I'm back again with yet another anniversary card!  This is part in conjunction with an Instagram Hop celebrating "A Blog Named Hero's" 9th anniversary on April 1st-April 2nd.  There is a gift card drawing so visit as many stops as you can both days for more entries and please follow your favorite designers too!  (I'm @darbycreekdiaries)

Here is my project: (Supplies linked below AFIL-Thank you!)


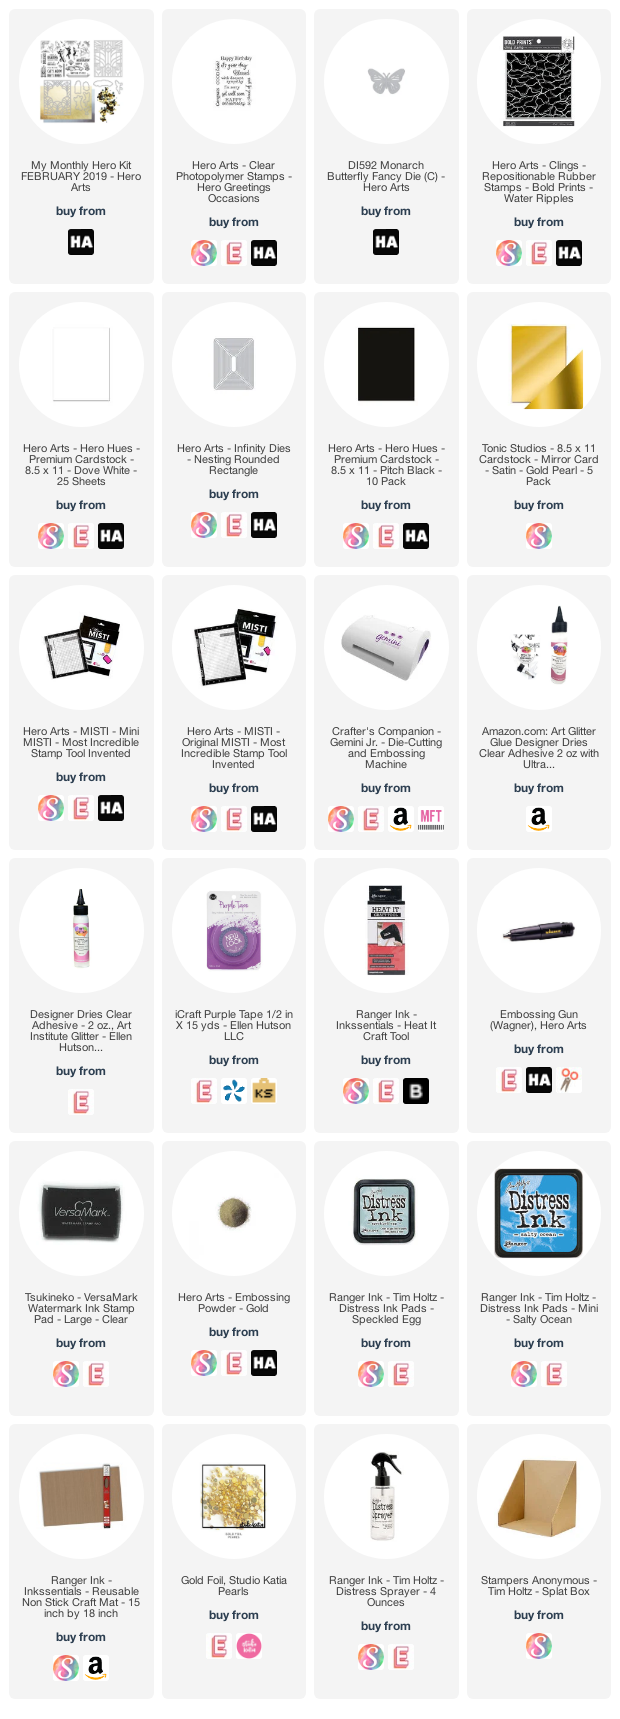
The butterfly was die cut from leftovers from an earlier project.  Here is the link to that Youtube tutorial with supply list (it was done with alcohol inks/foil):


The background is the water ripples stamp.  It was a happy accident as I inked it up with a few distress inks, then sprayed it with too much water for the image to be crisp.  But I kept it in my background pile and it's perfect for this!

I die cut the art deco cover out of gold card stock then stacked it on four white ones for dimension.  I laid it on the blue background, added it to a card base, then added the butterfly and sentiment.

The lesson here?  Save those scraps and imperfect backgrounds!

Here are the supplies I used:

Once again, Happy Anniversary "A Blog Named Hero!"  I'm proud to be a small part of your history.  Here's to many more years!  Don't forget to hop over to IG and comment to enter in the drawing!

Happy Easter,
Gale

Tuesday, March 30, 2021

Easy Vellum Copic Coloring-- "A Blog Named Hero's" 9th Anniversary Celebration!

 Hello again!

In April, "A Blog Named Hero" turns 9!  I'm so happy to be in my third year of participating to inspire folks to create and enter our monthly challenges!


April's challenge is anniversary cards.  Here's an "old-timey" way to use vellum that is very forgiving for us coloring-challenged folks.  

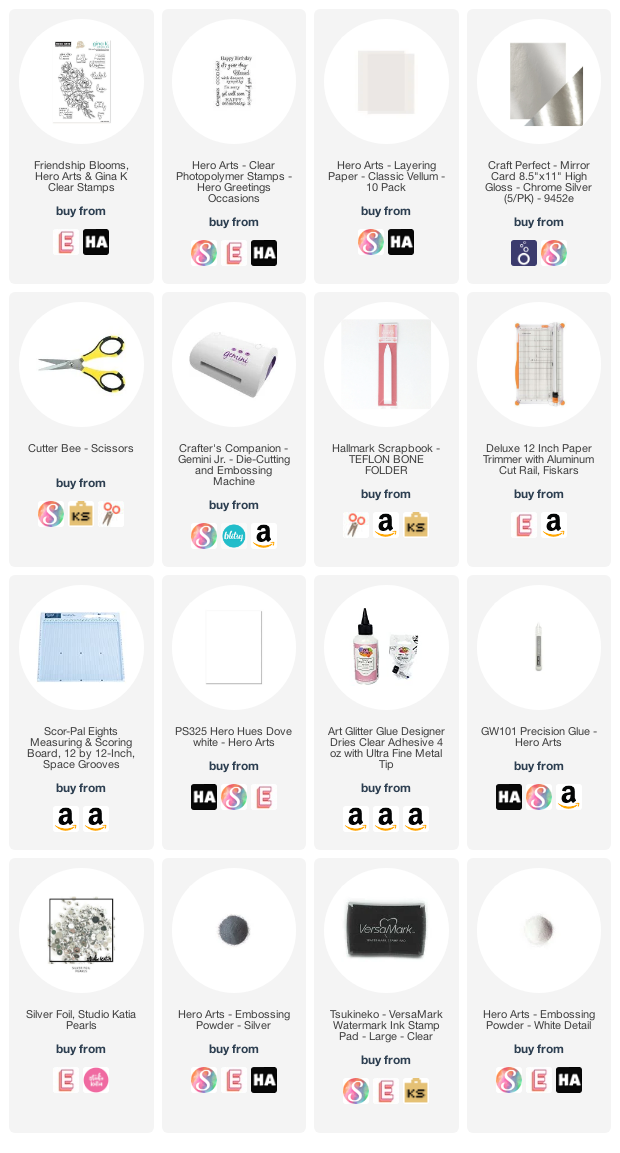
The supplies are linked below (AFIL-thank you!)  I started with a piece of Hero Arts heavy vellum and heat embossed the image.

Next, I flipped it over and colored it on the back.  This is great as it's not a big deal to stay within the lines.  You must use alcohol inks for it to dry.  They are easy to blend on this slick surface too!

Since even the clearest of glues may show through the vellum, I folded it over the top of a metallic silver background and glued it.  Then I glued that panel to a top folding card that is larger than I normally do--approximately an A7 (ish).  I will have to make an envelope to send it, but I hated to cut off any of the flowers!

Stay tuned to Instagram (I'm @darbycreekdiaries if you'd like to follow me) as April 1st and 2nd we are having a giveaway hop with tons of Hero Arts folks participating!  Then we'll have another giveaway as usual with the anniversary themed challenge on the blog.

Supply list--

Take care, Happy Spring and I'll see you again soon!

Gale
Saturday, March 20, 2021

How To Make A Fun Interactive Slimline Tri-Fold Card or Gift Card Holder!
 Happy Easter!

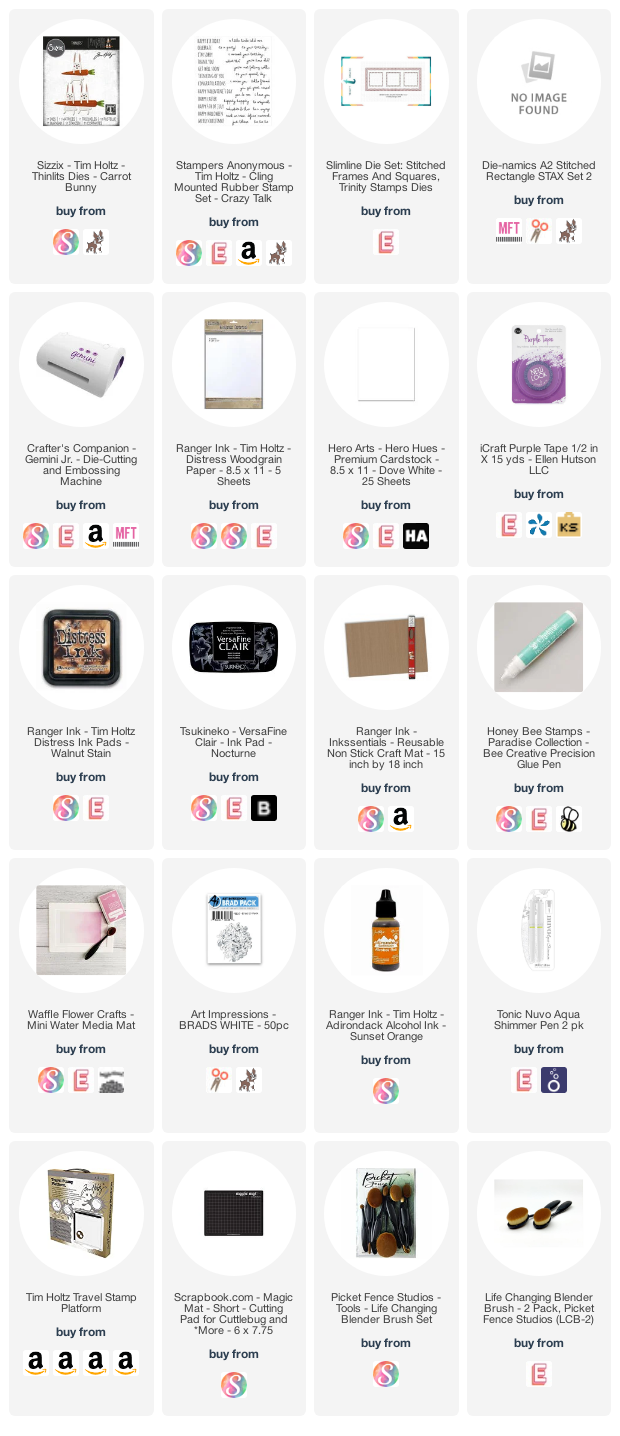
Today I'm hopping in with a fun card using Tim Holtz's Carrot Bunny die set by Sizzix.  I wanted to do something a bit different, so I made the carrot the closure, using a mini brad I alcohol-inked orange.


Here is the tutorial link (please consider subscribing:)


Here's the link to how I made the "wood":
https://youtu.be/Q8Jv6zJ-hlk

I purchase my supplies and my opinions are my own.  Here are the supplies I used (AFIL- Thank you!):


I "hop" you will come back and see me again soon!
Take care,
Gale