Tuesday, February 23, 2021

How to Add Texture to Your Projects!--"A Blog Named Hero" Anything Goes! Challenge

Hello from snowy Ohio!

I'm trying to channel Spring here with this fun Koi pond card:)  If you like to get inky and play, this is the project for you!  I have a tutorial video shot, but it won't be up for a few days (I fell and broke my nose, had surgery today to fix..not feeling too crafty.)  

I have been watching Tim Holtz live's and they are great for beginners or experienced stampers!  The only thing better would be if the Girl Scout next door would deliver my cookies to snack along with a big glass of milk:(


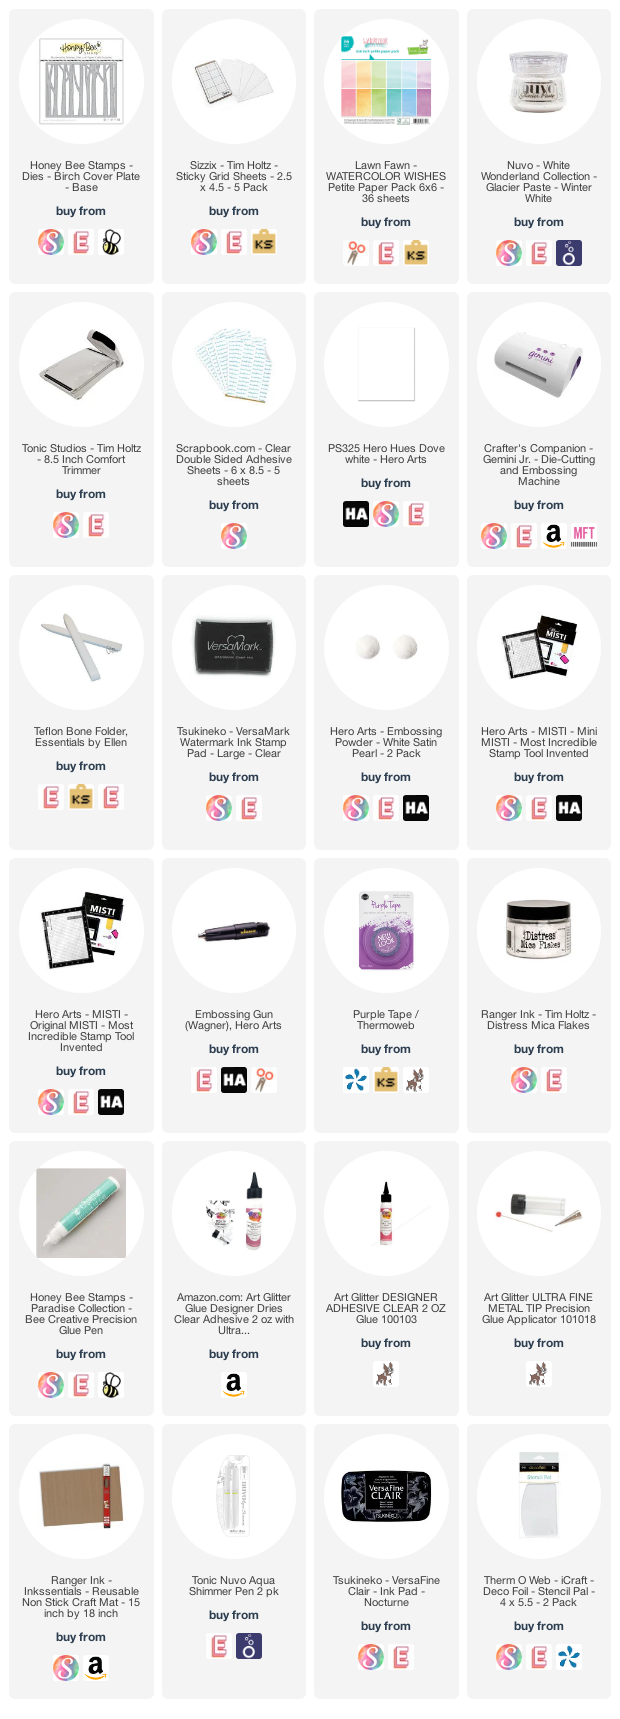
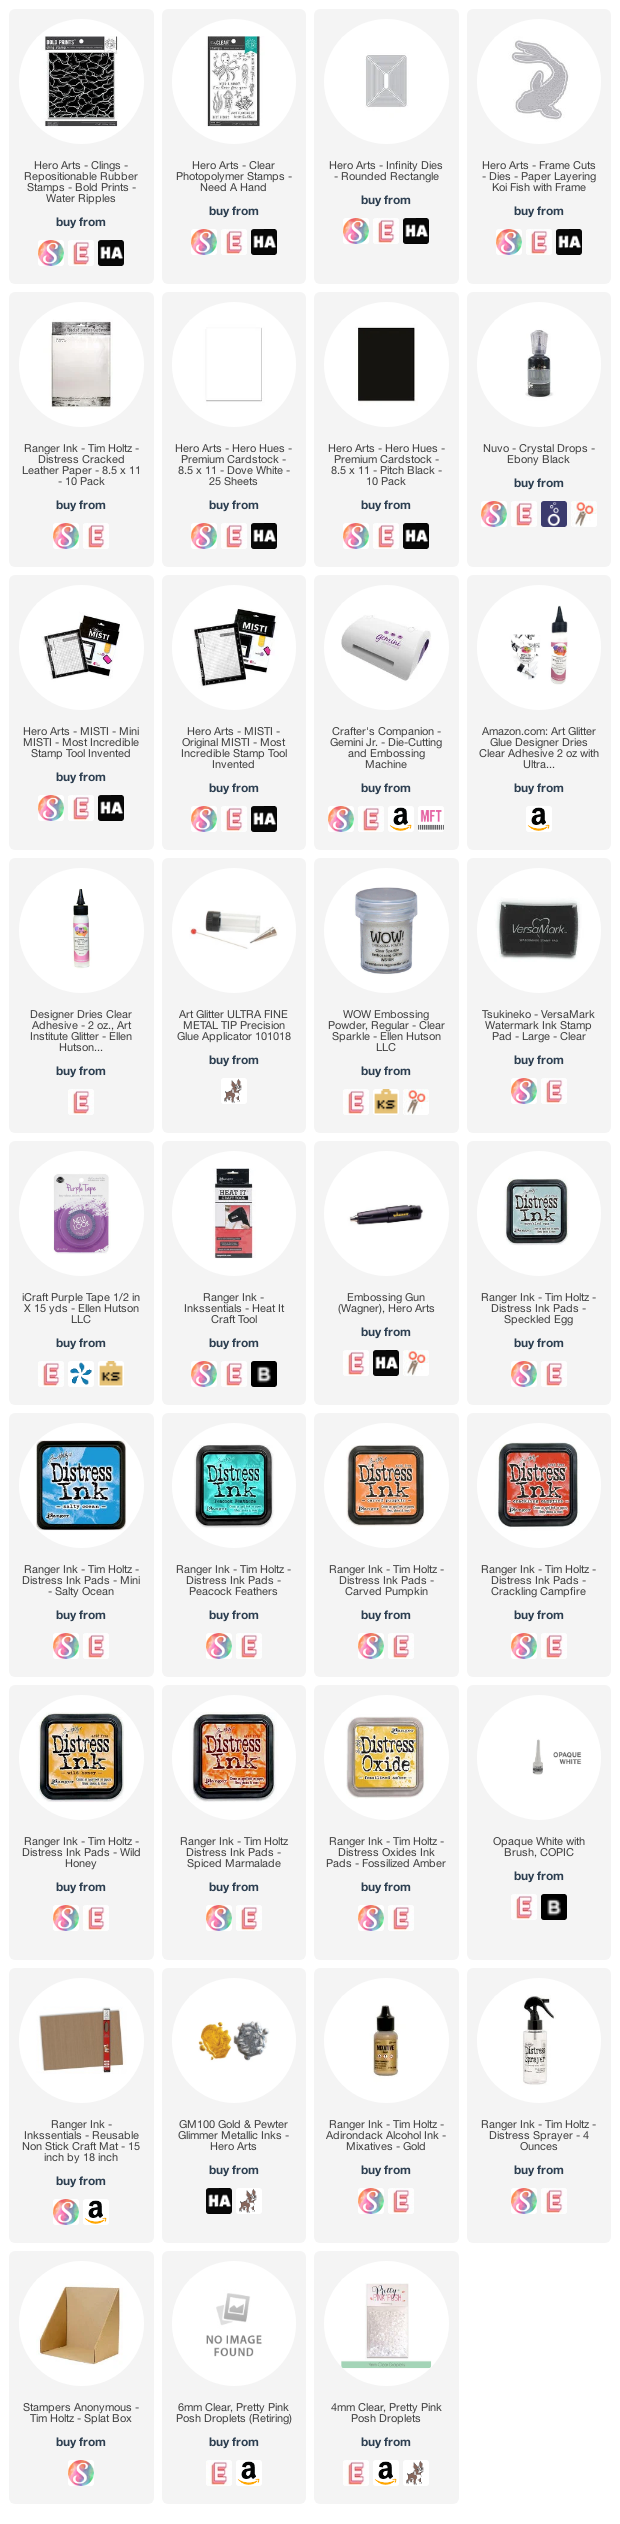
Most of the supplies I used are linked below (AFIL-Thank you!)

 So for now, my instructions will have to do!  I kinda rummaged around to decide what to play with and I grabbed the leather distress paper to see if it would look like fish scales.  I grabbed oranges, golds and blues.

I stamped the background with a blend of blue inks, then re-stamped with Versamark ink and embossed with clear sparkle powder.  

Next, I ink smooshed on the leather paper until I was happy with result.  This took several layers, drying in-between.

I diecut the Koi using the inner and outer dies.  Then re-cut the inner with the outline to cutout. That way the paper under the fluffed areas are the same color.  

I fluffed the scales a bit, then glued just the perimeter of the fish to that bottom diecut   I fluffed some more, using a craft knife.I glued the fish to the background, but wanted some interest other than the clear bubbles.  So, I found a 20 year old box of plastic watch crystals (look on Etsy, but mine were a lot cheaper back then...) 


I white embossed on black the sentiment and cut to fit the watch crystal.  I applied it to the card front then layered whole thing on black, then a white top-folding card base.

I added black Nuvo drops to the eyes, after dry, I added white Copic ink to highlight.  Then I realized that ink is waterbased and won't dry, I added a smidge of clear Nuvo drops!  until I get this uploaded, here are some other projects using this Koi die!

https://youtu.be/pq0vfskXsmU

https://youtu.be/Vg6iO-YOgk0

I hope you will give this a try!  Come back and see me soon!

Gale
Wednesday, February 17, 2021

Fun 'N Easy Sparkle & Shine Four Ways!!

 Hello!

Here's the perfect project for a snowy day!  Tons of glitz and shine! 


Hop over to my youtube channel for the brief tutorial:


Here are the supplies (AFIL-Thank you!!)  Gotta run, AAA is here to pull my son's car that's buried in snow by the plow crew...


See you again soon!!
Gale

Saturday, February 6, 2021

Stretch Those Diecutting Sets! One Set, Three Ways!

 Hello!

Welcome back!  Today I'm sharing three cards using one easel die set from Poppy Stamps!  It makes an easy pop-up card that fits in an A2 envelope or square.  You could also just use the front pieces and apply directly to a card panel!  Below there is a Cuckoo clock (with an action wobbler), a dog house with my beloved (long ago at Rainbow Bridge) CH. Patrick and a Spring gnome home!  

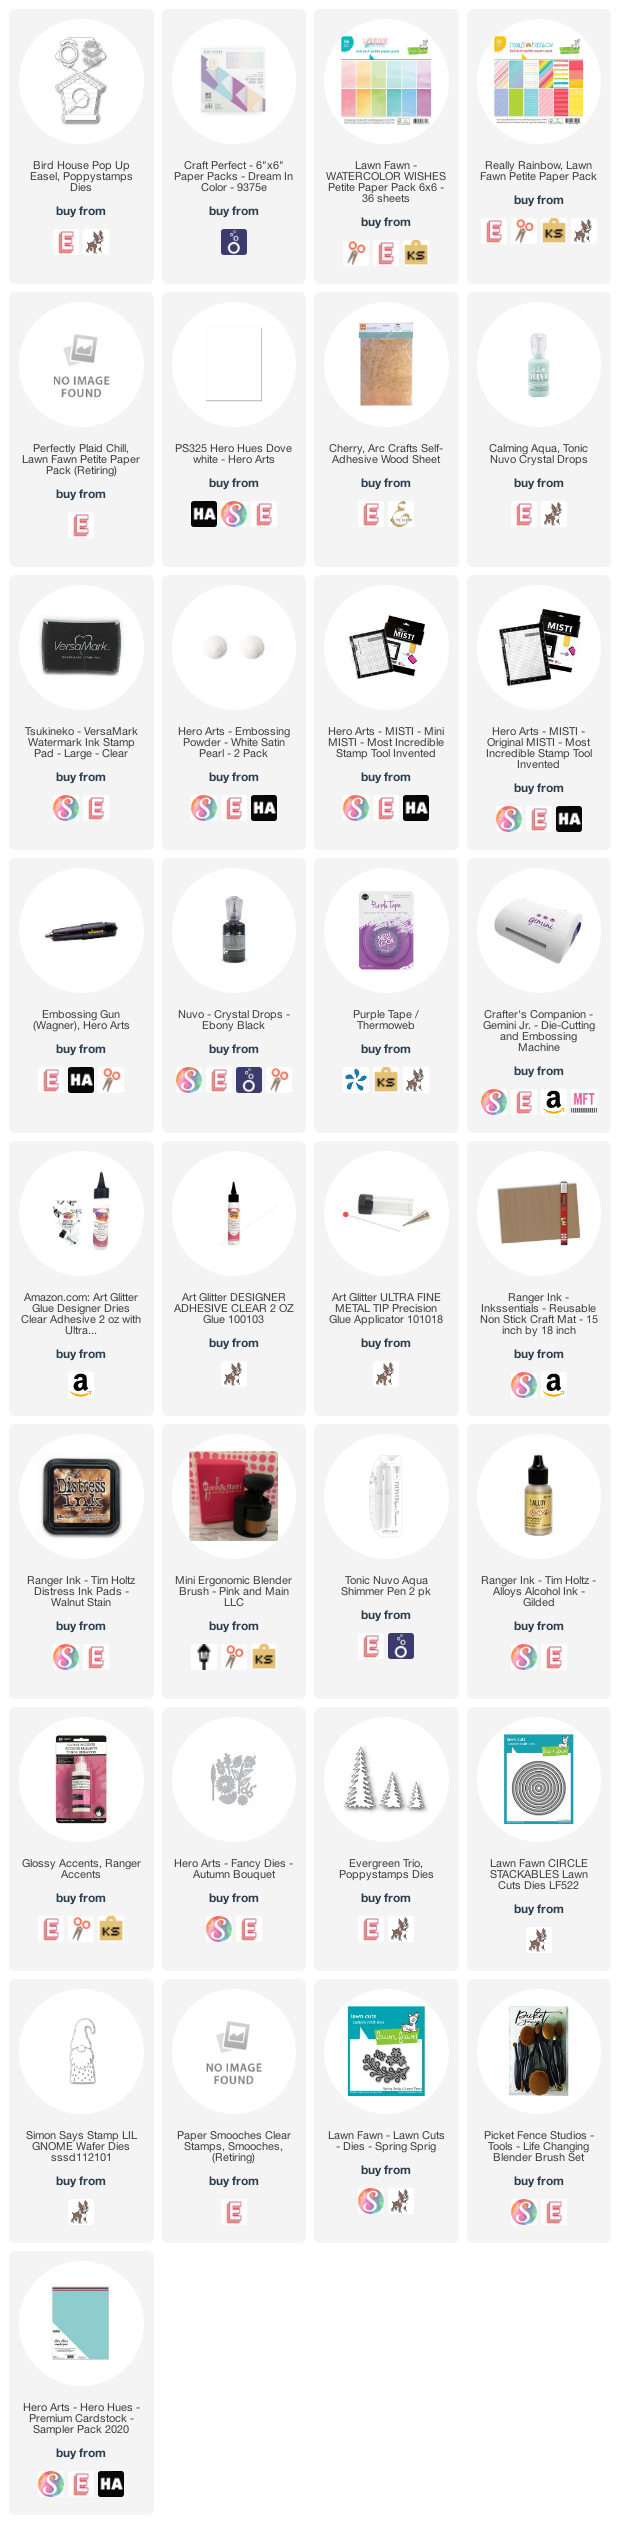
The supplies are linked below (AFIL-Thank you for your support and no extra cost to you!)

Here's the tutorial!  I hope you will like, subscribe and share with your friends!  Enjoy!


Here is the supply list:

See you again soon!
Gale

Wednesday, February 3, 2021

Super Easy Valentine!--"A Blog Named Hero's" Anything Goes Challenge Inspiration!


 Hello!

I'm baaaaack!  I'm so happy to announce I am again on the "A Blog Named Hero" Facebook design team!  Stayed tuned (and follow to be notified) because there are lots of fun things planned for this year!  There is still a chance every month to win a $50 Hero Arts gift card too!


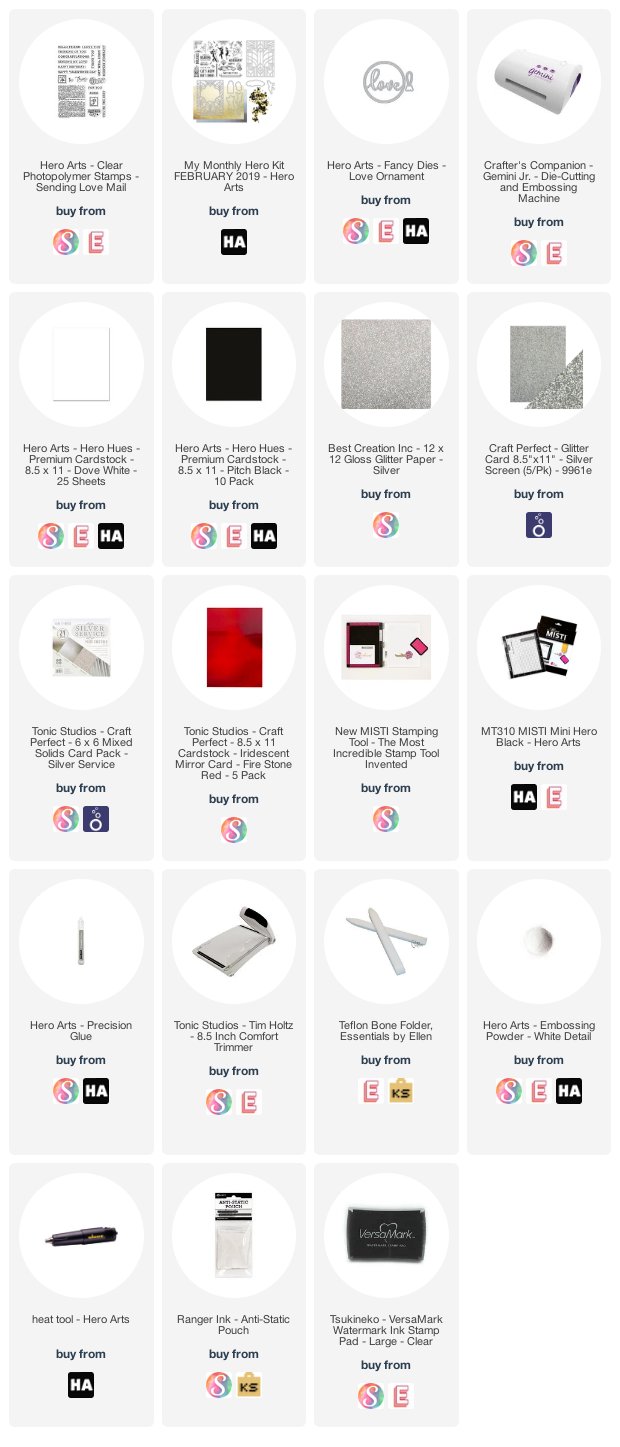
I don't make many Valentines, so I have to scrounge through what I have that will work!  This project features the panel die from an unbelieveably still available My Monthly Hero Kit linked below-(afil-Thank you!) 

This card is very quick to put together and perfect to mass-produce!  All you need is a heavy white card base (4.25 x 5.5"), some silver glitter cardstock, some lighter weight white card stock to die cut the panel and some contrasting paper for the love die that's cut out of the Hero Arts Love ornament.

Die cut 2 or 3 of the panels, glue and stack together.  Do the same with the love die, but add a special color one on top.  

Glue the glitter paper to the front of the card base.  Then glue the panel diecut over it.  Add the love in the center.  Then, add a thin black sentiment strip and decorate however you like!

Here is the supply list: