Tuesday, December 23, 2025

Even More Ways To Add Snow On Your Projects!!


Hello!

Hope all is well with you!  I’ve been wanting to do a follow-up video about looking into more products that might be good to make snow.  Some things worked better than others, so hoping this will be helpful when you’re trying to find the right materials for the technique you’re doing.

All the findings are in the video linked below, but here are the charts.  Many of the supplies from both the OG (original video) and this one are linked below as well.  I will also link the actual OG video at the bottom;) These aren't duplicates.  The original video uses a lot of different products that are mostly still available!

Current video: 


Products on dark background:


Products on light background:  (note the icicle paste was a couple years old and had been opened.  I didn't have an unopened one.)


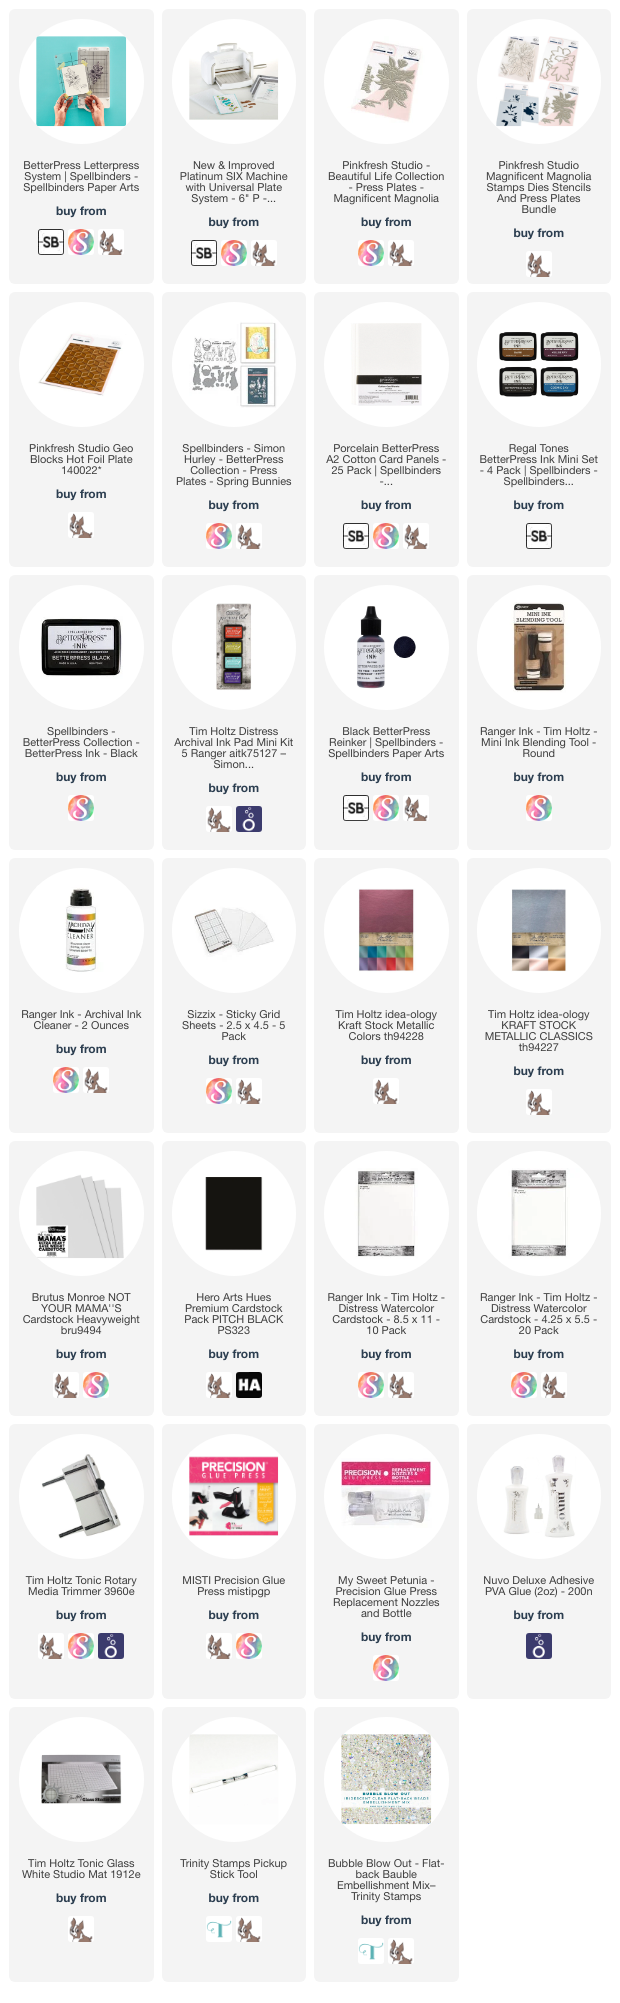
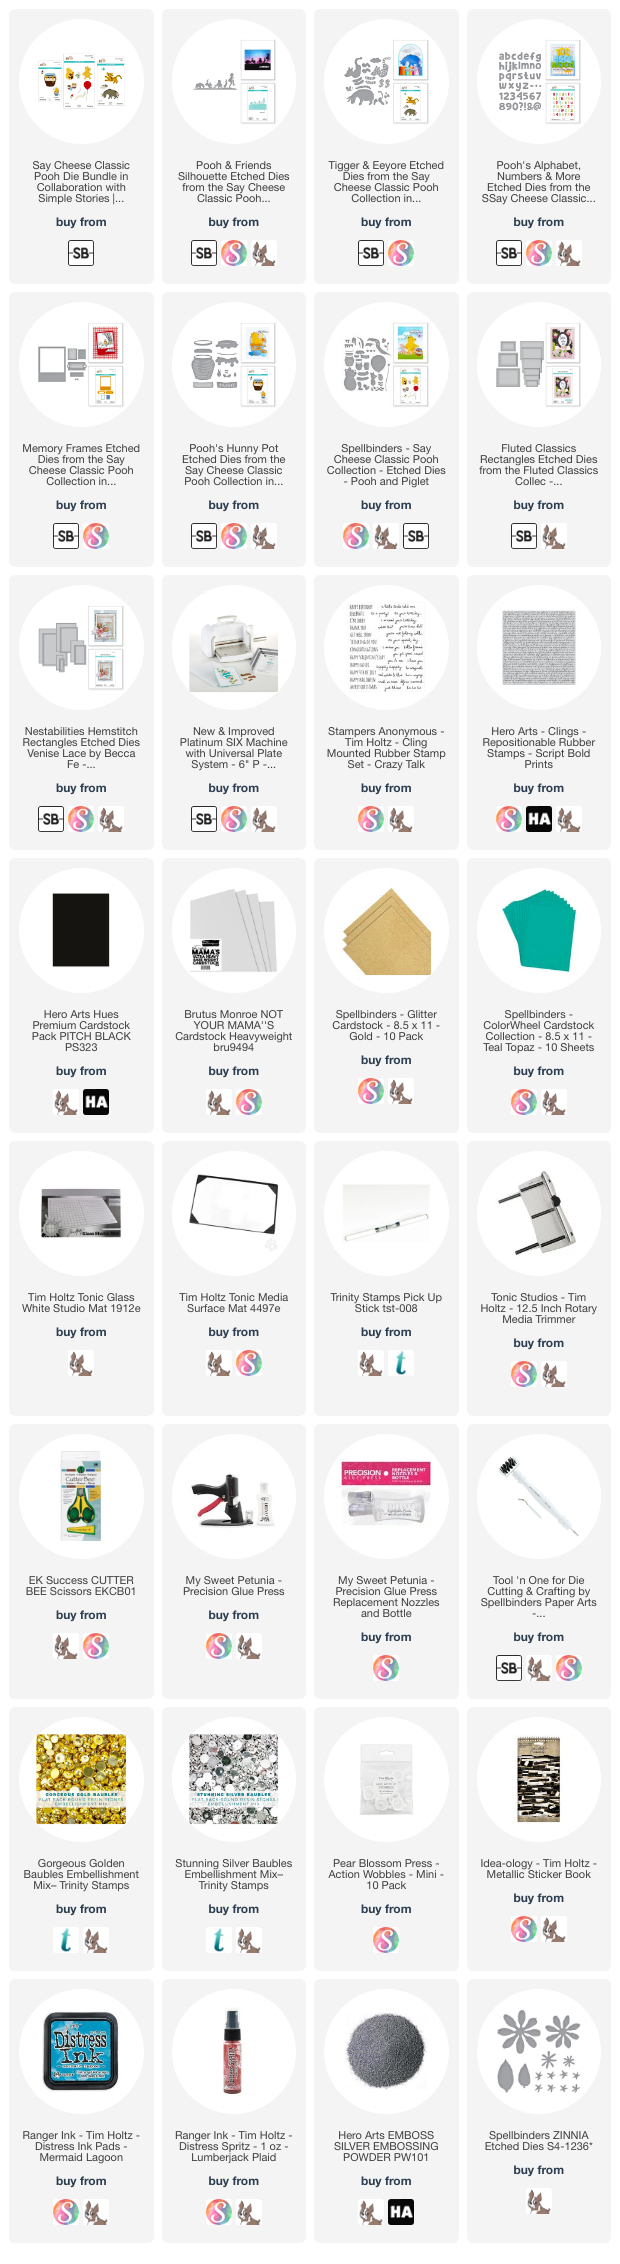
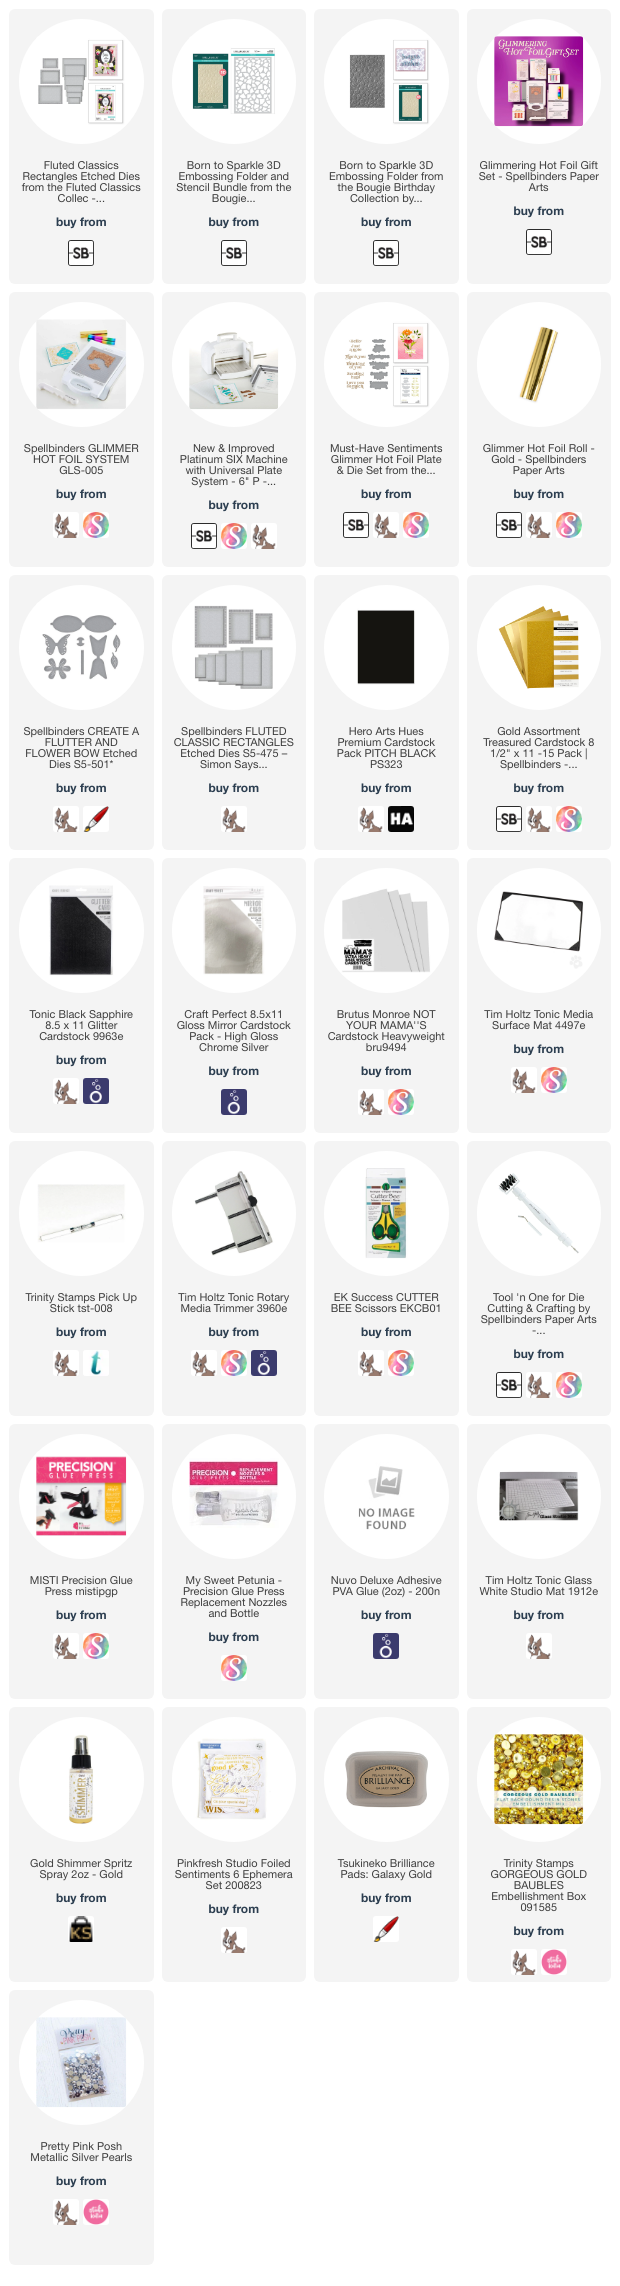
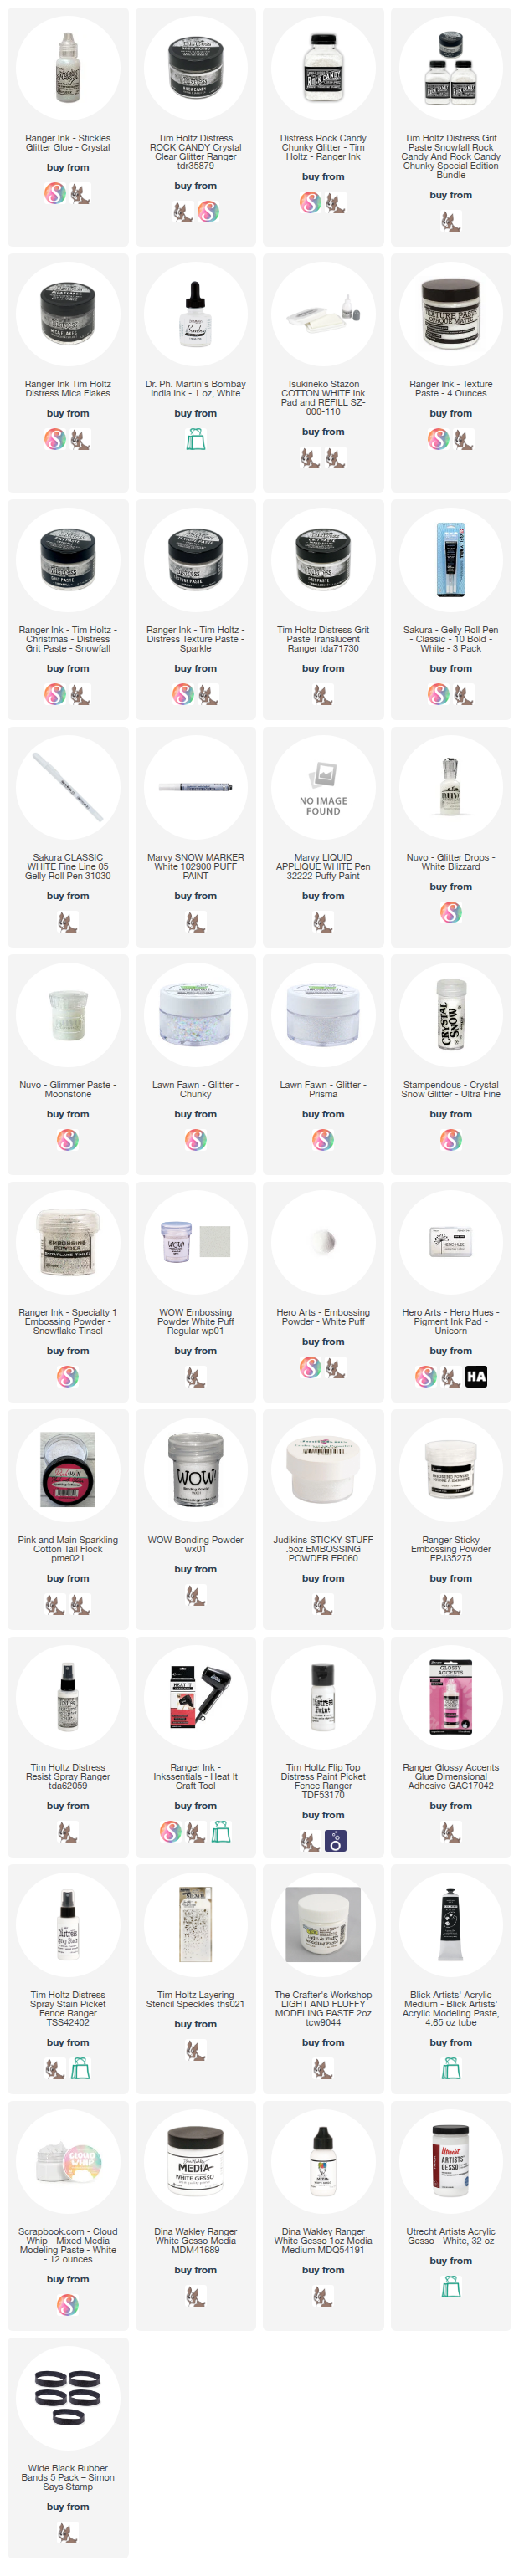
Here are most of the supplies I used:
Here is the original video:


I hope you found this helpful!  Take care and I'll be back with a tutorial soon!
Gale


Sunday, November 9, 2025

OH Christmas Tree!! How To Make A Pop-Up Tree Card


Hello!

Now that it's turning chilly here in Ohio, I can bring myself to face the holidays.  I prefer to have them in order, but since not many folks send Thanksgiving cards, I'm jumping to Christmas;)

This project was made using the Karen Burniston Pop-Up Tree die set.  (Most things are linked below-AFIL-thank you! I may get a small commission with purchases made using my links.)

Here is the front:


The front was made using leftovers from a Tim Holtz/Simon Says Stamp* online class.  Unfortunately, those were Stamptember products that have sold out:(. But I'm sure you have lots of things that you could use instead!

The project isn't hard, but has several steps, so it's best to watch the tutorial instead of scrolling and scrolling:)


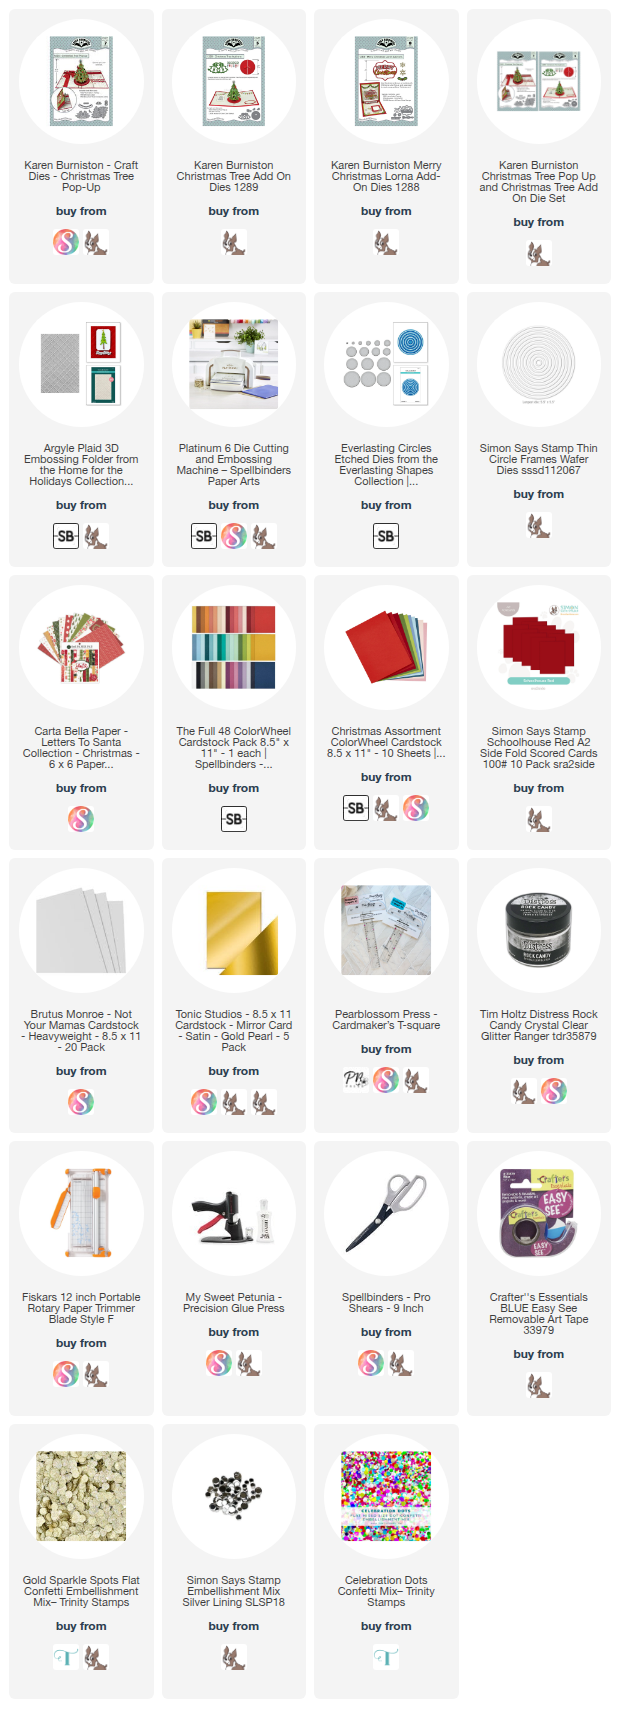
I hope you enjoy it and give it a try!  Here are the supplies I used:
I look forward to being back soon!
Gale

Thursday, September 18, 2025

This Interactive Card Takes The Cake!

Hello!

I'm so excited to show you a card a made using products by two amazing ladies- Taniesa, owner of Trinity Stamps and Amanda, owner of Pear Blossom Press!  Supplies are linked below if you are interested.

I decided that more is more, so I doubled the interactivity for this project.  It lights up and is a shaker card, plus it's 5 x 7!  ! I made a YouTube tutorial about the construction because I would be typing for a very long time and my tutorial is about to post;)

But first, I thought I'd share my "practice" card.  It's not interactive, but helped give me the lay of the land.  This is an A2 (4.25 x 5.5") not an A7 like the interactive one.


I really had fun playing with the cake die.  The possibilities are endless!  It looks like it's hard, but it really isn't.

Next, the star of the show...

Here is the YouTube tutorial.  I hope you enjoy it!  (If you haven't already, I'd really appreciate you subscribing, liking and especially sharing with your friends!


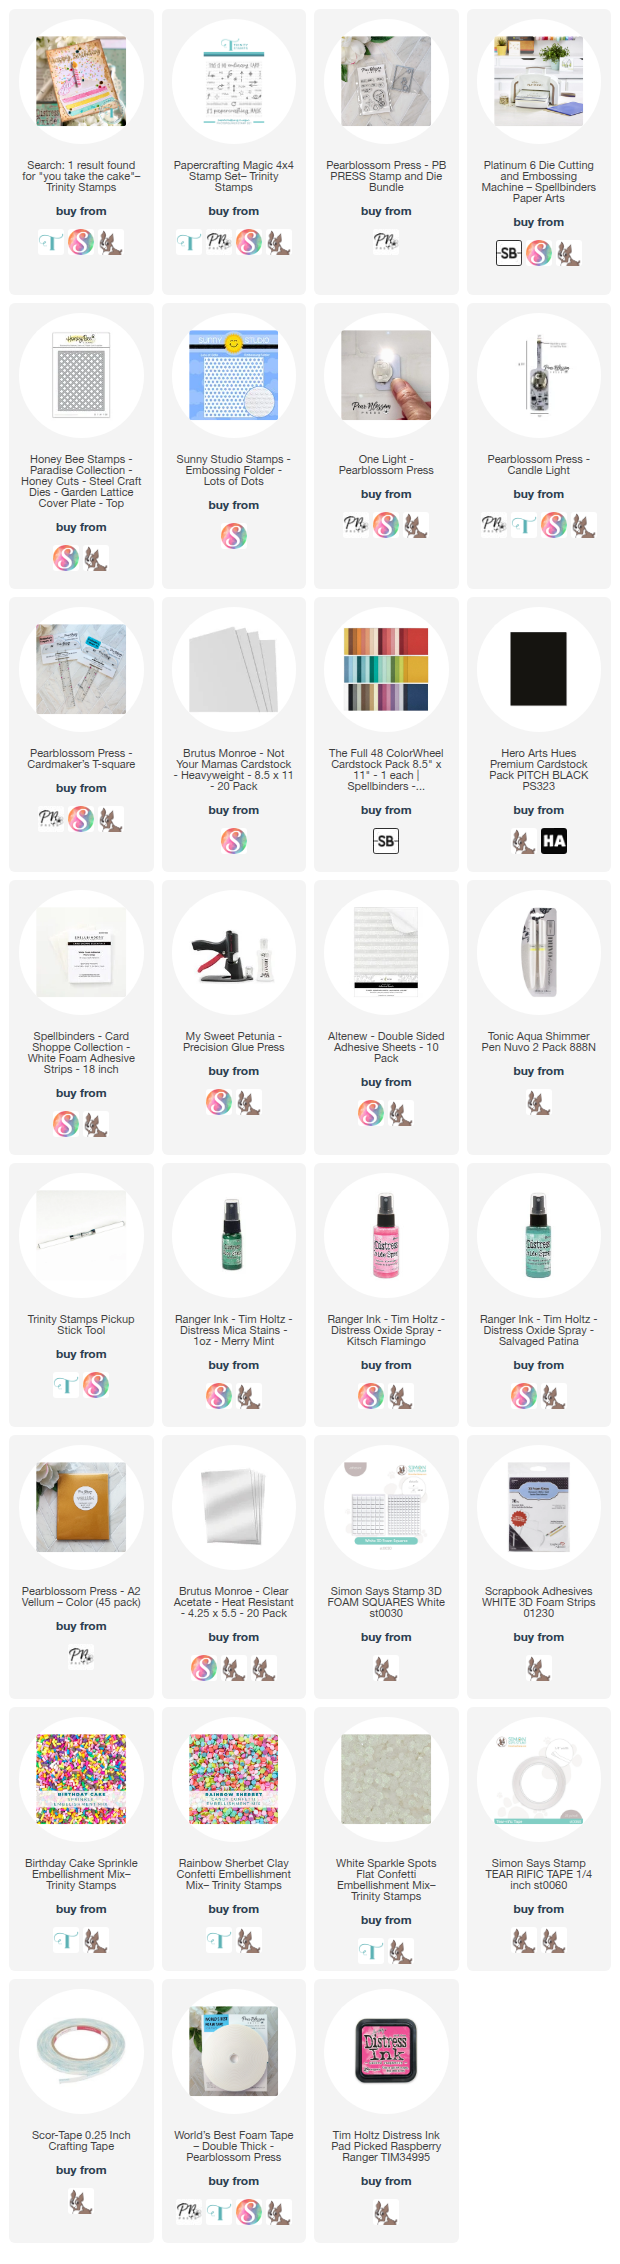
Here are the supplies I used (AFIL-thank you so very much!  I may get a small commission on purchases made with these links;)


I'll be back very soon with another fun project, so stay tuned!  Take care!
Gale

Wednesday, September 10, 2025

I Took The Spellbinders Candy Christmas Train For A Spin!

Hello!  

How cute is this?  I was sent this by Spellbinders to play with.  There are several more dies, but I couldn't fit everything on this A2 card.  This is a large set, so I would suggest numbering like I did for Mickey Mouse.  I linked what supplies I could below (AFIL, Thank you for your support!) If something isn't available, I tried to find something close.


Organization is the key.  It's just like building a puzzle, but more fun for me;).  If you click on the train die set link in products you will also find a diagram that's pretty helpful, especially for the first time you use it.

I think I will try to make a "steampunk-ish" one soon.  I'll share if  I do!  I know it feels early to be making Christmas cards, but if you make a lot of these you'll want to get started!

This just in!

I'll be back soon with another "sweet" project that's double interactive!

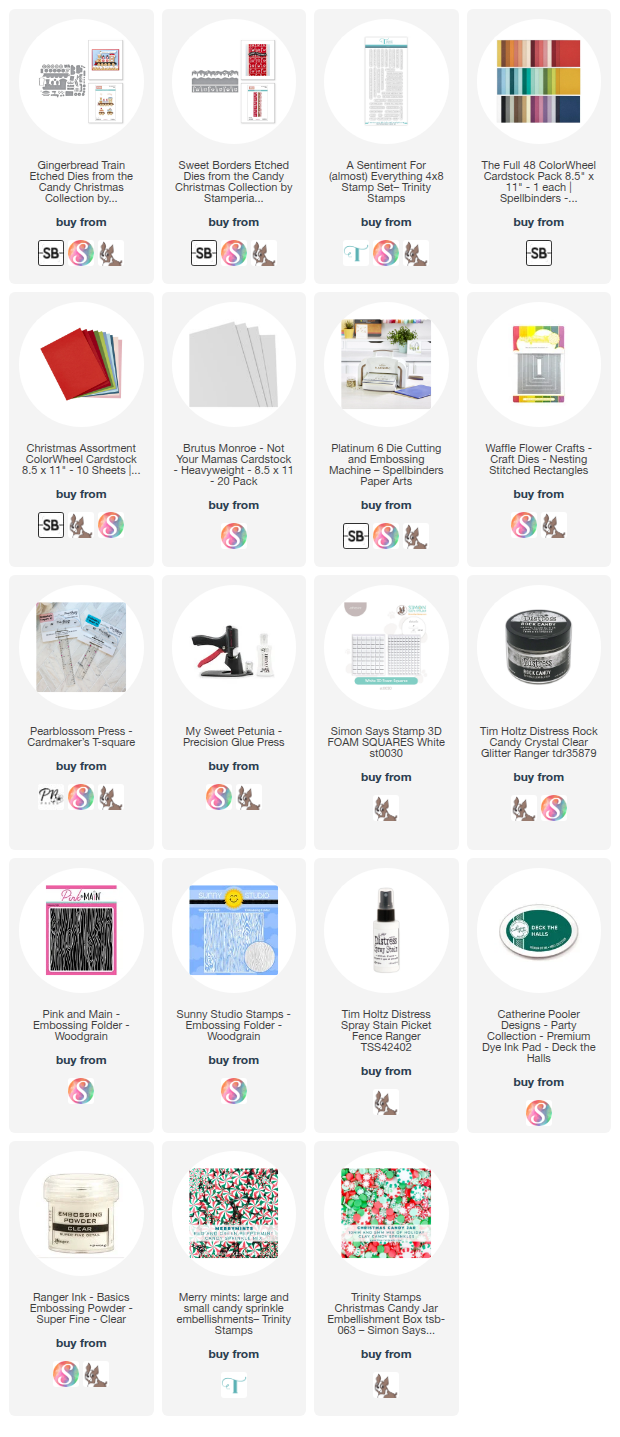
Here are the supplies I used:

Take care.  I'll be back very soon!
Gale

Saturday, August 9, 2025

Here’s How to Use Spellbinders New Drop-Shadow Joy Die

Hello!  

Thank you for stopping by!  Spellbinders just released a die that’s unique called Drop-Shadow Joy by Yana Smakula in her City Holiday collection.  It’s linked below (afil—thank you so much for my links!)  I also have Spellbinders layering chart to help you deal with the tiny pieces!


There are a few variations to try:  the single without the drop-shadow and layering the drop-shadow with one or two colors.  The one above has one shadow, the one below has two.  

I used a couple of Rangers seasonal mica sprays to make the background and three shades of red cardstock to diecut joy.

For background, I sprayed some Distress Mica Sprays onto white watercolor cardstock.  I used three shades of red for “joy.”

Here’s the user guide:


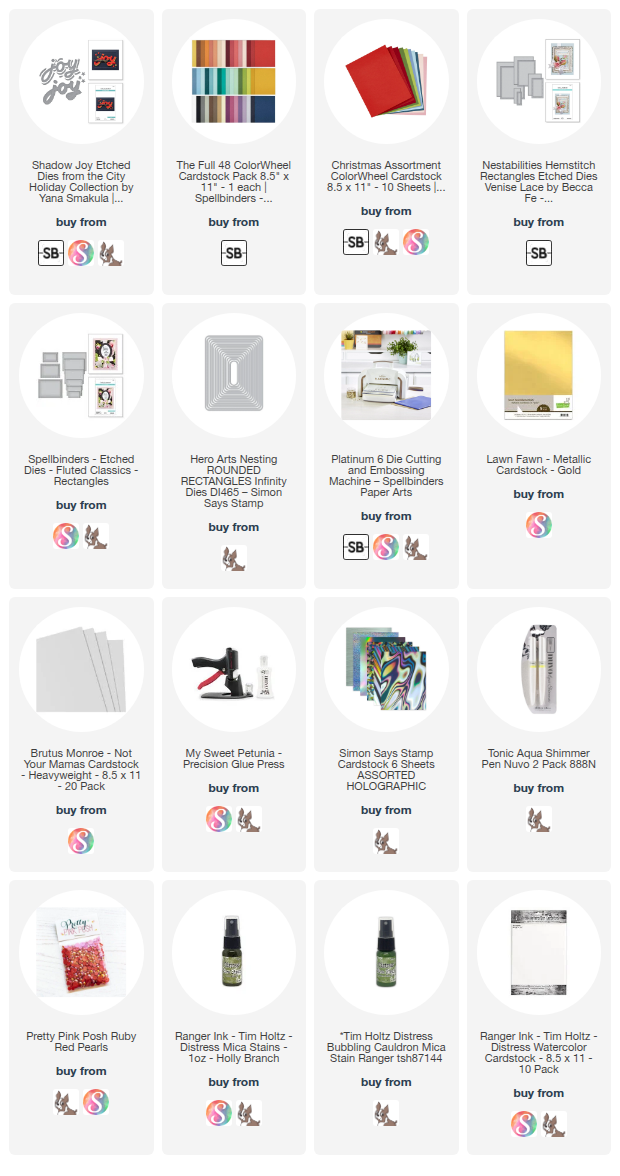
Here are the supplies I used:


Until next time,
Gale


Tuesday, July 22, 2025

Mickey 'N Minnie Made Easy: How to Manage Large Layering Die Sets!

 Hello!

Hope all is well with you!  I've been having fun with Spellbinder's Steamboat Willie die set and thought I'd share some tips on how to "wrangle" it;)


I've listed the supplies I used and linked them below (AFIL- Thank you!)  I noticed the Spellbinder's website is out of stock, but all you need to do is hit that "notify me" button and they will let you know when it's available again!

I decided to take a Sharpie and number them on the package and the dies.  Several of them look a lot alike, such as the arms.  Here's a link to a list I made for you:

Steamboat Willie List

I share how to assemble these (kinda like "paper dolls") in a quick tutorial:


There is also a chart supplied by Spellbinders:


I hope you will give this a try and it makes assembly easier!

Supply List:

I'm off to "Paperganza!"  It's a mini-convention sponsored by Craft Roulette and Pear Blossom Press.  Will report back soon!

Bye for now!
Gale

Saturday, June 28, 2025

How To Make A Diecut Inlay Birthday Card! It's "Groovy!"

 Hello!

Hope all is well with you!  I can't believe we are nearing the end of June already!  I want to share a birthday card that I mass-produced for a card swap at Paperganza.  Paperganza is an event sponsored by the Craft Roulette Youtube channel and Pear Blossom Press at the end of July in Kansas City.  I'm looking forward to going with friends and sharing some highlights with you!


This card features a diecut inlay and a rainbow inked background stamp that is super fun to make and no two are the same.  Most of the products I used (except the die set) are probably unavailable (Links are below for things that are;). However, you probably have everything you need already!

Here's the link to the full tutorial:

I hope you enjoy it and try it yourself!  Please consider subscribing if you haven't already and like, comment and share with your friends!

Here are the supplies I used (& some substitutes):

Take care and I'll be back soon!
Gale

Friday, April 18, 2025

Playing with 3D Embossing Folders!


Hello!

Did you ever try making a sun print when you were a kid?  A sunprint is when you lay an object, usually a leaf on a piece of light sensitive photo paper.  You leave outside a few minutes and when it's done, there's a blue outline of the leaf.  Ahhhhh, those were the good old days of simplicity!


Here is a brief tutorial of how I made this faux sun print.  The products are linked below if you are interested (AFIL thank you!  I may receive a small commission if you purchase products using these links;)


Here are the supplies I used:
Take care and I'll see you again soon!
Gale

Wednesday, April 2, 2025

Cute Pooh & Piglet Card That’s Easy & Simple!

 Hello!

Happy Spring!  Well, sorta.  Cold and rainy here in Ohio.  It’s a great time to craft though!  I even made a card on time for Craft Roulette!  If you haven’t heard of it, it’s a YouTube crafting challenge that I  recommend you check out!  I'll post a story about "Paperganza" in July as I'll be traveling to Kansas City for their first live event!  

Here’s my entry:


I used a vellum envelope, baby toy colors, Children’s story Pooh, list is in Pooh’s arms.  The dies are by Spellbinders.

Most of the supplies I used are linked below (AFIL thank you!)

I didn't do a video this time because there really wasn't a technique;)

I'll see you again very soon!
Gale

Friday, March 21, 2025

Let's Check Out the Spellbinders BetterPress System!

 Hello!

Yesterday was the official first day of Spring!  I'm here for it!  Several crafty friends suggested I buy the BetterPress, so I finally did.  After playing with it a bit (video linked below), I'm glad I did!  It's not terribly expensive and does wind up having multiple uses.  It imprints like a letterpress, giving lovely results that are hard to show in photos.  


The BetterPress System is easy to use and pretty much foolproof.  I show you how in the video below!  I've also linked (AFIL) below the supplies I used in case you are interested in them.  I appreciate it when you purchase with those links as I may get a small commission at no additional cost to you!  Thanks!

I will be doing a follow up video on using the foiling aspect of the BetterPress plates and other materials.


I'd love to hear your suggestions on further uses as well!  Please comment at the video as I sometimes am not able to respond to comments here;)

Supplies:

Take care and I'll be back soon!
Gale

Tuesday, February 4, 2025

"Show 'N Tell" Featuring Spellbinders New "Classic Pooh & Say Cheese!" Collections!


 Hello!

Today I'm sharing several cards using the Spellbinders "Classic Pooh" and "Say Cheese" die sets.  A special "Thank You" to Spellbinders for sending me some of the dies to play with!  However, as usual, my opinions are strictly my own.  The products are listed below.  (These are affiliate links, so I may make a small commission if you purchase using these links;). Thank you for your support!!  

Here is a show ‘n tell video with extra info!  I thought I’d try something a little different;) 


First, I added an action wobbler to Tigger to create an interactive Valentine!  I added the Spellbinders "Hemstitched Die" so more of the black would show through.


My second project uses the Classic Pooh Silhouette die and some gold glitter paper to highlight it.  Some many sunset examples had already been posted, so I tried something different.


The third project is using the "Hunny Pot" die a bit differently!  I didn't have Pooh or Piglet, so I had to get really creative.  The flowers are from a retired Spellbinders Zinnia set.


The fourth card features the "Say Cheese" and "Fluted Rectangles" frame die.  The stamp set is from Gina K and is stamped on glossy photo paper.


Photo Paper Inking Video:
https://youtu.be/QIgbYq-RHxE

Last, but not least is "Eeyore" who is paired with "Tigger" in a die set.  I also used the Spellbinder "Hemstitched Rectangle" die to add some variety.  I had some scrap distress inked paper that had a matte finish, so I used it to make balloons like conversation hearts!


Distress Ink Videos:  https://youtu.be/0H7oGN7hZnw
                                https://youtu.be/0gvlms-gGwA

I hope you enjoyed this visit to "Pooh Corner" in the Hundred Acre Wood!  Let me know if you have any questions on the projects!

Here are the supplies is used:

Take care & I'll be back soon!  Please consider subscribing here, IG, FB and YouTube--it's all free and you won't miss any new posts!

Gale

Monday, January 6, 2025

Have A “Bougie Birthday!”

 Happy New Year!!

I hope 2025 is all you hope for!  If you like bling, the Spellbinder’s “Bougie Birthday” collection is perfect for you!  Who doesn’t love a big diamond?


(Supplies are linked below.) I used Spellbinder's "Bougie Birthday" that's part of the new "Born to Sparkle" collection to bling out this project.  I applied gold ink through the coordinating stencil after running white card stock through the embossing folder.  Then I just layered onto black card stock and accented with a diecut glitter bow and a strip of black glitter cardstock.  The sentiment is heat embossed onto black card and diecut.

Next:


For this card, I ran silver metallic card stock through the embossing folder.  I layered it onto black cardstock and angled it onto the white card base.  I cut a couple of strips of glitter card stock and added a pre-made sentiment layered on black.  I accented with silver beads

Here are the supplies I used:

I'll see you again soon for Part Two!

Gale