Friday, December 7, 2018

How To Make An Easy Snow Globe Card --Kat Scrappiness Blog Hop For Coffee Oasis

(The drawings have closed.  To see if you are a winner please click here!)

Hello!  

Welcome to our blog hop to support a great cause!  There are loads of prizes, so don't forget to comment here on this post (not on YouTube as this is technically a blog hop) if you want to be in the drawings.   Also, please take a moment to learn about the Coffee Oasis and how you can help homeless teens.  Details below!

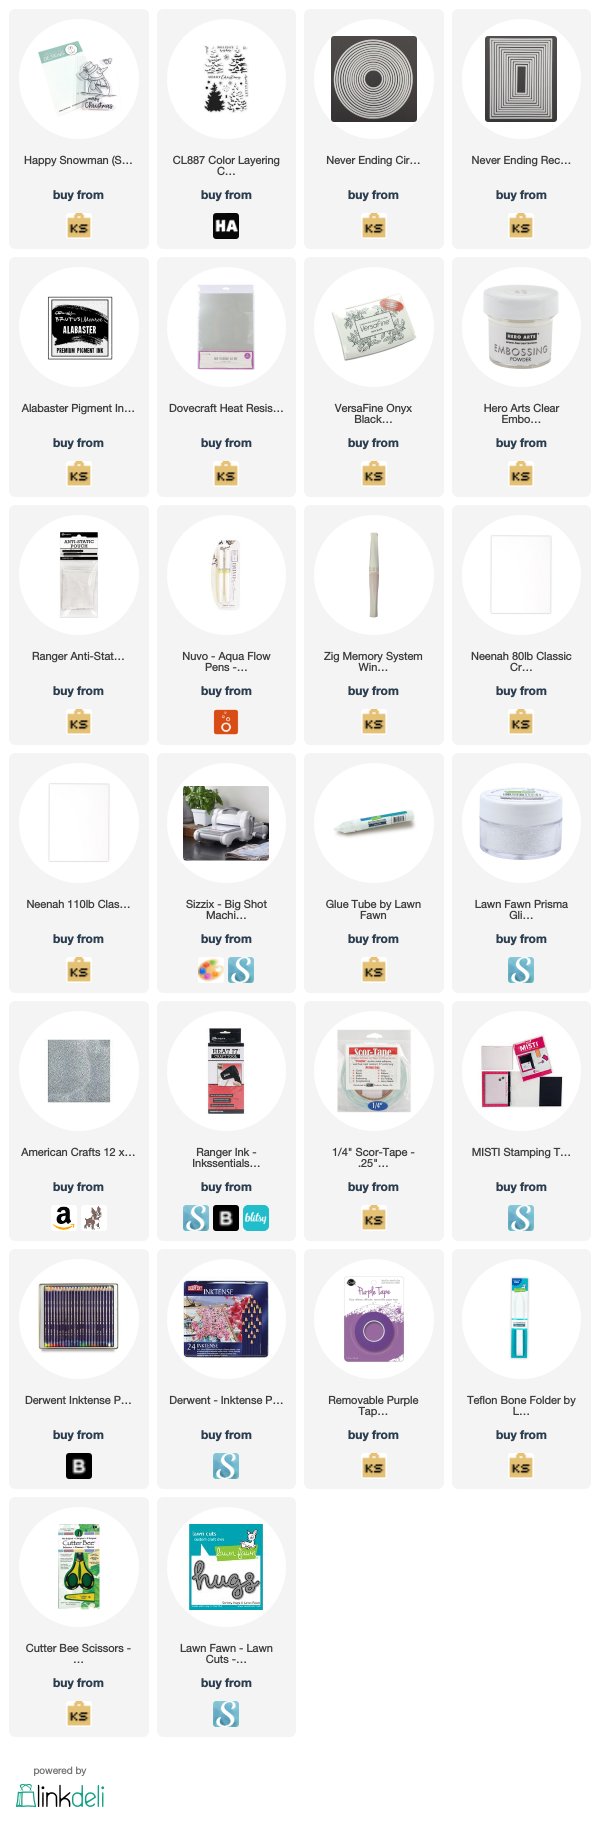
Here is the project for today:


The complete process is on this YouTube link, but abbreviated instructions below:

Coffee Oasis is a coffee shop/organization located in Washington State that provides help for our youth including programs for drug abuse, homelessness, violence and poverty. (You can read more about their programs here: https://thecoffeeoasis.com/youth-programs/. )

We are hoping that this blog hop will bring awareness to organizations such as Coffee Oasis and that we can raise a little money and support for them! Kat Scrappiness has pledged to donate 15% of all sales proceeds to Coffee Oasis and our other sponsors have all donated prizes to give away to all of you blog and youtube hoppers! So please visit them and show some support. You can also donate directly to Coffee Oasis here: http://kskat.com/donate. Even if you can only donate $1 or $5, it doesn't matter. Every little bit will help a kid in need.

To donate directly, click HERE.

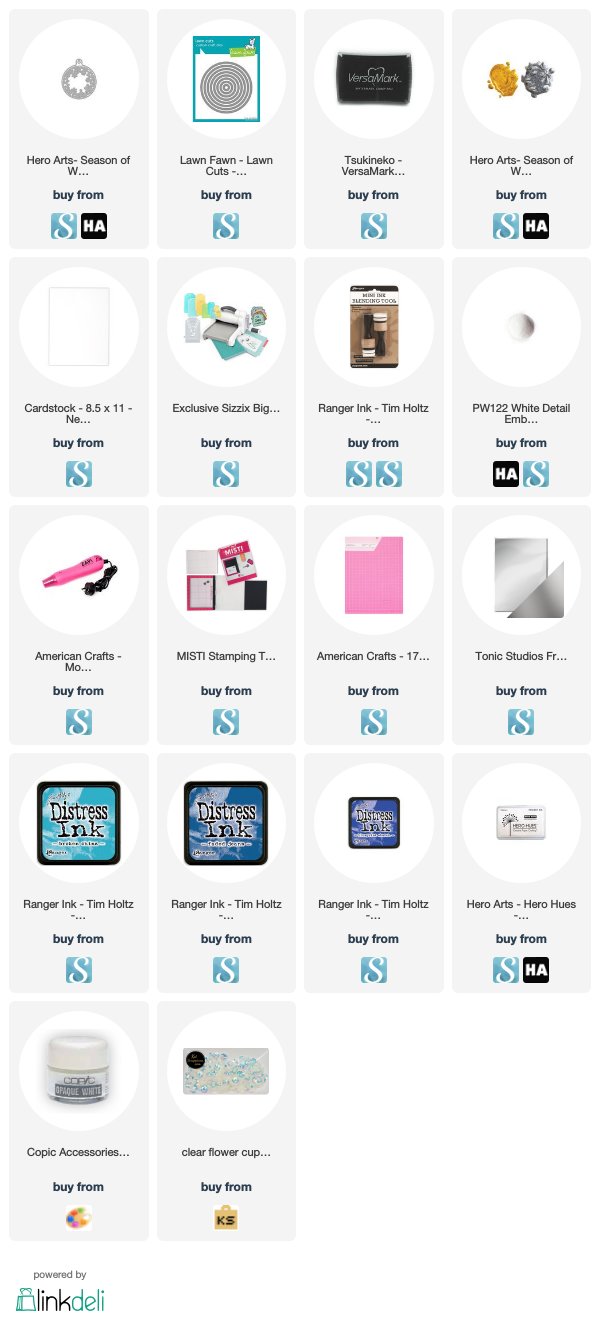
(I am donating all of my proceeds for any purchases using my product links below or through the Kat Scrappiness badge on the right margin through 12/10/2018! So shop away!!)
Back to the project!

You don't have to use special dies to make the snow globe. Just a plain circle and rectangle will work!

Directions:
-Die cut 3 white rectangles from heavy weight card (Neenah 110#) and 1 from silver glitter card.
-Die cut 1 heavy weight card circle.
-Have 1 4.25" x 5.5" sheet of heat resistant acetate and 1 of white heavy card the same size.
-Decorate the 4.25" x 5.5" sheet of white card, keeping in mind the size of your circle.
-Lay the acetate over top and decorate if desired, allowing the acetate to overhang the top at least     1/4".  Heat set. 
-Fold the acetate sheet over the back of the card piece and secure with heavy duty double-sided tape.
-Partial die cut the circle by hanging die a little over the top so it won't cut complete circle.  This will   be your hinge.
-Attach the rectangles by gluing the top glitter one, then lining up a white one to cover the back. 
  Line up the back set as well.
-Finish decorating and you are done!

Don't forget to comment below to be entered in a huge drawing! The sponsors are at the bottom of the page. Good Luck!

Prizes being donated by our sponsors:
Don't forget to visit the other blogs on the hop!


I'll be back soon with some final holiday cards!

Gale

Sunday, November 18, 2018

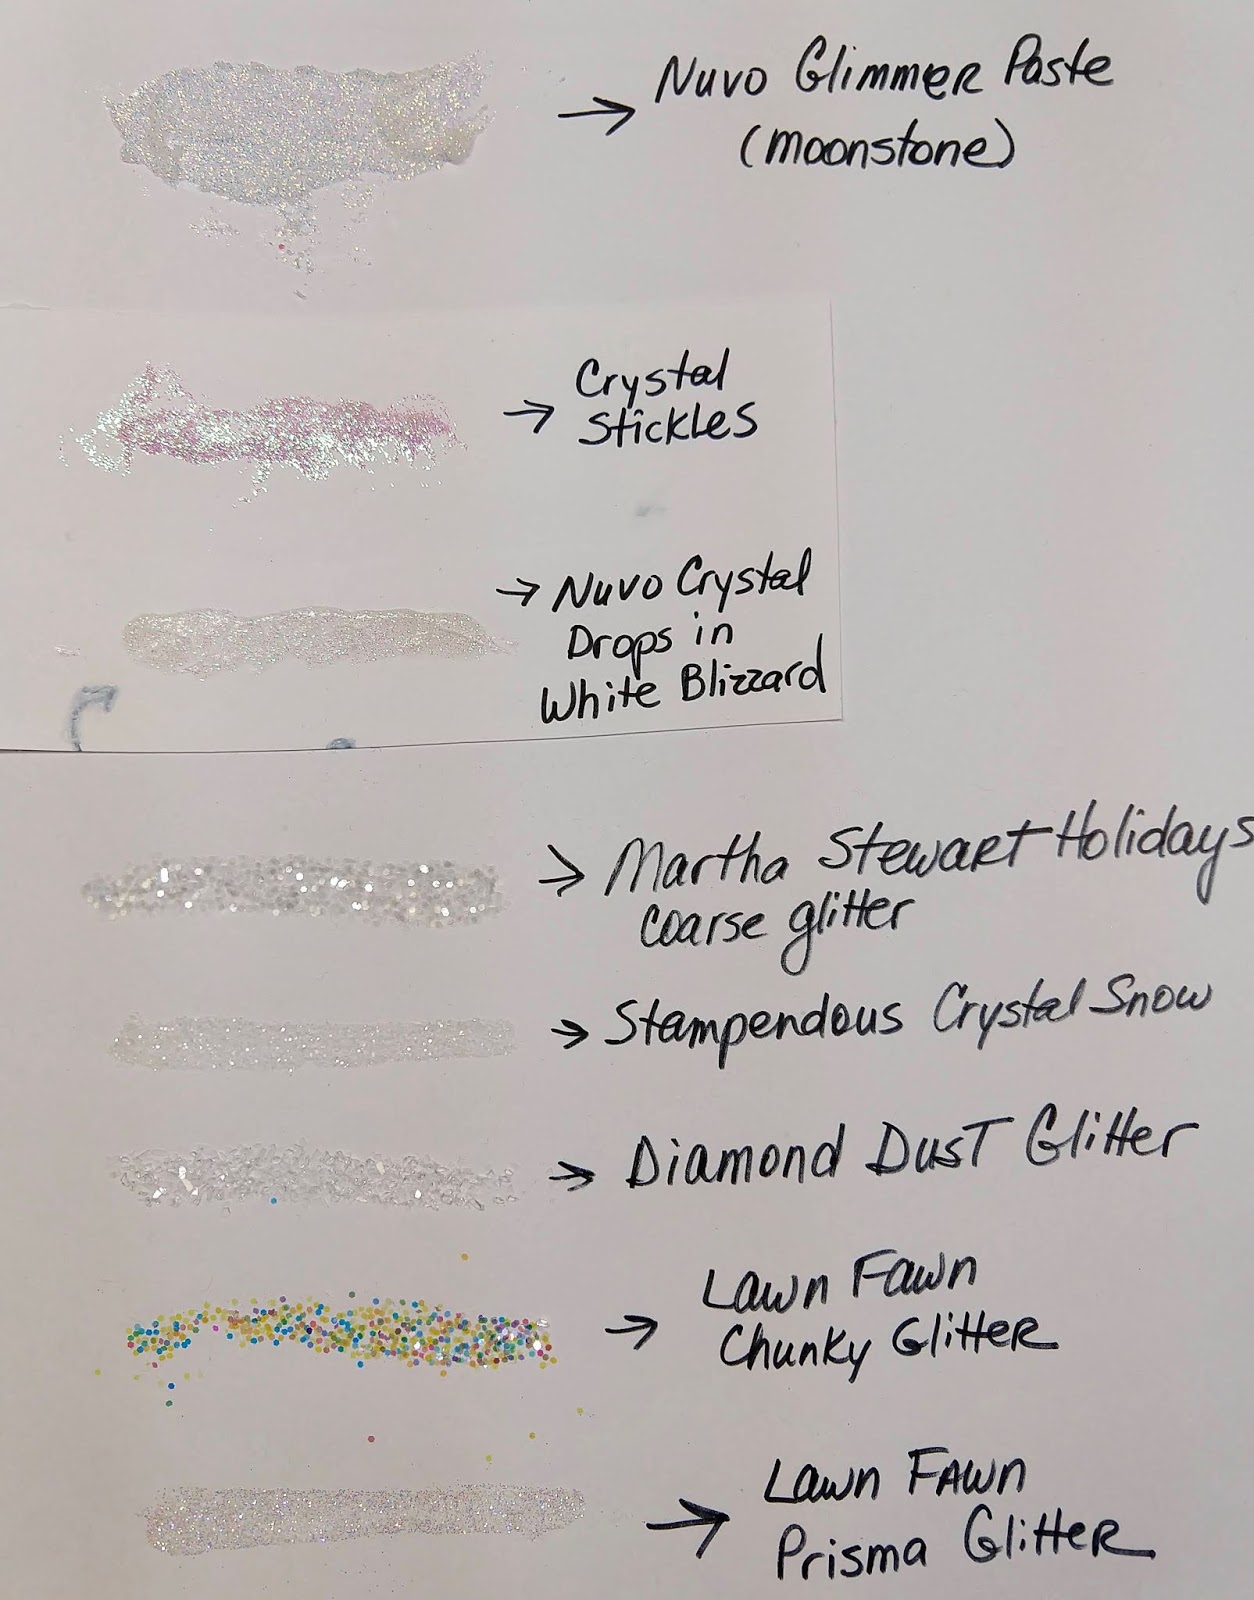
Let It Snow!!! A Dozen Ways to Add Snow to Your Winter Projects! (With Product Reviews)

Hello!


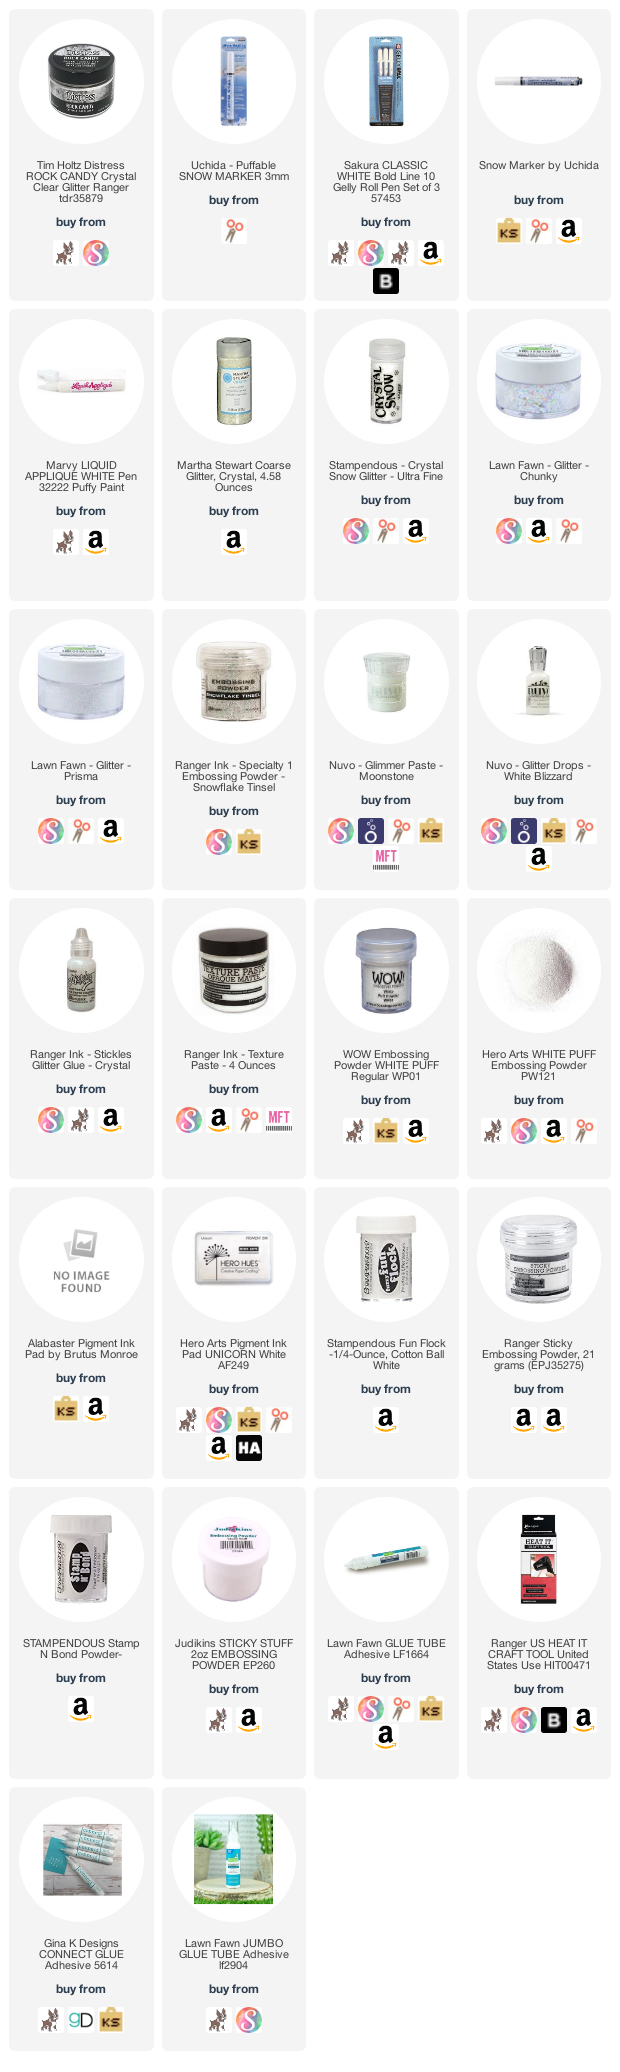
It seems early for snow, but we have had it several times here in Ohio already!  I much prefer snow on my projects then on my porch!  I thought I would compare and contrast different products that make snow.  I have linked (afil) below for your convenience.  

Here is the YouTube review with close up photos

...Enjoy and please consider subscribing...Thanks!


Here are closeups of the comparisons...


Let me know your favorites!!!


Saturday, November 10, 2018

Oh Christmas Tree! How to Make a 3D Tree Card

Hello everyone!

Today we are going to make a lovely 3D Christmas tree card with the Hero Arts My Monthly Hero Kit from October 2018.  There are still some available at the time of this posting. At the filming of this tutorial I was not affiliated with them (I am now), but I love the kit and thought I'd share some tips and tricks for the tree, etc.  The tutorial link is below.  I hope you'll consider subscribing!


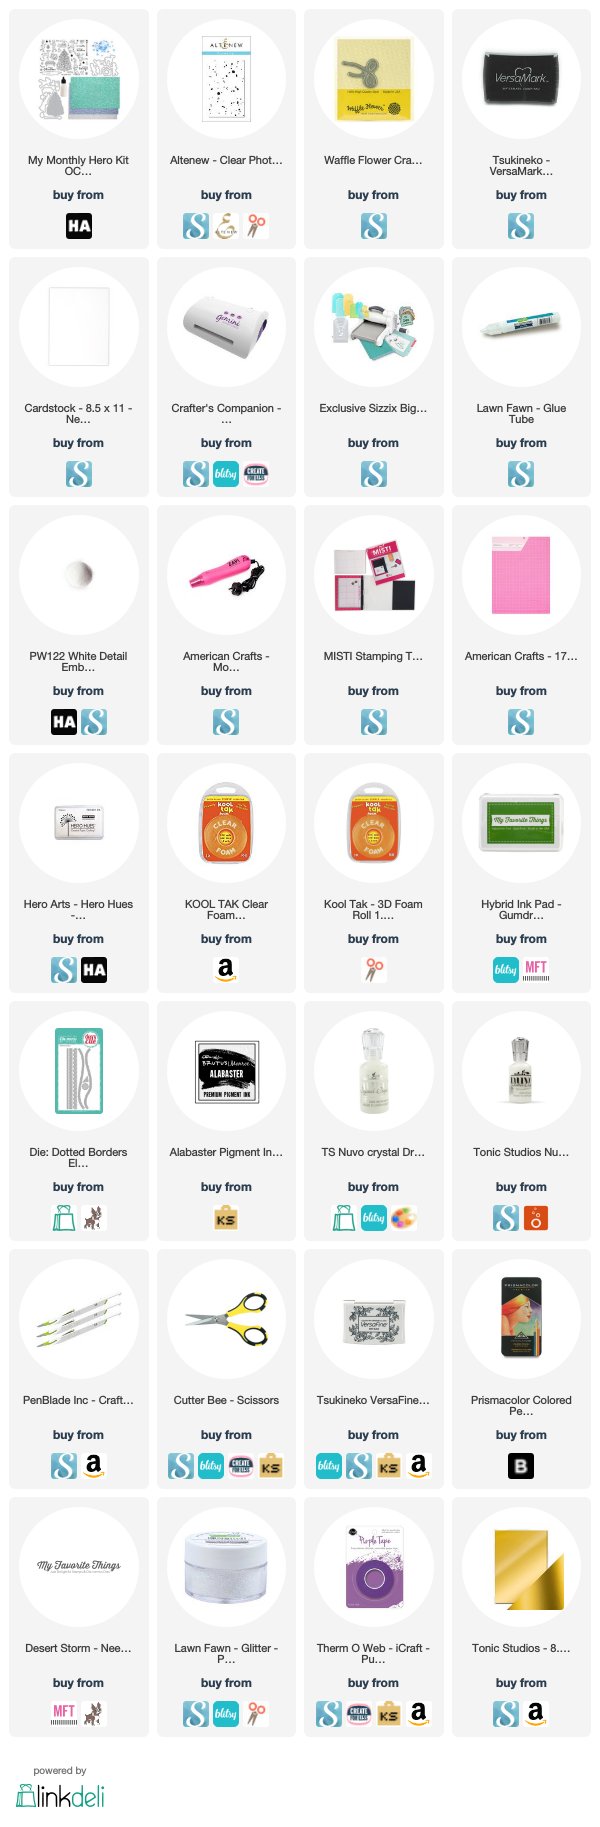
The techniques can be applied to other diecuts if you don't have the kit:)  The supplies are linked (afil) below that didn't come in the kit.  I really appreciate folks using these links as I receive a small commission on any purchases at no additional cost to you!


The YouTube Tutorial...

Note:  I became a Hero Arts Affiliate after this was posted!


Thursday, October 18, 2018

How To Make Shakey Shaker Cards & Halloween Hoopla Kit Review!

Hello everyone!

It's time again for my annual Trick or Treat party for my friends who don't get Trick or Treaters!  We sit out in my driveway with a funky flame fire pit and eat chili while handing out candy to the kids.  I needed a quick and easy invitation as I'm running out of time to make them.  I came across this kit and bought it.  ***I'm in no way affiliated with Queen & Co. -my opinions are my own.***  You can get the kit by going to their website at Queenandco.com.

Below is the Youtube tutorial:  If you want to skip the review, just fast forward to 4:15 for the cards!
BTW, can you guess which Harry Potter character's wand I have??? (Answer below)  I have non-kit supplies listed at the bottom as well.

Queen & Co. Halloween Hoopla Kit 


Here are some bonus cards:)


Hope you have a fun and safe Halloween!

Gale

Monday, October 8, 2018

How To Make A Snowflake Spinner Card! (with Process)

Hello everyone!

I am so sorry that there has been a large gap between videos, but I have some very good excuses... I will do a post on them soon, but want to cut right to the chase here....


Here is the video link!


I had requests to do a spinner card and a process video, so I thought I would honor both requests at once!  I step out most things in the video, but here are the basic things I do with most projects:

1.     Clean up craft area.  This may sound silly, because I often use the same supplies.  But I put everything away for a fresh start.  It de-clutters my mind.

2.     Where do my ideas come from?  

  • Sometimes I have an idea when I buy it (often I forget though)
  • I make a crude sketch of placement
  • Sometimes there is a specific technique I want to try and go from there.
  • Sometimes it's a new supply I can't wait to use.
  • I may need a card for a certain occasion or season
  • Rare occasions:  A video hop or card challenge (wish I could do more of those!)
  • Lastly, photos from FB, YT or Instagram, but I try to avoid that as I want in my head my project to be totally "original" to me.
3.    Gather supplies.  I am forever getting up and chasing them down which takes time and my focus away.

4.     Make sure you have time for do-overs.  The best laid plans can go awry and spills, smears, etc occur without warning!

5.     Mock up your card with copy paper or scraps.  Pick colors, choose sentiments.

6.     With this card I ask myself "How can I make this work?"  The ornament has a hole in the middle:  I could
  • leave open and have sentiment show through to inside.
  • sandwich vellum or acetate, but this sentiment isn't symmetrical;
  • could color acetate or vellum or use colored paper
7.     How do I make spinner work freely?  Will have to enlarge circle around it.

8.     What embellishments, if any?

My process took a different direction when I accidentally cut the ornament out of the front instead of the larger circle.   That meant I couldn't use that part of the blue piece.  That's when I got out the metallic paper.  I think it looks better this way (Happy accident!)  

After I put silver Nuvo drops on snowflakes, they didn't show up like I had hoped.  So, I waited for them to dry and scraped them off.  I replaced with sequins.

I took that leftover snowflake and made a place setting name card.  I never let extra pieces go to waste!  Save them if you can't use them right away.  They can inspire another project or at least enhance one!

I hope this helps and know you are not alone in the creative struggle!!!

Here are the supplies I used:

Friday, September 28, 2018

Taylor's I Dot Information!!!

Hello!!!


I can't believe the time has finally come for Taylor to realize his dream!  It took a lot of blood (well maybe not blood so much), sweat (gallons!) and tears (mine) to get here.  His work ethic is amazing and we are all so proud of him!


Anyway, the big day is ...
OCT. 6TH---the Indiana Game @ 4 p.m. EST!!

Here is an outline of events:

Week of Oct. 1st:  This is also Homecoming Week...

Look for YouTube documentary by OSUMB/Ohio State Univ./The Lantern

I-Dot T-shirts arrive by 10/3

Friday 10/5:  Gray Day practice at practice field 4:30 p.m.  - TBD public welcome
                      Homecoming Parade down Lane and High Sts.
                      Taylor's Row dinner to follow--location TBD

Sat. 10/6:       Practice at field --time TBD
                      Band marches to Skull Session @ 1:30 p.m. Southeast entrance (fun to watch just inside door--team follows right behind)  Get there early as it will be crowded! (No open containers.)
                      1:40 Skull Session - There is marked reserved seating for I-Dotter Friends & Family on the 2nd level in the Southwest Corner.  You will be able to see the practice Dot right below.

After Skull session (about 2:40 p.m.) band gathers outside to meet with public by Southeast Entrance.  They get to hang out for 20-30 mins before marching back to stadium.  This is when we hope to get photos of Taylor and his friends/family.

Approximately 3:10 band marches to stadium and we all walk over.  (The Athletic dept provides staff on golf carts to those who can't walk that far.)

Ohio Stadium Bag Policy Bags or purses of any size are NOT permitted in Ohio Stadium. Wallets and wristlets no larger than 5”x8”x1” are permitted. All items and persons entering Ohio Stadium are subject to security screening and inspection. Guests entering with medical, dietary, or childcare needs must enter through the Steinbrenner Band Center Entrance (glass doors between Gates 10 & 12) or at the Press Entrance (glass doors between the Huntington Club and Gate 23) to have their items inspected. One 14”x14”x4” bag per person will be permitted.
Ramp:  Approx. 3:40 p.m.  (remember it's Homecoming...)  Taylor comes down the west side, 2nd to last sousaphone.  Then comes Script Ohio and the big moment!!!!!  Check out the Jumbotrons for closeups if you can't really see:)
Also.....
Sunday, Oct. 14th:   Bengals vs Steelers at Paul Brown Stadium in Cincinnati @ 1 p.m.  Band will do double script during half-time show...
Taylor will be dotting the "River or Steeler side" of the double script!  Please let me know if you are coming so we can try to get a photo!
I hope you will be able to join us for these celebrations!  But, I am sure there will be plenty of photos/videos right after!
Go Bucks!
Gale


Thursday, September 20, 2018

Quick Tip!: How to Use (& Enjoy!) Unmounted Stamps and A Giveaway!!

Hi everyone!

Just thought I'd share a quick tutorial on unmounted stamps!  They are less expensive and not that much more work, as well as easy to store.  The drawing info is also below...


Supplies are linked below.  I really appreciate your using the affiliate links.  They pay a small commission at no cost to you and help by for my linking service!  


a Rafflecopter giveaway

Until next time!!
Gale
Thursday, September 13, 2018

How To Make A Halloween Treat Box w/ Gina K's Wreath Builder Stencil!

Hello all!

I am so happy to finally be able to get a new YouTube tutorial out to you!  I love the new Gina K Wreath Builder stencil and thought I would pair it with Lawn Fawn's Trick or Treat stamps to make a flower for my pillow treat box.


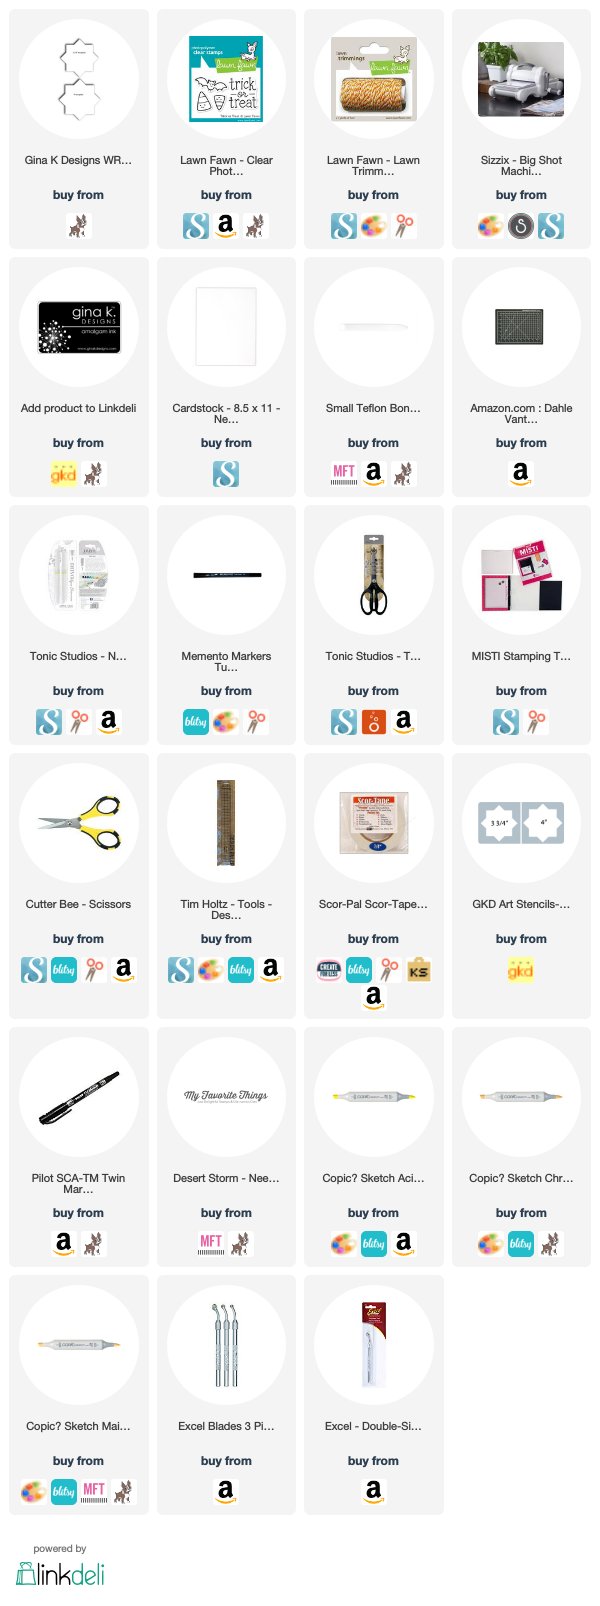
Here is the full tutorial:  Photo links are below for your convenience.  


Here is the template for the Pillow Box:
Thank you Myfrugalhome.com!


The "PayDay" candy mix recipe is one part dry roasted peanuts + one part candy corn!!


Have a great day!!

Gale

Monday, September 3, 2018

How To Make A Simple Children's Birthday Card!


Hello All!

I can't believe the channel made it a year and last count had 599 subscribers!!!  Thank you so much for you visiting, commenting, sharing, liking and subscribing to my little channel.  It means so much to me that someone would spend part of their day crafting with me!!

Today's card features the Clearly Besotted Best Balloon stamp set, along with a retired My Favorite Things set (however in crafting, substitutions are not only allowed, but encouraged!)  The rest of the supplies are linked below.   Here is the tutorial for this fun little card:


Supplies:

A word about affiliate links:  Nearly everyone with a crafting blog/youtube channel pays a monthly service fee to be able to efficiently make links for our reader/viewer's convenience.  When you use these links to purchase supplies, we get a small (usually around 5% commission at no additional cost to the buyer) to help defray our expenses.  


Come back and see me again soon!
Gale

Saturday, August 18, 2018

How To Make Easy 3D Flowers With Layla & Heartfelt Creations!


Hi!

This is the final in my series from Stampaway '18.  Hope you enjoyed them!  Layla very graciously allowed me to video her making a lovely 3D flower which was pretty simple to do!  Enjoy!


I've linked (affil) a couple of the supplies below in case you are interested!  (If you use affiliate links, there is no cost to you, but I get a small commission...which is greatly appreciated!)

Here are some products:


I'll be back with a new tutorial soon!

Until next time,
Gale

Wednesday, August 15, 2018

Easy Masking Techniques With Dyan Reaveley From Stampaway '18!

Hello!

Just returned from the show and am so pleased to be able to share a brief demo from Dylusions' Dyan Reaveley!  She was very gracious to allow me to video her.  I will list where you can find her things below...


Also, there is a fun "Scenes From Stampaway '18" for you at my channel as well!  Lots of folks you already watch on YouTube and crafting greats!


Until next time!
Gale

Friday, August 10, 2018

How To Use Inktense Pencils and Stretch Your Die Cuts!!


Hi everyone!

I'm looking forward to going to Stampaway '18 in Cincinnati in a couple days!  Hope to see many of you.  I will be taking photos and posting on Instagram with (I hope) some tutorial videos on my YouTube channel.  So please check those out!

I was excited to get this SSS Hibiscus die (link is at the bottom of post) and couldn't decide what technique to use, so I did three!


Here is the YouTube link!


Here are supplies I used!


Hope to see you at Stampaway '18!

Bye,
Gale

Sunday, July 29, 2018

How To Block Stamp With Watercolor! (Viewer's Choice)

Hi everyone!

Hope you are having a great summer!  The winner of the "card remake" vote was:


It is really weird to CASE your own card and of course no two are ever exactly the same.  However, mine isn't anywhere near it LOL!  However, the techniques are the same!  The supplies are listed below (affil).  Enjoy!


Here's how I did it:


Here are the supplies I used!


Until next time,
Gale

Wednesday, July 18, 2018

New Alcohol Lift Ink Quick Product Review!

Hi!

Just got hold of the new, hot Alcohol Lift Ink Pad and thought I would share my thoughts.  The supplies are listed below for your convenience (affil links)

The full review and demo
is here at my YouTube channel-


I hope you will try out this fun product!


Until next time,

Gale

Sunday, July 15, 2018

Reveal Wheels Made Easy & More! "Just Cards" Hop


Hi again!

The " Just Cards" Hop theme this month is "Out of this World!"  My card features the Lawn Fawn Reveal Wheel Die Set & Add-ons, Reveal Wheel Sentiments and a fun action wobbler!  Enjoy!

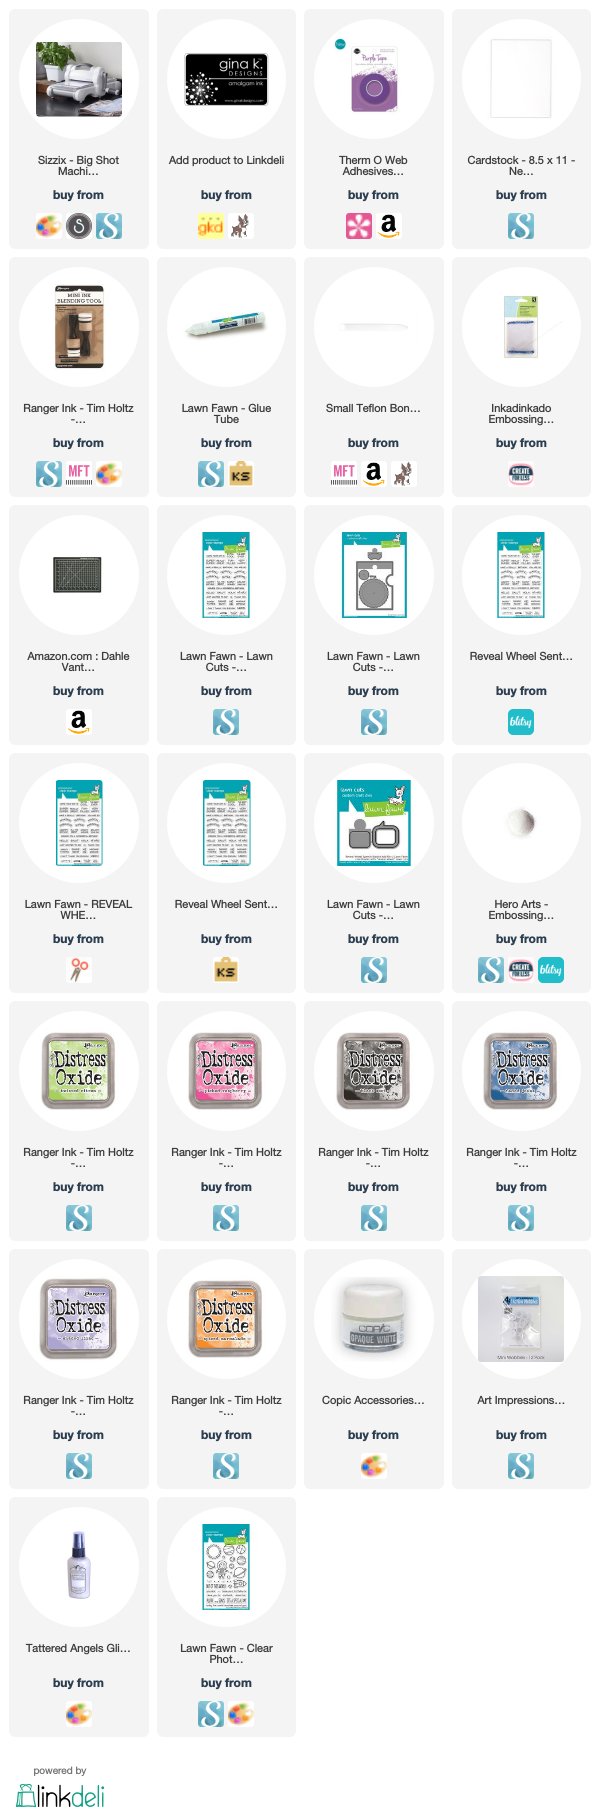
All of the supplies are photo linked below (afil). 

Please visit the other stops as I know they will be great!


Here is the full tutorial!  Please consider subscribing while you are there!!:)


Here are the other stops on the hop!


Eriin:: ​​https://youtu.be/aVvnCPKj9ZM 
Adrian: ​​https://youtu.be/_uDL-V8pfxk 
Mike: ​​https://youtu.be/xQd4JdMniWk 
Terri: ​https://youtu.be/tpN7mKkUXiM 
Gale: ​https://youtu.be/kKQKESIPvTM 
Teresa: ​https://youtu.be/rvErA1ZWGYg 

Here are the supply links!  I really appreciate it if you purchase through these as I get a small commission at no cost to you!  Thank you!


Until next time,
Gale