Tuesday, June 25, 2019

Easy Stenciling With Watercolor Powders & Pastes--C.A.S.E.-ing JC Cards

Hi everyone!

(Once again I apologize for being gone so long.  Wedding reception, work, yardwork and following my new champion dog have kinda taken up my weeks... ) 

Here's today's project-


And the card I finished on the video tutorial linked below:


I belong to the FB group "Craft Collabs."  We get together every now and then and to something fun.  This time we are C.A.S.E.- ing (Copy and Share Everything) another member to get out of our comfort zones and to learn from fellow creators.  I am C.A.S.E.- ing Jen Colacicco of JC Cards.  She is a member of the Wow and Catherine Pooler design teams.  She does lovely work and you should definitely check her out. 

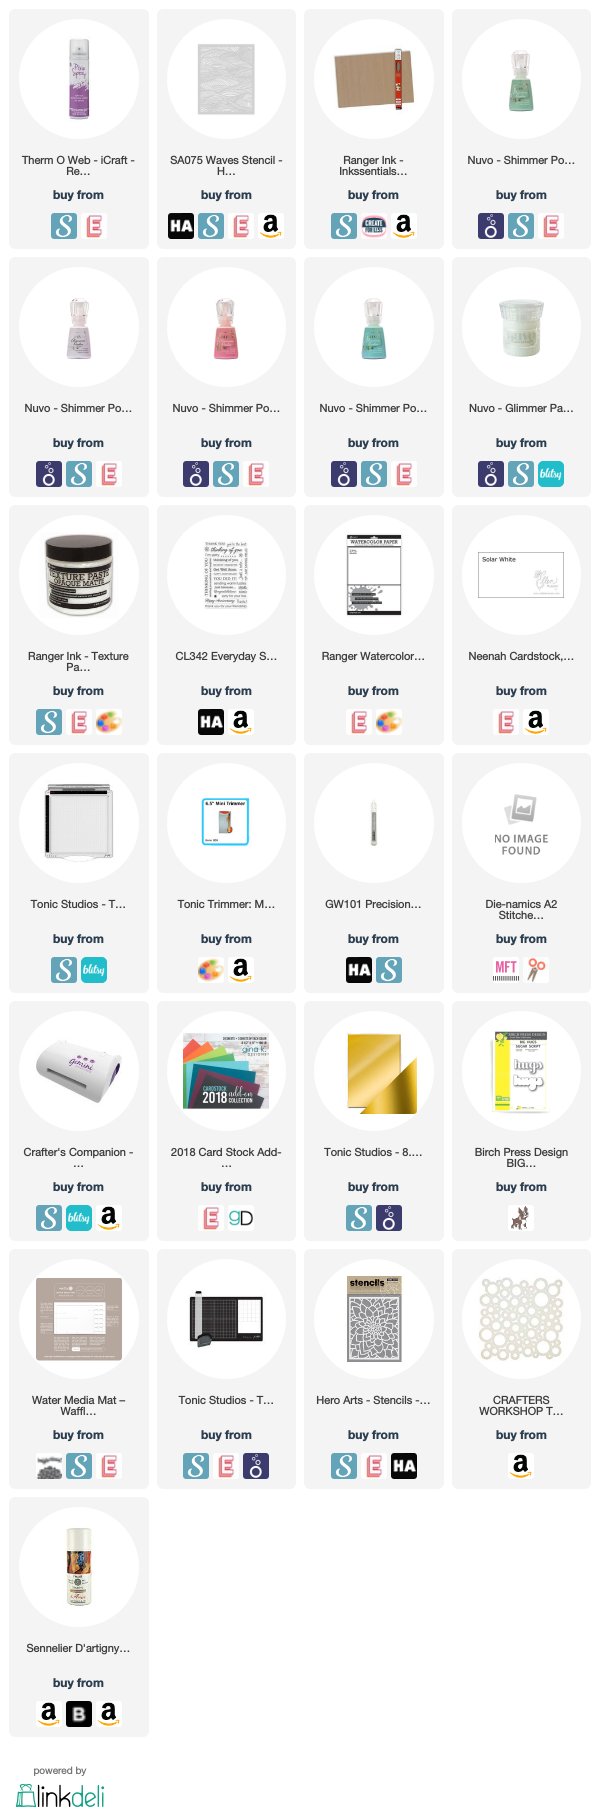
Here is my tutorial-  the supplies are linked below (afil) if you would like find them!


Thank you Jen for your inspiration!  Here is the link to Jen's original post- https://youtu.be/M0848ldoYsA  

Here are the supplies:
I hope you enjoyed today's project, will subscribe here and over at YouTube for more and come back again soon!  

Gale

Wednesday, June 19, 2019

How to Make A CAS Sympathy Card For Beginners Or Mass-Production


Hello!  

Sympathy cards can be difficult to make on the spot, so I suggest having some on-hand for emergencies or when you just can't bring yourself to make one.  This is the theme for "A Blog Named Hero's" June Challenge.  To enter, visit 

This card is super quick and easy.  It's great for beginners or making several in one sitting.  All the supplies are linked below (afil.)


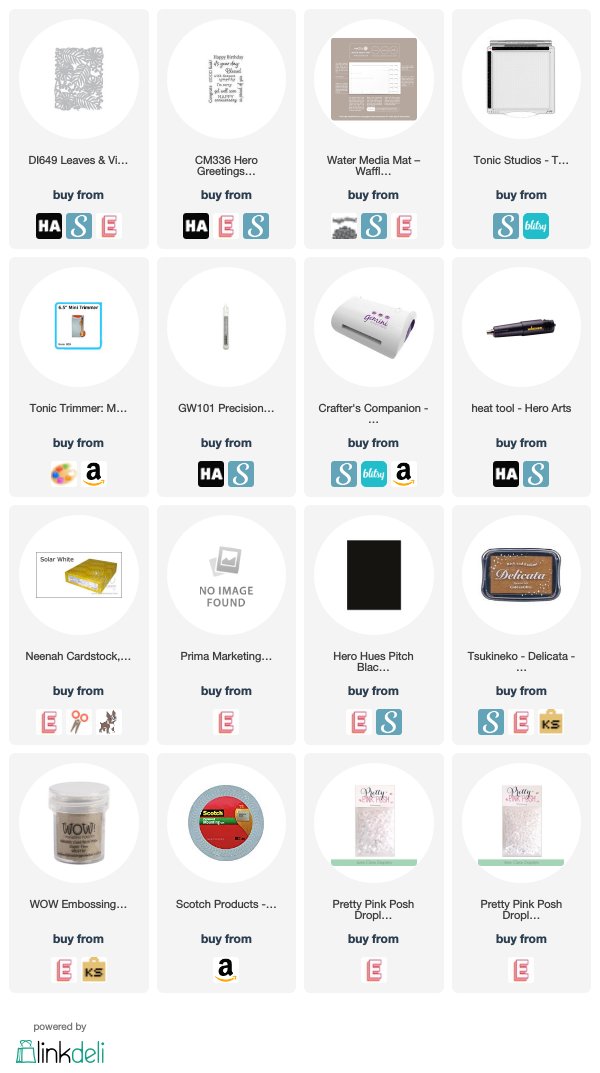
I diecut the Hero Arts Leaves and Vines Fancy Die twice and glued together, the glued to a Neenah 110# card base.  I heat embossed the sentiment on black card stock, then glued vellum strip to the card front.  I popped up the sentiment with foam tape and added Pretty Pink Posh Droplets.

Here is the supply list (afil):


See you again soon!

Gale

Saturday, June 8, 2019

How To Make Quick & Easy Candy Bar Wrappers!

Hi again!  Hope you are having a great day!


Coming very soon I will have a YouTube video (Update--link is below and will go live 7/1/19 at 9 a.m. EST as part of Jess and Laura's "Hooray For 3K" Video Hop) with lots of versions of these...some quick to mass produce and some more elaborate.  I'm making some for my daughter's wedding reception.


Here's the YT link:  

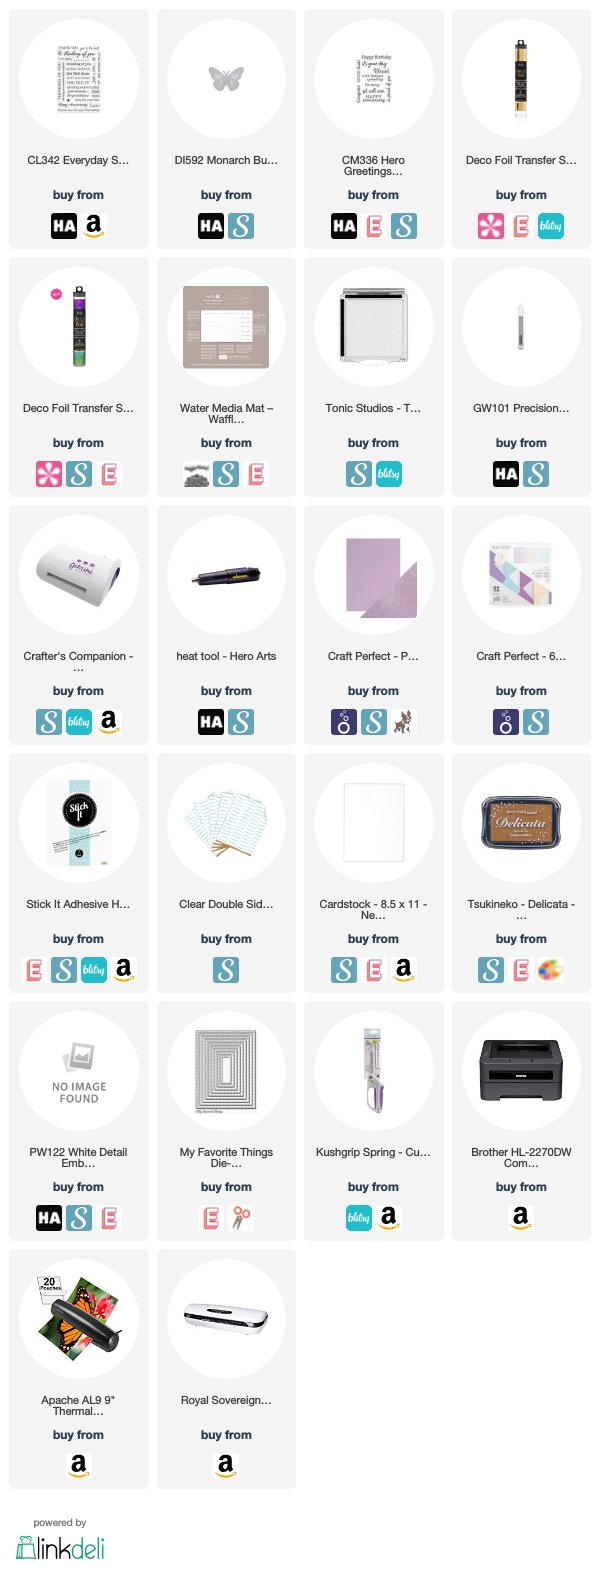
Today though, I have one using the Hero Arts Marble Background, Butterfly Fancy Die and DecoFoil Shattered Rainbow Foil by Therm-o-Web.  All the supplies are linked below (afil.)  These instructions are for a 1.5 oz Hershey bar (plain.)


Here's what I did (after eating one of the candy bars to get the wrapper measurements just right :)


  • Cut a square using thinner weight paper (80 lbs or less) measuring 5 3/4" x 6".
  • Turn on a laminator to let it warm up.
  • Cut out a shape for the center the size you want on masking paper or post-it note tape.  Place your project so you are looking at it the 6" wide direction.
  • Stamp a 6 x 6" background stamp in Versamark clear ink.
  • Pull off mask and stamp sentiment in clear as well.  You might want to use a stamp positioner.
  • Heat emboss using clear powder.
  • Cut a square of the foil and lay on project making sure to cover edges.  Place in folded parchment, carrier sheet or large copy paper, then send through laminator folded end first.  (I sent through twice because I had only 100 lb paper easily accessible--long story...)
  • Let cool for a few seconds, then peel off the foil.  Viola!
  • Wrap around candy bar and hide adhesive using double sided tape on the bottom that gets covered with the wrapper.
  • Add the butterfly or other adornments if desired.

Here are the supply links:


The next stop on the hop is: Courtney Kreeber
 https://youtu.be/dtfLR8a4bo8

Hope you enjoy great Summer parties!  I would love you to comment on other projects you want to see!

Until next time,
Gale