Showing posts with label Hero Arts. Show all posts

Friday, September 16, 2022

"Happy Mail!"--Inspiration For The "Stay Crafty With A Blog Named Hero" September Die Cut Challenge!

Hello!

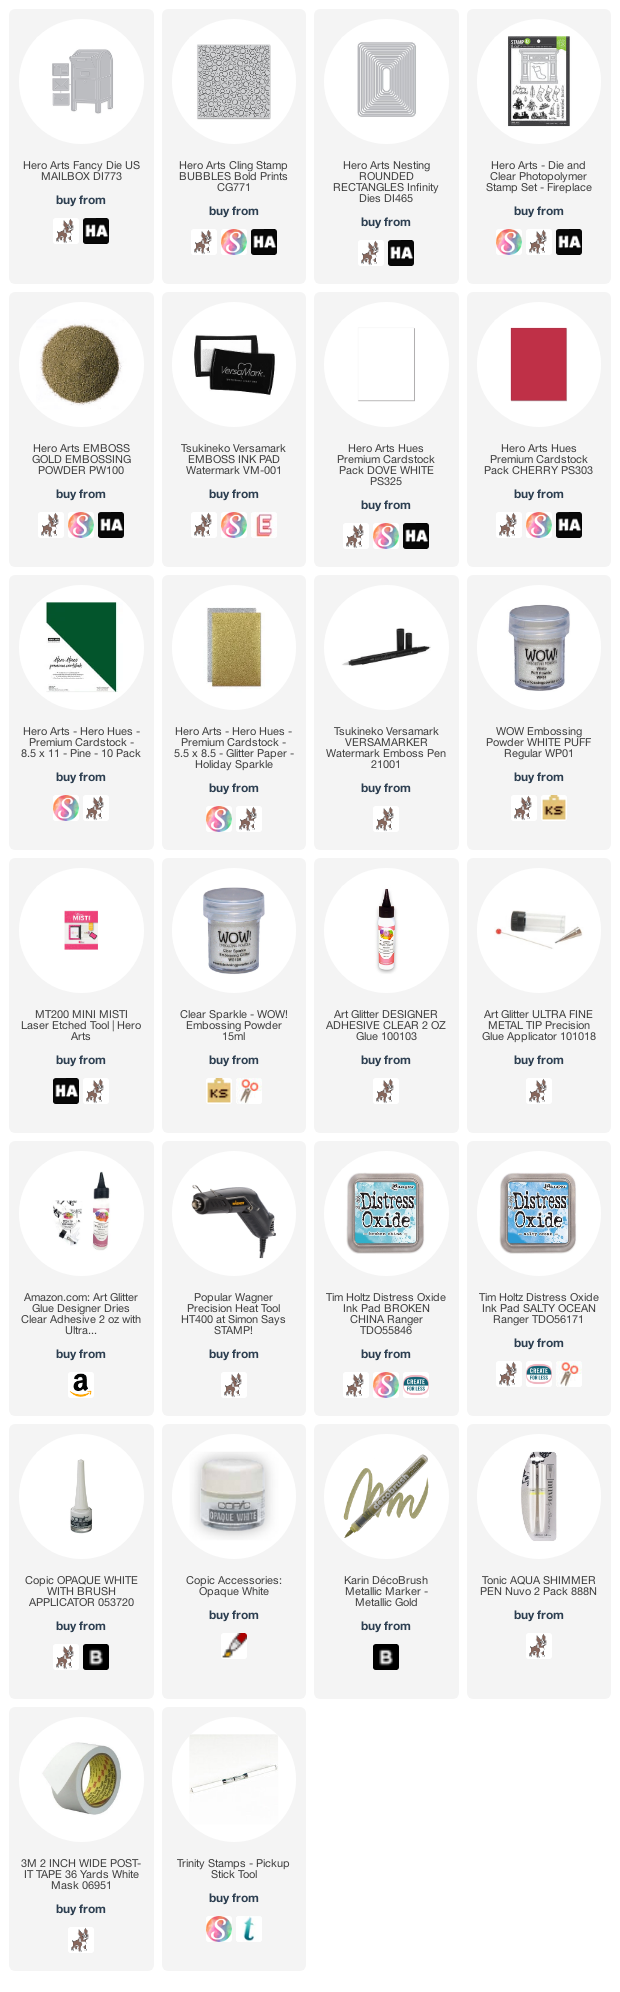
It's really satisfying to use up scraps and/or extra diecuts you have laying around to make a quick 'n easy card (well maybe not quick in this case...)  The full YT tutorial is linked below, as well as the supplies I used in case you are interested (AFIL- Thank you for your support because I buy my own supplies!:)  

Here is my project featuring the Hero Arts Mailbox Fancy Die.


It's kind of early for me to think about snow (it's about 90 degrees right now!)  I'm also not a huge fan of more than a window-dressing flutter on Christmas Day, but it's fun to mix supplies to get that look!  I will also link a previously popular tutorial discussing ways to add snow!

Here's the tutorial (please consider subscribing:)


The Hero Arts Blog Post:
https://heroarts.com/blogs/hero-arts-blog/stay-crafty-with-a-blog-named-hero-september-challenge

Here are the supplies:
 

Until next time!
Gale

Tuesday, November 16, 2021

Puttin' On The Glitz! "A Blog Named Hero" November Challenge Inspiration!

 Hello!

I'm back with more inspiration for the current challenge.  I hope you will enter as it's a lot of fun and you could win one of two gift certificates!


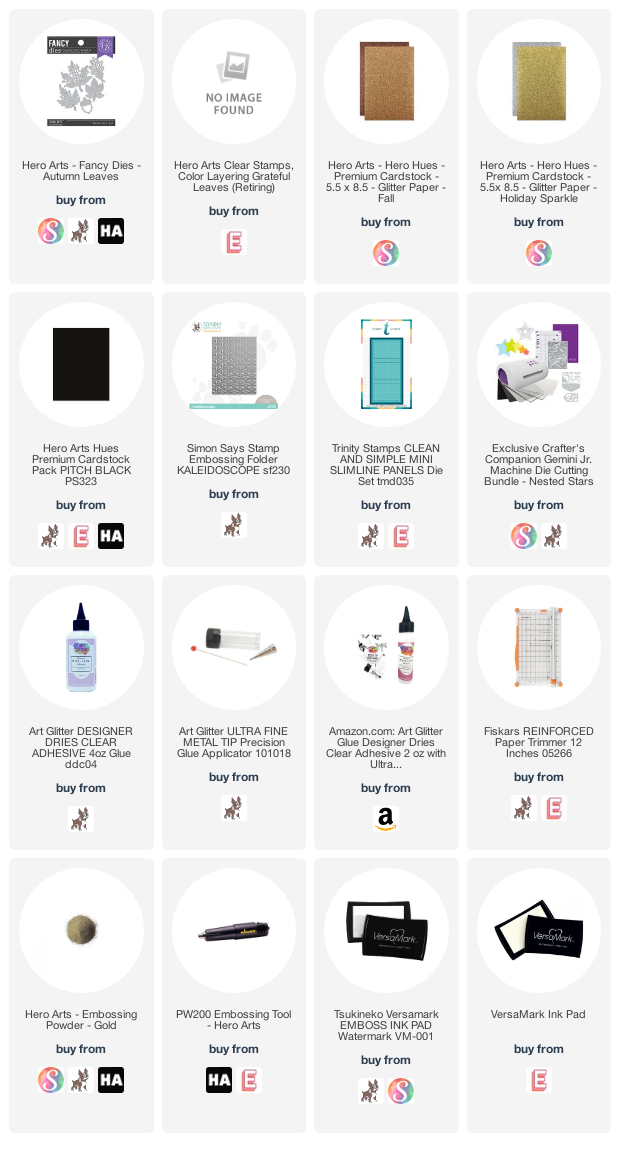
I went full on glitz with these leaves which are diecut out of Hero Arts glitter paper!  The supplies are linked below (AFIL-Thank you!)

All I really did was layer a gold rectangle a little smaller than the card black card base using a mini slimline die.  I then diecut a another black piece and ran it through an embossing folder, then shimmer spritzed for more interest.  I took a black scrap and heat embossed the sentiment and lined up the leaves.  Easy peasy!

I will be back very soon with some holiday inspiration!  The deadline to enter the challenge is 11/26/21.  Just post your project on Instagram using and tag @ablognamedhero and #abnhnovemberchallenge!

Take care!
Gale

Monday, November 1, 2021

Fun Fall Foiled Leaves-- "A Blog Named Hero's" November Glitz Challenge Inspiration!

 Hello!

October flew by!  I know you don't normally think of November as glitzy, but I like to be a bit different:)


The "A Blog Named Hero" challenge this month is "Glitzy."  Be sure to enter your projects that uses Hero Arts products at @abnhnovemberchallenge and tag @ablognamedhero by November 26th!  The team will choose a winner for the $50 Hero Arts gift card and then there will be a drawing from the rest of the entries for a $25 gift card!  

The full Youtube tutorial is here:


I thought it would be fun to try Cosmic Shimmer foil flakes.  They are gorgeous, however one has to be careful to contain them (and definitely turn off fans, possibly stop breathing LOL!)

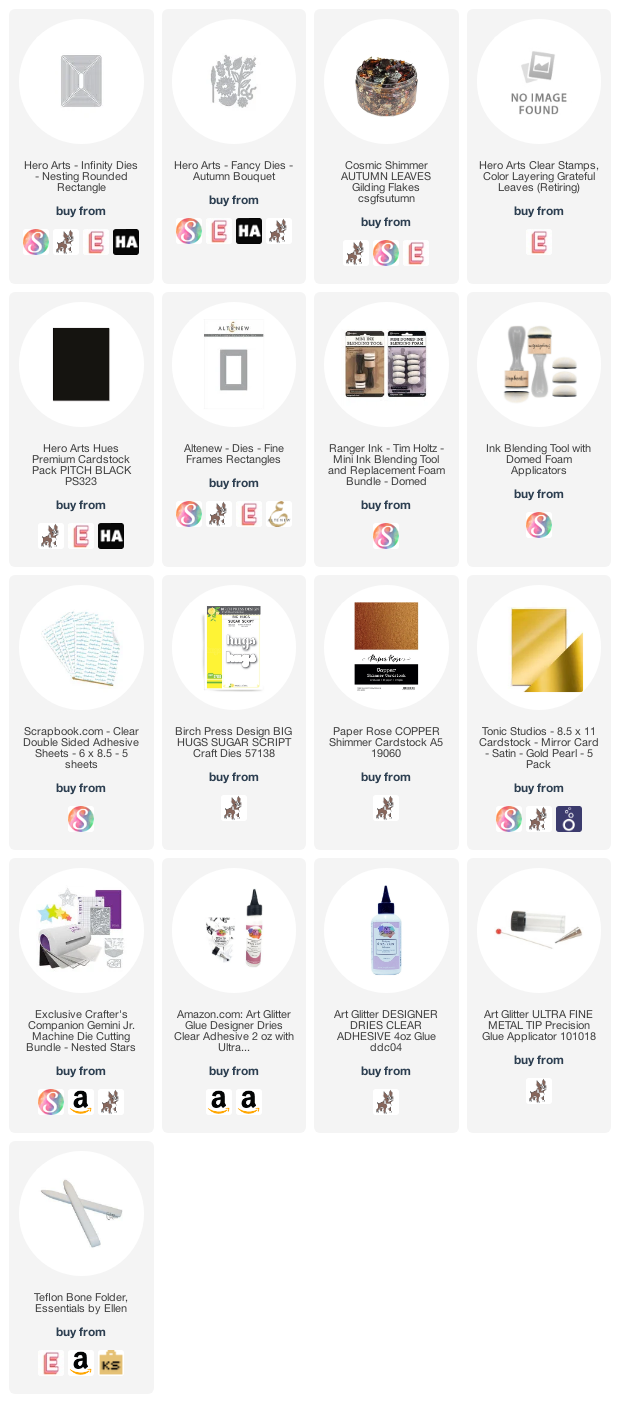
I used a fairly heavy cardstock and applied a double sided adhesive panel.  I laid it in a cardboard box, then carefully pulled off the release paper a bit a time and added flakes, burnishing at first with fingers.  

Next, I laid the release paper back on top and burnished with a bone folder.   Finally, just ran it through my diecutter to get the pieces (saving extra bits for later.  I hate waste!)  The supplies are all linked below (AFIL-thank you!)

After that it was just simple layering of the panels on top of a Z-fold copper base.  A Z-fold is simply an A2 base, with the front folded on back to itself.  

Here's the inside:


Here are the supplies I used:

I will be back soon with loads of holiday inspiration!  If you haven't already, please visit/follow my IG account @darbycreekdiaries as I don't always post everything here or my Youtube channel  Https://youtube/c/GaleThompson

Take care!
Gale

Saturday, October 16, 2021

A Ton Of Texture Inspiration! "A Blog Named Hero's" October Challenge

Hi there!

I can't believe I have two blog posts in one day!  Getting ready to have my shoulder replaced on 10/20 and am under the gun! 


Anyway, here is another "A Blog Named Hero" inspiration project for this month's Texture challenge.  Be sure to enter on Instagram, tag #abnhoctoberchallenge and @ablognamedhero for a chance to win one of two gift cards to Hero Arts!

There is a ton of texture on this card!  I will have a special tip Youtube video shortly, so stay tuned!  (Subscribe over at my channel and hit that bell for notifications!  You won't want to miss it!)

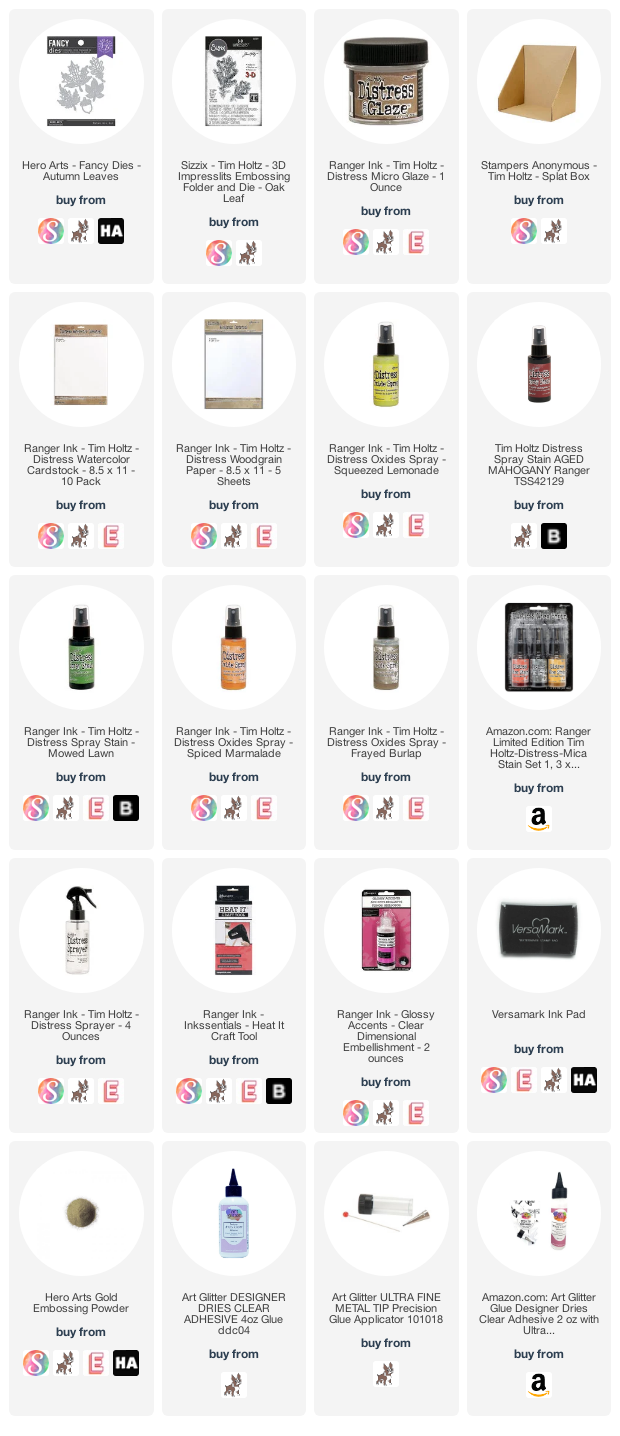
The supplies I used are linked below (AFIL- Thank you!)  I simply sprayed Frayed Burlap Oxide ink on a white woodgrain panel and misted with water to get the "drippage."


The wreath is part of a past Hero Arts My Monthly Hero kit, but there are loads of twiggy wreath dies out there in the crafty world.  I layered three but didn't glue the tips.  Then sprayed Crooked Broomstick Distress Mica spray (also probably unavailable by now as it was part of the Halloween Distress collection, but there are gold sprays out there as well!)

11/10/21 edit:  Here is a brief tutorial of how I made the leaves:


I crimped up the loose edges for extra twig-like texture and arranged my pretty darn authentic leaves like a bow.  Lastly, I added some gold baubles to cover up the intersection.  The leaves are a project on their own, so be sure to see that tutorial once I get it posted!  I've got a lot to do before I have my good arm strapped to me for 6 weeks!   The leaves begin with Hero Arts Autumn Leaf fancy dies.

I attached the panel to a complimentary colored base and called it a day!

Here are the supplies I used:

Check out my other post for today about a fun YouTube hop and lovely Fall projects!

Take care,
Gale

Wednesday, September 1, 2021

Clean 'n Simple Halloween Card For "A Blog Named Hero's" September 2021 Challenge!

 Hello!

Seems a little early for Halloween, but Fall is only a weeks away! 


This month's challenge is "Clean 'n Simple" truth be told, I am cheating a little bit.  My understanding is a clean and simple card is one layer, mostly white (or lots of empty space) with little or no adornments.  I simply can't wrap my head around it! 

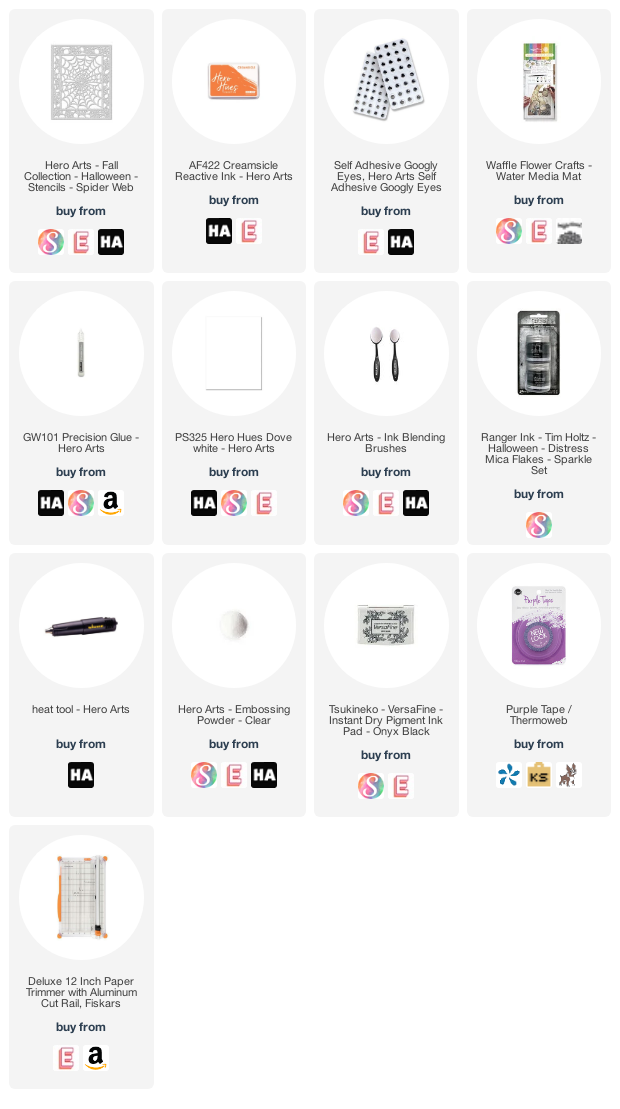
Most supplies are linked below (some aren't available and are left out.)  All I did was mask off the center of my Hero Arts Spider Web stencil and applied orange ink.  Since it was showing the positive area as white, I applied Ranger's Halloween glitter using a fine tip glue along the strands.  Let dry before removing excess.  (Pro Tip:  this glitter is awesome, but super fine and super hard to clean up.  Ask me how I know!  It's so full of static it sticks to my water mat and everything else.  So contain the bling carefully!

I heat embossed blank ink with clear powder for the sentiment (from a past MMH kit that's sold out.)  I added a couple googly eyes and a few spider confettis I had in my stash.

The "A Blog Named Hero" challenges are now held over on our Instagram page @ablognamedhero so be sure to enter there for a chances at a $50 and $25 Hero Arts shopping spree!  The challenges go from the 1st through the 26th of each month.

Here are the links (AFIL-Thank you!):

I hope you are beating the heat and enjoying what is left of Summer!
Until next time,
Gale

Thursday, July 29, 2021

A Blog Named Hero's Repetition Challenge (Closed--but here's one more project!)


 Hello again!

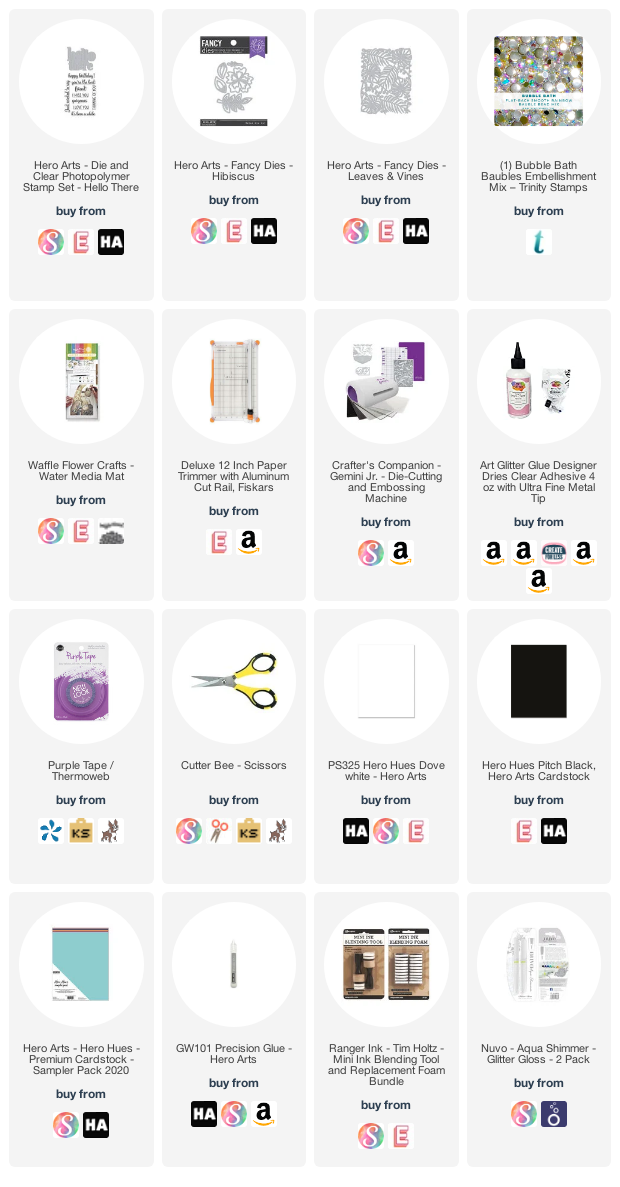
Here's a tropically inspired card repeating the Hero Arts Hibiscus Fancy Dies.  (supplies are linked below AFIL-Thank you!)  


Our "A Blog Named Hero" Monthly Challenges end on the 26th of each month, so this one is closed.  But be sure to join the August one for a chance at winning one of two Hero Arts gift cards!  Currently, please link them on our Instagram page @ablognamedhero as our website is under major reconstruction!

Today's project is stamp-free and very quick to pull together.  I had some leftover hibiscus pieces from a previous card.  I die cut the tropical background once in black and once in green, then layered offsetting the green one slightly.  I glued that piece on an A2 size green sheet, then just layered the flowers!  I built up the center one for texture.  

The sentiment is half of the Hero Arts Hello There stamp 'n cut.  I layered three black diecuts and added a little sparkle with a glitter brush pen.  To top it off I used some Trinity Stamps Bubble Bath Baubles for the flower centers and placed the panel on an A2 card base.  That's it!

Here are the supplies!  

Wednesday, July 28, 2021

How To Stamp With A Simple (& Cheap!) Foam Block!

 Hello!


Although I fight it when it's 90 degrees out, I guess it's time to do some Fall and Winter cards! I first learned about stamping foam blocks in the mid-90s and am using my original one today.  It works great, but there is a "new block on the block!"  All of the supplies are linked below (AFIL-Thank you!!)  

I have a brief Youtube tutorial linked below:  (I hope you'll consider subscribing!)


Here are some other backgrounds from the video using all sorts of objects:


Here is the supply list... Enjoy!


Until next time!
Gale

Tuesday, July 13, 2021

Repeat After Me! "A Blog Named Hero's" July Repetition Challenge!

Hello!


I'm finally back crafting a bit!  Hope you are doing well!  The complete tutorial is at my YouTube Channel linked below.


Our "A Blog Named Hero" challenge this month is "repetition."  When I started in the 1990s (horse and buggy days for stampers) repeating was a daunting task.  Although there are other ways to repeat now, the MISTI tool was a game changer for me and most every other stamper I know.  So may new techniques!  A higher price point than some tools, but save up because it's worth it!

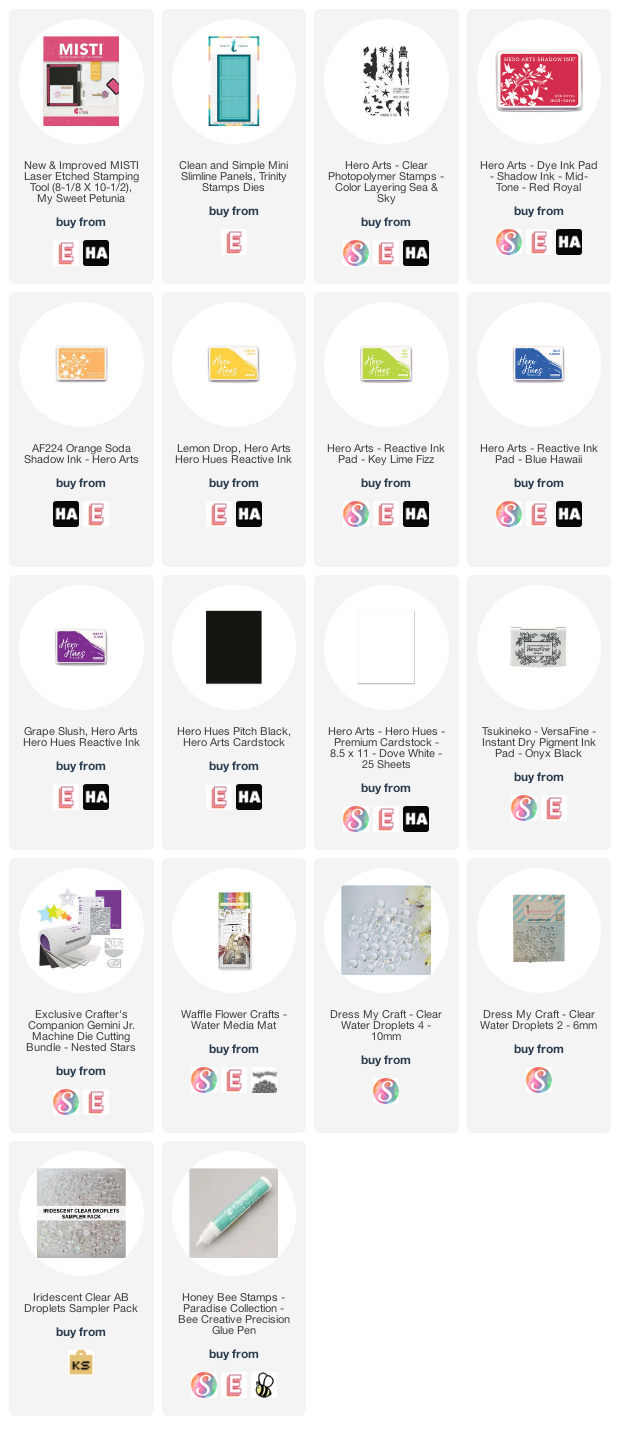
Today I used a tiny stamp from Hero Arts "Color Layering Sea and Sky."  I'm not great at scene building, so was glad to find a use for this Adirondack chair!  Once it's set up (I'll show you on YT tutorial--hard to explain here) it's easy, peasy!  I stamped on the smallest Trinity Mini-Slimline Die rectangle, then layered on the medium one with yellow cardstock, then layered onto the largest black rectangle and adhered to a mini-slimline base.  I added a few embellishments and I was done.  One of the cards is actually a salvaged boo-boo!  Guess which one!  The answer will be in the tutorial!  

Be sure to enter the challenge for a chance to win one of two generous Hero Arts gift cards!!!

The supplies are linked below (AFIL-Thank you so much!):

Take care,

Gale

Friday, April 2, 2021

Happy 9th Anniversary "A Blog Named Hero!"

 Hello!

I'm back again with yet another anniversary card!  This is part in conjunction with an Instagram Hop celebrating "A Blog Named Hero's" 9th anniversary on April 1st-April 2nd.  There is a gift card drawing so visit as many stops as you can both days for more entries and please follow your favorite designers too!  (I'm @darbycreekdiaries)

Here is my project: (Supplies linked below AFIL-Thank you!)


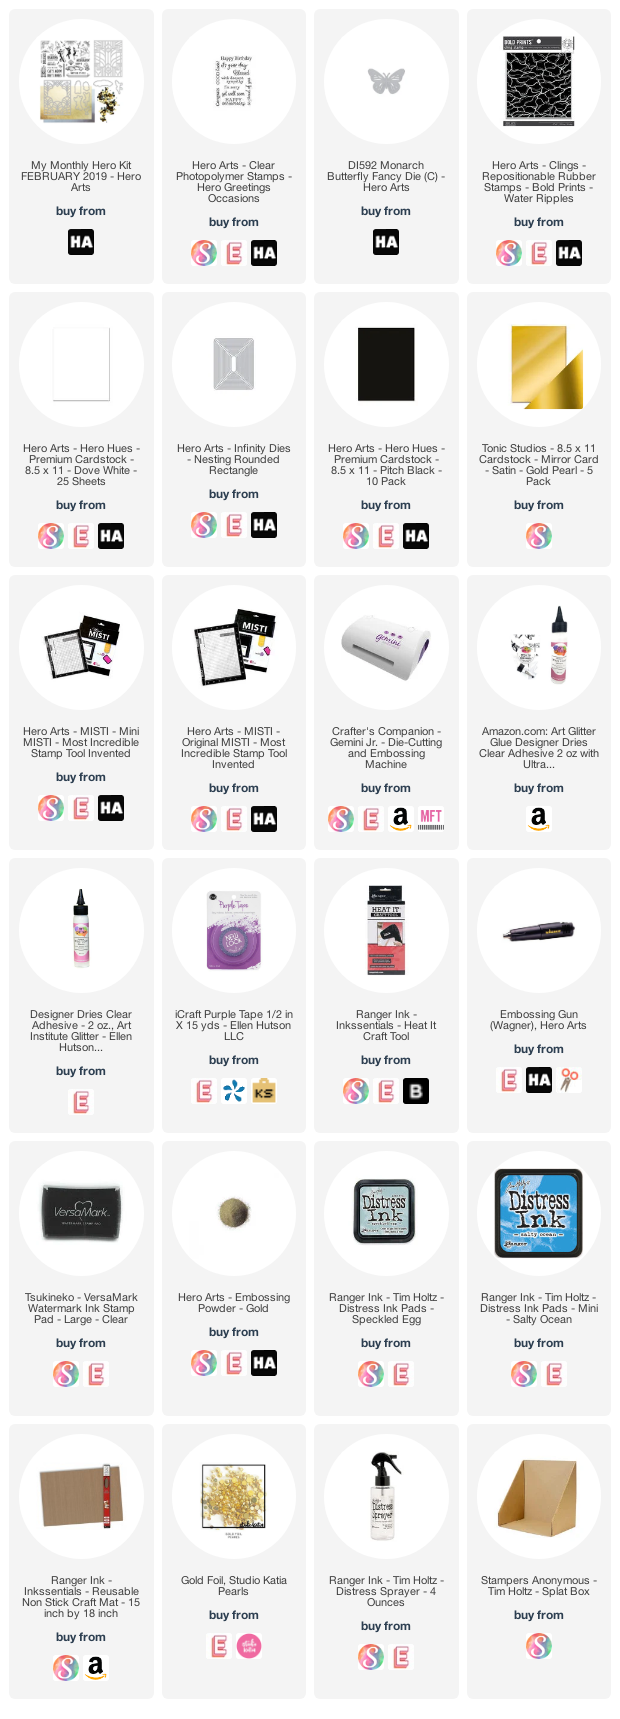
The butterfly was die cut from leftovers from an earlier project.  Here is the link to that Youtube tutorial with supply list (it was done with alcohol inks/foil):


The background is the water ripples stamp.  It was a happy accident as I inked it up with a few distress inks, then sprayed it with too much water for the image to be crisp.  But I kept it in my background pile and it's perfect for this!

I die cut the art deco cover out of gold card stock then stacked it on four white ones for dimension.  I laid it on the blue background, added it to a card base, then added the butterfly and sentiment.

The lesson here?  Save those scraps and imperfect backgrounds!

Here are the supplies I used:

Once again, Happy Anniversary "A Blog Named Hero!"  I'm proud to be a small part of your history.  Here's to many more years!  Don't forget to hop over to IG and comment to enter in the drawing!

Happy Easter,
Gale

Thursday, March 11, 2021

Elegant 'N Easy Get Well Card-- "A Blog Named Hero" Challenge Inspiration!

Hello!  

Spring is here if only in my dreams!  It will be here soon--turning back our clocks this Sunday...

Here is some floral inspiration for the current "A Blog Named Hero Challenge."  Hurry and enter for a chance to win a $50 gift card!

So shiny:)


This card is pretty simple and quick (my favorite kind!)  The supplies are linked below (AFIL-Thank you!)

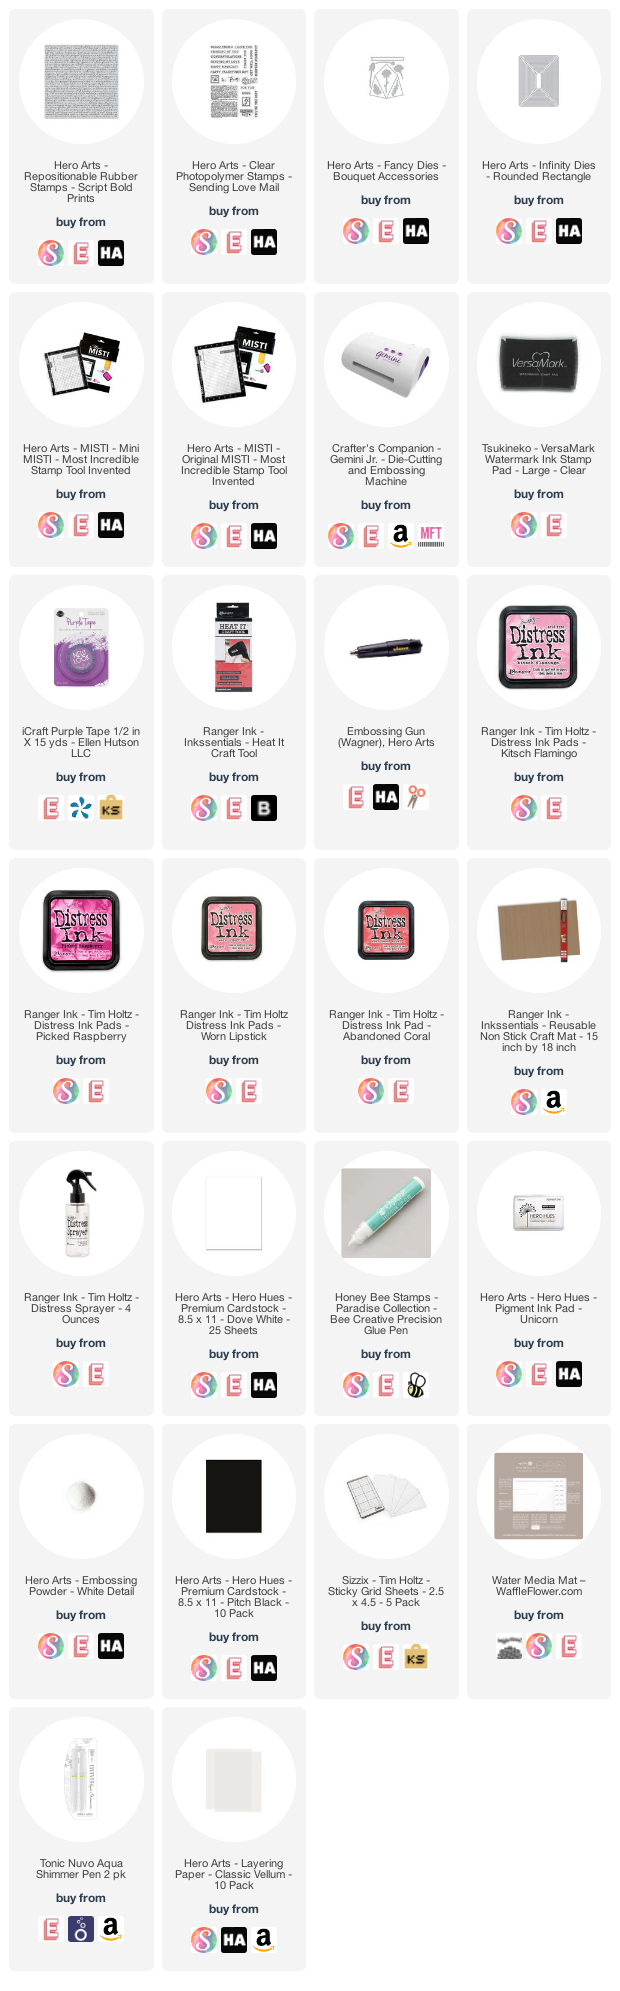
I chose several shades of pink/coral Distress inks and smooshed them, drying between layers.  I stamped the bold script background in white pigment ink.  I used the second largest rounded rectangle die to trim panel.  

I added it to an A2 top folding base, then carefully glued on my vellum envelope and flowers from a My Monthly Hero kit so popular, they now sell the dies!  I added a little ink and glitter pen to the flowers to add some interest. 

I stamped the sentiment strip and laid it over the foliage to hide glue I used to apply them.  Then added a few sequins for some additional shine.

Here are the supplies I used:

Thank you so much for stopping by!  I'll see you again soon!
Gale

Tuesday, December 15, 2020

Stitched Felt Ornaments-- "A Blog Named Hero's" CASE A Project!


Hello!

Hope all is well with you!  Here is my inspiration for the December Challenge!  The supplies and instructions are listed below.  If there is interest, I will make a video tutorial too!

I CASED Hero Arts Staff member Grace's project:


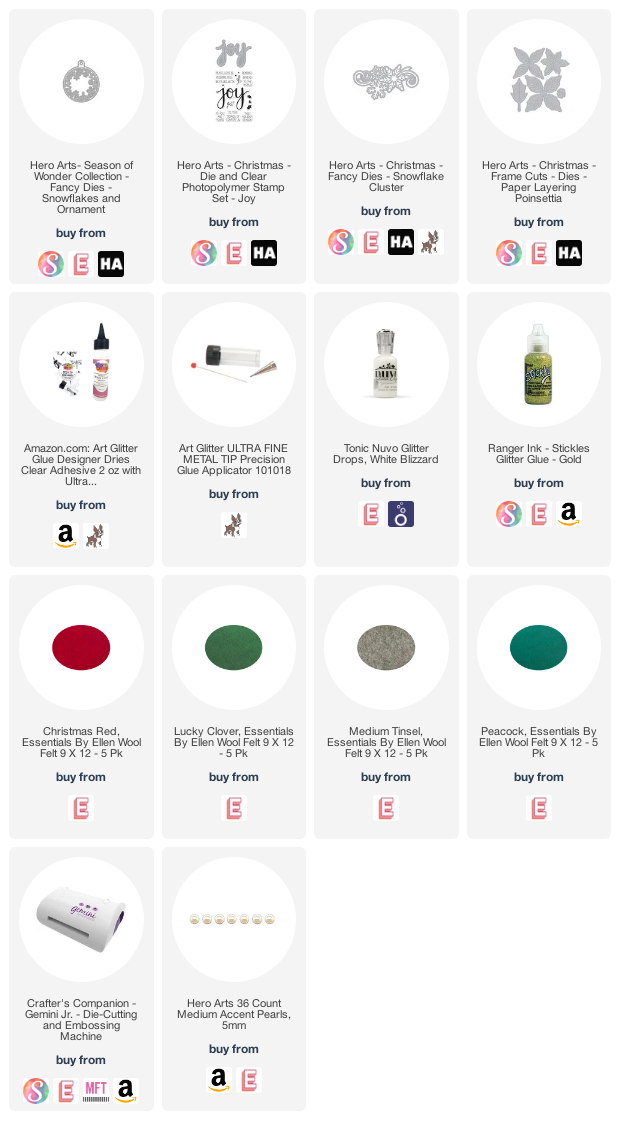
I diecut the ornament from part of a set from last year in real felt (the fake stuff doesn't work well.)  I then diecut out snowflake swirl on white, but cut it up as it was too big.  I glued it on the front of the teal panel, then added some pearls, rhinestones and glitter drops. Let dry.  

Next, I blanket stitched 3/4 of the way around, then added polyester fiber fill.  Then, continued stitching.  The others were basically made the same way, just using the poinsettia and joy dies instead.

Add a ribbon and you are done.  These would also make great gift tags with someone's name on the back as a keepsake.

Here are most of the supplies I used (some I guess have retired.):

Saturday, November 28, 2020

Old School Pillow Treat Boxes--Sweet Holiday Video Hop!

 Hello again!

I told you I'd be back soon!  LOL!  Hope you had a wonderful (as much as it could be) Thanksgiving!  The holidays will be crazier than ever in a different way, so I'm going old school on several projects this year and using basic supplies.  The kids can get involved too!

This project is part of a Youtube video hop (below) that I hope you will enjoy!!  Here's what I made (the supplies & free template are also linked below (AFIL-Thank you for your support!):

You can make your own decorative paper or use some of the beautiful pre-made ones to save time!  I filled them with lots of candy, but gift cards and small items fit amazingly well.


Here is the free printable template: 
Thank you Myfrugalhome.com!

FYI--Here's a previous tutorial...

Supply List:

Stay safe and come back and see me soon!!

Warmest regards,

Gale

Thursday, November 26, 2020

Glitter 'N Sparkle Glass Ornaments: "A Blog Named Hero's" November 2020 Challenge Inspiration!

 Hello!

Happy Thanksgiving! Welcome back to my blog!  Hope you are doing and feeling well!  I made some "old school" glitter ornaments for the current challenge "Glitter & Sparkle."  Hurry and enter for a chance to win a generous shopping spree at Hero Arts!  

I've made ornaments like this before, so if you can't wait for the forthcoming Youtube tutorial, here is a link.  But I promise to have the tutorial posted by December 10, 2020!  If you don't want to miss it, please visit youtube.com/c/galethompson to subscribe and ring the bell to get notifications!  

I will also put the link here when available:)


These are fun and super easy.  Kids can do them with adult supervision.  You can get the glass ornaments anywhere very reasonably priced right now.

Here are the other supplies I used (AFIL links--thank you so much for your support!)


Here's a previous blog post you might enjoy too!

Take care and I will be back soon!  
Gale

Saturday, October 24, 2020

See Through Element-- Inspiration For The Current "A Blog Named Hero" Challenge

Hello!  

My computer is temporarily working, so I wanted to quickly get this posted, though the card was posted a few days ago on Facebook.  Technology is great when it works.


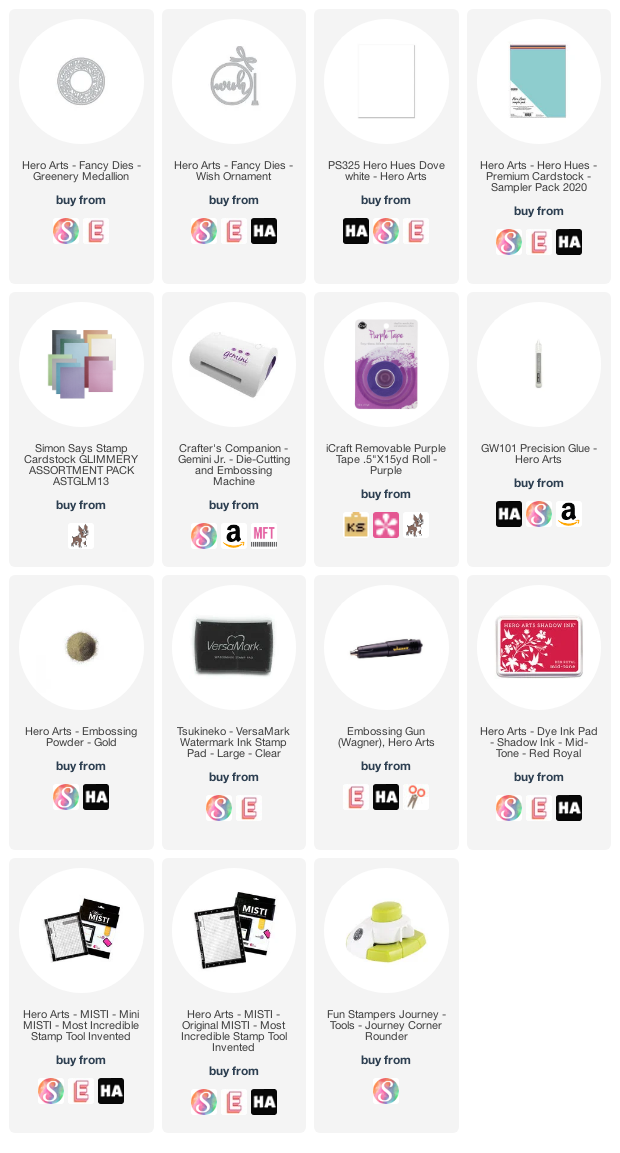
Here is a card featuring the Hero Arts greenery wreath.  It is pretty simple, yet festive.  The camera didn't capture the red rhinestones.  The wreath die comes with both the inner and outer edges, to use separately or together to completely cut out circle.  (Supplies are linked below (afil-Thank you!!)

I used the dies together and cut out wreath our of shimmery green cardstock, then I cut out the circle only on the white card.  I layered it on to a red card base, then cut out the center circle.  I diecut another white circle and layered it on the inside of the cardbase.  I gold heat embossed the sentiment in the center, diecut a bow out of glitter cardstock.  I layered the smaller sentiment below and rounded the corners.  Added the rhinestones and finished it off.  

I have several videos shot and hope to be able to edit them soon, if the iMac cooperates!  I hope you will stop by again asap!

Here are the supplies I used:

Take care and stay safe!!
Gale

Friday, October 9, 2020

Clean and Simple Spooky Halloween Tree- "A Blog Named Hero" Challenge Inspiration!

 Hello again!

This month's challenge is Clean and Simple and this card "mostly" is!  I wound up having to glue the scene to the background, but that's our little secret:)


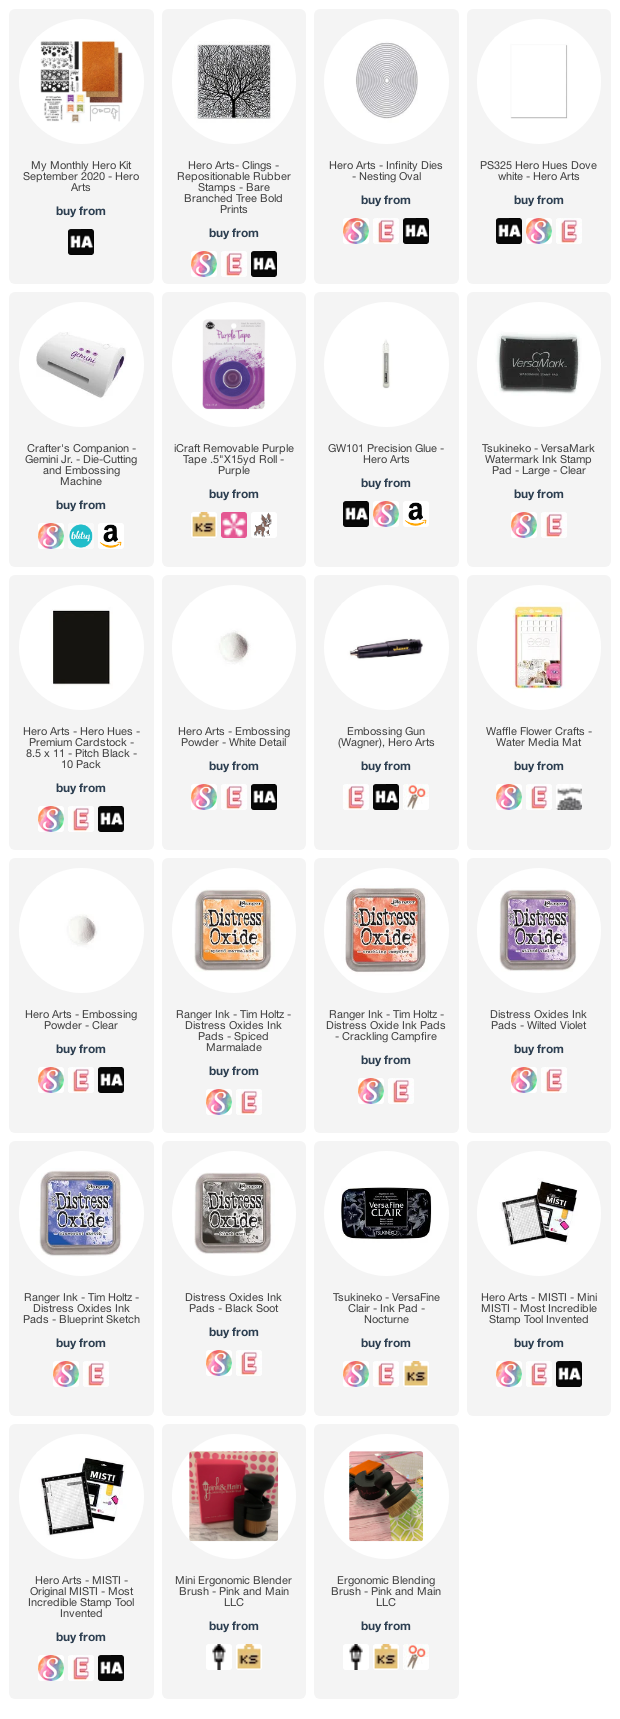
I stamped the tree on white cardstock with black ink (supplies are linked below--(AFIL-thank you!!) and clear heat embossed it.

Next, I stamped the bird from last month's My Monthly Hero Kit in various spots and embossed as well. Then, I blended distress oxides in Halloween night colors.  Wipe with a dry cloth to brighten the black embossing.  I diecut the panel with an oval die and placed on my cardbase (clean and simple cards are supposed to have a lot of white space.)  

Finally, I took the sentiment from that same kit and white heat embossed on pitch black cardstock.

That's all there was to this!  Easy, peasy lemon squeezy!!

Hurry to enter the challenge at ABlogNamedHero.com as there are only a few days left until the drawing!  Stay tuned for the next month's challenge coming soon!

Here are the supplies I used:

Hope you are staying well!!
Gale

Friday, June 19, 2020

A Blog Named Hero Challenge Inspiration: Combining Old and New!

Hi there!

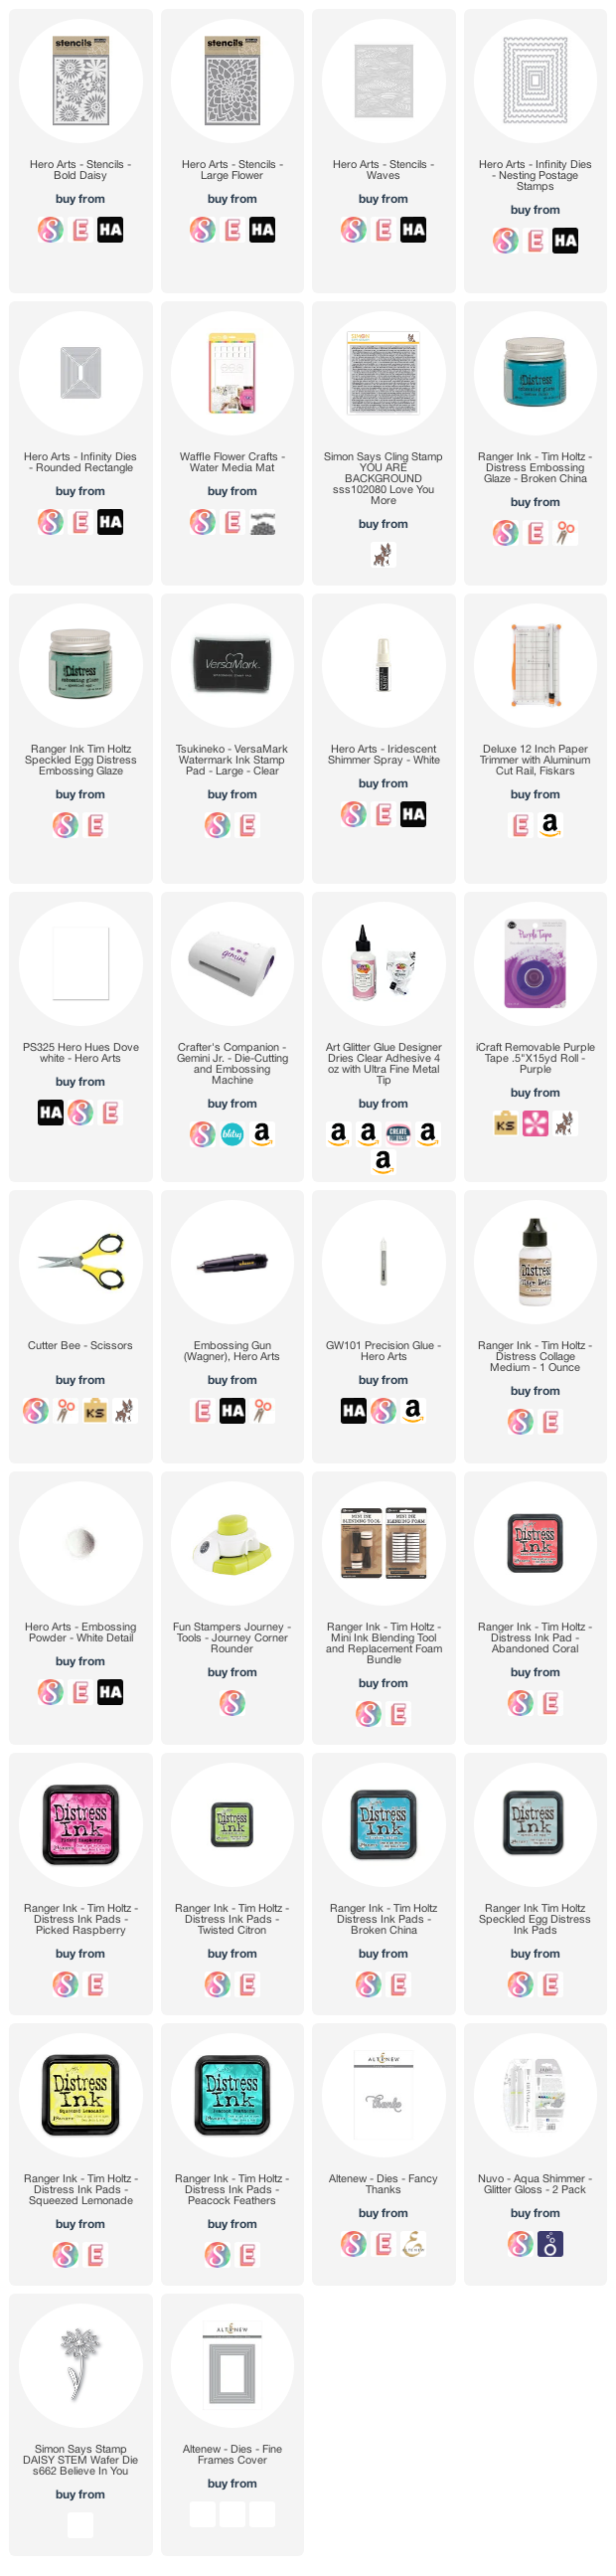
Here's a bright and cheery get well card using Hero Art's Fresh Citrus Bold Background Stamp and a sentiment from 1995... I am old... the supplies are linked below (afil- Thank you for your support!)


There isn't a ton of technique involved.  Just fun playing with coloring the fruit!  I used original distress ink smooshed on plastic as a pallet for my water brush.  I white heat embossed the fruit stamp.  Then diecut the panel with the Nested Postage dies.  I diecut a slightly larger panel of glimmer cardstock from a previous MMH kit with a Rounded Rectangle die and added to a white base.  I wrapped the panel with the sentiment on vellum and added some iridescent jewels in the centers of the flowers and lemons.  Easy peasy!

Here are the supplies I used that are still available:


 Have a great week and I'll see you again soon!  I also will be posting some video tutorials shortly:)  
Take care,
Gale

Monday, June 8, 2020

Playing With Distress Embossing Glaze: A Blog Named Hero "Hugs From A Distance" Challenge Inspiration

Hello!

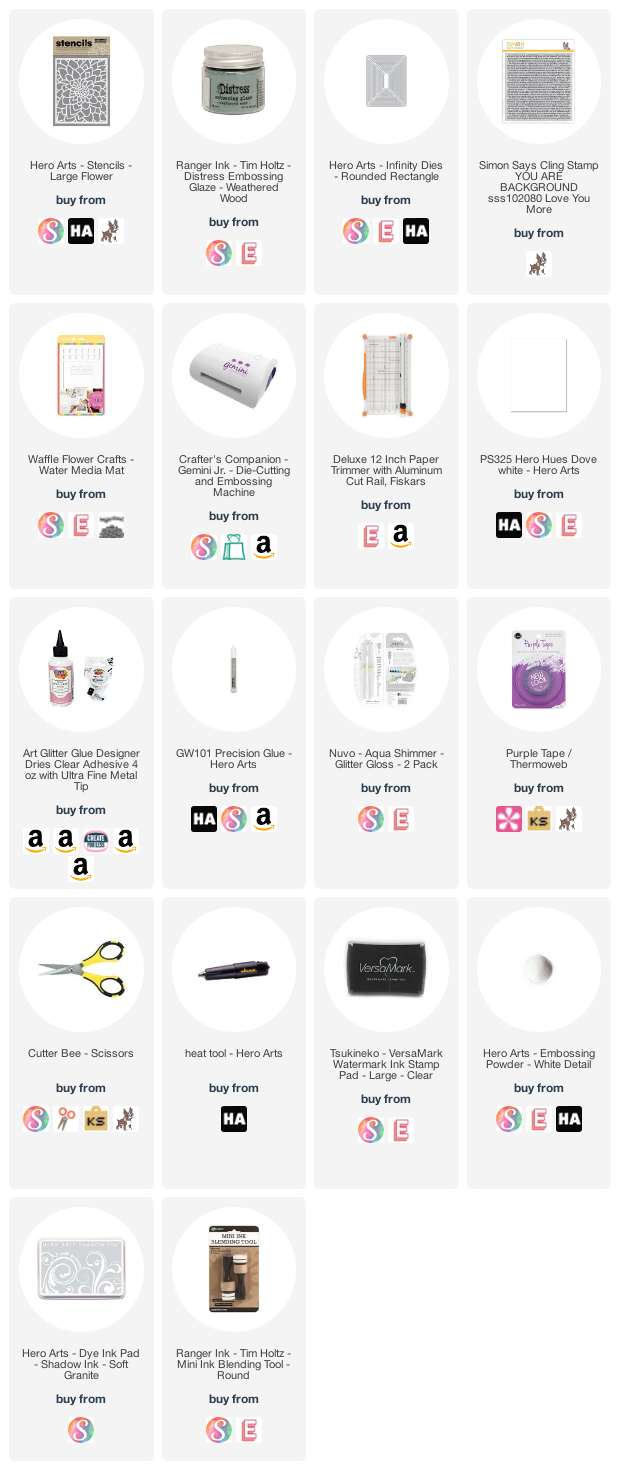
It's not too late to enter this "A Blog Named Hero" monthly challenge "Hugs From A Distance!"  This time I used an older Hero Arts Flower Stencil and Distress Embossing Glaze for an "artzy" look!  The supplies I used are linked below (afil-thank you!)


I am a bit behind on my video tutorials, but one that includes this will be up soon, I hope!  It was really easy and fun!  Update:  Here's the tutorial! https://youtu.be/ziismNyHkQs

I white heat-embossed the word background on white cardstock, then laid my stencil over top and pounced Versamark clear ink on top.  I pulled off the stencil and heat-embossed again with the Distress embossing glaze.

Then I covered the entire front with gray dye in to make the words pop.  Gently, wipe off excess over embossing with a paper towel.
Next, I just used an infinity die to cut out the piece and layered over a white card base.

Finally, I white heat-embossed the sentiment (from a Hero Arts previous kit) on gray card cut with a die from that same kit.  I cut out several white strips from scrap and stacked beneath the sentiment for added dimension.   

I placed a few Hero Arts pearls (retired) for a little added interest, but not so much as to take away fromI the background! 

Here are the supplies I used:  Way below is the supply list to the "6 Fun Stencil Techniques You've Gotta Try!"


Take care everyone and come back soon!
Gale

Sunday, January 19, 2020

Things Are Poppin' At The 'Creek---"A Blog Named Hero January Challenge "Anything Goes!"

Hi there!


Man, oh man was I in a pickle today.  Nothing was going right...couldn't find things, buggered up stuff, tripped on cords, lighting wasn't great..blah, blah... so I apologize for the photos, but the project is still really fun using the Hero Arts Paper Layering Present Gift Card Pop-Up Fancy Die (that is officially the longest name I've ever typed for a supply!)  They are linked below (afil--thank you for your support!)

I promise to make a YouTube tutorial on this soon, so please check back or better yet, subscribe to my channel and hit that bell for notifications!

Here is the project holding the gift card:


 I sprayed Dove White paper with a rainbow of Distress Oxide Sprays.  The die is on the left side of the photo.   All you do is line up those edge lines on the fold of your card.  The edge lines are really obvious.  Easy peasey! 

You will need to attach it to a card base to avoid having a hole:)  Glue the diecut section to your card base except for the pieces of the package and bow.   I covered the gift with pattern paper and some Hero Arts card stock.

I added a sentiment and viola... we have a gift card holder!

Here are the supplies I used:


Until next time, take care and keep crafting!!!
Gale

Sunday, December 8, 2019

Watercoloring process--A Blog Named Hero Muted Tones Challenge!

Hi!

Though not actually "muted," but I did water-down quite a bit...  This project features the Gina K/Hero Art's collaboration stamp set.  The supplies are linked below (afil.)  


I'm not a "professional" watercolorist, but I doubt many card-makers are.  So I am sharing my process to show you that a card can turn out nice even if stuff happens along the way.  That video is still in editing, but I promise to have it out later this week.  If you don't want to miss it, be sure to subscribe to my channel and hit the bell for notifications!  

Here is the supply list:


I promise to get that video out as soon as I can!  Take care!
Gale

Friday, November 8, 2019

Let It Snow??? A Blog Named Hero's Inspired By Nature Challenge!

Hello!

I feel like a broken record, but things have kept coming up that tear me away from my YouTube Channel and blog.  I am hoping that things are on the mend and I will be able to be with you on a regular basis very soon!


However, our "A Blog Named Hero" posts are scheduled and I was determined to hit my deadline:)  You will see me on the Facebook Page every 8th and 19th of the month.  

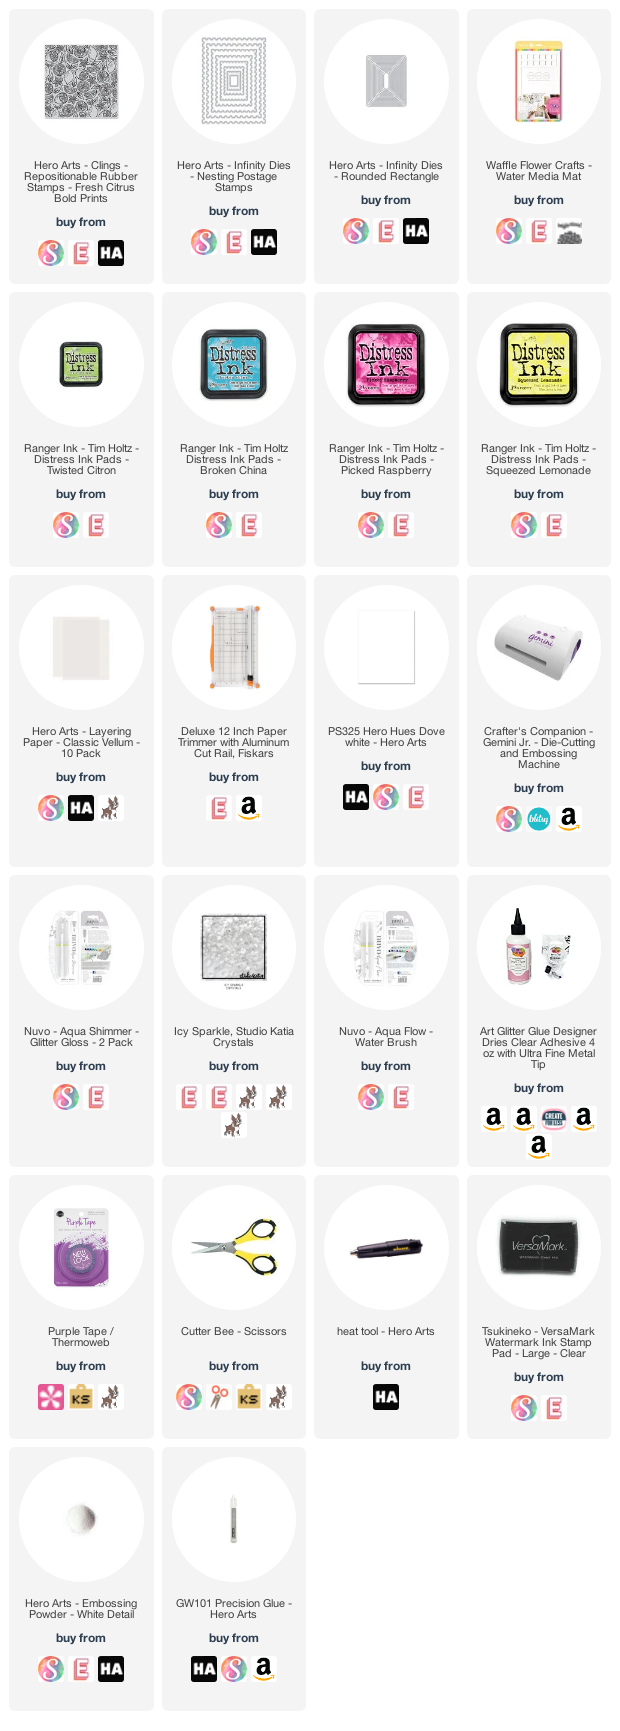
For this month's challenge, I chose an easily mass-produced project.  The supplies I used are all linked below (afil.)  I started with a white card base.  I cut down a Hero Arts Nautical panel to just under A2 size and stamped it with Hero Arts Starry Night Brush Strokes background stamp using Versamark Ink.  I sprayed some shimmer mist on it then cut out a small section.  

I popped panel up with foam tape leaving a gap between the top and bottom pieces.  I diecut from white and silver glitter paper the Hero Arts Snowflakes Cluster Fancy Die and glued together for strength.

I then placed the snowflake diecut over the gap.  Next I silver heat embossed the sentiment on white card and layered over the silver glitter paper.  I added some pearls for a bit of interest.

I will be posting some new tutorials on my channel and I hope you will stop by.  If you subscribe and hit the bell, you will be notified of new posts.  There are around 70 unique tutorials already there for you to browse too!

Here are the supplies:


Have a terrific day!
Gale