The blog with the split personality! A mix of General Humor & How-To posts with a heavy dose of Crafts to inform and entertain! (For CRAFTS/CARDS click on Dropdown Archive, Index By Topic page or Search for Gale's Galleries!) See also my new "Secrets To Success" Pages! Be sure to check out my new YouTube Channel at YouTube.com/c/GaleThompson *Look for exclusive posts on @darbycreekdiaries on Instagram!*
This month's "Blog Named Hero's" Challenge theme is Sparkle! Here is my inspiration project for today...
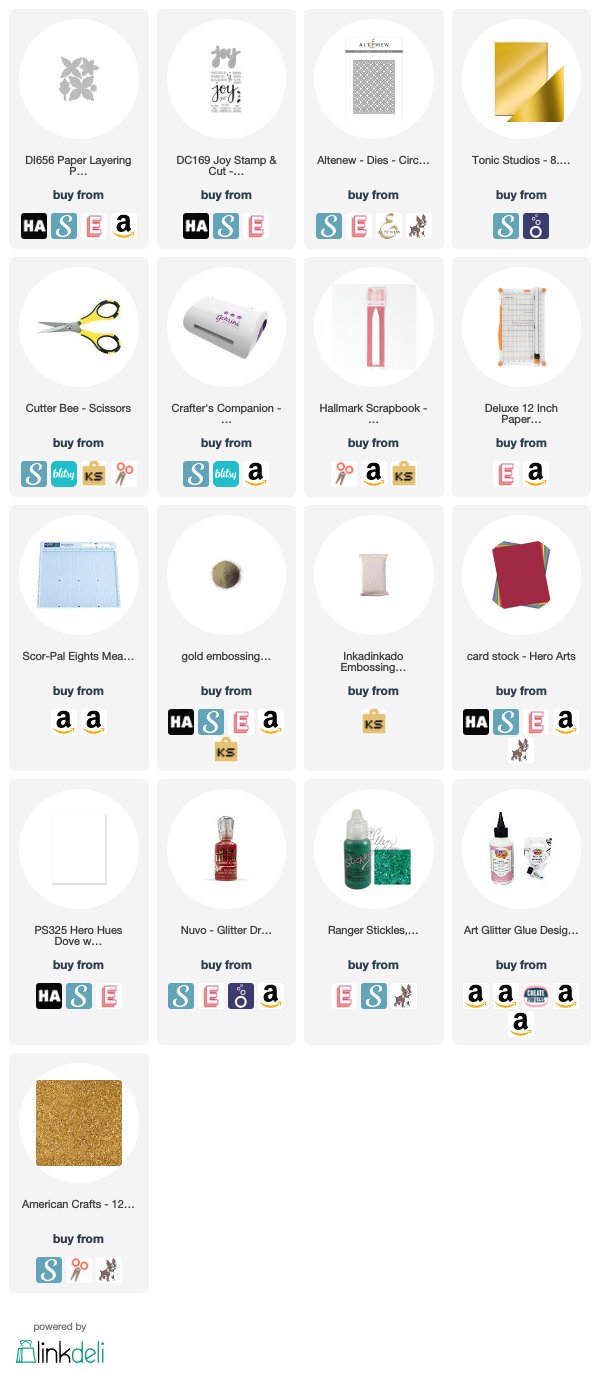
I kept it pretty simple as we all like quick cards to mass produce this time of year. Supplies are linked below (afil.) I started by using Altenew's (a Stamping Village partner) Quilted Cover Plate die on white card stock using an embossing mat so it wouldn't cut clear through. Next, die cut Joy 3-4 times out of white card stock and once out of gold glitter paper. Die cut the paper-layering poinsettia out of a couple colors of red and a green. Mount quilted piece on a card base (A2 size shown.) I sprayed with shimmer spray (though it's hard to see in photo.) Then, build the poinsettia on card base. Cut off what hangs off the edge. Use glitter glue in red and green for sparkle. Layer up your joy diecuts and place gold one on top. Stamp sentiment on green paper with Versamark ink. Heat emboss in gold. Cut into thin strips and attach to card. That's it! Here are the supplies:
I'll be back soon with a fun quick ornament! Until then, Gale
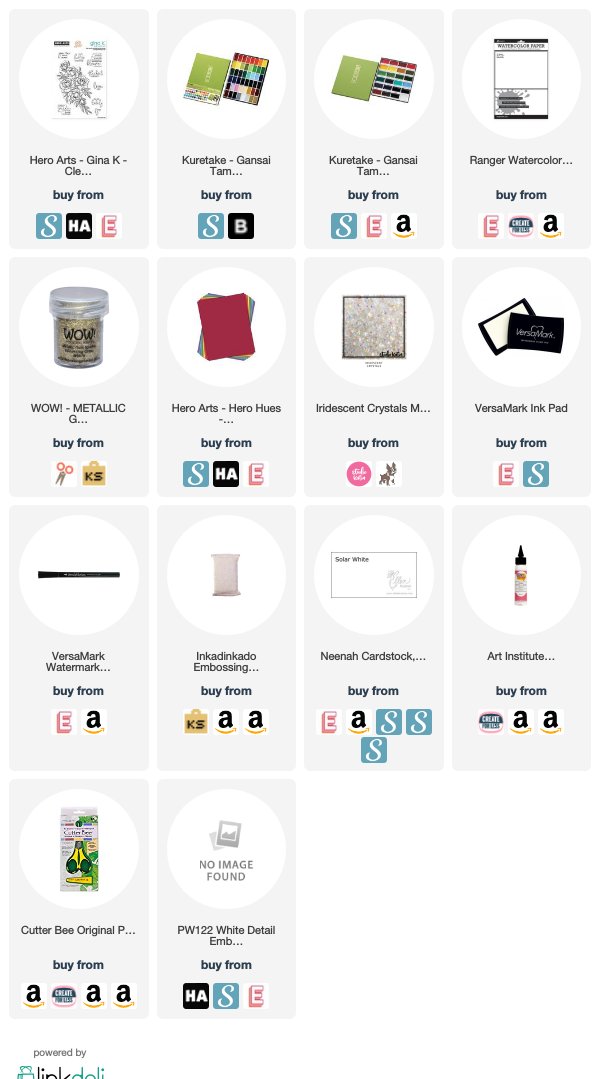
Hi! Though not actually "muted," but I did water-down quite a bit... This project features the Gina K/Hero Art's collaboration stamp set. The supplies are linked below (afil.)
I'm not a "professional" watercolorist, but I doubt many card-makers are. So I am sharing my process to show you that a card can turn out nice even if stuff happens along the way. That video is still in editing, but I promise to have it out later this week. If you don't want to miss it, be sure to subscribe to my channel and hit the bell for notifications! Here is the supply list:
I promise to get that video out as soon as I can! Take care! Gale
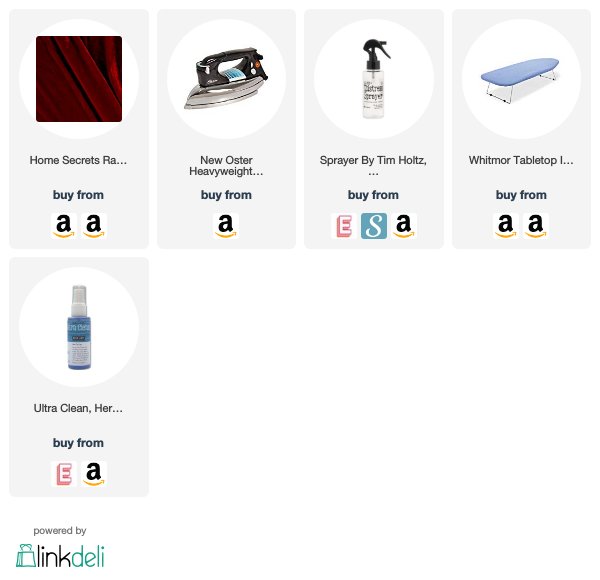
Today we are going to stamp on velvet to make a stocking, pillow or other project! My YouTube tutorial is linked below. There are a few rules one must follow for success: -Stamp ONLY with red rubber stamps--not clear ones! The vulcanized rubber is made to withstand heat. -Stamp ONLY on rayon/silk velvet fabric. It will not work on polyester. The extra expense is worth the result.
-Dry Clean ONLY or spot clean the finished piece when necessary. You could lift the stamped image otherwise. -Don't use an iron with steam holes or you will get little dots:) You mist the fabric with water to obtain steam. -Use a bold line stamp. Delicate images don't have the same impact.
Hero Arts carries a large line of red rubber stamps. Supply links: