Showing posts with label papercrafting. Show all posts

Tuesday, July 22, 2025

Mickey 'N Minnie Made Easy: How to Manage Large Layering Die Sets!

 Hello!

Hope all is well with you!  I've been having fun with Spellbinder's Steamboat Willie die set and thought I'd share some tips on how to "wrangle" it;)


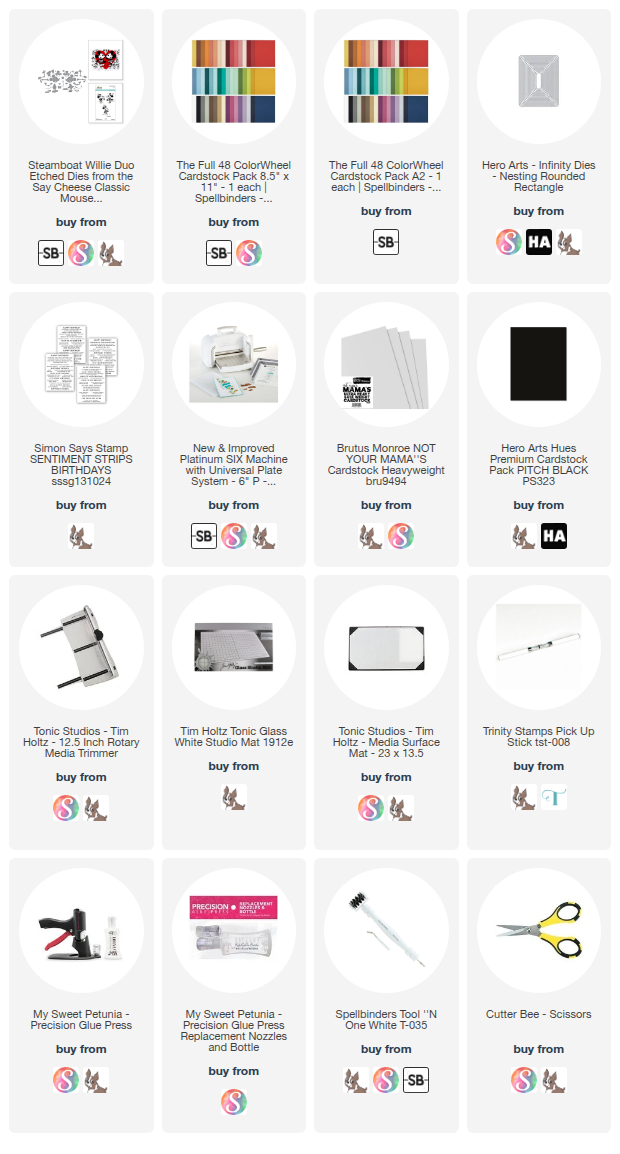
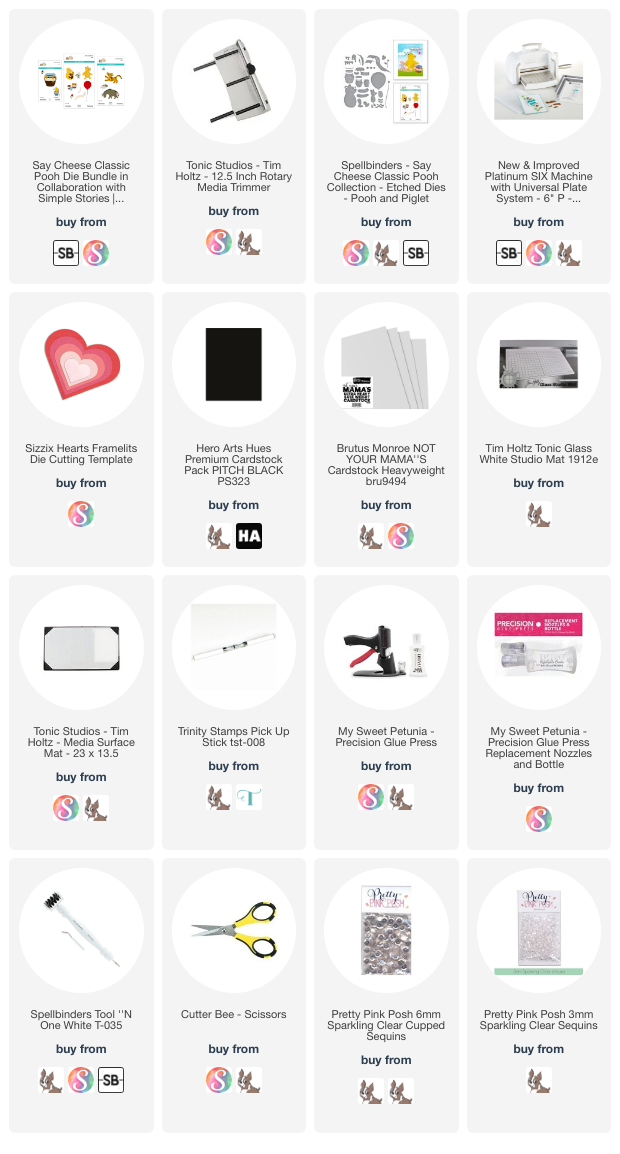
I've listed the supplies I used and linked them below (AFIL- Thank you!)  I noticed the Spellbinder's website is out of stock, but all you need to do is hit that "notify me" button and they will let you know when it's available again!

I decided to take a Sharpie and number them on the package and the dies.  Several of them look a lot alike, such as the arms.  Here's a link to a list I made for you:

Steamboat Willie List

I share how to assemble these (kinda like "paper dolls") in a quick tutorial:


There is also a chart supplied by Spellbinders:


I hope you will give this a try and it makes assembly easier!

Supply List:

I'm off to "Paperganza!"  It's a mini-convention sponsored by Craft Roulette and Pear Blossom Press.  Will report back soon!

Bye for now!
Gale

Wednesday, April 2, 2025

Cute Pooh & Piglet Card That’s Easy & Simple!

 Hello!

Happy Spring!  Well, sorta.  Cold and rainy here in Ohio.  It’s a great time to craft though!  I even made a card on time for Craft Roulette!  If you haven’t heard of it, it’s a YouTube crafting challenge that I  recommend you check out!  I'll post a story about "Paperganza" in July as I'll be traveling to Kansas City for their first live event!  

Here’s my entry:


I used a vellum envelope, baby toy colors, Children’s story Pooh, list is in Pooh’s arms.  The dies are by Spellbinders.

Most of the supplies I used are linked below (AFIL thank you!)

I didn't do a video this time because there really wasn't a technique;)

I'll see you again very soon!
Gale

Tuesday, February 4, 2025

"Show 'N Tell" Featuring Spellbinders New "Classic Pooh & Say Cheese!" Collections!


 Hello!

Today I'm sharing several cards using the Spellbinders "Classic Pooh" and "Say Cheese" die sets.  A special "Thank You" to Spellbinders for sending me some of the dies to play with!  However, as usual, my opinions are strictly my own.  The products are listed below.  (These are affiliate links, so I may make a small commission if you purchase using these links;). Thank you for your support!!  

Here is a show ‘n tell video with extra info!  I thought I’d try something a little different;) 


First, I added an action wobbler to Tigger to create an interactive Valentine!  I added the Spellbinders "Hemstitched Die" so more of the black would show through.


My second project uses the Classic Pooh Silhouette die and some gold glitter paper to highlight it.  Some many sunset examples had already been posted, so I tried something different.


The third project is using the "Hunny Pot" die a bit differently!  I didn't have Pooh or Piglet, so I had to get really creative.  The flowers are from a retired Spellbinders Zinnia set.


The fourth card features the "Say Cheese" and "Fluted Rectangles" frame die.  The stamp set is from Gina K and is stamped on glossy photo paper.


Photo Paper Inking Video:
https://youtu.be/QIgbYq-RHxE

Last, but not least is "Eeyore" who is paired with "Tigger" in a die set.  I also used the Spellbinder "Hemstitched Rectangle" die to add some variety.  I had some scrap distress inked paper that had a matte finish, so I used it to make balloons like conversation hearts!


Distress Ink Videos:  https://youtu.be/0H7oGN7hZnw
                                https://youtu.be/0gvlms-gGwA

I hope you enjoyed this visit to "Pooh Corner" in the Hundred Acre Wood!  Let me know if you have any questions on the projects!

Here are the supplies is used:

Take care & I'll be back soon!  Please consider subscribing here, IG, FB and YouTube--it's all free and you won't miss any new posts!

Gale

Wednesday, October 16, 2024

A Different Use For Foil Plates!

 Hello!!

I hope you got to play on World Cardmaking Day!  I used scraps to put together a project for a Craft Roulette challenge.  If you aren’t familiar, Craft Roulette is a weekly challenge live on YouTube Friday nights.  They spin for four design parameters that must be included on your project.  I encourage you to check them out!

Since "laziness is the mother of invention" LOL (at least in my case) I wound up using my hot foil plate to dry emboss and it worked great!  All the main details are in my super quick tutorial linked below.  I also linked the products I used in case your interested.  (If you purchase items using these links, I may receive a small commission at no additional cost to you!  Thank you so much for supporting my channel!)

Here's the tutorial link:

Here are the supplies I used:

Take care and I'll see you again soon!
Gale

Sunday, May 5, 2024

Sketch Vs Artify Markers: Are They Worth The $$$ ???

Hello!  

Welcome, or welcome back!  I was given a lot of Artify markers at Creativation and wanted to share my honest, but humble opinion.  To start, I am not a professional artist and I'm not great at coloring.  I sometimes do a little of that on my card projects.   


That said, I hope you will enjoy my review and take from it what you will!  Supplies are linked below (AFIL, thank you for your support!)


If you are going to Simon Says Create!  Stop me if you see me.  I have a cute little gift for you (while supplies last!)  I'll be posting a video about that early next week!

Here's a quick card I made with the Artify Markers for Craft Roulette:

Here are the supplies I used:
 
Take care!
Gale

Sunday, March 10, 2024

What Did We Use In The Early Days Of Cardmaking??? Anything and Everything!


 Hello!  

Every now and then I am going to show you "newbies" tools (that I shouldn't even still own) and media we used back in the 90s and 2000s.  We were pretty desperate for supplies back then!  

Grab a cup of something and sit back and enjoy!  (If something is still useful/available, it's linked below (AFIL-Thank you!!)  If you enjoy it, please consider liking, subscribing, sharing and commenting;)

YouTube Tutorial:


Here are some of the supplies:

I'll see you again real soon!

GALE

Monday, November 13, 2023

How To Make Moons Many Ways!

 Hello!

Welcome back!  I was inspired by Tim Holtz's YT lives to play with fun ways to make regular and "spooky" moons!  

This is Part 1:  I split the tutorial because it was going to be pretty long, so the first one is this card.  The video tutorial link is below as well as the supplies I used for all of the tutorials.  (Affil--Thank you so much for your support!)

I was pretty happy with the result, but it took a few attempts:)


Here's the video link:


Here is my supply list:

I will be back with the second part very soon!   
Take care!
Gale

Tuesday, July 26, 2022

Get Out Your Sanding Block!! Five Techniques In Five Minutes!

 Hello!

I'm back today with another installment of "Quick Tips!"  This time we are focusing on that forgotten little sanding block.  Get it out of the drawer and have some fun adding texture to your next project!


Here is the link to the YouTube tutorial--supplies are linked below (Afil--tha
nk you for supporting my blog!) and in the YT description box.


Supply List:

Take care!
Gale

Tuesday, November 16, 2021

Puttin' On The Glitz! "A Blog Named Hero" November Challenge Inspiration!

 Hello!

I'm back with more inspiration for the current challenge.  I hope you will enter as it's a lot of fun and you could win one of two gift certificates!


I went full on glitz with these leaves which are diecut out of Hero Arts glitter paper!  The supplies are linked below (AFIL-Thank you!)

All I really did was layer a gold rectangle a little smaller than the card black card base using a mini slimline die.  I then diecut a another black piece and ran it through an embossing folder, then shimmer spritzed for more interest.  I took a black scrap and heat embossed the sentiment and lined up the leaves.  Easy peasy!

I will be back very soon with some holiday inspiration!  The deadline to enter the challenge is 11/26/21.  Just post your project on Instagram using and tag @ablognamedhero and #abnhnovemberchallenge!

Take care!
Gale

Friday, September 17, 2021

How To Make A "True" Clean & Simple (CAS) Card--" A Blog Named Hero's September Challenge!

 Hello and Welcome!


Today's inspiration for the "A Blog Named Hero" September challenge is a quick 'n easy one!  The YT video is linked below.  


I diecut the sentiment out of Masking Magic, placed it firmly on the background and used just three sprays to color it.  Pull off the masking and there you have it!  Supplies are linked below (AFIL-thank you for your support!)


Until next time,
Gale

Wednesday, July 28, 2021

How To Stamp With A Simple (& Cheap!) Foam Block!

 Hello!


Although I fight it when it's 90 degrees out, I guess it's time to do some Fall and Winter cards! I first learned about stamping foam blocks in the mid-90s and am using my original one today.  It works great, but there is a "new block on the block!"  All of the supplies are linked below (AFIL-Thank you!!)  

I have a brief Youtube tutorial linked below:  (I hope you'll consider subscribing!)


Here are some other backgrounds from the video using all sorts of objects:


Here is the supply list... Enjoy!


Until next time!
Gale

Friday, April 16, 2021

How to Layer Papers, Paint, Powders & More! Featuring Mondo Hydrangea!

Hello!!  

Hope you are well and enjoying Spring (if you're here in the Northern Hemisphere!)  Today I brought out an older set that deserves some love as it's pretty and versatile!  All the supplies are linked below (AFIL- Thank you!)


All the details are in the tutorial below which is part of the "How Does Your Garden Grow Youtube Hop."  Some of the stops are offering prizes, so I'll list below for you to check out or the next stop will be in my video description box!


Here's the hop list:

Here's the supply list:

Thursday, March 11, 2021

Elegant 'N Easy Get Well Card-- "A Blog Named Hero" Challenge Inspiration!

Hello!  

Spring is here if only in my dreams!  It will be here soon--turning back our clocks this Sunday...

Here is some floral inspiration for the current "A Blog Named Hero Challenge."  Hurry and enter for a chance to win a $50 gift card!

So shiny:)


This card is pretty simple and quick (my favorite kind!)  The supplies are linked below (AFIL-Thank you!)

I chose several shades of pink/coral Distress inks and smooshed them, drying between layers.  I stamped the bold script background in white pigment ink.  I used the second largest rounded rectangle die to trim panel.  

I added it to an A2 top folding base, then carefully glued on my vellum envelope and flowers from a My Monthly Hero kit so popular, they now sell the dies!  I added a little ink and glitter pen to the flowers to add some interest. 

I stamped the sentiment strip and laid it over the foliage to hide glue I used to apply them.  Then added a few sequins for some additional shine.

Here are the supplies I used:

Thank you so much for stopping by!  I'll see you again soon!
Gale

Tuesday, November 10, 2020

See-Through Wish Ornament For Current "A Blog Named Hero Challenge!"

 Hi there!

Hope all is well with you!  The current challenge is See-Through at ABlogNamedHero.com  You could win a $50 shopping spree!  Hurry to enter!  


All I did was diecut the wish ornament in white several times to layer (cutting out the wish part.) Then once in holographic cardstock (supplies are linked below-afil thank you for supporting me!) Then I flipped the paper to die cut another holographic one that would be the reverse to finish the back.

I channel Jennifer McGuire and laminated some glitter and embossing powder for the middle of the "sandwich."  I added the hanger and bow and was done!

I hope you give it a try!

I'll be back soon!  Stay safe!
Gale

Saturday, September 26, 2020

Ten Great Stash Busters!: Weekend Craftaholic Stash Busting September Hop!


Hello!

Yes, I know, you can't believe I'm back so soon! Me either!! I've been crafting like a crazy woman to keep you supplied with new material LOL!

Today I am sharing stash-busting tips for things you either don't like or never get around to using. We all have piles of those things don't we? This is a hop with four other great crafters, so be sure to hop along for great ideas!

They are linked below as well as my supply list (afil- Thank you!) If you don't see something on the list, it's because it's on the list of a correlating tutorial mentioned in the video. There isn't room for everything I could list in the video description box, so I did this.

Enjoy the tutorial and please consider subscribing, liking, commenting and sharing everyone's stop:) It helps us out and makes us happy!


Here are related tutorials:

Shape-Shifting Bag- https://youtu.be/M24jxCbpnKk (Partial Diecutting) Purses- https://youtu.be/XclkAnMLQuw Angle Fold Card w/Flocking- https://youtu.be/fv-WrnxJtic Quilted Card- https://youtu.be/TePyNpkOqTE Diecut Letter Birthday Card- https://youtu.be/q_rhSc5guuk

Please also check out:

Plum_Mashable https://youtu.be/M4bIOI6mpwQ

Gale Thompson - https://youtu.be/bS6AhyrL_H4 

Krystal L. Becker - https://youtu.be/c9QHAMKPNpE 

Multiplicity Crafts - https://youtu.be/_WH_XNiSfxM

I think you'll also love their Instagram accounts at:

@weekendcraftaholic  

@plum_mashable  

@darbycreekdiaries  

@Krystallbecker 

@multiplicitycrafts  

Here are the supplies I used that aren't in one of the above-mentioned tutorials:

Saturday, September 19, 2020

How To Make An Easy Eclipse Card! Halloween Video Hop

 Hello!  

Welcome back to my blog!  Today I'm making a Halloween Card for the fun YT Halloween Video Hop.  I don't make many, but here's one that's not scary:)  The supplies are linked below (afil--Thank You!!)  The complete tutorial is on my Youtube Channel linked below.  I hope you enjoy it and consider subscribing, liking and feel free to comment and share!  Don't forget to look in the description box for the next stop too!


Here is the video link.  Enjoy!

Here are the supplies I used:
I'll be seeing you again very soon with a "Stash-Busting" video!  I hope you'll come back and see me!  Take care and stay safe!

Gale

Monday, August 19, 2019

How To Make An Angle Flap Card--A Blog Named Hero August "Stretch Your Stamp" Challenge!


Welcome!

(8/30/2019 Update:  Here's a new YouTube tutorial!!)  The video link and supplies are linked below:) This also features Hero Arts stamps and dies.


Original Post:)

Hope you are enjoying what is left of Summer!  My pneumonia is slowly going away.  I promise to get some fun YouTube tutorials up soon!  

Fall will be here before you know it, so I decided to pull out some Fall colors of Distress Oxides and my Hero Arts "Grateful Leaves" stamp set.  (The supplies are linked (afil) below.  I really appreciate it when you use them and the links on the right side:)  Thank you!!!)


This month's "A Blog Named Hero" Challenge" is to Stretch Your Stamps!  This leaves set is a color layering one, but I only used the "bottom" one (without any detail.)  I used several Distress Oxides and inks, by applying and blending them with daubers on my stamp to get a "blendy" look.  This was on watercolor paper as I originally intended to watercolor.

Then I sprayed with Shimmer Mist and that kinda made the background "fade back."  I flicked gold ink to liven it up a bit.  I used coordinating card stock.  The base is cut from an 8.5 x 11" sheet on the diagonal.  Next, I scored one corner at 4.25 and the opposite at 5.5"


This is how the fold looks.

I used a stitched rectangle die to cut the orange mat, cut on diagonal and adhered to base.  Then used a smaller stitched rectangle to cut background.  I cut that on the diagonal and adhered.  

Next I used a Pretty Pink Posh stitched leaf die in the card base color, then daubed on some gold and red ink.  I stamped the sentiment in red.

I hope you will join the challenge and maybe win a prize in the drawing!  

Here are the supplies I used:

/div>
Have a great week and I will be back soon!
Gale

Friday, April 19, 2019

Easy Masked Card--"A Blog Named Hero April CAS Card Challenge"

Hello again!

Dare I say Spring has sprung???  I'm ashamed to not have gotten any Easter cards out, but Happy Easter everyone!  This month the challenge is CAS "Clean and Simple" cards.  I struggle with the exact definition of CAS, but I decided to go with lots of "blank" space, minimal layers and the only embellishment was shimmer on the flowers.  The supplies are linked below (afil).

I really miss my Iris bed from my last home.  My favorites were the variety of purple ones (and the pink, salmon, blue, yellow...LOL!)


To do this, I am doing some simple masking of the Hero Arts Iris Color Layering stamp set.  Once again, I am only using on part of the set, this time the outline.

Since I am going to color with Derwent Inktense Pencils, I stamped with a permanent black ink on bristol paper.  (If I were using more water, I would've used watercolor paper, but wanted paper smooth this time.)

Here is what the card looked like after masking the flowers and adding Inktense pencil to the edges.  I just pulled the color in from the edges with water. 


I added Hero Arts Iridescent watercolor to add some shine.  It came in a kit, so the closest thing available is H. A. Shimmer spray...just make a puddle on your mat to apply.  The supplies below are either what I used or as close as I could get (I have lots of really old tools/supplies!)

I let the watercolor dry on it's own, then layered it as shown, adding a black, heat embossed sentiment from the same Iris set to complete the card.

Hope you will join in the fun with the challenge (it's linked at the top in blue.)  I'll be back again soon!  If you would like more ideas, please go to index page and browse or to my channel youtube.com/c/galethompson  You are invited to subscribe there and also to my blog below. 

Here are the links!


Have a great week!!

Gale