Hello!!
Welcome back to the "Diaries!" Today's "A Blog Named Hero" Cute Challenge inspiration project features a spider slider!
It's really pretty simple to make and fun for the recipient! I started with a full sheet of Hero Art's Pitch Black card stock and cut in half the short way. (The final card is A2--4 1/4" x 5 1/2.") Trim both pieces down to 5 1/2" x 6 1/4." The supplies are linked below--AFIL--thank you!!
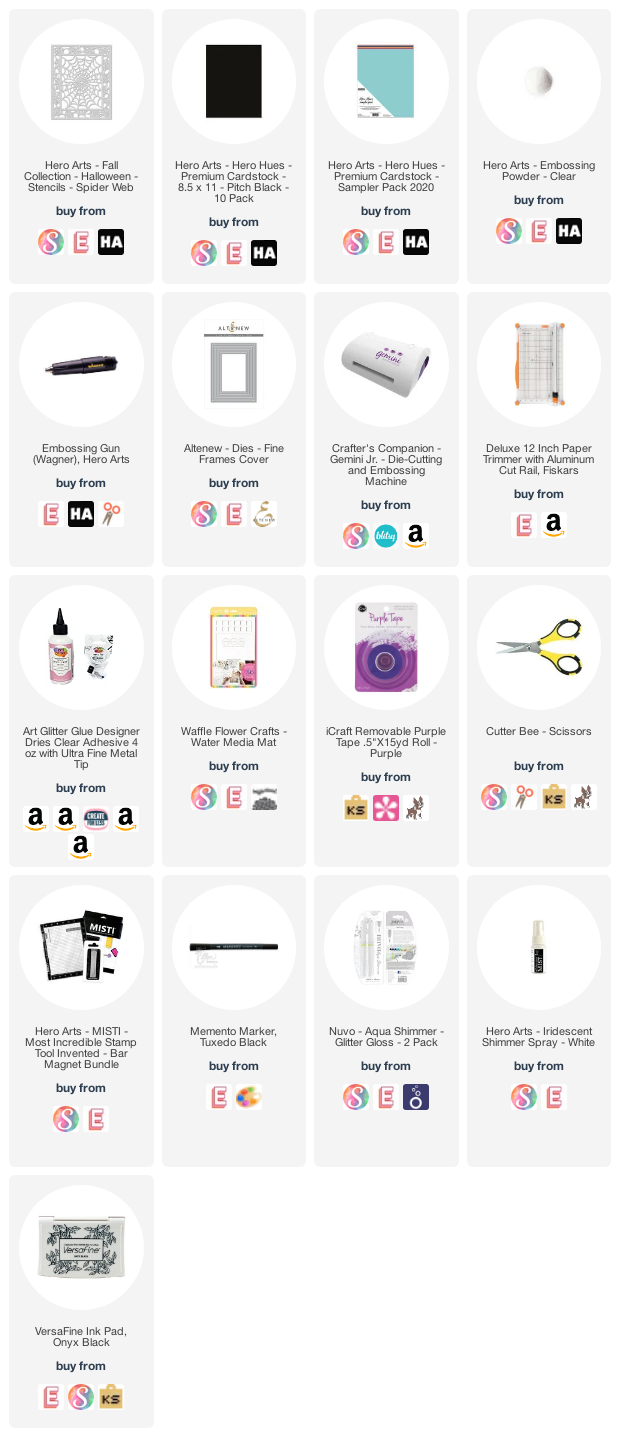
Score both ends of the 6 1/4" sides at a half inch and one inch. The inside panel is slightly less than 5 1/2" by 4 1/4." I spritzed shimmer spray on the black panel over the spider web stencil. Then I lined up the orange panel so webs would match and lightly brushed Soot distress ink over it. Then I glued the black panel to the orange.
I added the sliding spider on by cutting two strands of clear thread and running through the ring on the back of the spider (it was a button, origin unknown.) Then I taped the thread on the back of the panel in a diagonal, tight enough to hold the spider, but loose enough to let him be moved.
I glued that panel on to one of the black scored panels. I used a rectangular die to cut the window on the other panel. I used a bone folder to make a crisp fold, then glued the two outside edges of the of the folds (between the 1/2" and 1" crease.) Then pushed those edges into a valley fold and used the bone folder to set the fold. This allows the card to flatten for mailing, but pop up when out of the envelope.
I added a Boo sequin and a sentiment to the inside panel and a thin orange frame around the front. Then used a shimmer pen to give it a little shine.
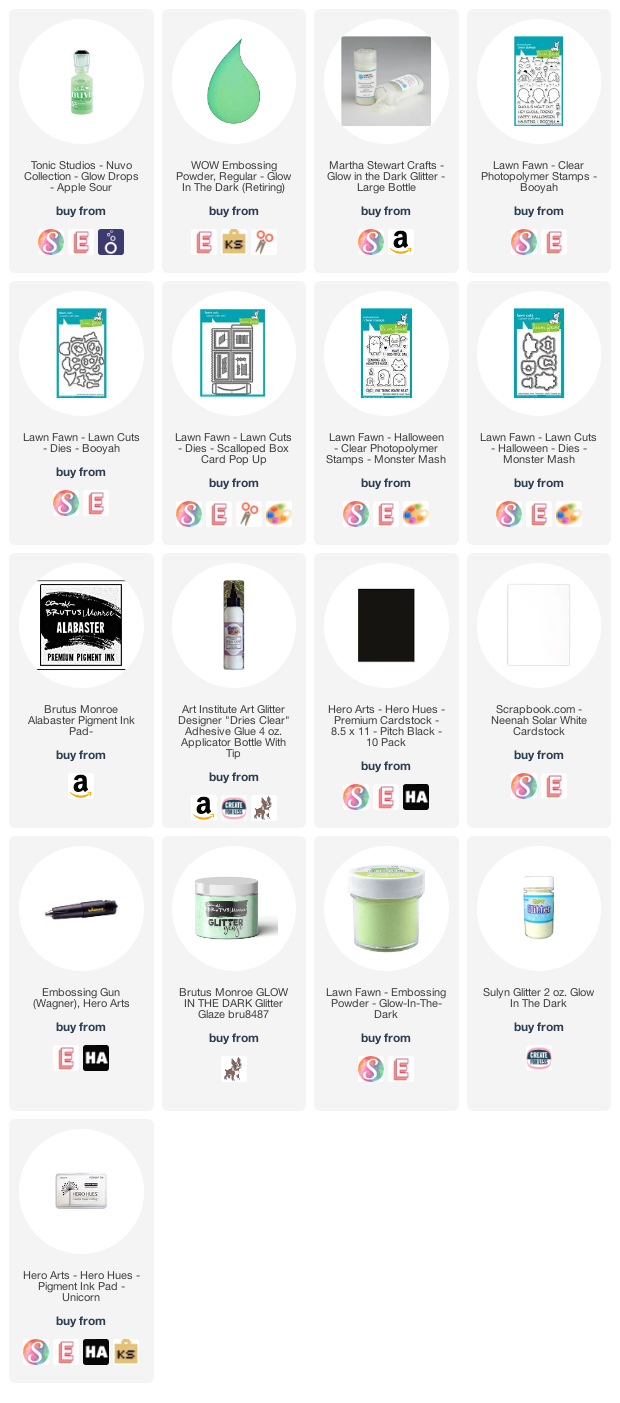
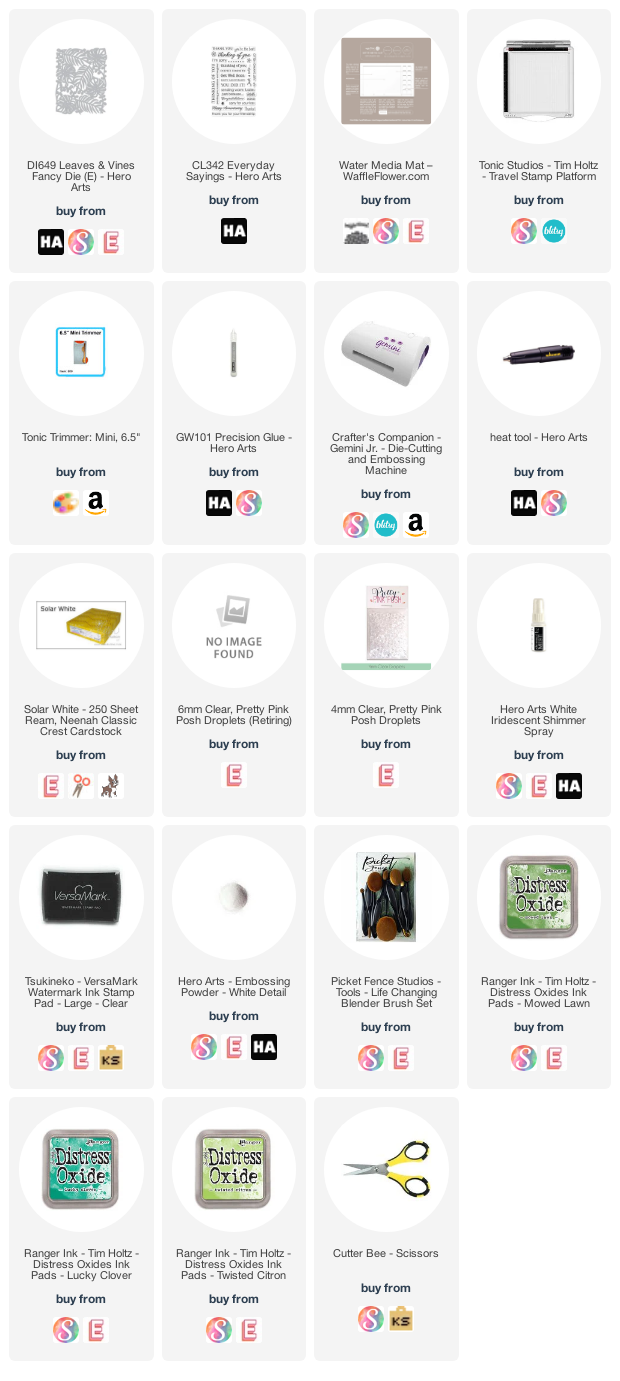
Here are most of the supplies I used:
I hope you will join the challenge at http://ablognamedhero.com for a chance to win a Hero Arts gift card!
Take care until next time,
Gale