Showing posts with label @heroarts. Show all posts

Friday, September 17, 2021

How To Make A "True" Clean & Simple (CAS) Card--" A Blog Named Hero's September Challenge!

 Hello and Welcome!


Today's inspiration for the "A Blog Named Hero" September challenge is a quick 'n easy one!  The YT video is linked below.  


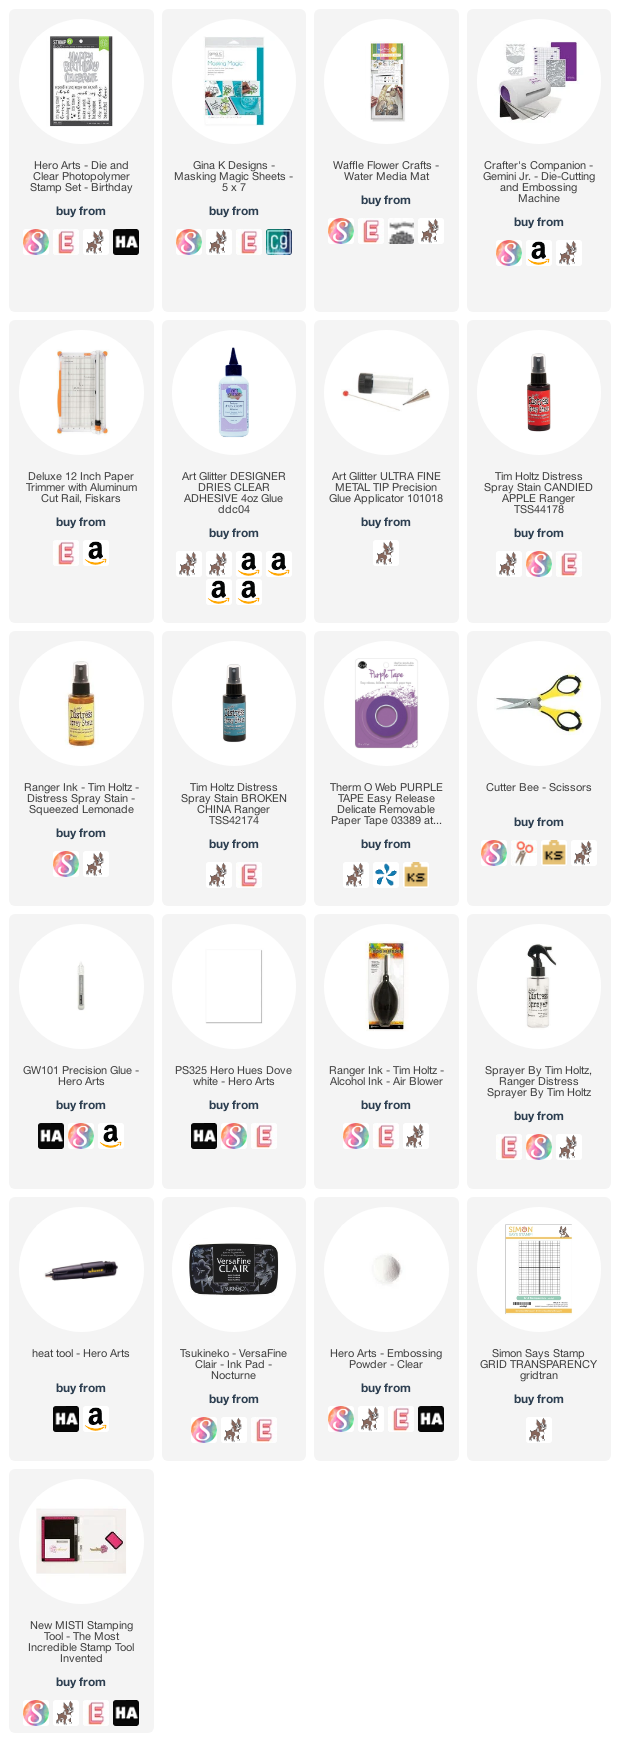
I diecut the sentiment out of Masking Magic, placed it firmly on the background and used just three sprays to color it.  Pull off the masking and there you have it!  Supplies are linked below (AFIL-thank you for your support!)


Until next time,
Gale

Tuesday, July 13, 2021

Repeat After Me! "A Blog Named Hero's" July Repetition Challenge!

Hello!


I'm finally back crafting a bit!  Hope you are doing well!  The complete tutorial is at my YouTube Channel linked below.


Our "A Blog Named Hero" challenge this month is "repetition."  When I started in the 1990s (horse and buggy days for stampers) repeating was a daunting task.  Although there are other ways to repeat now, the MISTI tool was a game changer for me and most every other stamper I know.  So may new techniques!  A higher price point than some tools, but save up because it's worth it!

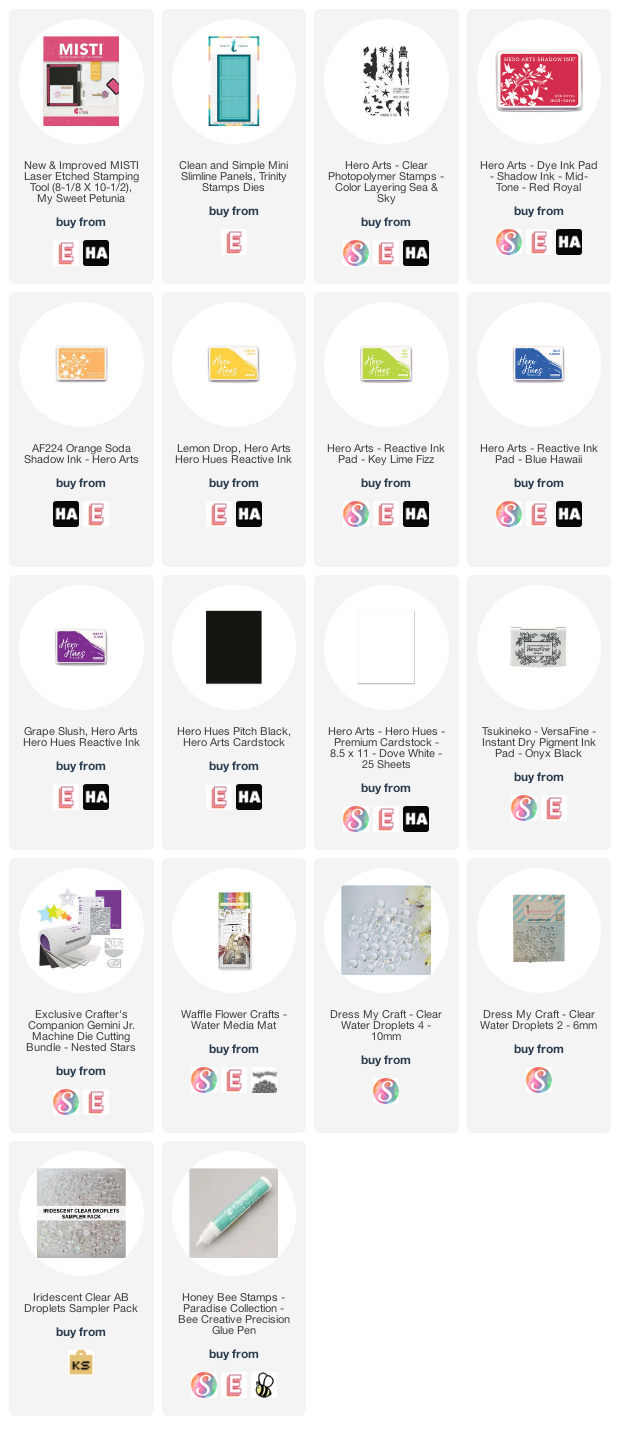
Today I used a tiny stamp from Hero Arts "Color Layering Sea and Sky."  I'm not great at scene building, so was glad to find a use for this Adirondack chair!  Once it's set up (I'll show you on YT tutorial--hard to explain here) it's easy, peasy!  I stamped on the smallest Trinity Mini-Slimline Die rectangle, then layered on the medium one with yellow cardstock, then layered onto the largest black rectangle and adhered to a mini-slimline base.  I added a few embellishments and I was done.  One of the cards is actually a salvaged boo-boo!  Guess which one!  The answer will be in the tutorial!  

Be sure to enter the challenge for a chance to win one of two generous Hero Arts gift cards!!!

The supplies are linked below (AFIL-Thank you so much!):

Take care,

Gale

Thursday, May 20, 2021

Just Channeling My Hippie-ness! "A Blog Named Hero" Shaped Card Challenge Inspiration!

 Hello!!

We're nearing the end of the current challenge, so hurry and get entered for a chance to win!  I chose to do a "hippie hexagon" with a rainbow of inks!


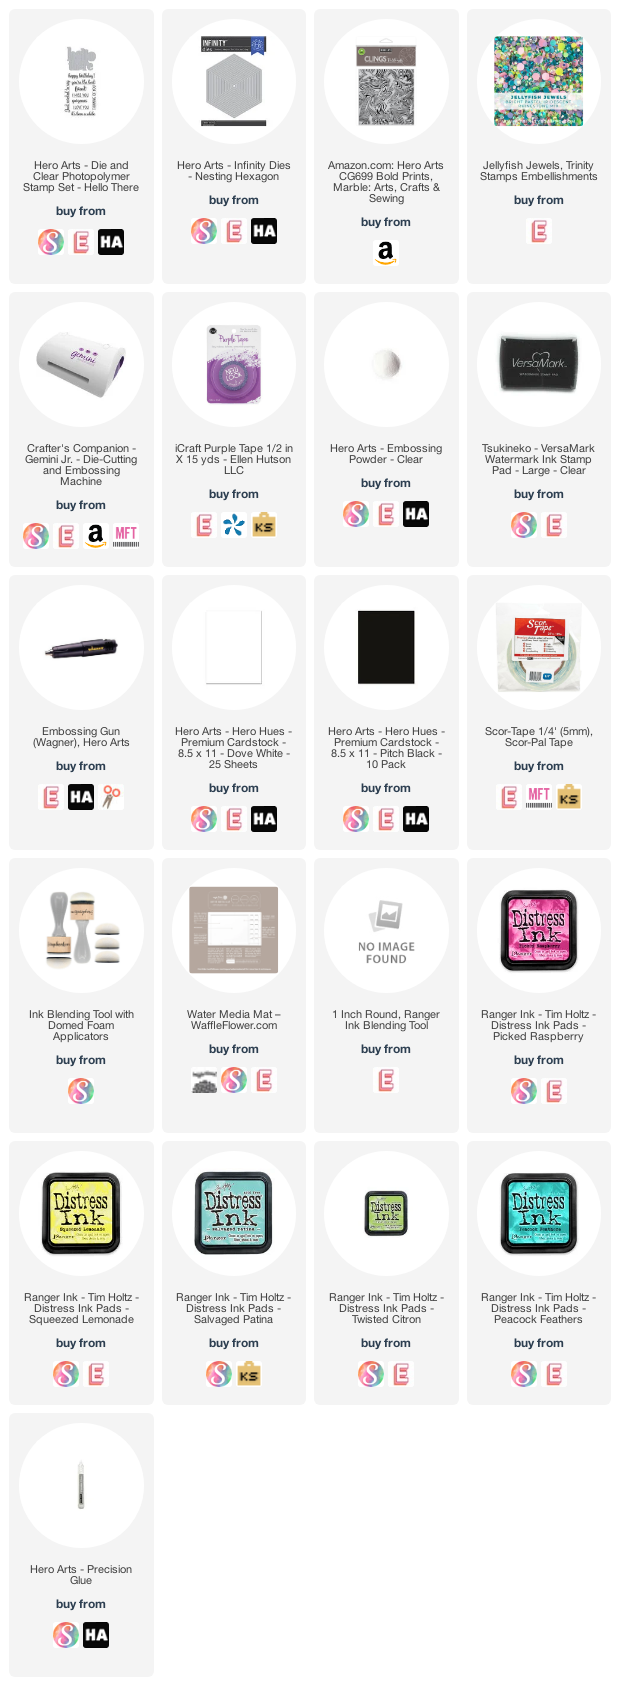
I die-cut 3 of the largest hexagon panels and scored one at 1/4" from the top.  I added Scor-tape to make a hinge.  Then I ink-blended randomly the last panel.  I stamped the Marble cling stamp with Versamark and used clear embossing powder.  I ran over the whole top with my darkest ink (Peacock Feathers- Everything is linked below--AFIL Thank you!!)

I layered the panels and added a thin black frame by using the two largest dies together.  I die-cut the sentiment three times and stacked for dimension.

Lastly, I added some hippy looking flower sequins and placed a jewel in the middle.  Super simple!

Here are the supplies I used:
I'll see you in a couple weeks with a brand new challenge!  (Of course, I hope to have a YT tutorial before that:)
Gale

Tuesday, May 19, 2020

Hugs From A Distance-- "A Blog Named Hero's" May 2020 Challenge!


Hello!

Spring is here, though it was sleeting here last week!  Today's project features Hero Arts Cherry Blossom Fancy Die and some watercoloring!  The supplies are linked below (afil- thank you!) and there will soon be a YouTube tutorial about the background which is an old, yet fun technique!   Update 06/19/20--video uploaded and linked below!  


I watercolored a scrap of watercolor paper with my Kuretake Gansai Tambi watercolors and die cut the cherry blossom branch out as well as extra flowers.  

I also die cut a branch from a scrap of Neenah Desert Storm.  I added a little color to add interest to that branch as well as some dry embossing.  I layered the blossoms over top of the Desert Storm piece and cut out the flowers from the pink die cuts ( I realized too late all I really needed were a bunch of extra flowers, lol!)

The first flower layer was glued flat to the Desert Storm branch, then I took a dry embossing tool and rolled over the top flowers before gluing just the centers over the first layer of flowers.  I added some Sherbet Nuvo drops to the centers and let dry.

Here's the link to the background technique video: https://youtu.be/lji8Sg3EfN0

I die cut prayers out of the background thinking I would raise up, but it looked lost, so I cut three layers of it in white scrap paper and one in pink glimmer cardstock.   I added to a white card base.  I had to inlay the diecut, but I offset the pink just a little so the white would show. 

Here are the supplies I used:
Until next time, stay safe and send someone a card!
Gale

Wednesday, April 22, 2020

Sending You Hugs!! "A Blog Named Hero" Watercolor Challenge Idea That's Pretty 'N Pink!!

Hi There!!

Hope this finds you well!  Today's project features the Hero Arts Parasol Bold Prints Cling Background stamp.  The supplies are linked below (afil...thank you!)


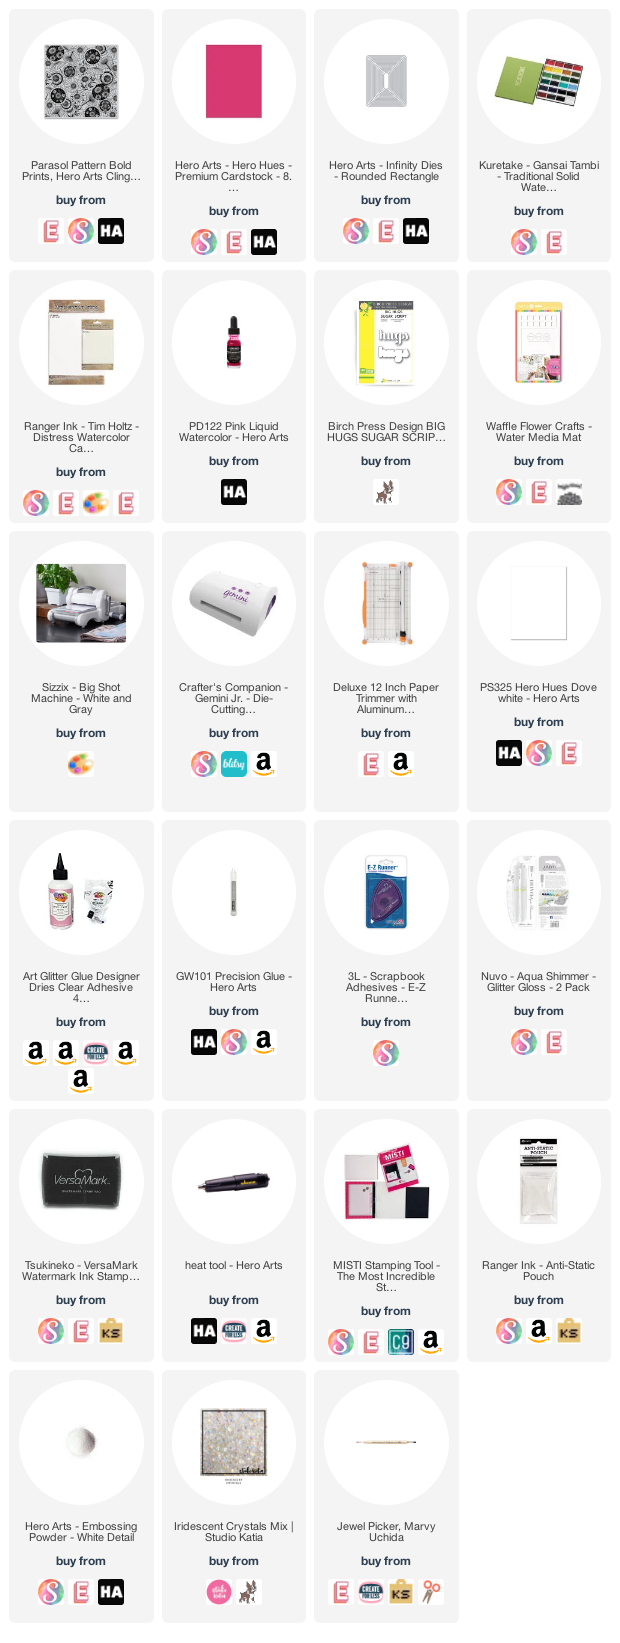
I heat embossed the stamp and just brushed watercolor over it being careful to leave color variations for depth.  Next, I centered the Hugs outline die and cut it out of the panel.  Then, I centered the hugs die on the outline die-cut so that image would be smaller than the opening.  

I popped up the die-cut with four layers of 110# white card stock, then added the top piece, giving it a good coating of sparkle with a Nuvo Glitter Gloss pen (hard to see in this photo, but it's there!)


I made an A2 top-fold card base and layered Hero Hues Azalea card stock cut with a Hero Arts Rounded Rectangle Infinity die.  I cut the watercolor panel out of a slightly smaller rectangle die.

After centering the Hugs die-cut I added iridescent crystals to the tops of the umbrellas.

Don't forget to enter this month's challenge for a chance to win one of two Hero Arts Gift Certificates!!  


Until next time, stay safe!!
Gale

Tuesday, November 19, 2019

How to Make a Christmas Card That's Sew Easy! A Blog Named Hero "Muted Tones" Challenge!

Hello!

Here is my first project inspiration for the November "A Blog Named Hero" Challenge of "muted colors."  This project may look familiar because the background is a leftover piece from an earlier card.  Always save those scraps!  This was simple to make and quicker than most.  The stitching to me is quicker than coloring and easily mass-produced on the go!  The supplies are listed below.  For the full tutorial, please visit my youtube link also below (and I hope you'll consider subscribing!)


I die cut the scrap from a rounded rectangle infinity die, but my tape wasn't secure and the paper shifted.  So, never throwing anything out (Never give up!  Never surrender!) I just recut to straighten out, but it does leave an odd size compared to the rest.  Oh well, our secret!

Next, I die cut the stitched tree in the center and stitched with hand-dyed muted green embroidery floss.  I added a garland of red floss with gold glass seed beads.  Next I added a star brad and cut a square of corrugated cardboard for trunk.  

I layered this with the muted red & green paper on top of the Neenah Desert Storm top fold card base.

Easy, peasy!


Hope you will give this a try!  I will be back very soon!
Gale

Tuesday, May 28, 2019

Pretty Pinata Birthday Card--A Blog Named Hero's May Challenge "Celebrate"

Hi & Welcome!


Today's card is a fun slider... I cheated and used patterned paper:)  I hope you like it too!  The supplies are linked below (afil).  I didn't do a YouTube tutorial (daughter's wedding, work, etc.) but here's what I did:

1.  I diecut the pinata on white heavy cardstock for a base.  Then I cut two more out of patterned paper, being careful to use the same spot so colors matched underneath flaps.

2.  I glued the first colored layer flat to white one, then lifted where possible the flaps on the 3rd layer, then glued it to second.  

3.  I diecut a slightly less than 4.25" x 5.5" white card and white fun foam with a slider die.  I gave the foam time to puff back up before gluing to back of the front card.  Then added foam tape around for extra lift to allow slider to move.  I attached a slider plastic disk (you could use foam tape) to the center of a penny and let dry.

4.  I attached a bit of white card on the slider area of the 4.25" x 5.25" black base so it would show through to front.  I put the penny in the track, then adhered the front panel.  I checked to make sure penny would slide freely before attaching the pinata to the slider disc.  

5.  I wrapped some baker's twine around his neck and made a bow.  ( I did this loosely and added bow so he didn't look like he was on a hangman's noose!  LOL!)  I gave him a googlie eye for more fun.

6.  I taped some twine behind him and the sentiment banner strip which is clear heat embossed and edged with black marker.  Then added some of the fun candy to finish it off!  Then I glued him to the slider disk.

Here is the little guy in action:

Here are the supplies I used.  I really appreciate it when you use these links as I buy my own supplies and the small commission I get helps me buy new things to show you!


Thursday, May 2, 2019

Pearls, Foils & Sprays...OH MY! Techniques, Tips 'N Fixes!

Hi there!

Long time, no see.  Try as I might to get something I feel is worth your while weekly, it really is more like 2-3 times a month.  


Today I'm playing with pearl alcohol inks, foils, sprays and dies for easy and fun cards!  The supplies are linked (afil) at the bottom of this post.  This tutorial is full of tips, tricks and techniques!

Here is the tutorial video: Please consider subscribing, liking & sharing! ;)


Here is a close up of the fish texture:


Here are the supplies I used:


Hope you enjoyed the tutorial have a great day!  See you again soon!

Gale

Monday, February 25, 2019

How To Make A Mirror Image & Spinner Card: Hero Arts MMH Feb '19 Kit

Hello Friends!!


It's time to party!  I can't dance, but I can make a dancer on TV!  Here is my Art Deco card featuring the February 2019 My Monthly Hero Kit.  All the supplies have picture links (afil) below.

Here it is in action:


The complete YouTube tutorial is below:


hanks so much for stopping by!!  I will be back soon!


Gale

Monday, February 4, 2019

Hinged Card & Bonus!: My Monthly Hero Arts Kit Jan. 2019

Hello!

Hope you are doing well!  Today I wanted to make easy, everyday cards with a "Valentine's vibe" using the Hero Arts My Monthly Hero Kit -Jan '19.   I'm sorry the kit sold out quickly, but I thought I would share the techniques with you.
The link to the YouTube tutorial is below:)


Here is the tutorial:


Here are the projects:


Cafe Sidewalk Chalky Sign


My homage to Floridian artist Leoma Lovegrove (and my bike!)


I took a little artistic license, but I think I got pretty close!

If you love vibrant colors and a Floridian feel, I highly suggest you check Leoma Lovegrove out!  She also has a product line at Beall's department store.  Her work just makes me smile:)

Here are the supplies I used (afil):


Until next time!!
Gale

Saturday, November 10, 2018

Oh Christmas Tree! How to Make a 3D Tree Card

Hello everyone!

Today we are going to make a lovely 3D Christmas tree card with the Hero Arts My Monthly Hero Kit from October 2018.  There are still some available at the time of this posting. At the filming of this tutorial I was not affiliated with them (I am now), but I love the kit and thought I'd share some tips and tricks for the tree, etc.  The tutorial link is below.  I hope you'll consider subscribing!


The techniques can be applied to other diecuts if you don't have the kit:)  The supplies are linked (afil) below that didn't come in the kit.  I really appreciate folks using these links as I receive a small commission on any purchases at no additional cost to you!


The YouTube Tutorial...

Note:  I became a Hero Arts Affiliate after this was posted!


Monday, October 8, 2018

How To Make A Snowflake Spinner Card! (with Process)

Hello everyone!

I am so sorry that there has been a large gap between videos, but I have some very good excuses... I will do a post on them soon, but want to cut right to the chase here....


Here is the video link!


I had requests to do a spinner card and a process video, so I thought I would honor both requests at once!  I step out most things in the video, but here are the basic things I do with most projects:

1.     Clean up craft area.  This may sound silly, because I often use the same supplies.  But I put everything away for a fresh start.  It de-clutters my mind.

2.     Where do my ideas come from?  

  • Sometimes I have an idea when I buy it (often I forget though)
  • I make a crude sketch of placement
  • Sometimes there is a specific technique I want to try and go from there.
  • Sometimes it's a new supply I can't wait to use.
  • I may need a card for a certain occasion or season
  • Rare occasions:  A video hop or card challenge (wish I could do more of those!)
  • Lastly, photos from FB, YT or Instagram, but I try to avoid that as I want in my head my project to be totally "original" to me.
3.    Gather supplies.  I am forever getting up and chasing them down which takes time and my focus away.

4.     Make sure you have time for do-overs.  The best laid plans can go awry and spills, smears, etc occur without warning!

5.     Mock up your card with copy paper or scraps.  Pick colors, choose sentiments.

6.     With this card I ask myself "How can I make this work?"  The ornament has a hole in the middle:  I could
  • leave open and have sentiment show through to inside.
  • sandwich vellum or acetate, but this sentiment isn't symmetrical;
  • could color acetate or vellum or use colored paper
7.     How do I make spinner work freely?  Will have to enlarge circle around it.

8.     What embellishments, if any?

My process took a different direction when I accidentally cut the ornament out of the front instead of the larger circle.   That meant I couldn't use that part of the blue piece.  That's when I got out the metallic paper.  I think it looks better this way (Happy accident!)  

After I put silver Nuvo drops on snowflakes, they didn't show up like I had hoped.  So, I waited for them to dry and scraped them off.  I replaced with sequins.

I took that leftover snowflake and made a place setting name card.  I never let extra pieces go to waste!  Save them if you can't use them right away.  They can inspire another project or at least enhance one!

I hope this helps and know you are not alone in the creative struggle!!!

Here are the supplies I used: