Showing posts with label @ablognamedhero. Show all posts

Saturday, October 16, 2021

A Ton Of Texture Inspiration! "A Blog Named Hero's" October Challenge

Hi there!

I can't believe I have two blog posts in one day!  Getting ready to have my shoulder replaced on 10/20 and am under the gun! 


Anyway, here is another "A Blog Named Hero" inspiration project for this month's Texture challenge.  Be sure to enter on Instagram, tag #abnhoctoberchallenge and @ablognamedhero for a chance to win one of two gift cards to Hero Arts!

There is a ton of texture on this card!  I will have a special tip Youtube video shortly, so stay tuned!  (Subscribe over at my channel and hit that bell for notifications!  You won't want to miss it!)

The supplies I used are linked below (AFIL- Thank you!)  I simply sprayed Frayed Burlap Oxide ink on a white woodgrain panel and misted with water to get the "drippage."


The wreath is part of a past Hero Arts My Monthly Hero kit, but there are loads of twiggy wreath dies out there in the crafty world.  I layered three but didn't glue the tips.  Then sprayed Crooked Broomstick Distress Mica spray (also probably unavailable by now as it was part of the Halloween Distress collection, but there are gold sprays out there as well!)

11/10/21 edit:  Here is a brief tutorial of how I made the leaves:


I crimped up the loose edges for extra twig-like texture and arranged my pretty darn authentic leaves like a bow.  Lastly, I added some gold baubles to cover up the intersection.  The leaves are a project on their own, so be sure to see that tutorial once I get it posted!  I've got a lot to do before I have my good arm strapped to me for 6 weeks!   The leaves begin with Hero Arts Autumn Leaf fancy dies.

I attached the panel to a complimentary colored base and called it a day!

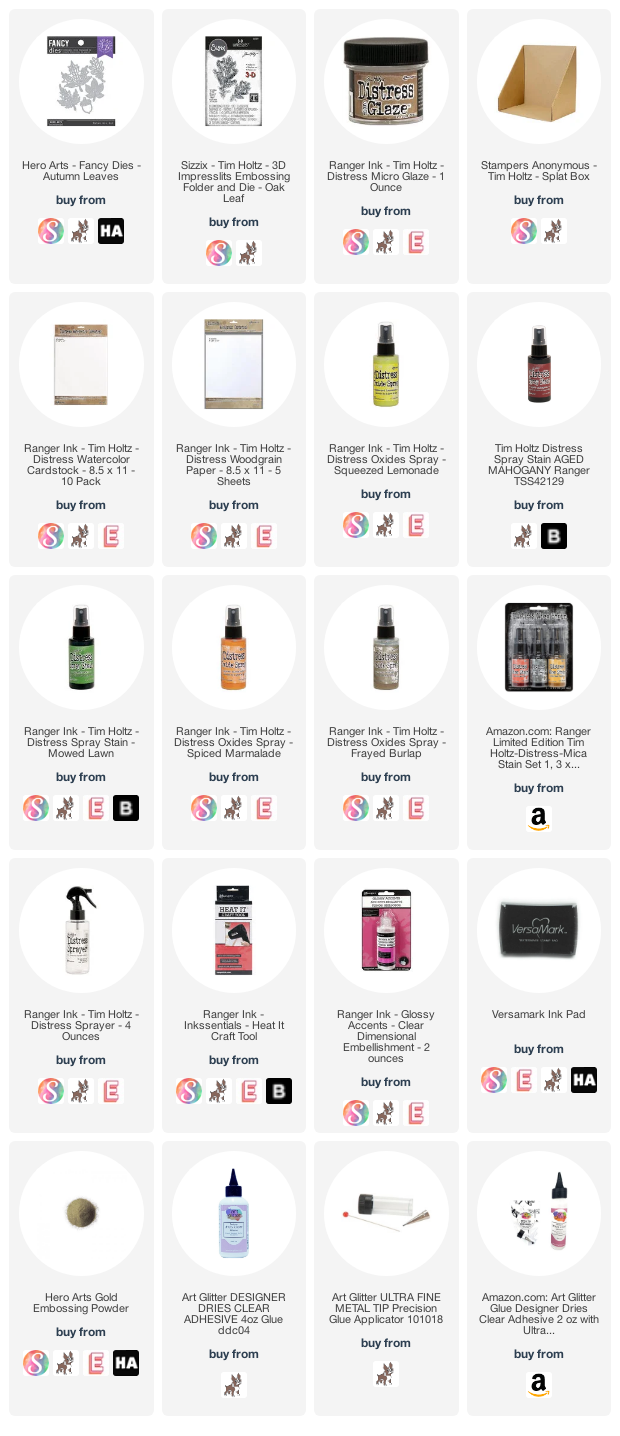
Here are the supplies I used:
Check out my other post for today about a fun YouTube hop and lovely Fall projects!

Take care,
Gale

Friday, September 17, 2021

How To Make A "True" Clean & Simple (CAS) Card--" A Blog Named Hero's September Challenge!

 Hello and Welcome!


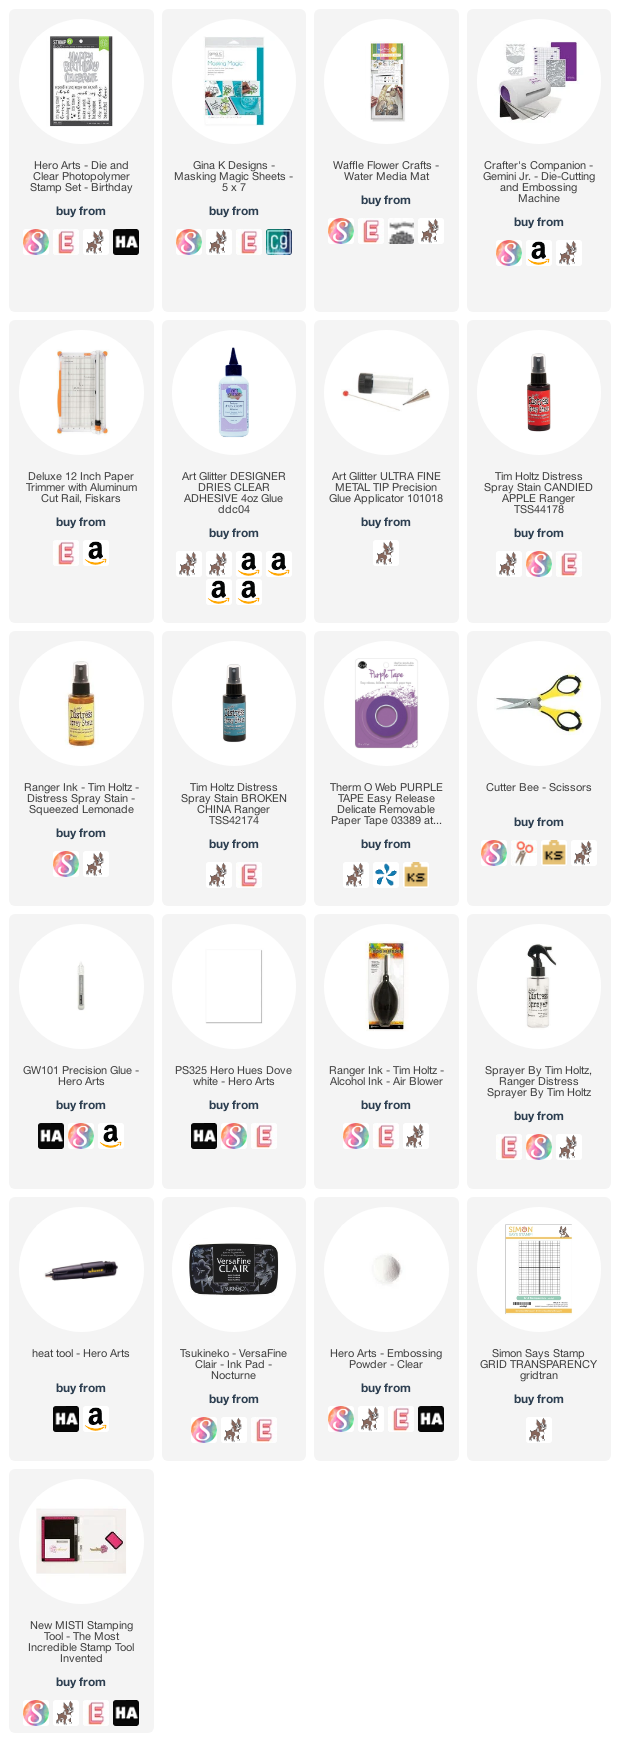
Today's inspiration for the "A Blog Named Hero" September challenge is a quick 'n easy one!  The YT video is linked below.  


I diecut the sentiment out of Masking Magic, placed it firmly on the background and used just three sprays to color it.  Pull off the masking and there you have it!  Supplies are linked below (AFIL-thank you for your support!)


Until next time,
Gale

Tuesday, February 23, 2021

How to Add Texture to Your Projects!--"A Blog Named Hero" Anything Goes! Challenge

Hello from snowy Ohio!

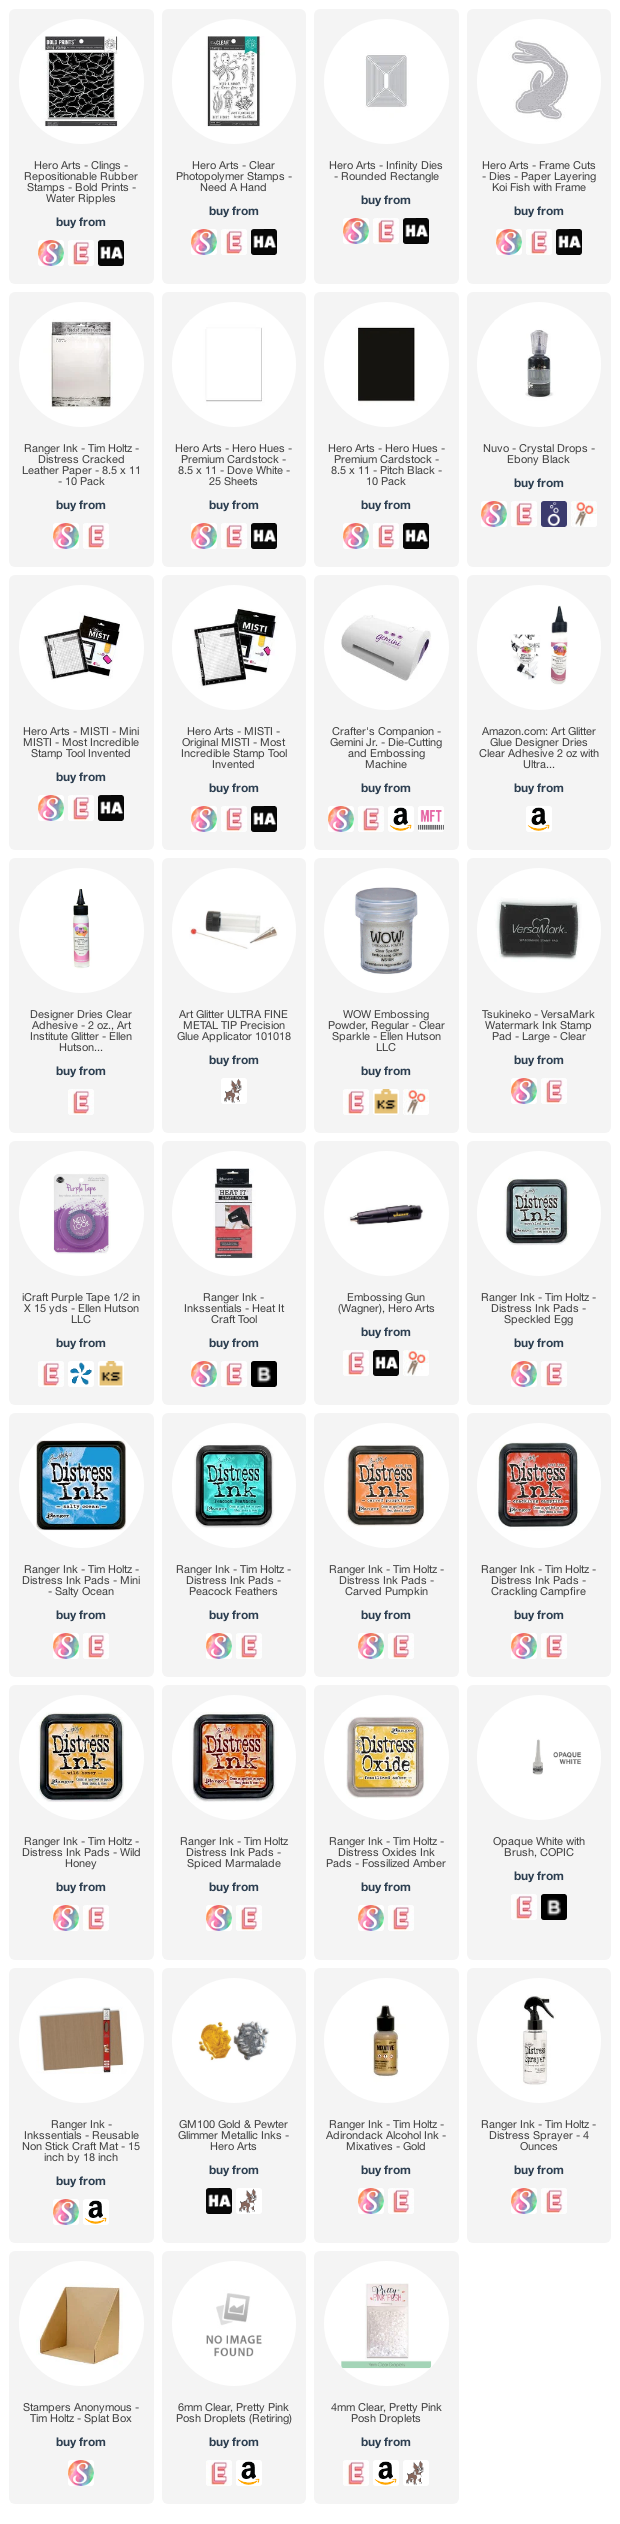
I'm trying to channel Spring here with this fun Koi pond card:)  If you like to get inky and play, this is the project for you!  I have a tutorial video shot, but it won't be up for a few days (I fell and broke my nose, had surgery today to fix..not feeling too crafty.)  

I have been watching Tim Holtz live's and they are great for beginners or experienced stampers!  The only thing better would be if the Girl Scout next door would deliver my cookies to snack along with a big glass of milk:(


Most of the supplies I used are linked below (AFIL-Thank you!)

 So for now, my instructions will have to do!  I kinda rummaged around to decide what to play with and I grabbed the leather distress paper to see if it would look like fish scales.  I grabbed oranges, golds and blues.

I stamped the background with a blend of blue inks, then re-stamped with Versamark ink and embossed with clear sparkle powder.  

Next, I ink smooshed on the leather paper until I was happy with result.  This took several layers, drying in-between.

I diecut the Koi using the inner and outer dies.  Then re-cut the inner with the outline to cutout. That way the paper under the fluffed areas are the same color.  

I fluffed the scales a bit, then glued just the perimeter of the fish to that bottom diecut   I fluffed some more, using a craft knife.I glued the fish to the background, but wanted some interest other than the clear bubbles.  So, I found a 20 year old box of plastic watch crystals (look on Etsy, but mine were a lot cheaper back then...) 


I white embossed on black the sentiment and cut to fit the watch crystal.  I applied it to the card front then layered whole thing on black, then a white top-folding card base.

I added black Nuvo drops to the eyes, after dry, I added white Copic ink to highlight.  Then I realized that ink is waterbased and won't dry, I added a smidge of clear Nuvo drops!  until I get this uploaded, here are some other projects using this Koi die!

https://youtu.be/pq0vfskXsmU

https://youtu.be/Vg6iO-YOgk0

I hope you will give this a try!  Come back and see me soon!

Gale

Wednesday, April 22, 2020

Sending You Hugs!! "A Blog Named Hero" Watercolor Challenge Idea That's Pretty 'N Pink!!

Hi There!!

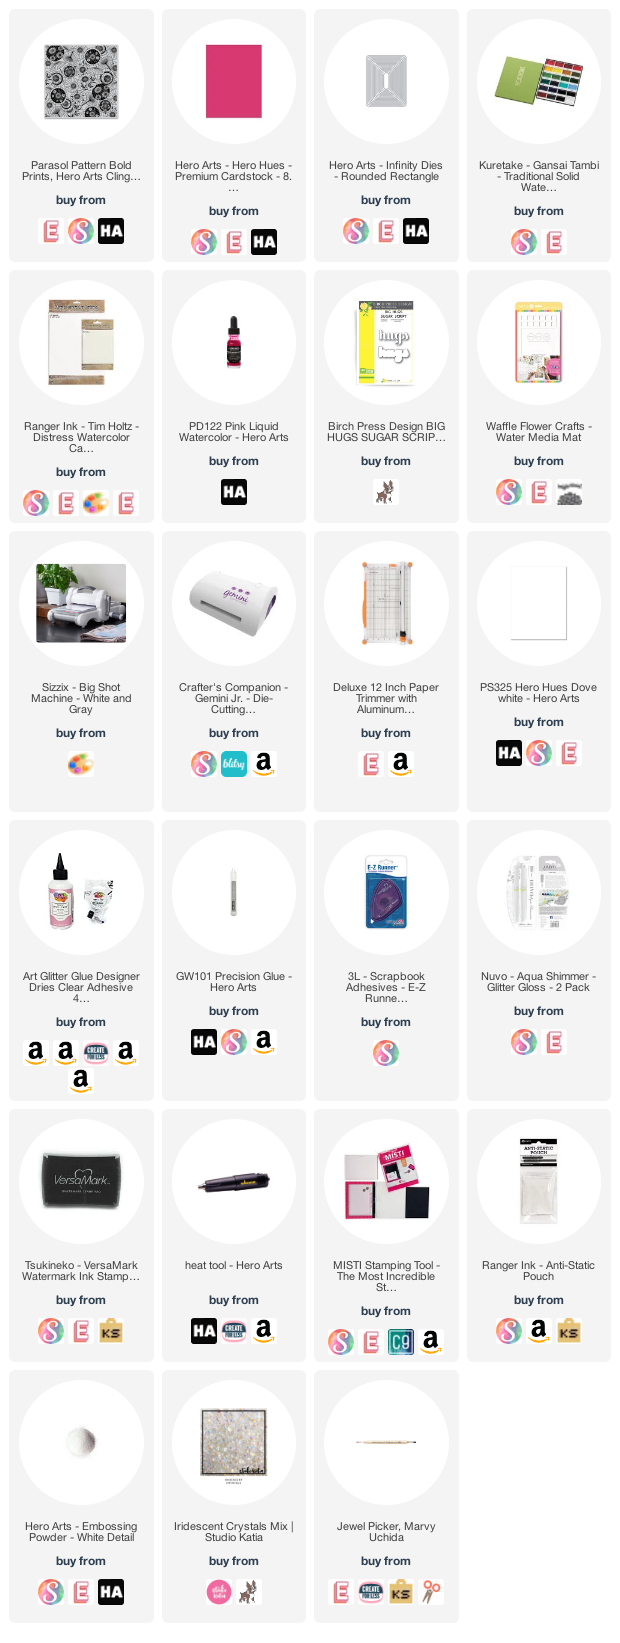
Hope this finds you well!  Today's project features the Hero Arts Parasol Bold Prints Cling Background stamp.  The supplies are linked below (afil...thank you!)


I heat embossed the stamp and just brushed watercolor over it being careful to leave color variations for depth.  Next, I centered the Hugs outline die and cut it out of the panel.  Then, I centered the hugs die on the outline die-cut so that image would be smaller than the opening.  

I popped up the die-cut with four layers of 110# white card stock, then added the top piece, giving it a good coating of sparkle with a Nuvo Glitter Gloss pen (hard to see in this photo, but it's there!)


I made an A2 top-fold card base and layered Hero Hues Azalea card stock cut with a Hero Arts Rounded Rectangle Infinity die.  I cut the watercolor panel out of a slightly smaller rectangle die.

After centering the Hugs die-cut I added iridescent crystals to the tops of the umbrellas.

Don't forget to enter this month's challenge for a chance to win one of two Hero Arts Gift Certificates!!  


Until next time, stay safe!!
Gale