Showing posts with label rubber stamping. Show all posts

Friday, January 16, 2026

Shaggy Dog Shaker Card (Craft Roulette #301 Submission)

Hello!


Happy New Year!  Wishing you all the best in 2026 with tons of time to craft!  My first card this year is a Craft Roulette submission.  If you haven't heard of Craft Roulette, it's a live paper craft challenge on YouTube at 7:10 EST.  It's a great way to stretch your card-making muscles!  We have a lot of fun and laughs along the way!

Mary Gunn Funn spins the wheel to decide our parameters each week.  This week was Project:  Appreciation Card,  Color: Apple Farm,  Element: Silhouette, Random: An Old Product.  There was a bit of an extra challenge this week by Jenn Gross to make it a shaker card and she'll donate .25 cents for each one to the Elderly Dog Rescue in honor of Mary's son Stephen's dog Furgis.

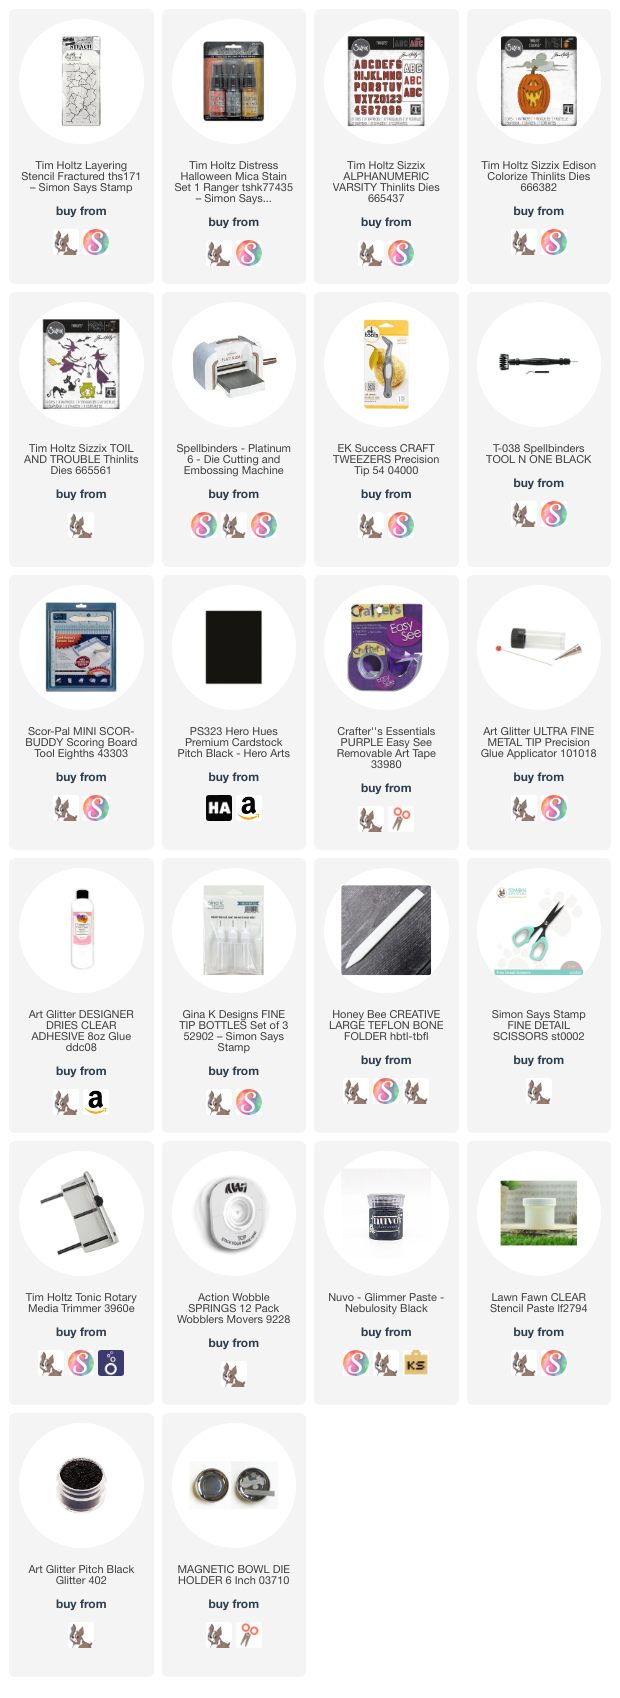
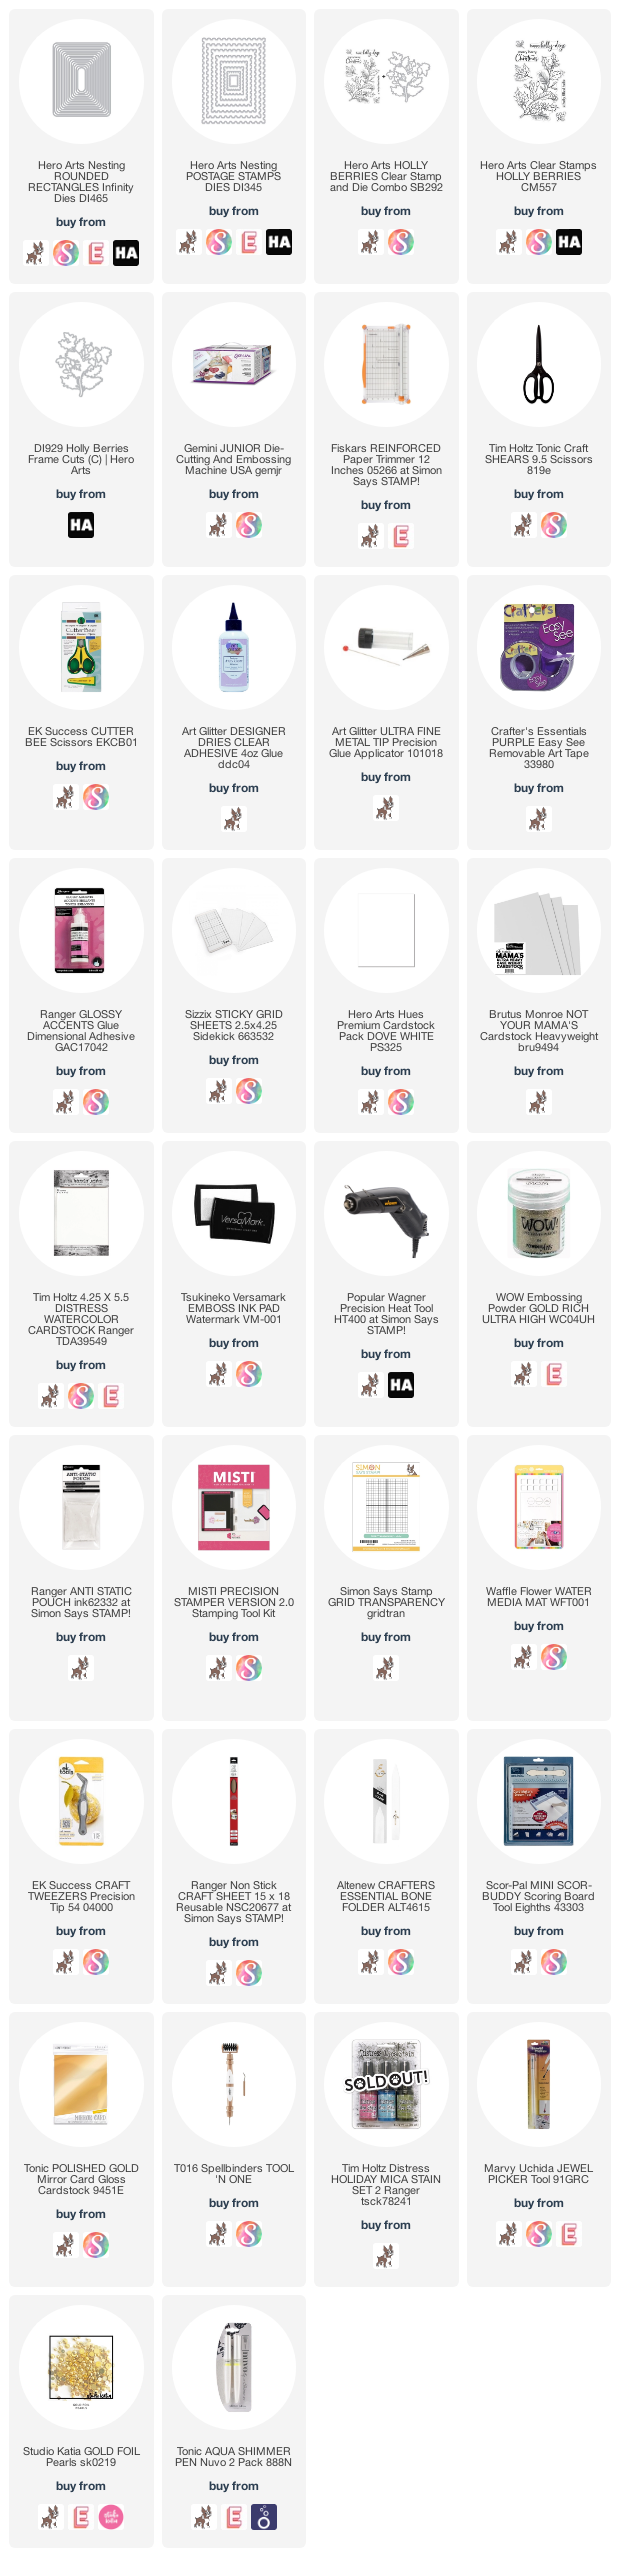
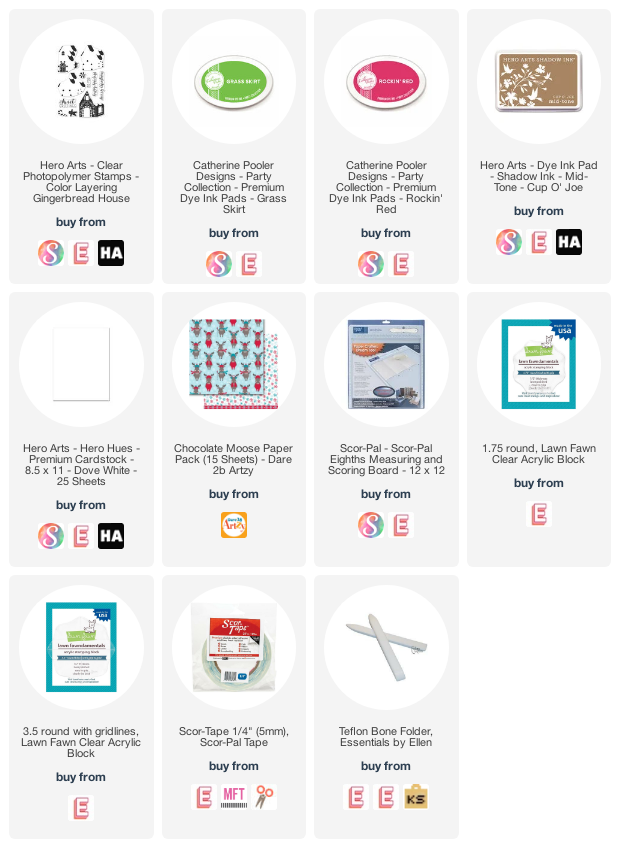
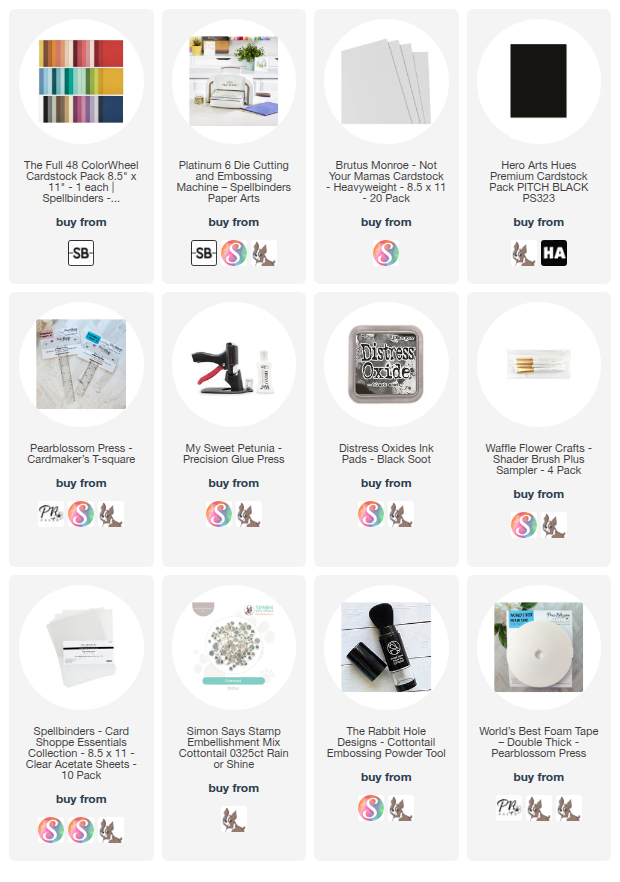
I had no problem with the old stuff!  The corner punch (unknown) is ancient as well as the Thank You window (Creative Creations).  I also used an old Martha Stewart edge punch to make a little stencil for the pawprints and a Simon Says Stamp Dog Die that's discontinued.  Anything else I used is linked below.  

I don't normally do 5 x 7 cards, but was "forced" to because the thank you die was too wide for an A2:(. That's a lot of real estate for me to cover!

I added a shadow to the dog die, but the silhouette wound up being the pawprints.  I was hoping the thank you would be, but it's a drop shadow LOL!

I'm planning some tutorials soon as I have a little time off work this month.  So watch this space!

Take care and I'll be back soon!

Gale
Wednesday, September 10, 2025

I Took The Spellbinders Candy Christmas Train For A Spin!

Hello!  

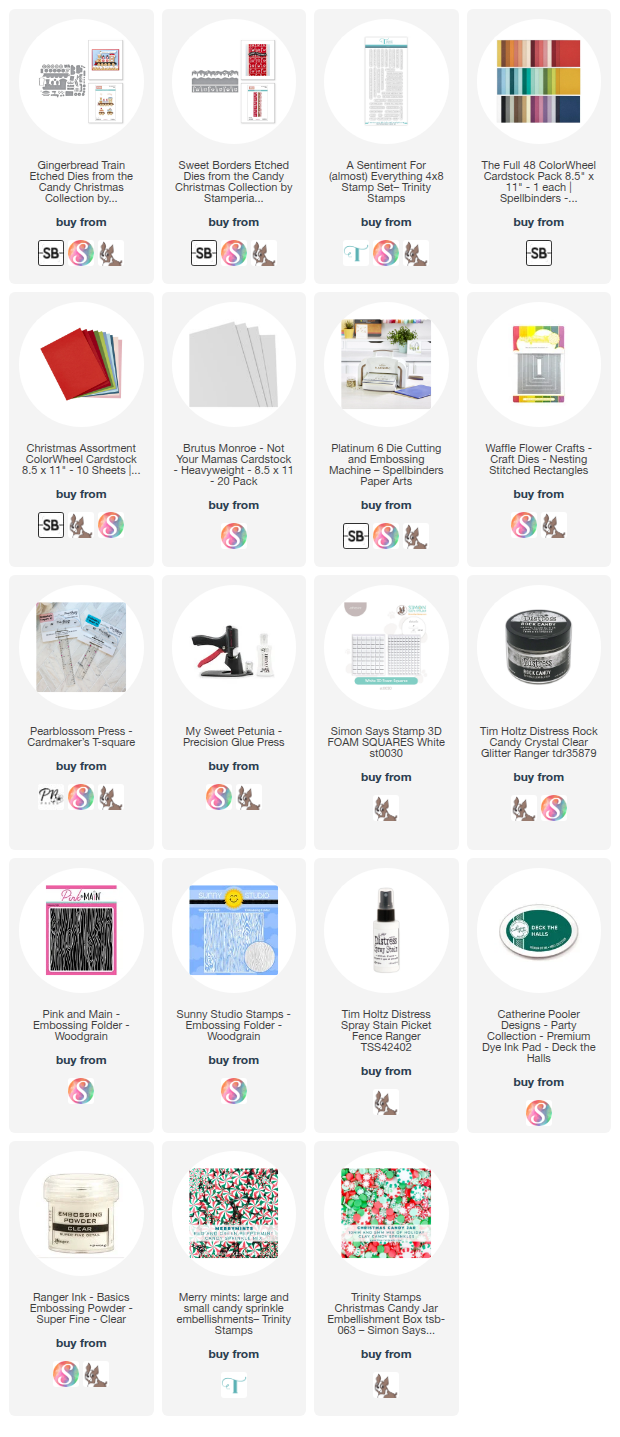
How cute is this?  I was sent this by Spellbinders to play with.  There are several more dies, but I couldn't fit everything on this A2 card.  This is a large set, so I would suggest numbering like I did for Mickey Mouse.  I linked what supplies I could below (AFIL, Thank you for your support!) If something isn't available, I tried to find something close.


Organization is the key.  It's just like building a puzzle, but more fun for me;).  If you click on the train die set link in products you will also find a diagram that's pretty helpful, especially for the first time you use it.

I think I will try to make a "steampunk-ish" one soon.  I'll share if  I do!  I know it feels early to be making Christmas cards, but if you make a lot of these you'll want to get started!

This just in!

I'll be back soon with another "sweet" project that's double interactive!

Here are the supplies I used:

Take care.  I'll be back very soon!
Gale

Friday, March 21, 2025

Let's Check Out the Spellbinders BetterPress System!

 Hello!

Yesterday was the official first day of Spring!  I'm here for it!  Several crafty friends suggested I buy the BetterPress, so I finally did.  After playing with it a bit (video linked below), I'm glad I did!  It's not terribly expensive and does wind up having multiple uses.  It imprints like a letterpress, giving lovely results that are hard to show in photos.  


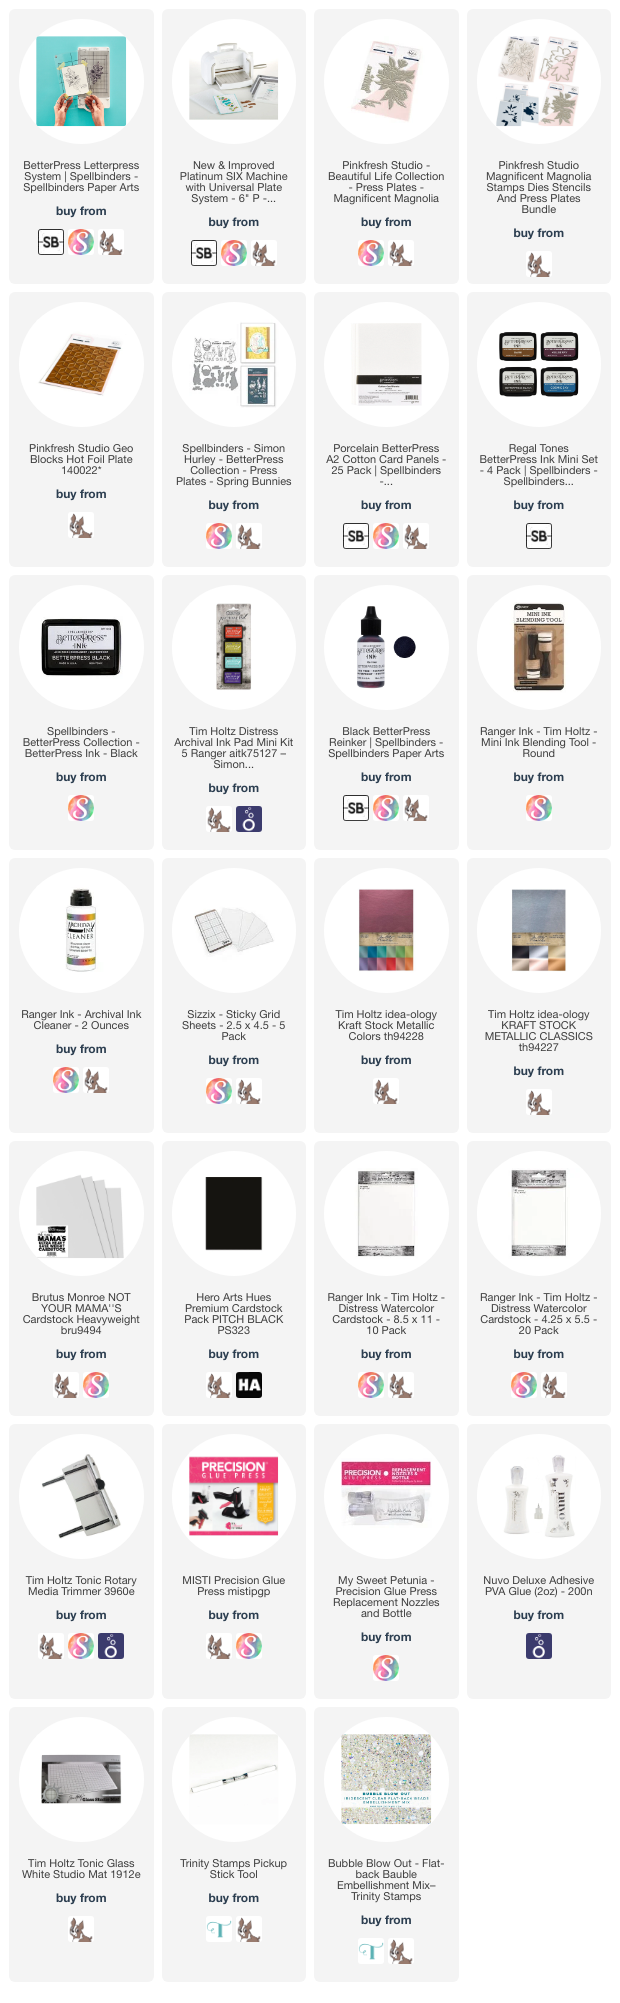
The BetterPress System is easy to use and pretty much foolproof.  I show you how in the video below!  I've also linked (AFIL) below the supplies I used in case you are interested in them.  I appreciate it when you purchase with those links as I may get a small commission at no additional cost to you!  Thanks!

I will be doing a follow up video on using the foiling aspect of the BetterPress plates and other materials.


I'd love to hear your suggestions on further uses as well!  Please comment at the video as I sometimes am not able to respond to comments here;)

Supplies:

Take care and I'll be back soon!
Gale

Tuesday, February 4, 2025

"Show 'N Tell" Featuring Spellbinders New "Classic Pooh & Say Cheese!" Collections!


 Hello!

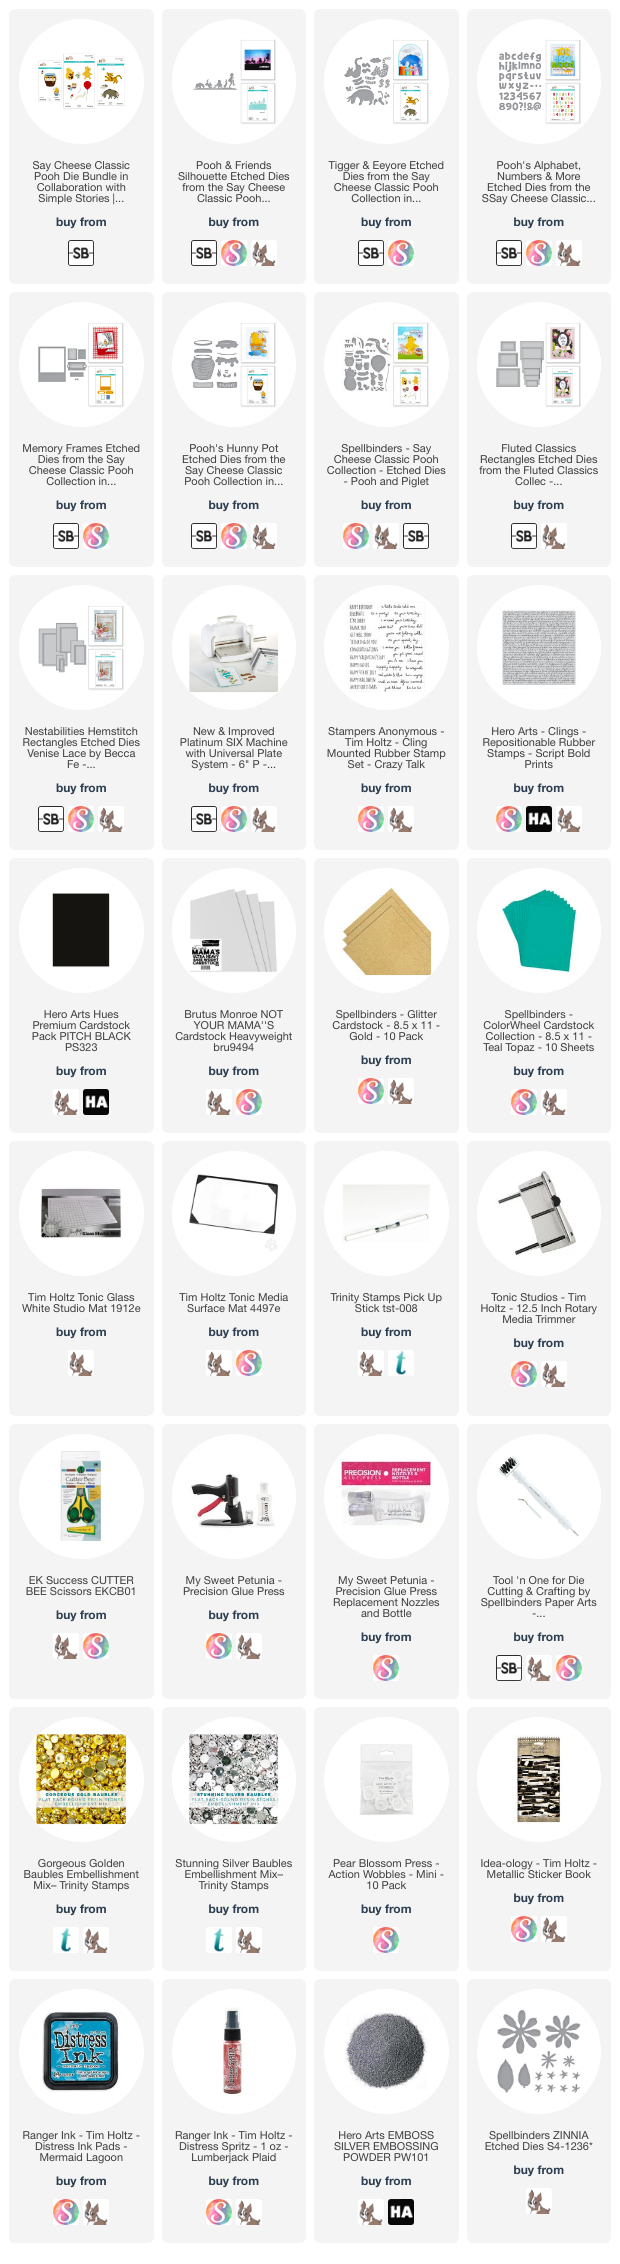
Today I'm sharing several cards using the Spellbinders "Classic Pooh" and "Say Cheese" die sets.  A special "Thank You" to Spellbinders for sending me some of the dies to play with!  However, as usual, my opinions are strictly my own.  The products are listed below.  (These are affiliate links, so I may make a small commission if you purchase using these links;). Thank you for your support!!  

Here is a show ‘n tell video with extra info!  I thought I’d try something a little different;) 


First, I added an action wobbler to Tigger to create an interactive Valentine!  I added the Spellbinders "Hemstitched Die" so more of the black would show through.


My second project uses the Classic Pooh Silhouette die and some gold glitter paper to highlight it.  Some many sunset examples had already been posted, so I tried something different.


The third project is using the "Hunny Pot" die a bit differently!  I didn't have Pooh or Piglet, so I had to get really creative.  The flowers are from a retired Spellbinders Zinnia set.


The fourth card features the "Say Cheese" and "Fluted Rectangles" frame die.  The stamp set is from Gina K and is stamped on glossy photo paper.


Photo Paper Inking Video:
https://youtu.be/QIgbYq-RHxE

Last, but not least is "Eeyore" who is paired with "Tigger" in a die set.  I also used the Spellbinder "Hemstitched Rectangle" die to add some variety.  I had some scrap distress inked paper that had a matte finish, so I used it to make balloons like conversation hearts!


Distress Ink Videos:  https://youtu.be/0H7oGN7hZnw
                                https://youtu.be/0gvlms-gGwA

I hope you enjoyed this visit to "Pooh Corner" in the Hundred Acre Wood!  Let me know if you have any questions on the projects!

Here are the supplies is used:

Take care & I'll be back soon!  Please consider subscribing here, IG, FB and YouTube--it's all free and you won't miss any new posts!

Gale

Thursday, June 20, 2024

Cool Faux Metal Engraving Technique/ Trinity Stamps June '24 Release!

Hello!

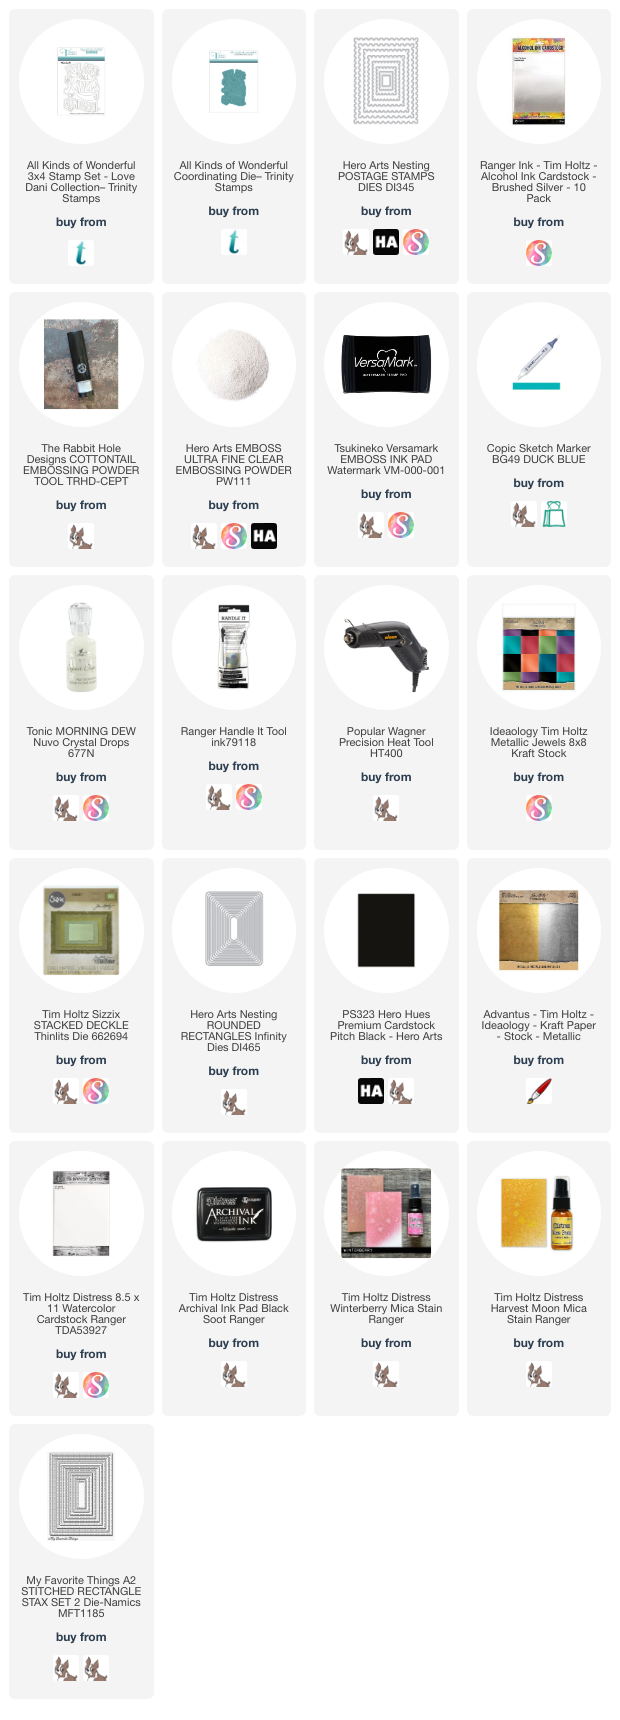
I had the pleasure of meeting Tanesia at SSS Create!  She's awesome!  If you see her booth at a show, stop by and introduce yourself!  Here are just a couple ways to use this new stamp!  It’s all one stamp and covers an A2 panel nicely.  The supplies are linked below as well as my YouTube "Quick Tip" Video about how I did the Faux Engraving!


Here's a close-up of the technique!


Here is the tutorial:  

A more in-depth tutorial of the this technique can be found here:
https://youtu.be/fGpYro0PjAQ

Here are the supplies I used: 

I'll see you again real soon!  Take care!
Gale

Wednesday, October 11, 2023

Caramel Apple Teacher Card-- Craft Roulette #184

 Hello All!!

Happy belated World Cardmaking Day!  I had to work, but enjoyed a large part of the Craft Roulette WCMD live with Mary Gunn Funn and sweet friend Amanda Stevens (Pear Blossom Press.)  You can enjoy all the "funn"on the replays!

I didn't make a video tutorial this time, but there are 100+ different ones on my YouTube Channel (@darbycreek) I hope you will check out (and if you enjoy...like, subscribe and share with a friend or two!)  I can't post regularly, so be sure to hit that notification bell! I have a short video on IG and my FB page (@darbycreekdiaries.)


I finally used a "Stamptember" set by Brutus Monroe for Simon Says Stamp from last year.  It sold out quickly, but you may find on Ebay, etc.  Beware:  the prices are usually outlandish!

The Craft Roulette parameters for Episode #184 are Card for a Teacher, Tartan colors, Fall or Spring scene and a Wrap.  I diecut a plaid background and glued to a top folding A2 base.  I fussycut the caramel apple after stamping in black and heat embossing in clear to make nice little wells for the candy dots.  

I used copics and colored simply.  The trick to avoiding coloring around the dots is to use a darker marker for the candy bits, then cover whole thing with a lighter marker!  I'm lazy and not a great colorist:)

To hit the Fall Scene parameter, I used a falling leaves embossing folder by Tim Holtz and lightly applied some red and yellow distress inks.  I coated the caramel apple with a ton of Glossy Accents and only stuck my finger in it once, however, I dropped the little bottle of the gloss right onto it as is usual.  Fortunately, Glossy Accents self levels in time!

Since several of the supplies aren't available and the rest are basic, I didn't do a list this time;)

Until next time,

Gale


Wednesday, September 20, 2023

How To Make An Easy Cut-Away Card!

 Hello!

Finally back to the craft room!  Since it's feeling Fall-like here, I thought I'd make a card using this cute new "Edison" die set by Tim Holtz and Sizzix.  Everything you need to know is in the tutorial linked below (as well as the supply list AFIL-Thank you!)  


Here is the tutorial link:


Here is the supply list:

Enjoy!!  I be back again real soon!
Take care,
Gale

Sunday, July 2, 2023

Super Simple Sublimation For Stampers! No Fancy Equipment Necessary!


 Hello!

I've had several requests to do a quick review and introduction to sublimation, so here we are!

I am only showing the tip of the iceberg, using the least expensive supplies that aren't already in my craft room.  You can go nuts and even start a small business if you get going with a Cricut, heat press, tumbler press and all sorts of goodies.  I have those things linked below along with the supplies I use, just in case you are interested.  

The demo and info is all in the brief tutorial below:


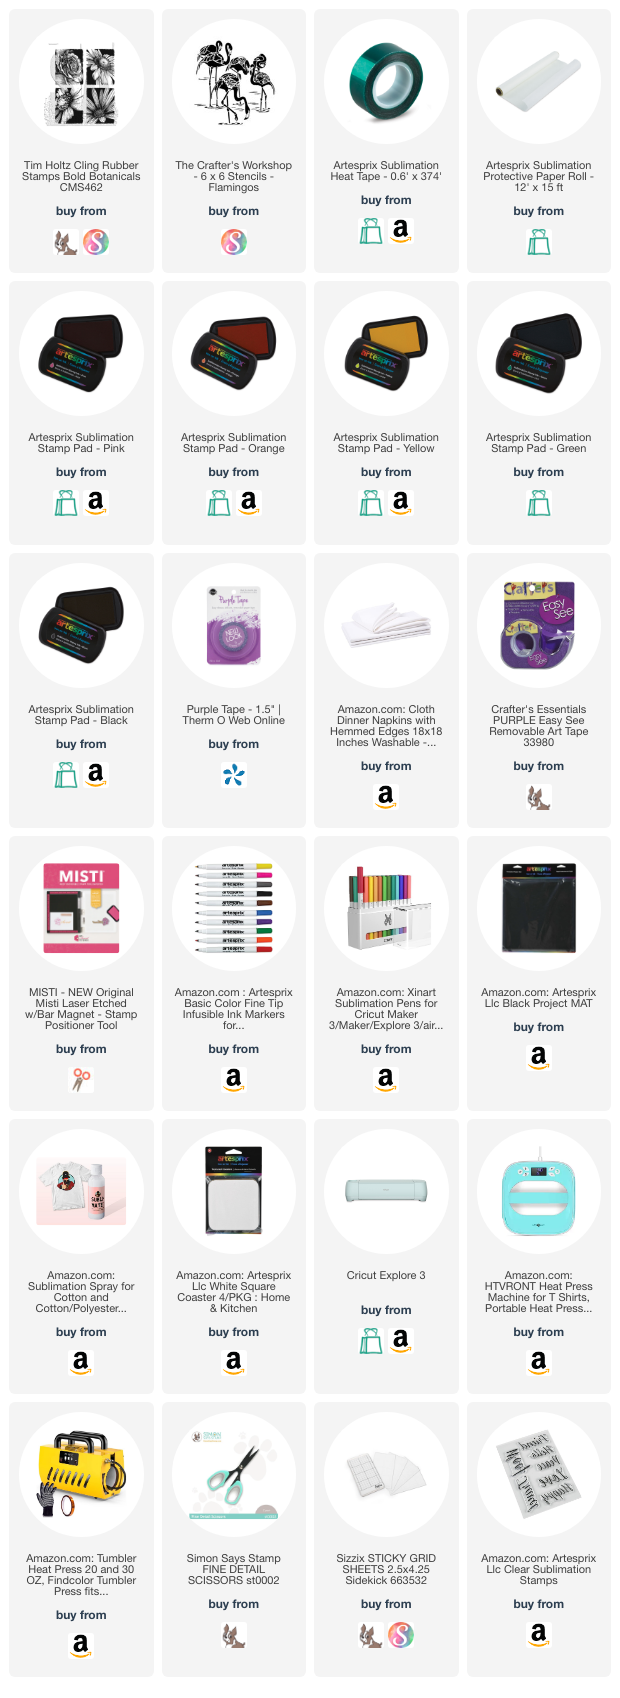
Here are the supplies I used, but at the bottom of it are things that may interest those wishing to pursue sublimation further!  I appreciate it so much if you decide to purchase and use these links as I receive a small commission at no additional cost to you!

Enjoy the tutorial and I'll be back soon!
Gale

Wednesday, June 14, 2023

Inky Summer Vibes: Wading In On Inkon3's Altelier Inks & More!


 Hello!

Hope this finds you well and enjoying the beginning of Summer (here in the US anyway!)  I've been at conventions, working and frankly overwhelmed with chores here at home which makes me feel too guilty to go to the craft room.  Do you ever feel like that? 

So it's time to play in the water (color) with these unique inks I got to use at Simon Says Create! in April.  I'd heard of them, but once I saw them, I knew I would at least have to get the cubes.  

The supplies are linked below (AFIL-thank you for your support!  I don't even come near to breaking even, so every little bit helps!)

Here's the link to the tutorial:


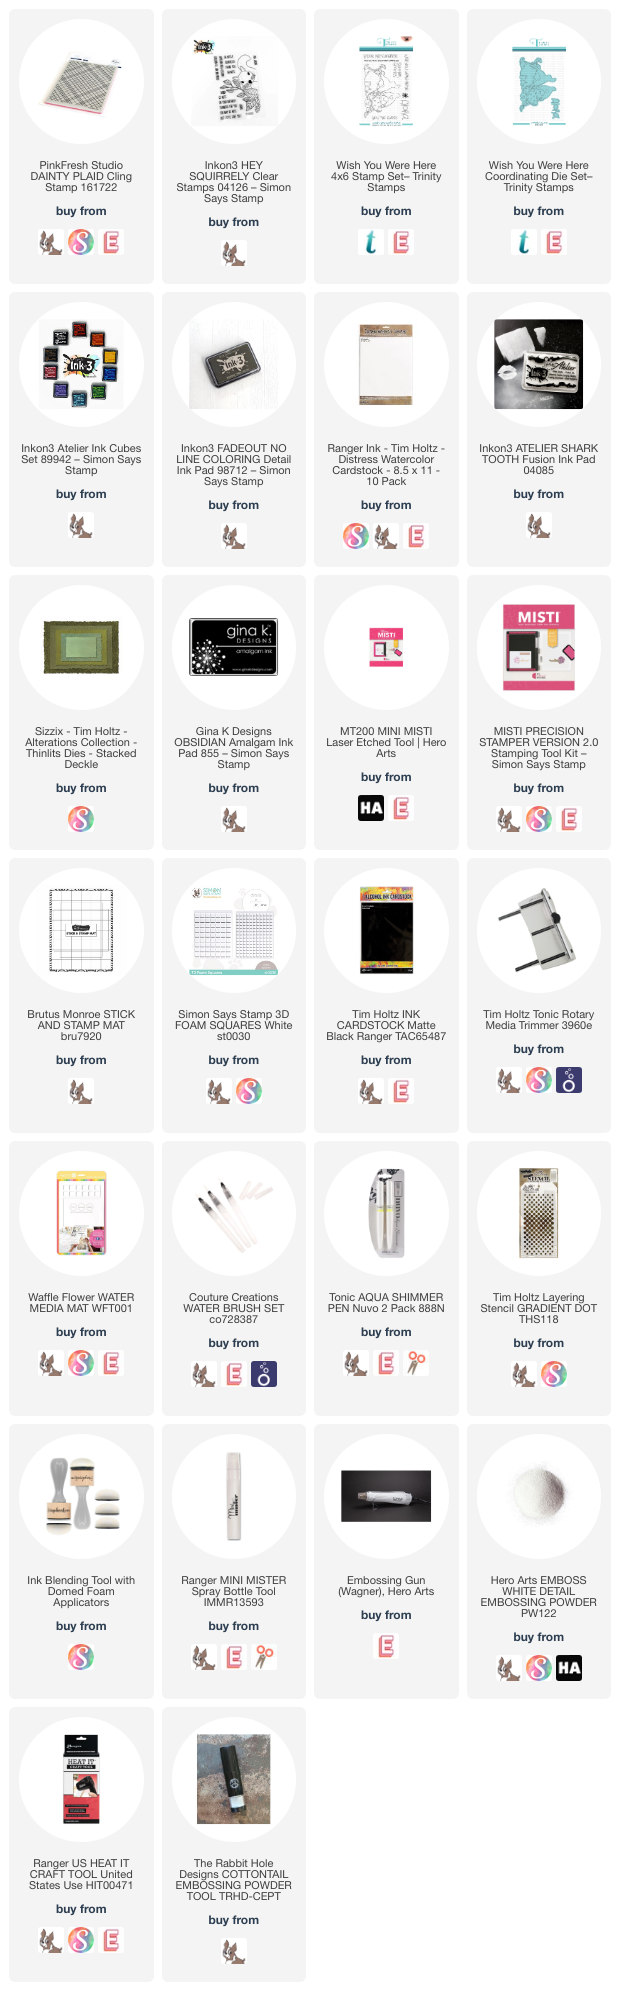
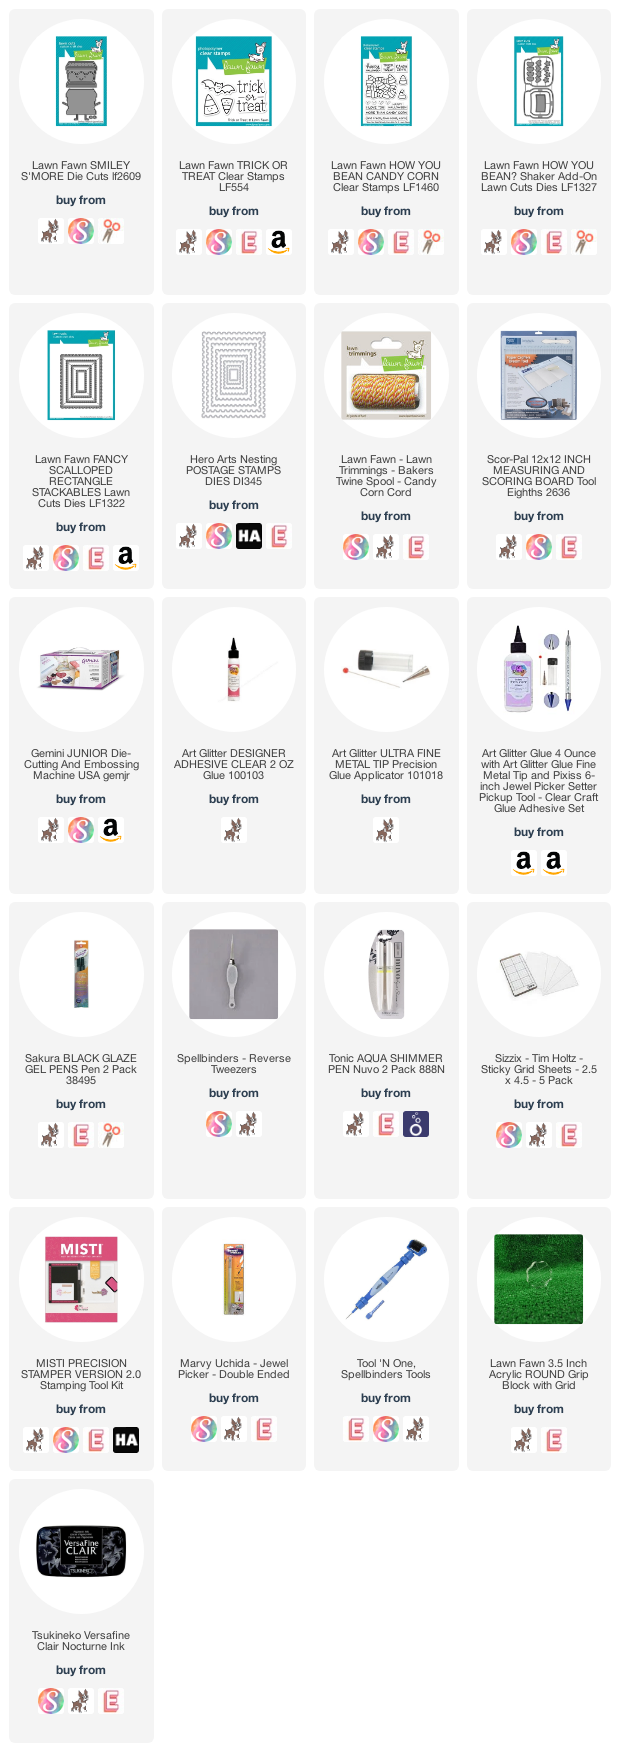
Here are the supplies I used:

I'll be back very soon!!
Gale

Sunday, May 21, 2023

All The Things From Simon Says Create 2023!! (Parts One & Two)

 Hello!

I've actually been able to get out to some bucket list conventions and classes and want to share with you!  (Figuratively and Literally!)  i can't believe they were both local!  I have another post on the way about Creativation '23, but right now let's talk Simon Says Create!

I've attended all three years, but this time I decided to splurge on the classes.  They were so much fun and inspiring!  The first video is about the general goings on and the second one is all about the Create 'n Takes, classes and lots of swag!  I am going to spare you my shopping haul for now, but will be using them in many future tutorials!  Most of the class and create 'n take products are linked below.  I really appreciate it when you use these links.  I may get a small commission on purchases made with them.  Thank you!!

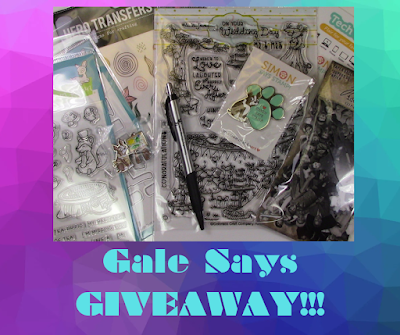
There is a fun giveaway in Part Two you won't want to miss!  Entry details are in the video, but here's the prize (I'm so sorry, but US mailing addresses only for this one.)


Here is the link to Part One:


Here is the link to Part Two:

I hope you enjoy the videos and be sure to enter the drawing!  Please like, subscribe and share with a friend if you do enjoy them!

Supplies:

Take care and I'll be back shortly with new tutorials!
Gale

Wednesday, December 1, 2021

How To Easily Watercolor Embossed Images!

 Hello!

My shoulder is getting better every day, so I thought I would start with some simple "messy" watercoloring!  I used the Distress Holiday Mica Sprays, but watercolors, brush markers or anything you have would work fine.


Here's the tutorial:


Here is the supply list (AFIL-  Thank you!!) 

I'll be back soon!!

Gale

Saturday, October 16, 2021

Treat or Treat? Lawn Fawn Fan Fall Hop Treat Bags!

Hello!

It's that time again!  Sadly, this will be my last post for this wonderful hop as I want to give someone else who loves Lawn Fawn an opportunity to participate.  

This group is awesome and I've learned so much!  I will miss it, but it's time for me to try new challenges (after my shoulder replacement surgery next week...boo!)

These treat bags are stinkin' cute and easy to make!  The link to the YouTube tutorial is below for all the details. (I hope you will consider subscribing while you're there!)  BTW, Lawn Fawn is sponsoring a $25 gift card to one lucky commenter at one of the stops!  Winner will be announced 10/23.


Here are the supplies I used (AFIL- Thank you!!)

I'm preparing some tutorials for while my arm is in a sling and I have a talented friend doing a guest spot, so stay tuned!!

Take care and come back soon!
Gale

Thursday, May 20, 2021

Just Channeling My Hippie-ness! "A Blog Named Hero" Shaped Card Challenge Inspiration!

 Hello!!

We're nearing the end of the current challenge, so hurry and get entered for a chance to win!  I chose to do a "hippie hexagon" with a rainbow of inks!


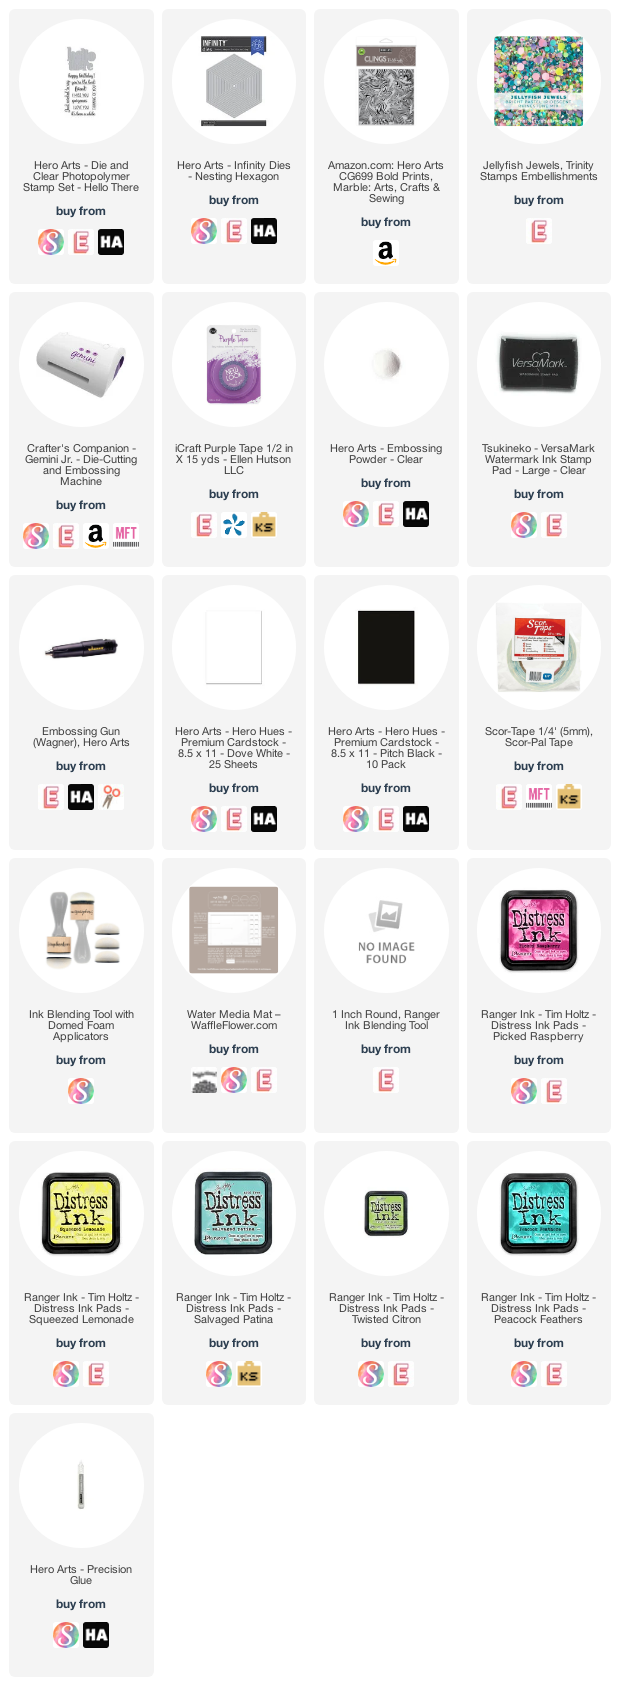
I die-cut 3 of the largest hexagon panels and scored one at 1/4" from the top.  I added Scor-tape to make a hinge.  Then I ink-blended randomly the last panel.  I stamped the Marble cling stamp with Versamark and used clear embossing powder.  I ran over the whole top with my darkest ink (Peacock Feathers- Everything is linked below--AFIL Thank you!!)

I layered the panels and added a thin black frame by using the two largest dies together.  I die-cut the sentiment three times and stacked for dimension.

Lastly, I added some hippy looking flower sequins and placed a jewel in the middle.  Super simple!

Here are the supplies I used:
I'll see you in a couple weeks with a brand new challenge!  (Of course, I hope to have a YT tutorial before that:)
Gale

Friday, April 2, 2021

Happy 9th Anniversary "A Blog Named Hero!"

 Hello!

I'm back again with yet another anniversary card!  This is part in conjunction with an Instagram Hop celebrating "A Blog Named Hero's" 9th anniversary on April 1st-April 2nd.  There is a gift card drawing so visit as many stops as you can both days for more entries and please follow your favorite designers too!  (I'm @darbycreekdiaries)

Here is my project: (Supplies linked below AFIL-Thank you!)


The butterfly was die cut from leftovers from an earlier project.  Here is the link to that Youtube tutorial with supply list (it was done with alcohol inks/foil):


The background is the water ripples stamp.  It was a happy accident as I inked it up with a few distress inks, then sprayed it with too much water for the image to be crisp.  But I kept it in my background pile and it's perfect for this!

I die cut the art deco cover out of gold card stock then stacked it on four white ones for dimension.  I laid it on the blue background, added it to a card base, then added the butterfly and sentiment.

The lesson here?  Save those scraps and imperfect backgrounds!

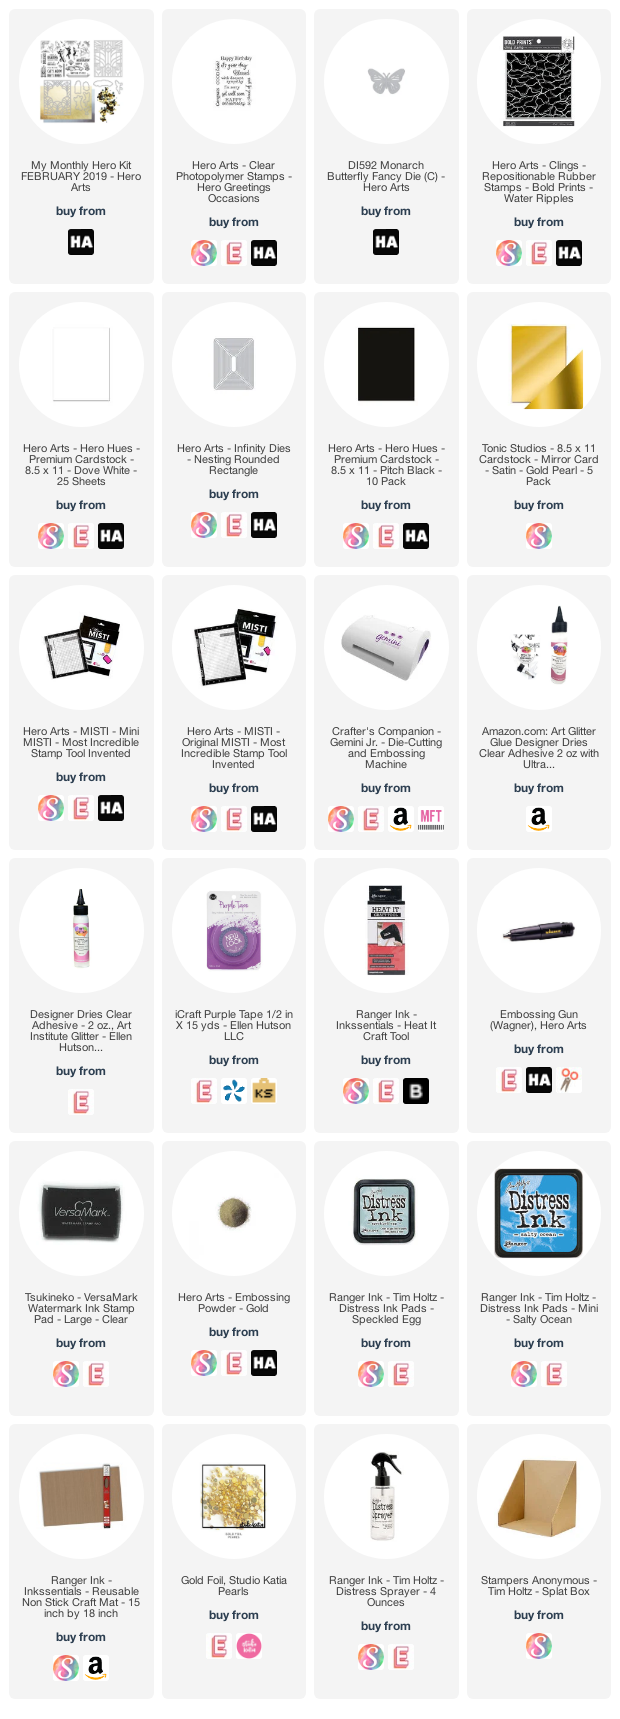
Here are the supplies I used:

Once again, Happy Anniversary "A Blog Named Hero!"  I'm proud to be a small part of your history.  Here's to many more years!  Don't forget to hop over to IG and comment to enter in the drawing!

Happy Easter,
Gale

Saturday, November 28, 2020

Old School Pillow Treat Boxes--Sweet Holiday Video Hop!

 Hello again!

I told you I'd be back soon!  LOL!  Hope you had a wonderful (as much as it could be) Thanksgiving!  The holidays will be crazier than ever in a different way, so I'm going old school on several projects this year and using basic supplies.  The kids can get involved too!

This project is part of a Youtube video hop (below) that I hope you will enjoy!!  Here's what I made (the supplies & free template are also linked below (AFIL-Thank you for your support!):

You can make your own decorative paper or use some of the beautiful pre-made ones to save time!  I filled them with lots of candy, but gift cards and small items fit amazingly well.


Here is the free printable template: 
Thank you Myfrugalhome.com!

FYI--Here's a previous tutorial...

Supply List:

Stay safe and come back and see me soon!!

Warmest regards,

Gale

Friday, June 19, 2020

A Blog Named Hero Challenge Inspiration: Combining Old and New!

Hi there!

Here's a bright and cheery get well card using Hero Art's Fresh Citrus Bold Background Stamp and a sentiment from 1995... I am old... the supplies are linked below (afil- Thank you for your support!)


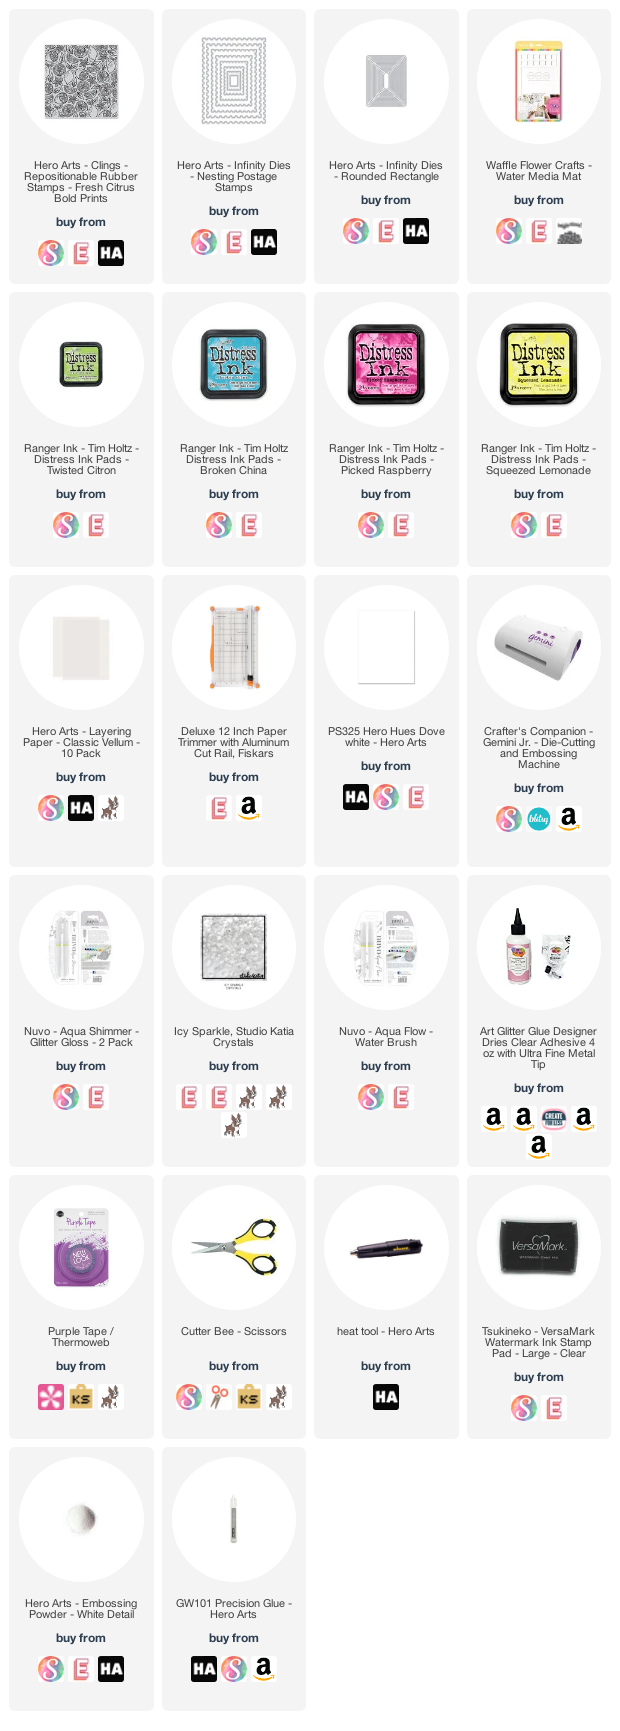
There isn't a ton of technique involved.  Just fun playing with coloring the fruit!  I used original distress ink smooshed on plastic as a pallet for my water brush.  I white heat embossed the fruit stamp.  Then diecut the panel with the Nested Postage dies.  I diecut a slightly larger panel of glimmer cardstock from a previous MMH kit with a Rounded Rectangle die and added to a white base.  I wrapped the panel with the sentiment on vellum and added some iridescent jewels in the centers of the flowers and lemons.  Easy peasy!

Here are the supplies I used that are still available:


 Have a great week and I'll see you again soon!  I also will be posting some video tutorials shortly:)  
Take care,
Gale

Friday, April 19, 2019

Easy Masked Card--"A Blog Named Hero April CAS Card Challenge"

Hello again!

Dare I say Spring has sprung???  I'm ashamed to not have gotten any Easter cards out, but Happy Easter everyone!  This month the challenge is CAS "Clean and Simple" cards.  I struggle with the exact definition of CAS, but I decided to go with lots of "blank" space, minimal layers and the only embellishment was shimmer on the flowers.  The supplies are linked below (afil).

I really miss my Iris bed from my last home.  My favorites were the variety of purple ones (and the pink, salmon, blue, yellow...LOL!)


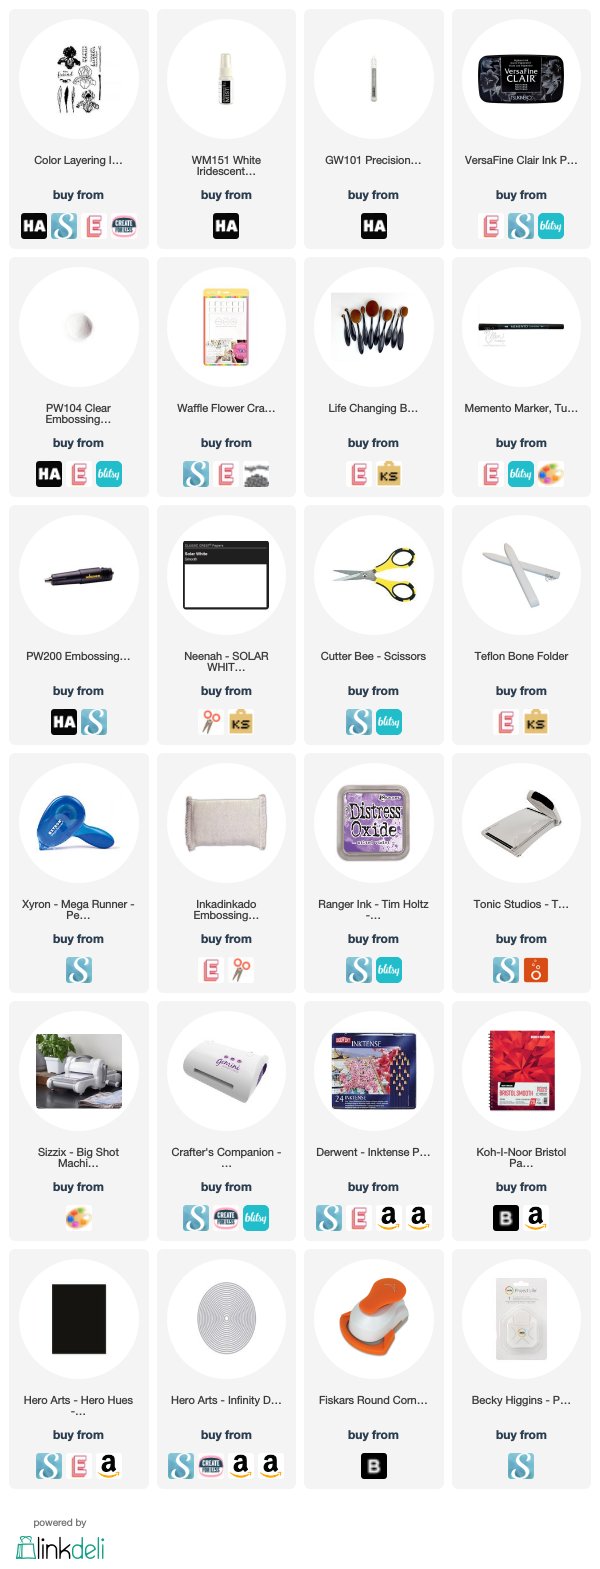
To do this, I am doing some simple masking of the Hero Arts Iris Color Layering stamp set.  Once again, I am only using on part of the set, this time the outline.

Since I am going to color with Derwent Inktense Pencils, I stamped with a permanent black ink on bristol paper.  (If I were using more water, I would've used watercolor paper, but wanted paper smooth this time.)

Here is what the card looked like after masking the flowers and adding Inktense pencil to the edges.  I just pulled the color in from the edges with water. 


I added Hero Arts Iridescent watercolor to add some shine.  It came in a kit, so the closest thing available is H. A. Shimmer spray...just make a puddle on your mat to apply.  The supplies below are either what I used or as close as I could get (I have lots of really old tools/supplies!)

I let the watercolor dry on it's own, then layered it as shown, adding a black, heat embossed sentiment from the same Iris set to complete the card.

Hope you will join in the fun with the challenge (it's linked at the top in blue.)  I'll be back again soon!  If you would like more ideas, please go to index page and browse or to my channel youtube.com/c/galethompson  You are invited to subscribe there and also to my blog below. 

Here are the links!


Have a great week!!

Gale

Thursday, September 13, 2018

How To Make A Halloween Treat Box w/ Gina K's Wreath Builder Stencil!

Hello all!

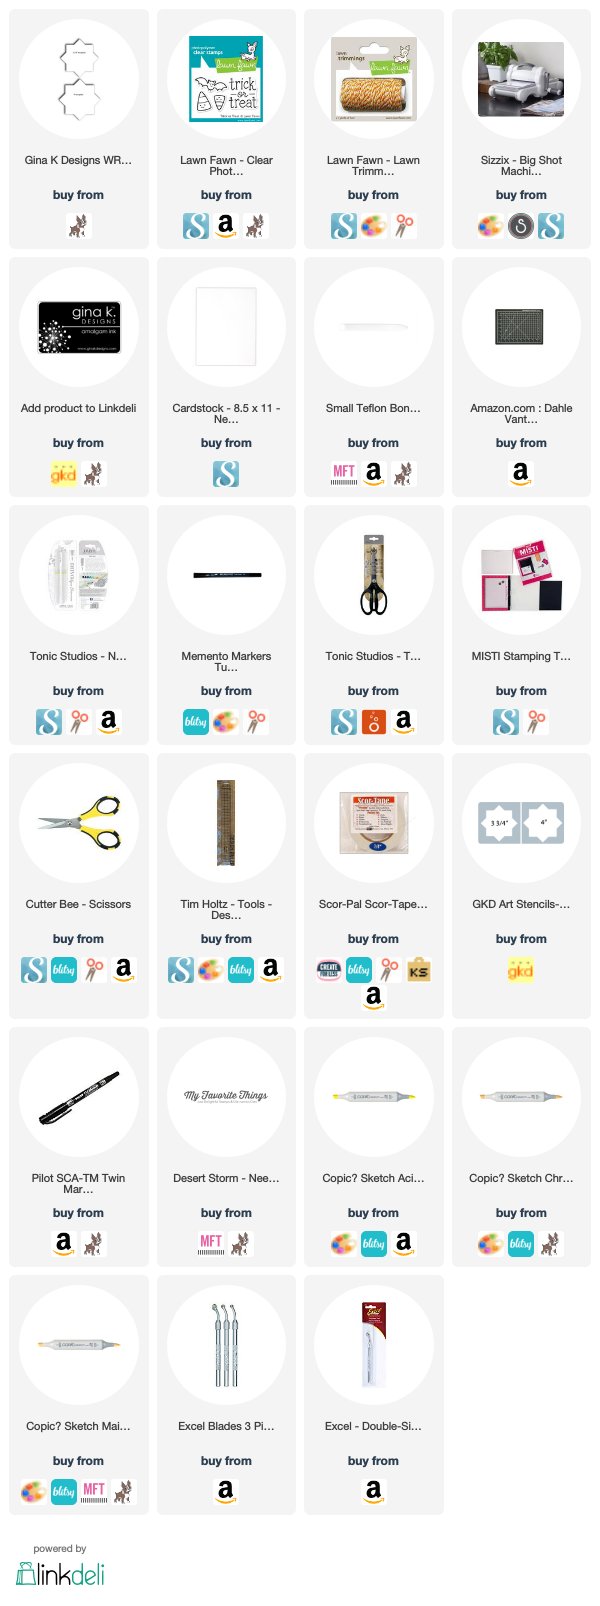
I am so happy to finally be able to get a new YouTube tutorial out to you!  I love the new Gina K Wreath Builder stencil and thought I would pair it with Lawn Fawn's Trick or Treat stamps to make a flower for my pillow treat box.


Here is the full tutorial:  Photo links are below for your convenience.  


Here is the template for the Pillow Box:
Thank you Myfrugalhome.com!


The "PayDay" candy mix recipe is one part dry roasted peanuts + one part candy corn!!


Have a great day!!

Gale

Saturday, December 20, 2014

Gale's Gallery XV: Holiday Greeting Cards

Hi everyone!

This year it just doesn't feel like Christmas yet.  I really think when you work in retail you become immune.  There are still only lights and a star on our tree (which is at least real because Taylor was willing to bring one home and set it up.)  Audra says she likes it the way it is because she doesn't want to decorate it either.  I am on watering detail and have wrapped some gifts, even made a few this year!  Well, maybe I will feel like doing more next year... in my defense I have been working overtime the last few weeks!

I did, however, start in October and made a few cards!  I watch lots of demos on You Tube and got inspired.  There are loads of channels full of information and techniques if you are interested as I'm not really going into that today.

Some good ones are:  Jennifer McGuire Ink (all cards/stamping), Hero Arts, Tim Holtz/Ranger Ink, Split Coast Stamping (other crafts as well) and The Frugal Crafter (who makes all kinds of things and is always enthusiastic and fun!)  I know I am leaving out several others, but you can flip through for what looks interesting to you.

Here is this year's attempt.  Please forgive the photo quality.  Natural light in Ohio in December is tough to get!

This was just stamped on white cardstock in Staz-On Jet Black Permanent Ink and colored in with Copic Alcohol Markers, then highlighted with a white Inktense pencil.  Brushed lightly with clear Wink of Stella glitter pen and a tiny bit of Stickles glitter glue to finish.
The interior was splattered with green and white ink.  Boy, did I make a mess!
This was from the first stamping class I attended.  Sadly, most of the places in our area are gone, so you almost have to go online for new techniques.  We used to have a group of gals that met on Tuesdays and that was fun and inspiring.  Try it!  This is simply a gold heat embossed stamp colored in with water-based markers.  The border is a small stamp that is repeated.
This stained glass card was from the same workshop.  It is so easy!  You stamp and heat emboss vellum, then color on the inside!  No need to worry much about staying in lines!  Then you tie the vellum to a gold edged notecard.
Received this the other day from good friend Karen Boggs.   Very elegant!  Note how she staggered the trees  on the slope and let one hang over the frame for added dimension.  I think she used pre-glittered cardstock for the background.
Karen sent this a few years ago.  I can't bear to throw away a handmade card.  This looks like a lot of layers, but the cardstock is edged with a gold leaf pen.

I made this card years ago.  Really easy.  Just stamp, heat emboss and cut out tree, add rhinestones, then place on cardstock that's been run through a corrugator.

Even this simple card is cute and warm... This is just stamped and colored in with pencil by Mercedes McPherson, who has made lovely cards for many years.


This simple greeting is harder than it looks!  Those are two small postage rubber stamps that are masked off to appear like they are in front of each other.  The center greeting was masked off until the rest was stamped.

I hope you all have a wonderful Christmas!  I have some time off and am planning to be back here much sooner than usual, so stay tuned!

Until next time, Feliz Navidad!
Gale