Thursday, December 19, 2019

A Blog Named Hero's New Challenge---Sparkle!!


Hello!  

 This month's "Blog Named Hero's" Challenge theme is Sparkle!  Here is my inspiration project for today... 
     

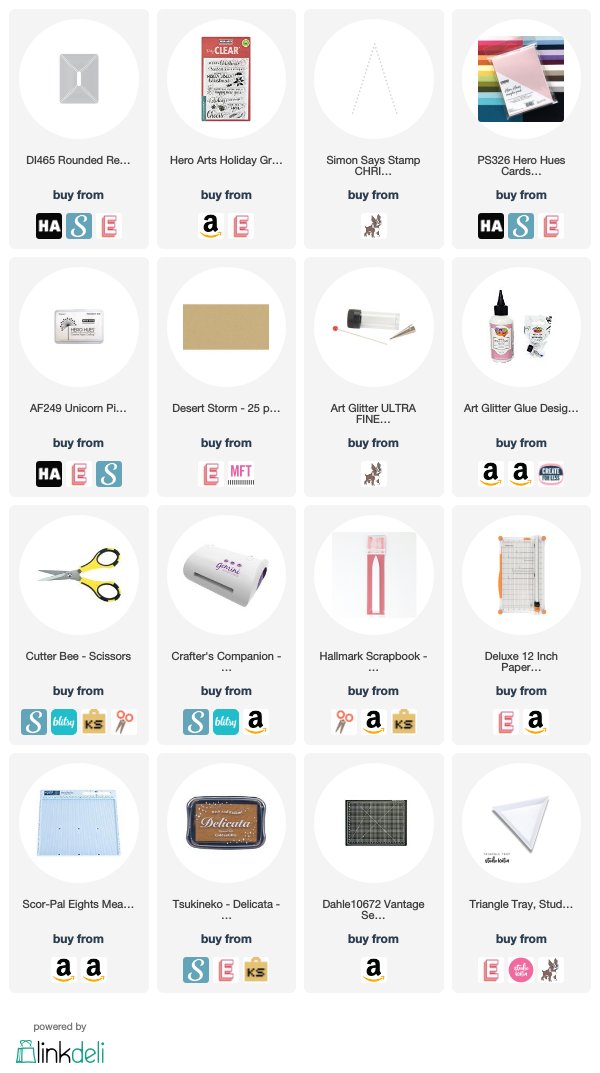
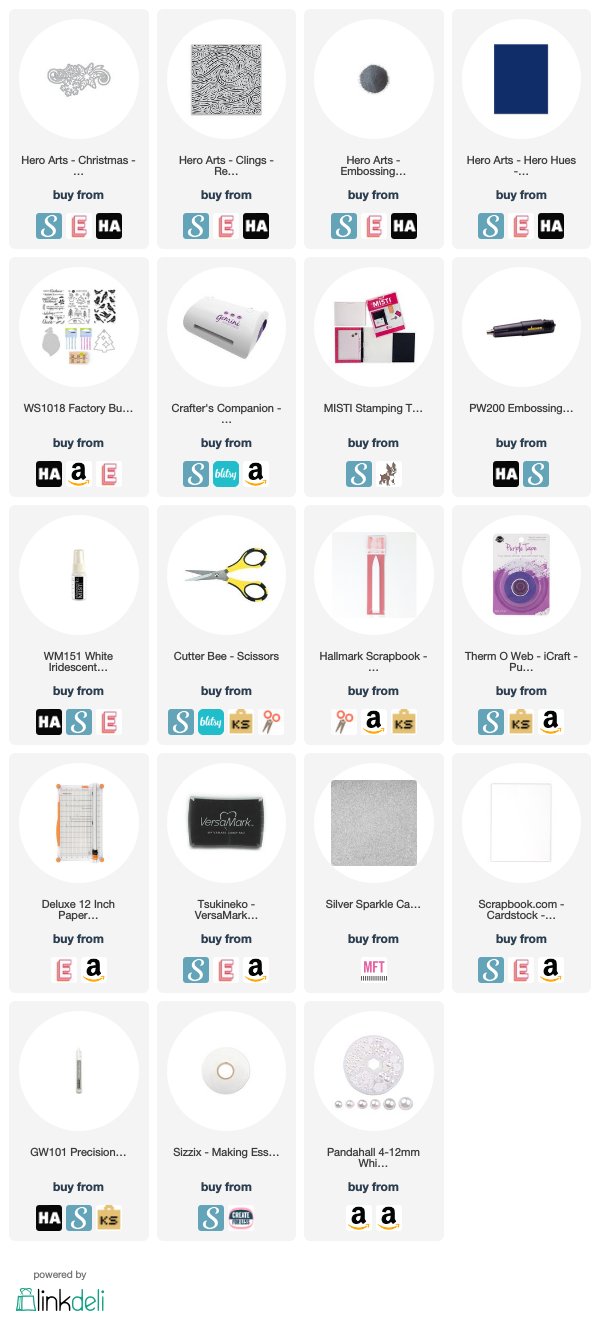
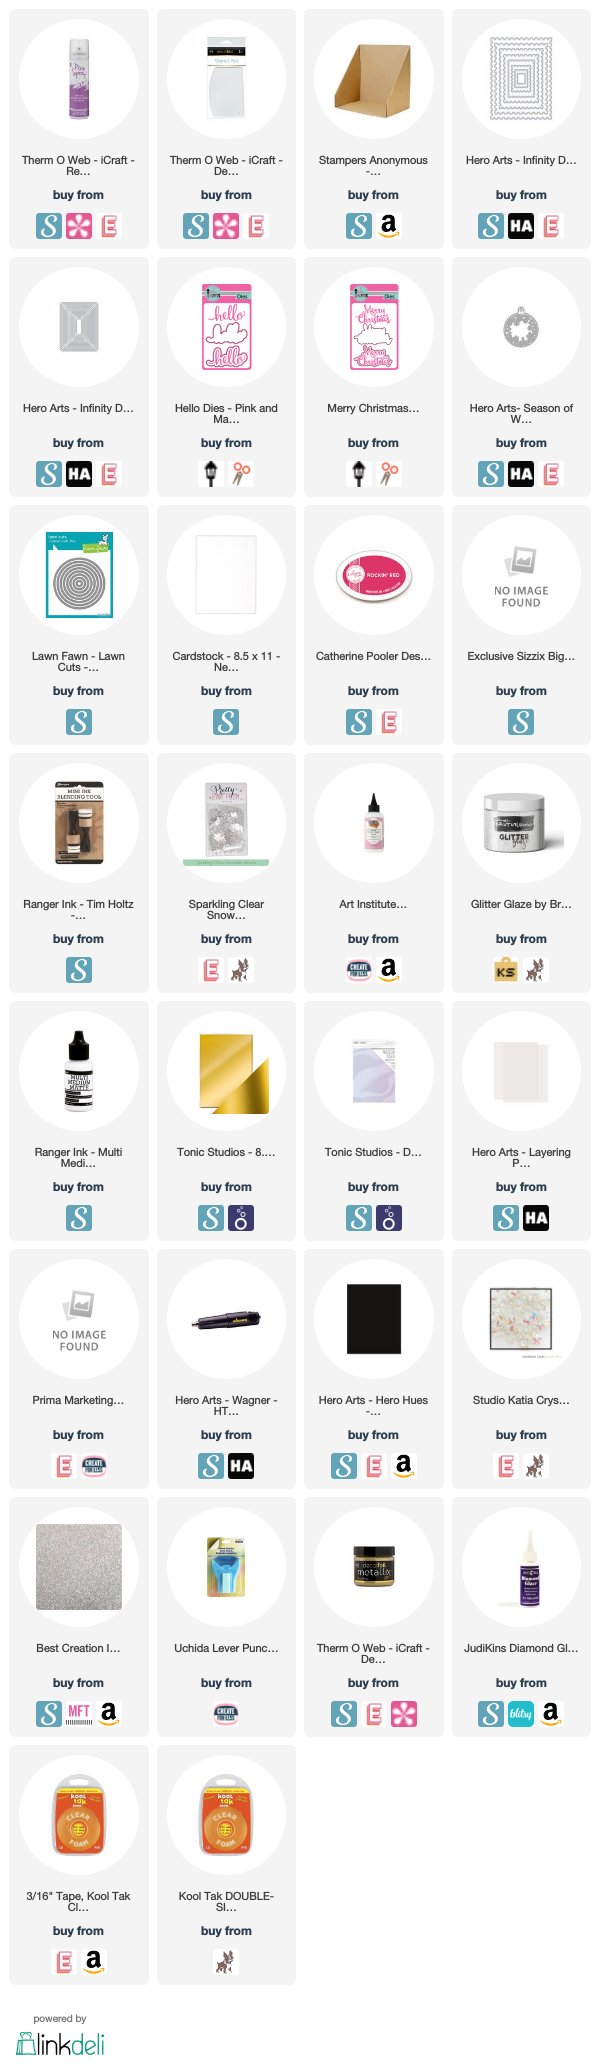
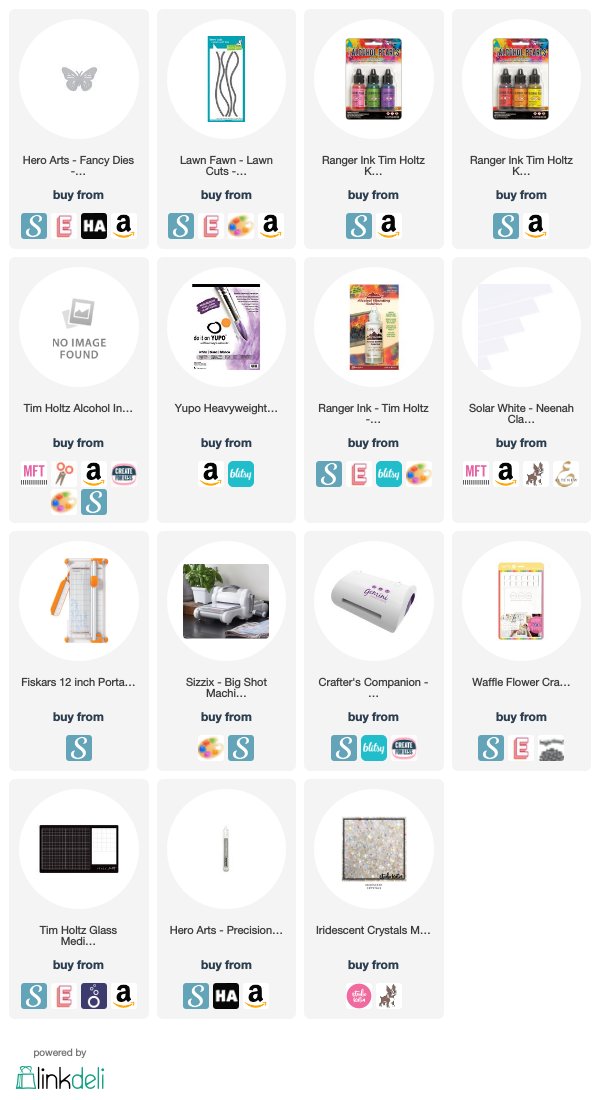
I kept it pretty simple as we all like quick cards to mass produce this time of year.  Supplies are linked below (afil.)

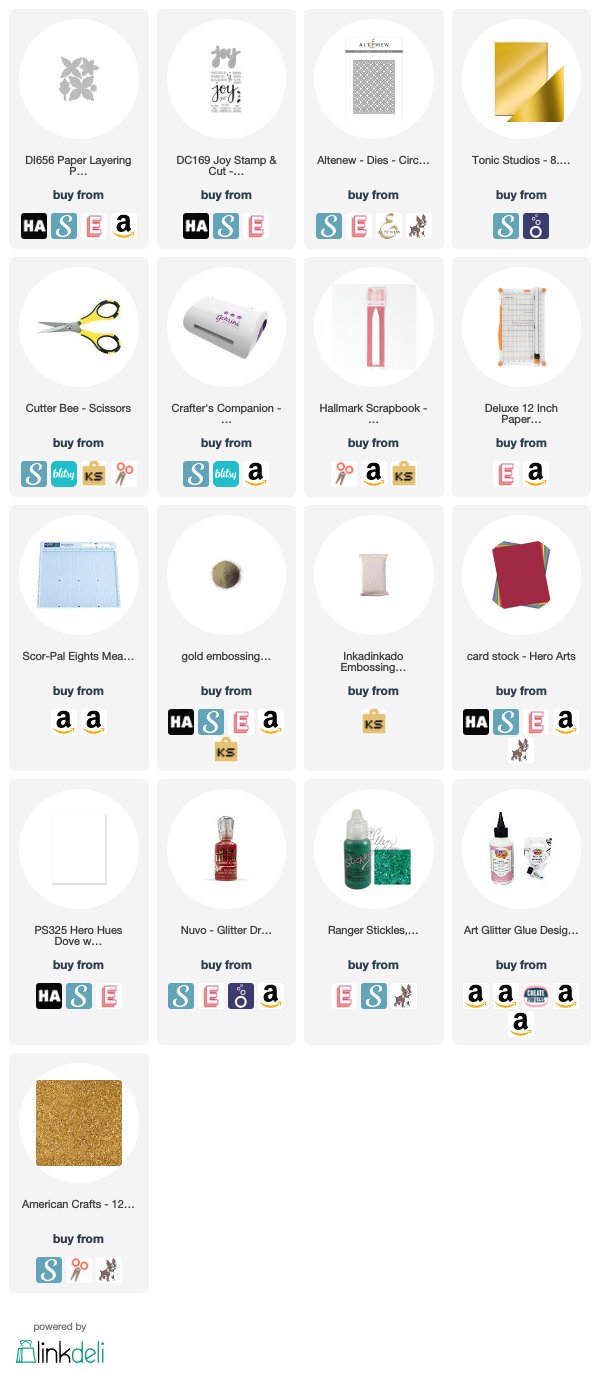
I started by using Altenew's (a Stamping Village partner) Quilted Cover Plate die on white card stock using an embossing mat so it wouldn't cut clear through.

Next, die cut Joy 3-4 times out of white card stock and once out of gold glitter paper.  Die cut the paper-layering poinsettia out of a couple colors of red and a green.  

Mount quilted piece on a card base (A2 size shown.)  I sprayed with shimmer spray (though it's hard to see in photo.)  Then, build the poinsettia on card base.  Cut off what hangs off the edge.  Use glitter glue in red and green for sparkle.

Layer up your joy diecuts and place gold one on top.  Stamp sentiment on green paper with Versamark ink.  Heat emboss in gold.  Cut into thin strips and attach to card.  That's it!

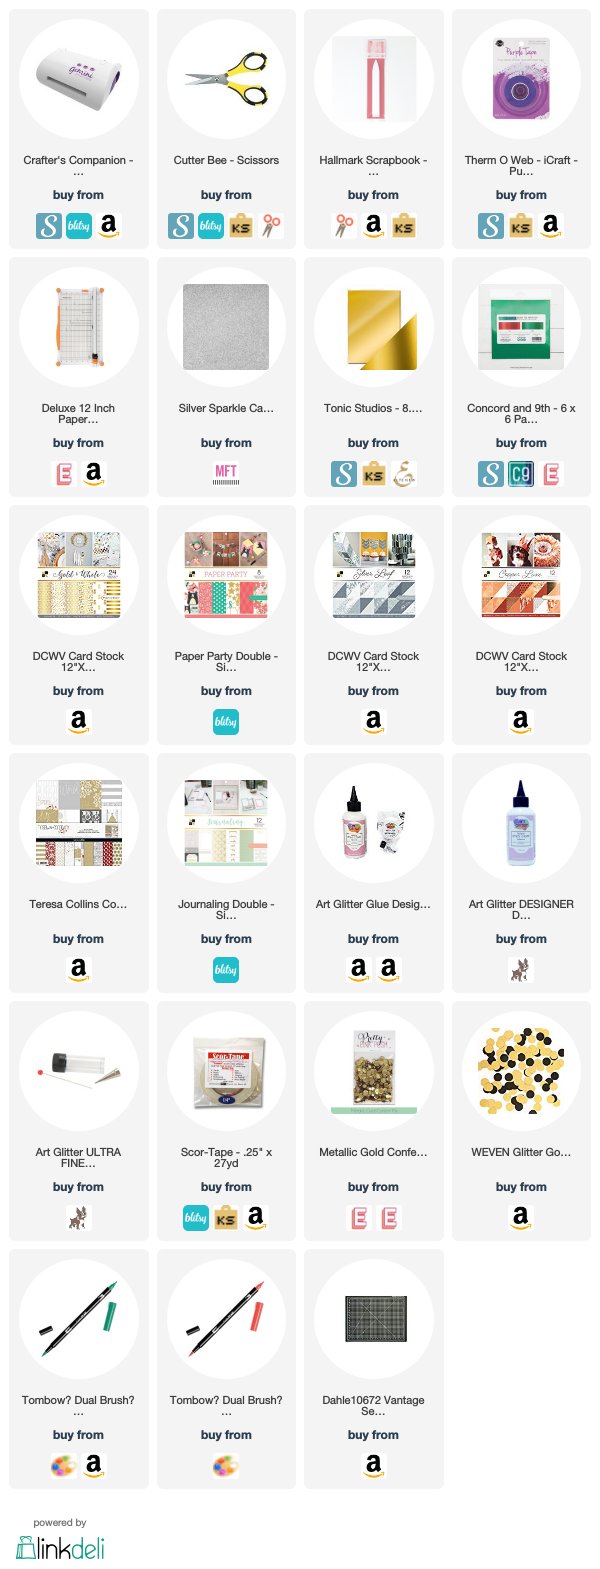
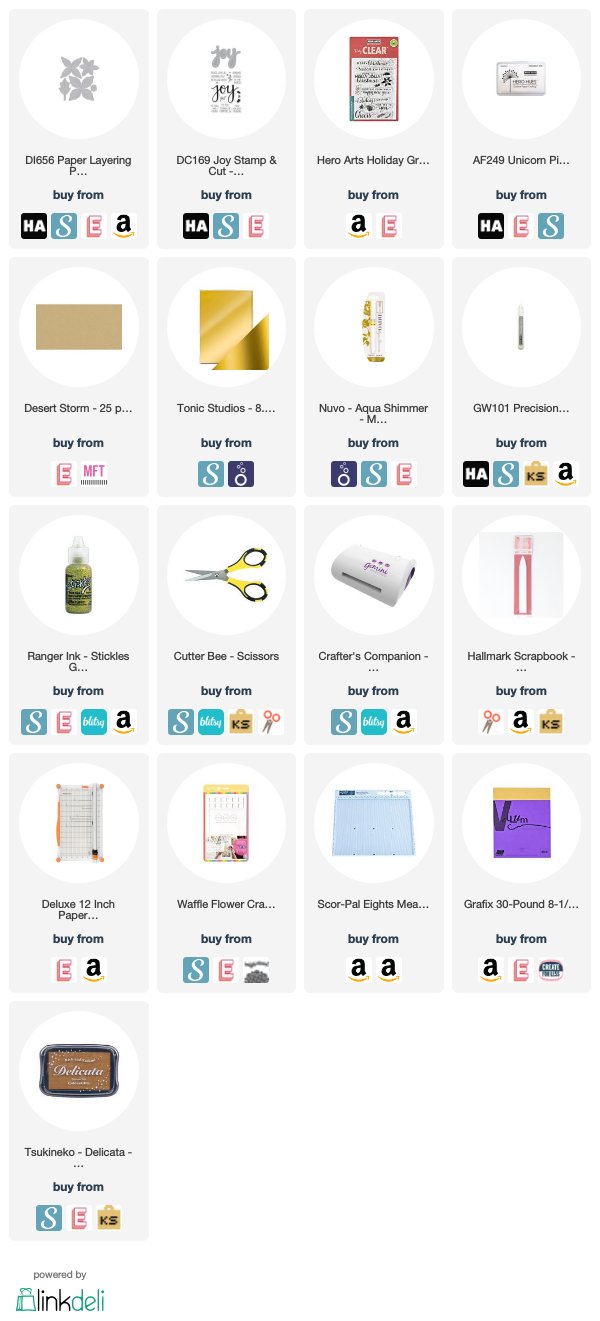
Here are the supplies:
I'll be back soon with a fun quick ornament!  Until then,
Gale

Sunday, December 8, 2019

Watercoloring process--A Blog Named Hero Muted Tones Challenge!

Hi!

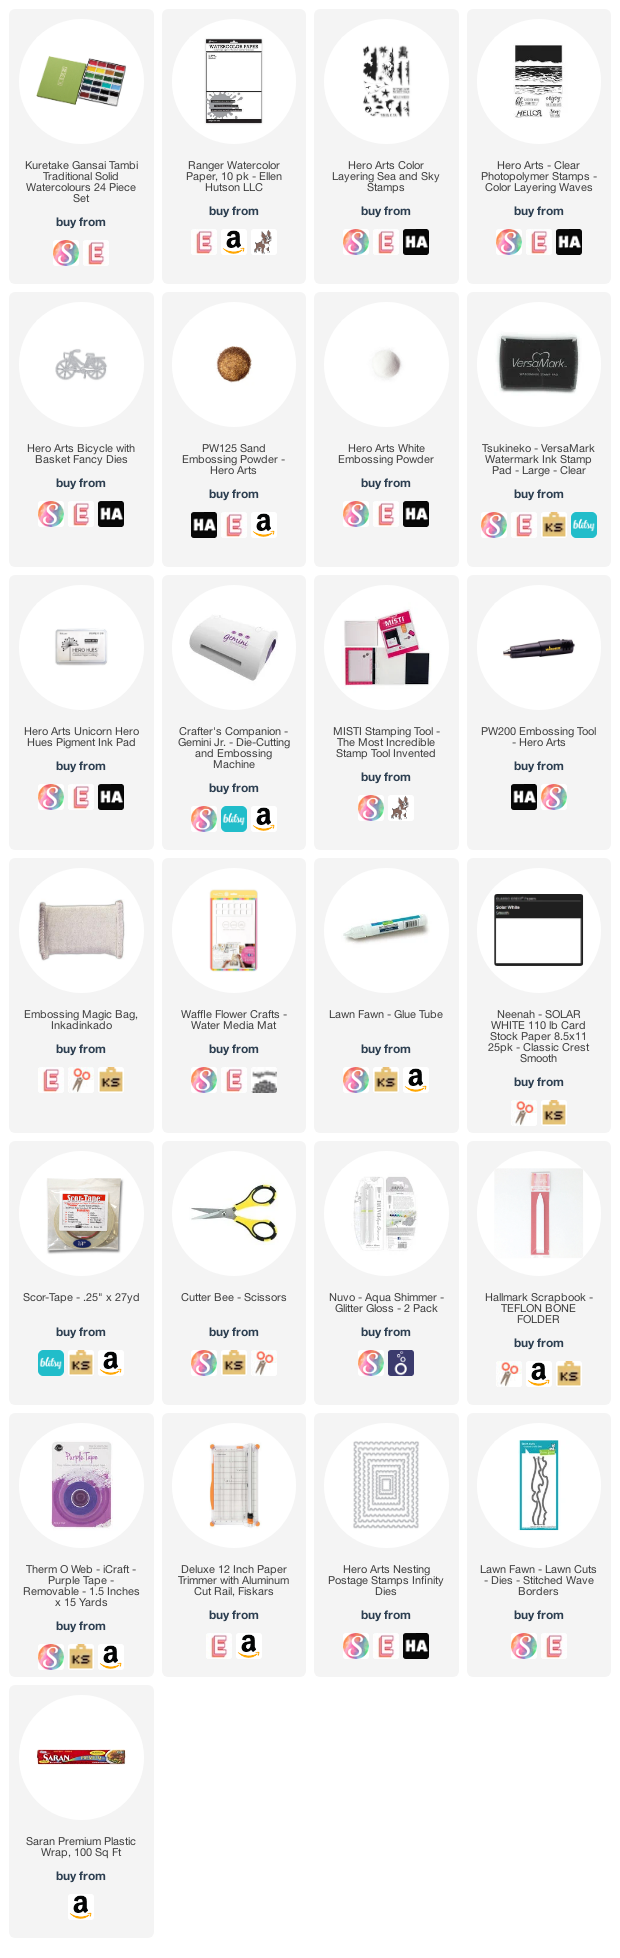
Though not actually "muted," but I did water-down quite a bit...  This project features the Gina K/Hero Art's collaboration stamp set.  The supplies are linked below (afil.)  


I'm not a "professional" watercolorist, but I doubt many card-makers are.  So I am sharing my process to show you that a card can turn out nice even if stuff happens along the way.  That video is still in editing, but I promise to have it out later this week.  If you don't want to miss it, be sure to subscribe to my channel and hit the bell for notifications!  

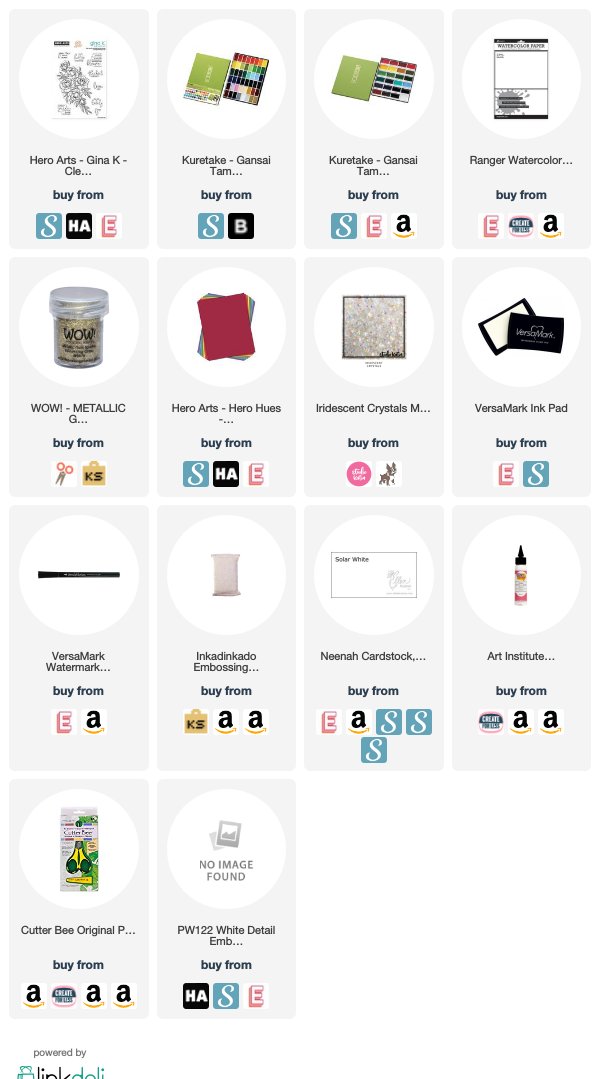
Here is the supply list:


I promise to get that video out as soon as I can!  Take care!
Gale

Friday, December 6, 2019

How to Stamp on Velvet! Tips 'N Tricks!

Hello!


Today we are going to stamp on velvet to make a stocking, pillow or other project!  My YouTube tutorial is linked below.  

There are a few rules one must follow for success:

-Stamp ONLY with red rubber stamps--not clear ones!  The vulcanized rubber is made to withstand heat.

-Stamp ONLY on rayon/silk velvet fabric.  It will not work on polyester.  The extra expense is worth the result.

-Dry Clean ONLY or spot clean the finished piece when necessary.  You could lift the stamped image otherwise.

-Don't use an iron with steam holes or you will get little dots:)  You mist the fabric with water to obtain steam.

-Use a bold line stamp.  Delicate images don't have the same impact.


Hero Arts carries a large line of red rubber stamps.  

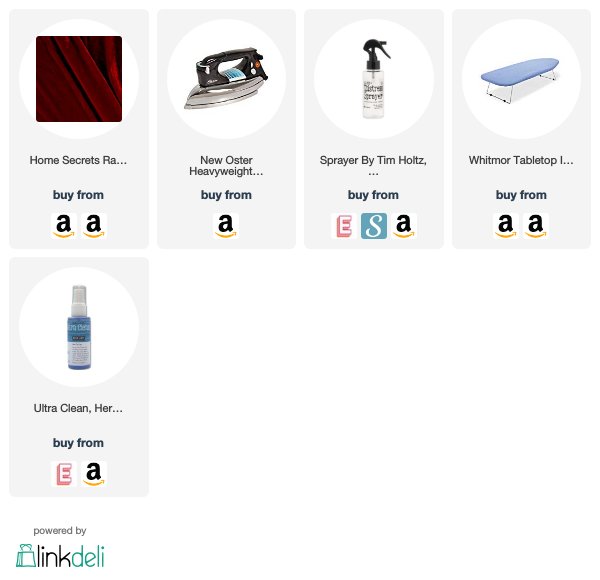
Supply links:


Have a great week!
Gale

Thursday, November 21, 2019

How To Make A Cute 'N Easy Paper Tote! Christmas Idea Giveaway Hop!

April 8th, 2020:  A Blog Named Hero Challenge Update!

Here is my "Not A Card" example.  I have added the additional supplies at the bottom.  The video tutorial shows how to make the tote, all I did was gold heat emboss Hero Art's Parasol Bold Background Stamp twice on bright red card stock to create the front and back.  The challenge ends in a few days so hurry to enter at ablognamedhero.com!


See you April 19th with a new challenge!!

Hello again!

Today I am a stop on the Craft Collabs Christmas Gift Ideas & Giveaway Hop!  I am making and giving away a darling paper tote filled with crafty things (see below)!  To enter, follow the instructions on the video linked below.  All of the instructions are in the video as well.


Here are some other bags I made... they are addicting!!  The die set is from Divinity Designs LLC.  I'm not affiliated with them, but really like this tote!  I especially like the "Ohio State" one:) Some of the supplies are linked (afil)below.


Here's another view of the prize bag.  Please note:  The drawing is open to international folks too, but I will substitute an electronic gift card.


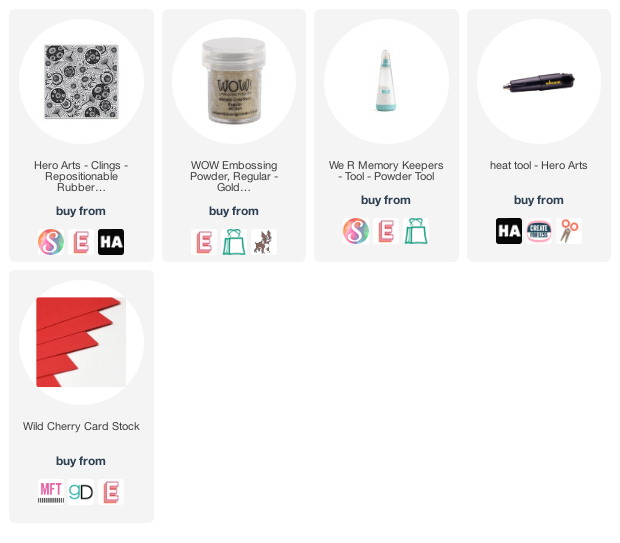
Here is the supply list:


Here is the "A BLOG NAMED HERO" EXTRA SUPPLIES:


The die sets are available at www.divinitydesignsllc.com
See you soon!
Gale

Tuesday, November 19, 2019

How to Make a Christmas Card That's Sew Easy! A Blog Named Hero "Muted Tones" Challenge!

Hello!

Here is my first project inspiration for the November "A Blog Named Hero" Challenge of "muted colors."  This project may look familiar because the background is a leftover piece from an earlier card.  Always save those scraps!  This was simple to make and quicker than most.  The stitching to me is quicker than coloring and easily mass-produced on the go!  The supplies are listed below.  For the full tutorial, please visit my youtube link also below (and I hope you'll consider subscribing!)


I die cut the scrap from a rounded rectangle infinity die, but my tape wasn't secure and the paper shifted.  So, never throwing anything out (Never give up!  Never surrender!) I just recut to straighten out, but it does leave an odd size compared to the rest.  Oh well, our secret!

Next, I die cut the stitched tree in the center and stitched with hand-dyed muted green embroidery floss.  I added a garland of red floss with gold glass seed beads.  Next I added a star brad and cut a square of corrugated cardboard for trunk.  

I layered this with the muted red & green paper on top of the Neenah Desert Storm top fold card base.

Easy, peasy!


Hope you will give this a try!  I will be back very soon!
Gale

Friday, November 8, 2019

Let It Snow??? A Blog Named Hero's Inspired By Nature Challenge!

Hello!

I feel like a broken record, but things have kept coming up that tear me away from my YouTube Channel and blog.  I am hoping that things are on the mend and I will be able to be with you on a regular basis very soon!


However, our "A Blog Named Hero" posts are scheduled and I was determined to hit my deadline:)  You will see me on the Facebook Page every 8th and 19th of the month.  

For this month's challenge, I chose an easily mass-produced project.  The supplies I used are all linked below (afil.)  I started with a white card base.  I cut down a Hero Arts Nautical panel to just under A2 size and stamped it with Hero Arts Starry Night Brush Strokes background stamp using Versamark Ink.  I sprayed some shimmer mist on it then cut out a small section.  

I popped panel up with foam tape leaving a gap between the top and bottom pieces.  I diecut from white and silver glitter paper the Hero Arts Snowflakes Cluster Fancy Die and glued together for strength.

I then placed the snowflake diecut over the gap.  Next I silver heat embossed the sentiment on white card and layered over the silver glitter paper.  I added some pearls for a bit of interest.

I will be posting some new tutorials on my channel and I hope you will stop by.  If you subscribe and hit the bell, you will be notified of new posts.  There are around 70 unique tutorials already there for you to browse too!

Here are the supplies:


Have a terrific day!
Gale

Saturday, October 19, 2019

Quick 'n Easy Tags From Leftover Projects: A Blog Named Hero's "Inspired By Nature" Challenge for October


Hello!

I'm back with a new challenge from "A Blog Named Hero!" The theme is nature, so I recycled some leftover bits (I know that it's stretching the intent of the the theme a bit:)


This is just a die-cut inlay into a leftover galaxy background.

This is from a leftover alcohol ink background.

Finally,  you may recognize this background from a recent post:)


Hope you enjoyed this short 'n sweet post!  See you again soon!  
Gale

Tuesday, October 15, 2019

Stencil Techniques For Cards: Happy Holidays With Stencils Hop Sponsored by A Colorful Life Designs!

Hello!

Welcome back!  Today I'm showing how to use stencils to make easy backgrounds for cards.  I'm part of the Craft Collab's Happy Holidays YouTube Stencil Hop sponsored by A Colorful Life Designs.  They are giving away ten $15 gift certificates if you comment on posts with their unique secret code!  All the details are in the description box below the YouTube tutorial.  My tutorial is linked below:)

Here is the main project:

This project showcases A Colorful Life Designs "Heartflakes" Stencil!


Here's the link to my tutorial:  (Supplies are linked below (afil) and over on the YT description box.  Thank you so much for using these links!)


Enjoy the hop and I will be back soon (ish!)  Trying to get over yet another broken rib:(  
Here are the supply links:  Stencils are at A Colorful Life Designs.


Hope you will come back and see me soon!  Take care!
Gale

Tuesday, October 8, 2019

How to Make An Alcohol Ink Card: Inspired By A Fellow Creator For A Blog Named Hero Sept. Challenge!

Hello friends!

Today's card is inspired by Michelle Lupton, a fellow "A Blog Named Hero" Facebook Team member!  She loves to do clean and simple cards featuring alcohol inks.  

All I did was make a top folding A2 card base and use a stitched hillside die to make the cuts.  I added a glitter paper Hero Arts Monarch Fancy die and some Studio Katia iridescent gems to complete it.  Supplies are linked below (afil).

For the tutorial on how I did the inking, please visit this link:


It's not too late to enter the challenge!  Just visit http://ablognamedhero.com/2019/09/september-challenge/  and post your project to perhaps win a gift card to Hero Arts!

Be sure to show Michelle some love and visit her blog at Handmade By Michelle !


I'll be back soon with some Christmas cheer!  (and some Youtube tutorials--be sure to subscribe and hit that bell to be notified:)

Until next time,
Gale

Thursday, October 3, 2019

How To Make A Fun Pop Out Card With Layers!--Guest Creator Melody Blake

Hi There!

I'm so excited to bring you the first crafter in my new Guest Creator Series!  There are so many talented people who don't have YouTube channels, so I've decided to share mine with folks who do an awesome job and often on design teams!

Today's project-- Pop Out Card With Layers (Die by Divinity Designs, Stamps/Paper by Dare 2B Artzy.)
My first guest is my friend Melody Blake.  She is on Divinity Designs and Dare 2B Artzy's design teams.  She make so many cute and clever things!  She can also color way better than me:) Her blog is called "Handmade Card Happiness."  Supply links (afil) where available are linked below.


Here is her tutorial:  (Please let me know in the comments if you like channels who have guest designers.)


Here are the supplies:


The rest of the supplies are available in stores or directly from Divinitydesignsllc.com or Dare2BArtzy.com

I'll be back soon!  Take care!

Gale
Tuesday, October 1, 2019

How To Get Dye Inks To Pop On Dark Card Stock!

Hello again!


This month's "A Blog Named Hero" Challenge is "Inspired by fellow creator." I chose Jennifer McGuire showing how to get dye inks to pop on dark card stock.  The supplies and her video are linked below as well as the challenge link.


I've had several requests for more shapes and different folds, so this card will fit in #10 letter envelope.  It measures just under 4.13" x 9.5."

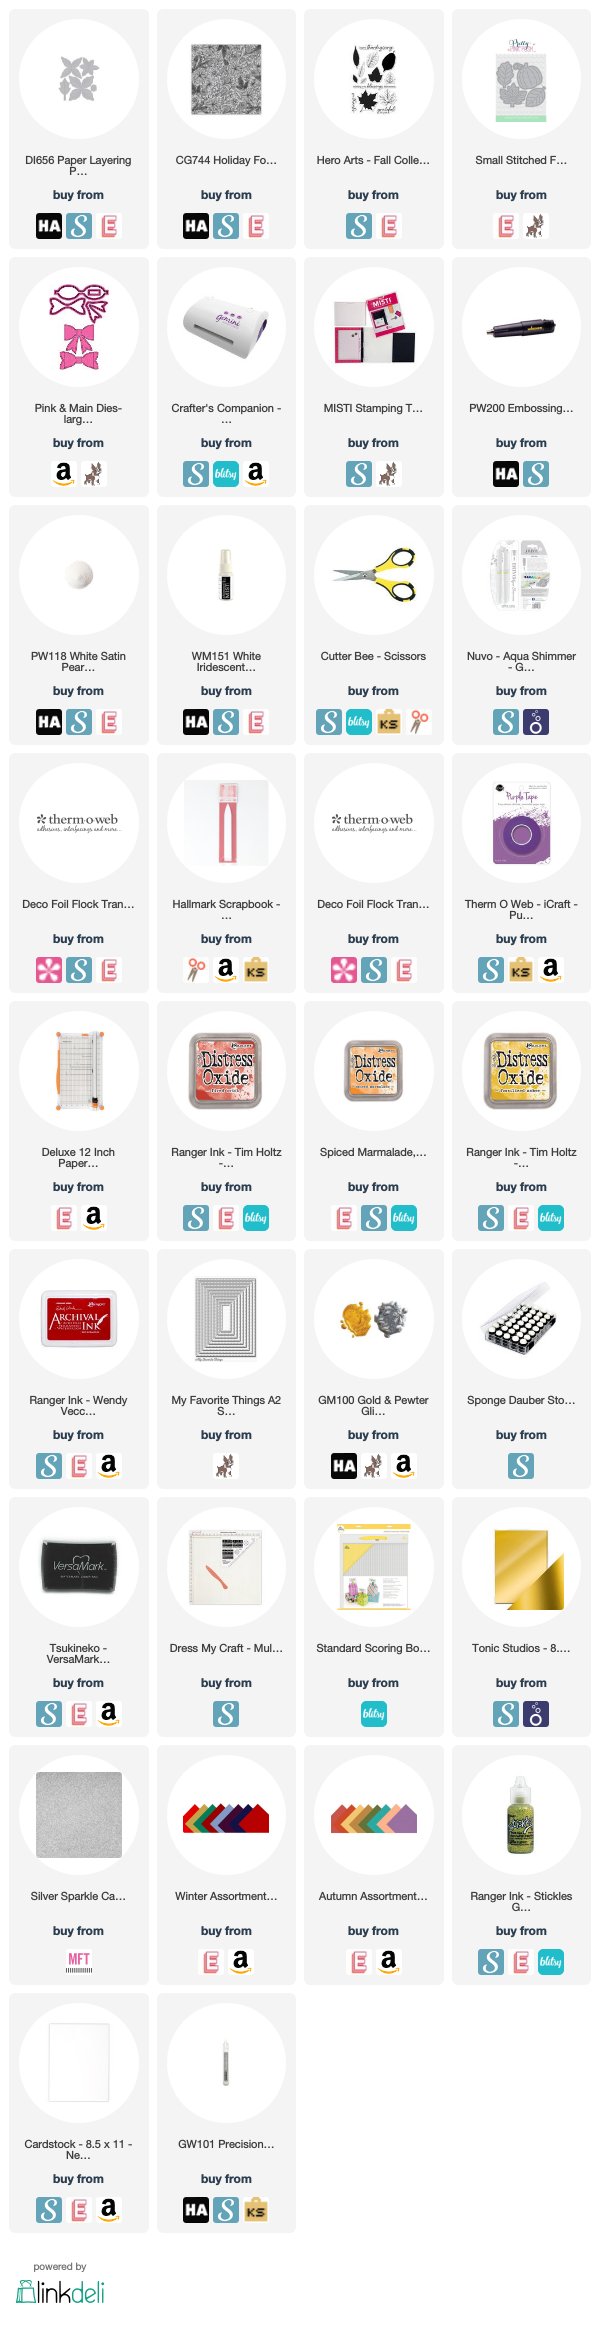
I used Neenah Desert Storm card, Hero Arts Unicorn White pigment ink and a variety of dye inks as well as Hero Art's Joy Stamp 'n Cut set with the Paper Layering Poinsettia.

First stamp images with the white ink and let dry thoroughly.  I didn't even use a Misty for this, though it might have been quicker.

Then stamp again with the dye ink, offsetting it slightly to give a shadow effect so it will "pop."  I splattered it a little bit with a mix of water and gold ink.

I added some gold Stickles to the centers of the flowers and Delicatus gold ink to the edges and let dry.  I diecut and built the Joy and Poinsettia, then added Midas Touch for some shimmer.  Finally I wrapped some gold vellum strips to make it look like a gift and layered on background, then card base.

Here are links (afil) to the supplies I used.  Thank you so much for using these links!


Here is the link to Jennifer's tutorial:
https://youtu.be/fJzLXse13Jg
Here is the link to join the "A Blog Named Hero" Sept. Challenge:
http://ablognamedhero.com/2019/09/september-challenge/

Until next time,
Gale
Thursday, September 12, 2019

Let's Make Fun 'N Fast Fabulous Fall Foliage Foiling!

Hi again!

I'm back today as part of the Craft Collab's "Favorite Fall Colors" Hop!  There are around 25 of us, so get out your drinks and snacks!  You can find the complete hop list below.


When I was at Stampaway a few weeks ago, I did a make 'n take at the Creative Visions booth where we crinkled foil and layered on toner diecuts.  It's easy and fun, so I kind of built on that to show you several techniques in this YouTube tutorial.  I hope you will consider subscribing!

Here is a larger view of the project:


Aren't those leaves gorgeous???   The supplies I used are linked below (afil) and I really do appreciate you using those links!

Here's the tutorial link:


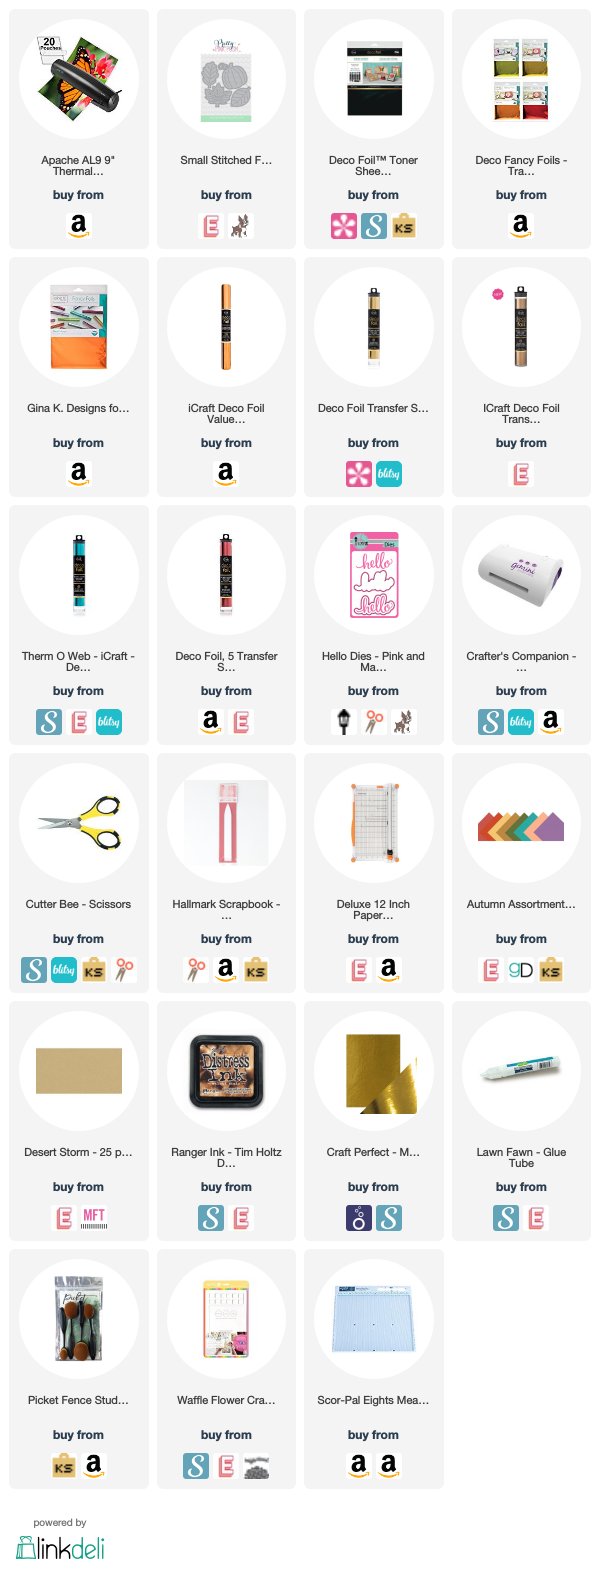
Here are the supply links:


Hop List:
Nicole Watt - https://youtu.be/N25QDNZc9xc
Teri Wilson - https://youtu.be/bIe01WdXjb8
Amber Rain Davis - https://youtu.be/Fry95crObos
Lindsay Adreon - https://youtu.be/I-GRaMBDtSI
EK Gorman - https://youtu.be/qty2ZwObLBY
Fairuz Fabiha - https://youtu.be/nPam-2YL1eQ
Tasha RJ - https://youtu.be/kGFDKX0k9XU
Karen Hasheck - https://youtu.be/Kn-aUjMXBcA
Betz Golden - https://youtu.be/XToiJM9t7wg
Amanda Stevens - https://youtu.be/4MopVFMh0CA
Gale A. Williams-Thompson - https://youtu.be/UiJlbBSMs5I
Becky Bac - https://youtu.be/d55aAUUKZXQ
Kari Allen VanNoy - https://youtu.be/qDjQL3F_o7s
Diane Warme - https://youtu.be/woRO-b4M9OA
Janet VanLone Trieschman - https://youtu.be/ekNxZ8bpjt4
Adrianne Galvin - https://youtu.be/pihoYeUCzeY
Fiona Stanton - https://youtu.be/_847xBOuAyQ
Deborah Jenkins - https://youtu.be/1NapFWQ0T_Y
Joanne Maree Soukup - https://youtu.be/Lqz_NFAda4A
Sladjana Donna Perisic - https://youtu.be/sqPXBkqzRr8
Tracy Shultz - https://youtu.be/9XAt5t7fPrU
Nicola Knobel - https://youtu.be/ya4c-F5vYnA
Jasmine Burgess - https://youtu.be/OxSXFpRIXrE
Jessica Francisco - https://youtu.be/9aqa2AKvFLQ

Have a great week!
Gale

Sunday, September 8, 2019

A Blog Named Hero's "Stretch Your Stamp" Challenge!

Hello and Welcome Back!

At first this photo may appear "puzzling."  Let me explain how I made it (and my trials/errors too!)  The August "A Blog Named Hero" Challenge is "Stretch Your Stamps."  I took it quite literally this time:)

The supplies I used are linked below (afil) and I am so grateful when you shop with those links!  I don't get rich, but it helps with supplies so I can show you more free projects!


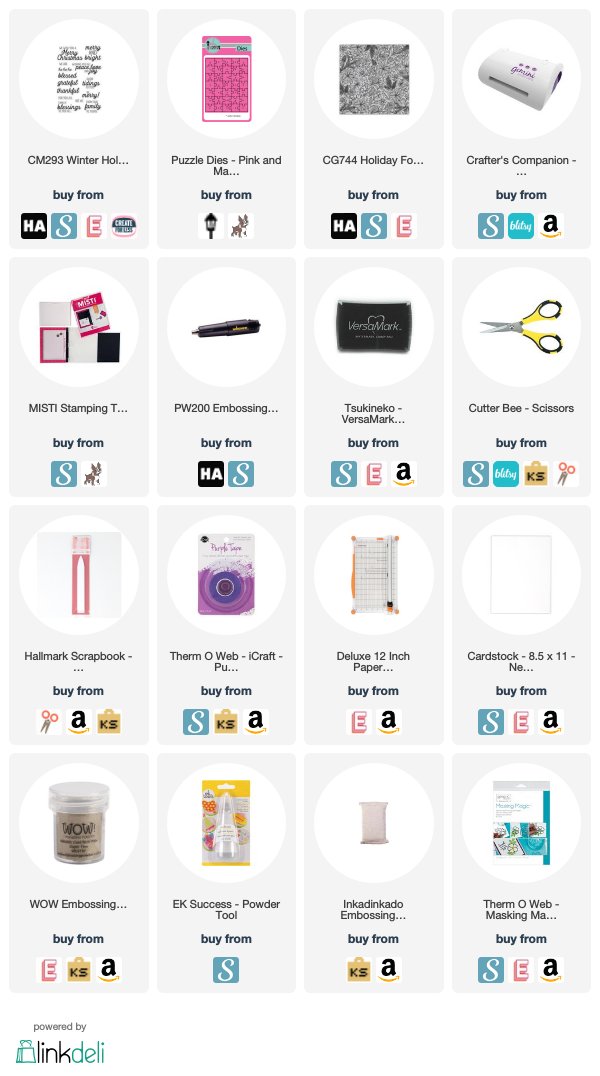
I stamped/heat embossed the sentiment on 110# Neenah card stock for sturdiness.  Then, diecut a circle mask and placed over it.  Next, I used Versamark ink and stamped the background, heat embossing in gold detail powder.

Then I colored with Tombow markers some of the background and die cut it with the puzzle die.  

Here is the finished puzzle:


Supplies:
/div>
Have a great week!
Gale

Thursday, August 22, 2019

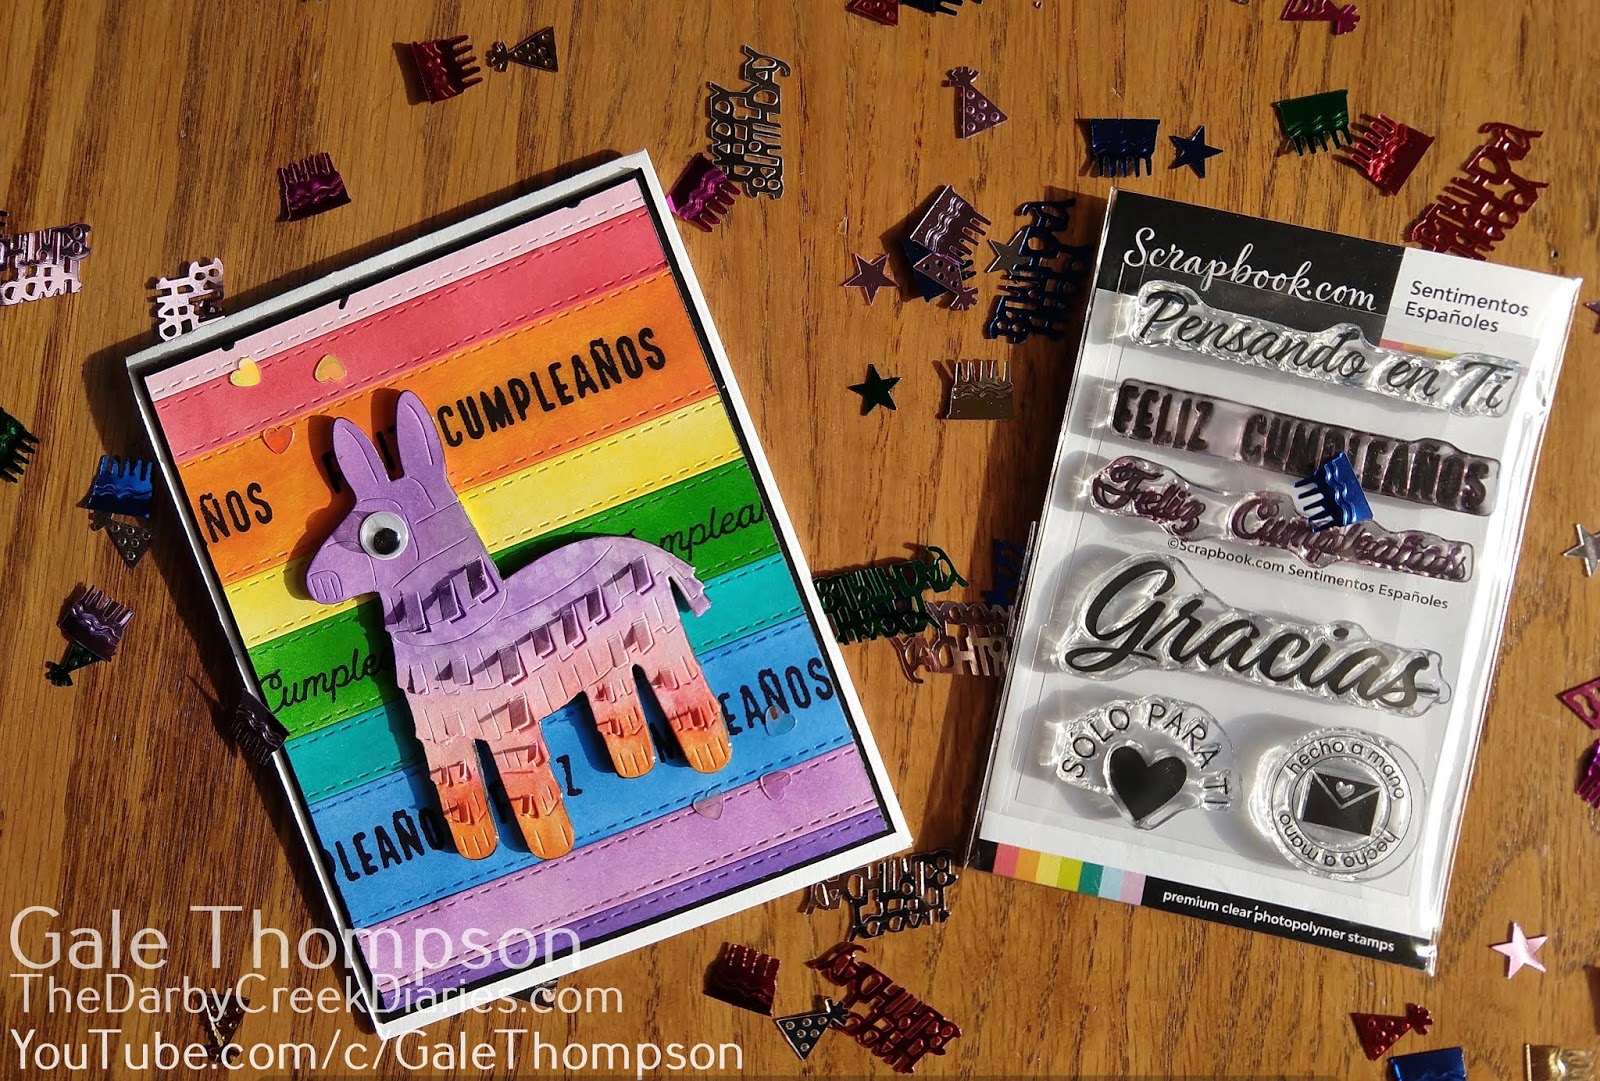
Feliz Cumpleanos Card To Celebrate Scrapbookdotcom's 20th Birthday!!

HELLO! (Hola!)

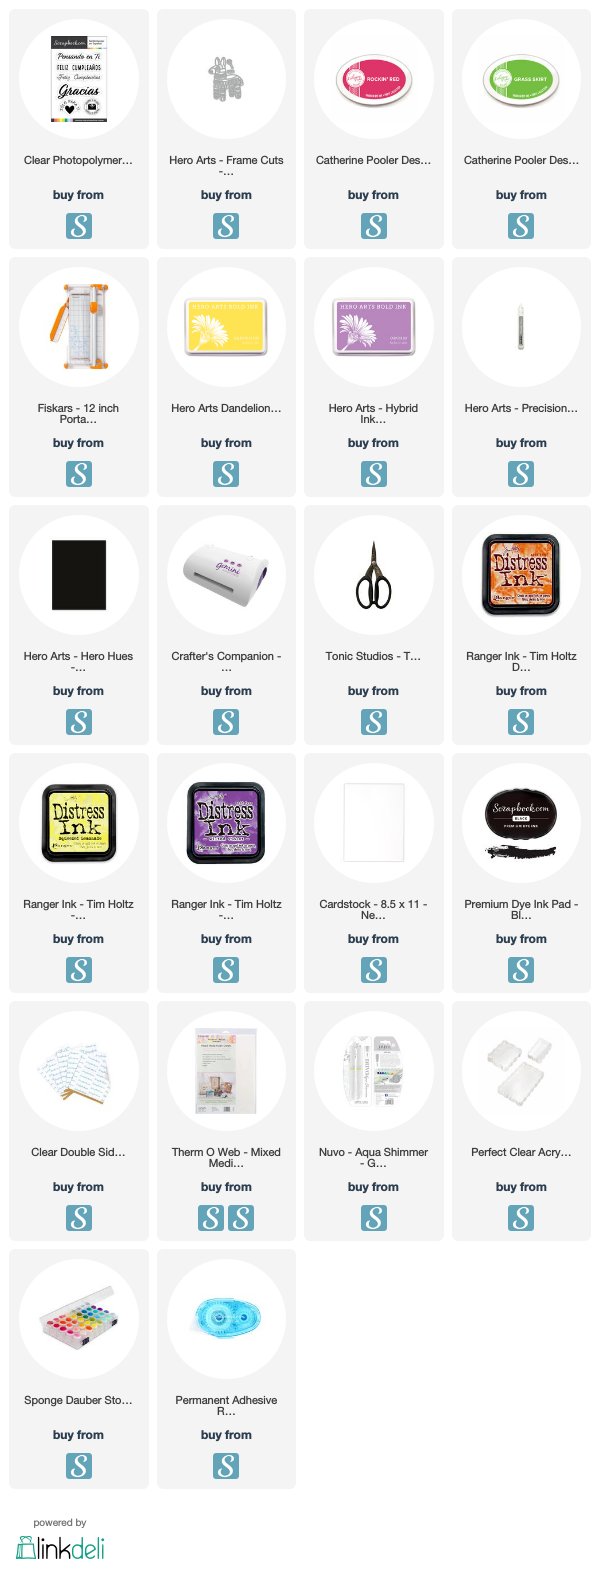
Today I'm posting a card to celebrate Scrapbook.com's 20th Birthday!  They wanted to expand their offerings with an exclusive "Sentimentos Espanoles" stamp set for our Spanish speaking friends!  All of the supplies are linked below (afil) and I really appreciate it when you those links or or the ones on the right margin to support the blog/channel so I can bring you new, free content!

(FYI, be sure to come back often as there are many cards that I don't post a Youtube tutorial on, that I place here:)


Here is a close up of the card: There is shimmer, but it's hard to see, however, it's there in real life!


Here is what I did (I actually have a few step outs since I didn't video!):

I coated an A2 size sheet of heavy card stock with a double sided-adhesive sheet and trimmed down.


I die cut sentiment strips in different widths.


 Next, I stamped the sentiment on the strips so that it appeared to wrap around.

Then I direct-to-paper colored the strips to make sort of a rainbow.


I started in the middle with the widest strip and laid on the exposed adhesive (very carefully as it's sticky!) with a ruler to help keep things straight.  To keep from being too busy, I used blanks in between. 

 I was sad to lose most of the top and bottom sentiment lines, but I still needed to trim so I could have a small border around the card front.


I place the trimmed piece on a slightly larger black rectangle, then mounted to my top fold card base.

Fun and done!  If you have any questions or comments please leave them below.  I love hearing from you!!  Once again, Happy 20th Birthday to Scrapbook.com!


Until next time,
Gale

(Disclosure:  Part of the supplies I used were provided by Scrapbook.com for me to try out.  However, my opinions are my own and if I didn't like them, I would say so!)

Monday, August 19, 2019

How To Make An Angle Flap Card--A Blog Named Hero August "Stretch Your Stamp" Challenge!


Welcome!

(8/30/2019 Update:  Here's a new YouTube tutorial!!)  The video link and supplies are linked below:) This also features Hero Arts stamps and dies.


Original Post:)

Hope you are enjoying what is left of Summer!  My pneumonia is slowly going away.  I promise to get some fun YouTube tutorials up soon!  

Fall will be here before you know it, so I decided to pull out some Fall colors of Distress Oxides and my Hero Arts "Grateful Leaves" stamp set.  (The supplies are linked (afil) below.  I really appreciate it when you use them and the links on the right side:)  Thank you!!!)


This month's "A Blog Named Hero" Challenge" is to Stretch Your Stamps!  This leaves set is a color layering one, but I only used the "bottom" one (without any detail.)  I used several Distress Oxides and inks, by applying and blending them with daubers on my stamp to get a "blendy" look.  This was on watercolor paper as I originally intended to watercolor.

Then I sprayed with Shimmer Mist and that kinda made the background "fade back."  I flicked gold ink to liven it up a bit.  I used coordinating card stock.  The base is cut from an 8.5 x 11" sheet on the diagonal.  Next, I scored one corner at 4.25 and the opposite at 5.5"


This is how the fold looks.

I used a stitched rectangle die to cut the orange mat, cut on diagonal and adhered to base.  Then used a smaller stitched rectangle to cut background.  I cut that on the diagonal and adhered.  

Next I used a Pretty Pink Posh stitched leaf die in the card base color, then daubed on some gold and red ink.  I stamped the sentiment in red.

I hope you will join the challenge and maybe win a prize in the drawing!  

Here are the supplies I used:

/div>
Have a great week and I will be back soon!
Gale

Thursday, August 8, 2019

How To Make An Easy Pop Up Card!

Hi there!  

So glad you stopped by!  Just wanting to share my "A Blog Named Hero" post celebrating their "Christmas In July" Challenge.  It's hard to tell until you look at the bottom of the photo that there is a lot of dimension!


Before I get into the details, this card is a "combo CASE."  Mary M. Reiner designed the card below for our Ohio Stamp Junkies Meetup last month.  She CASEd Jennifer McGuire. 

Stamps by Newton's Nook.

The Flamingo card combines several stamp sets, but it is really only three layers...

There is a front, back and a section spanning the middle.


The supplies I used are linked at the bottom of the post.  I'm planning on posting a YouTube tutorial on this soon with a different twist, so be sure to subscribe to my channel and hit the bell for notifications.  I can't say for sure when as I am recovering from pneumonia and am way behind on everything in my life...here's a brief explanation.


The basic card starts out as two 6 1/4" x 5 1/2" sheets of card stock.
You need to score both tall sides at 1/2" and 1".  The center strip can be any size as long as long as it allows the card flatten down to mail.  I decorated my Hero Arts Color Layering Flamingo with a random Santa die cut and added snow marker.  I added shimmer to the whole flamingo.  

The background is simply blended Distress Inks with a little shimmer spray.  The water is Hero Arts Color Layering Waves that I heat embossed with clear powder.  I added Snow Tinsel embossing powder at water's edge.  The frame is completely covered with Hero Arts Sand embossing powder.

I cut out a couple of plants from the Flamingo set and glued to front for more dimension. 

To assemble use strong double sided adhesive and place on the top edge of each side that was scored and folded back accordian style.  Add the center section and tape as well.  It takes a minute of working with it to flatten and spring back, but it will!


I'll be back soon with another post, so stay tuned and take care!
Gale