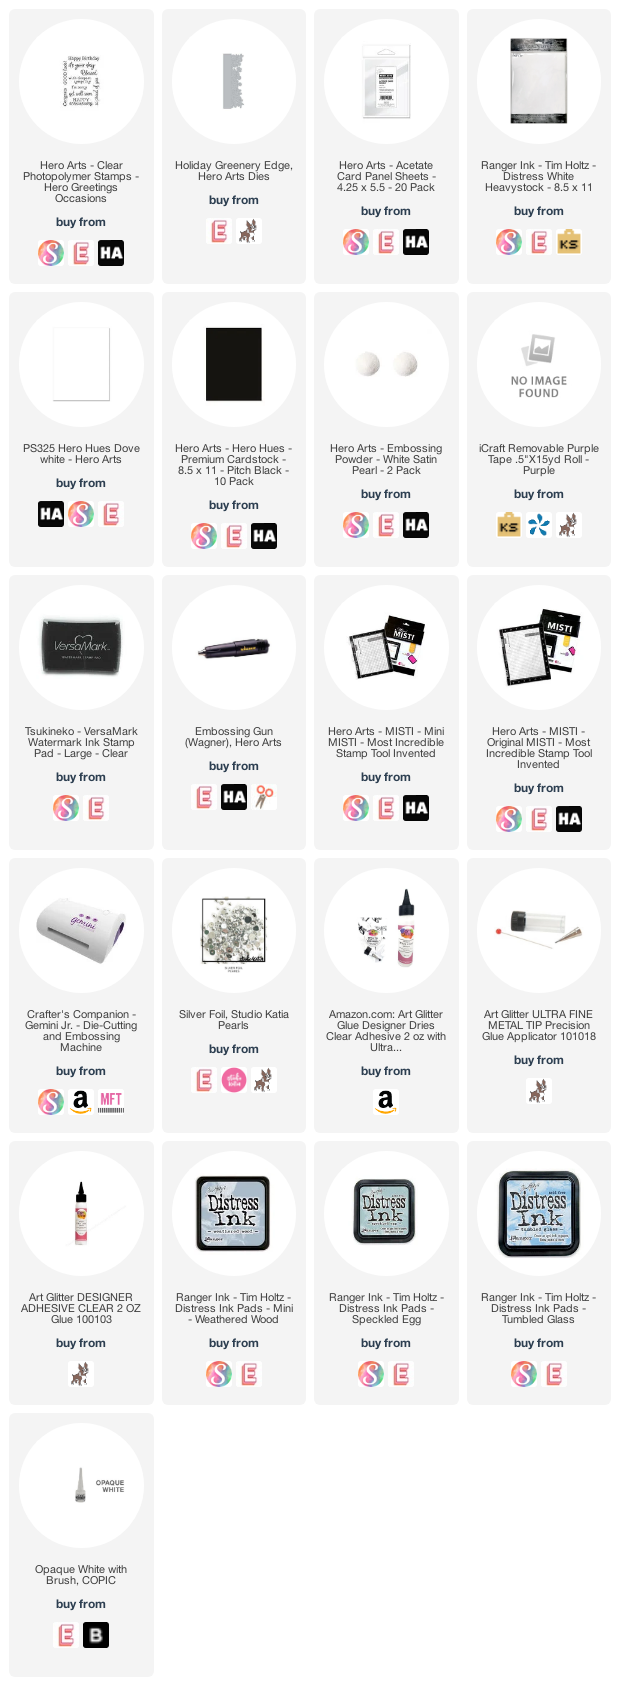
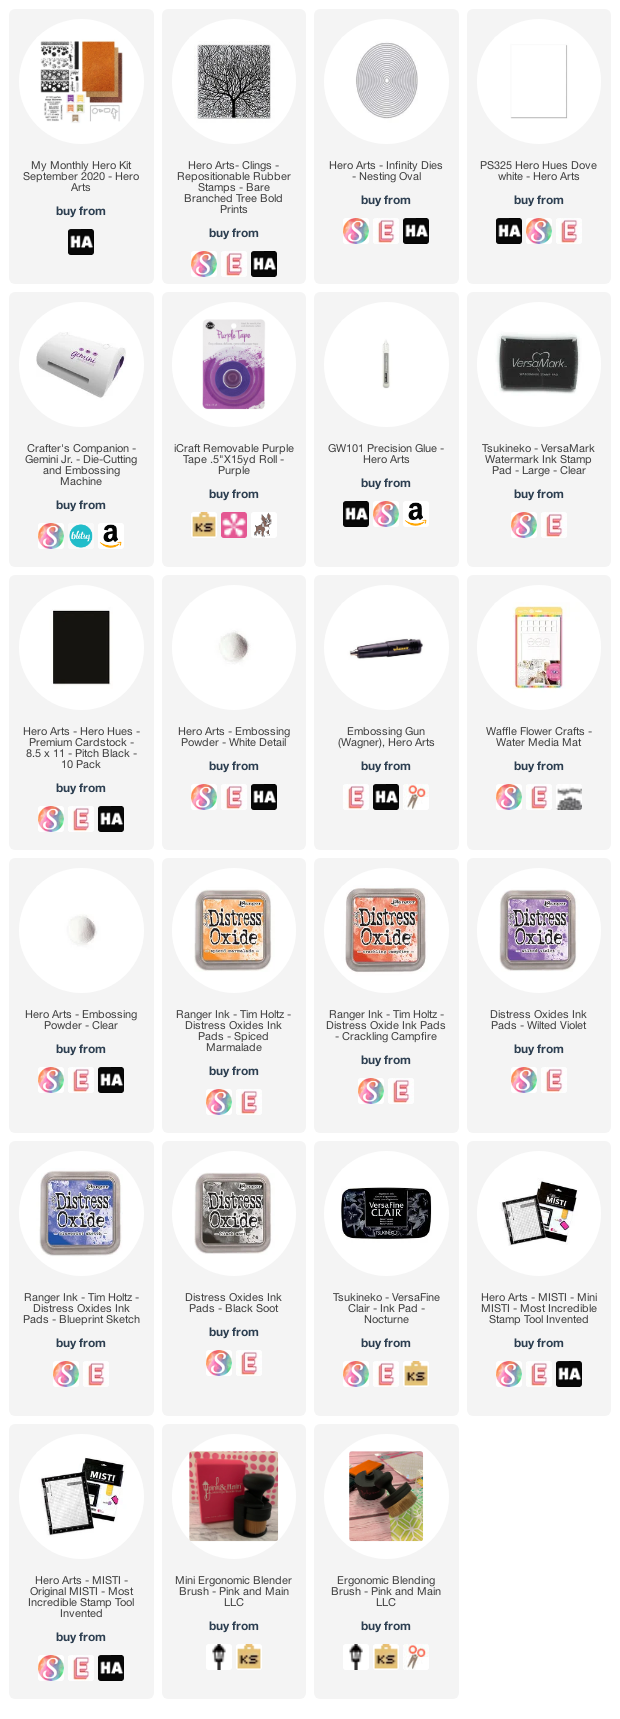
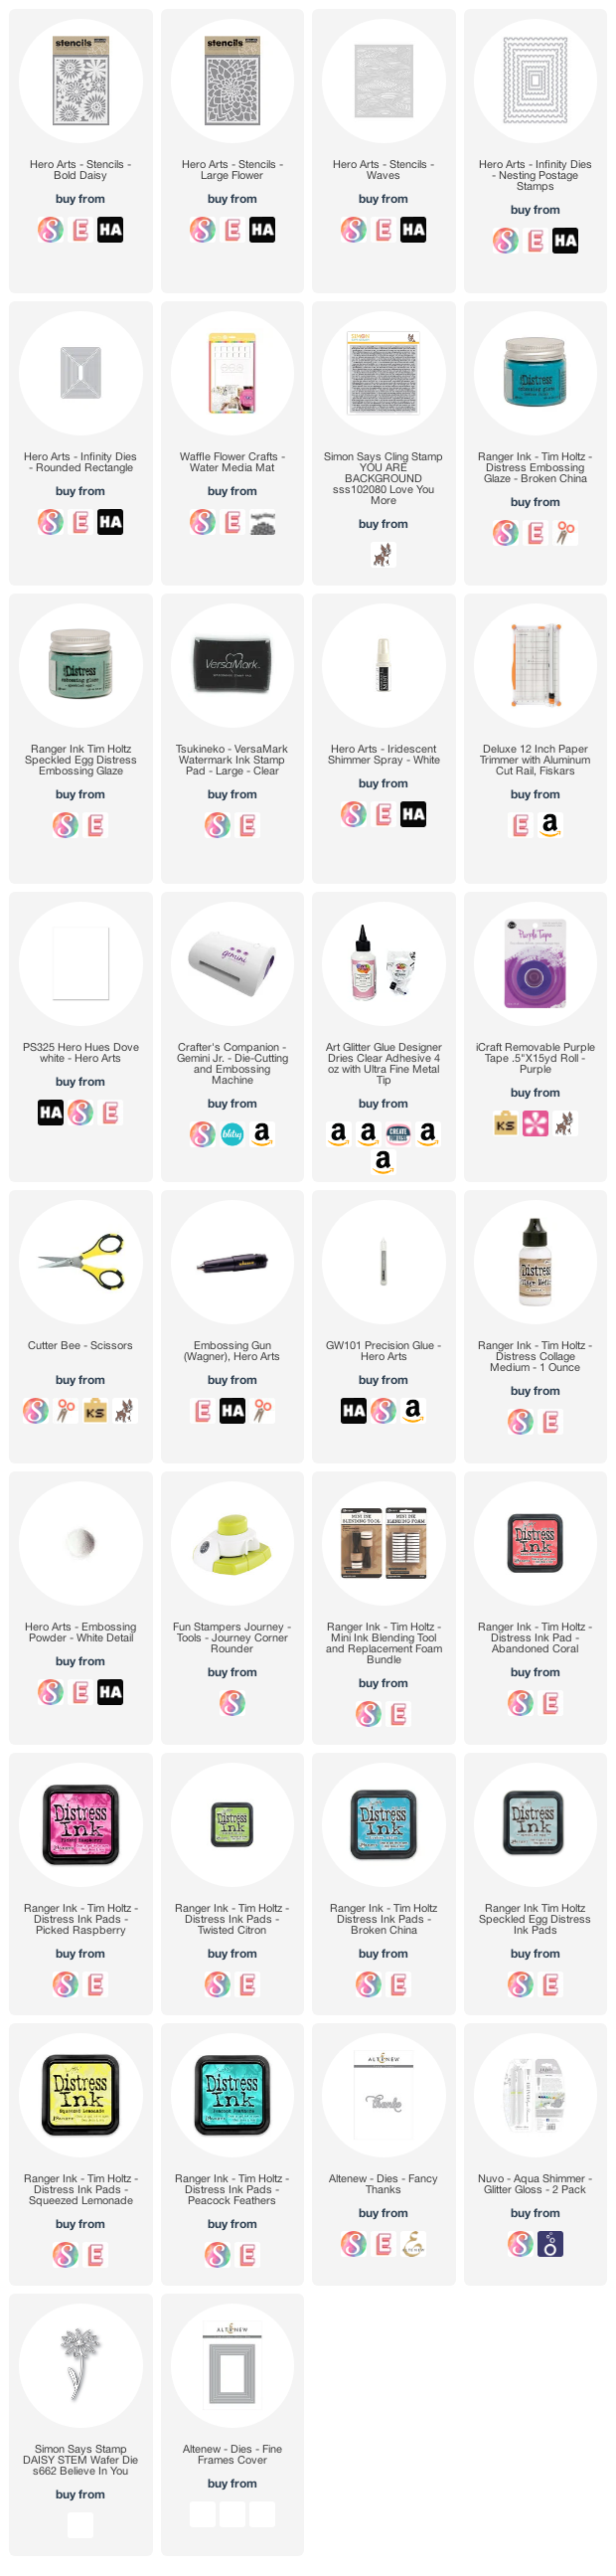
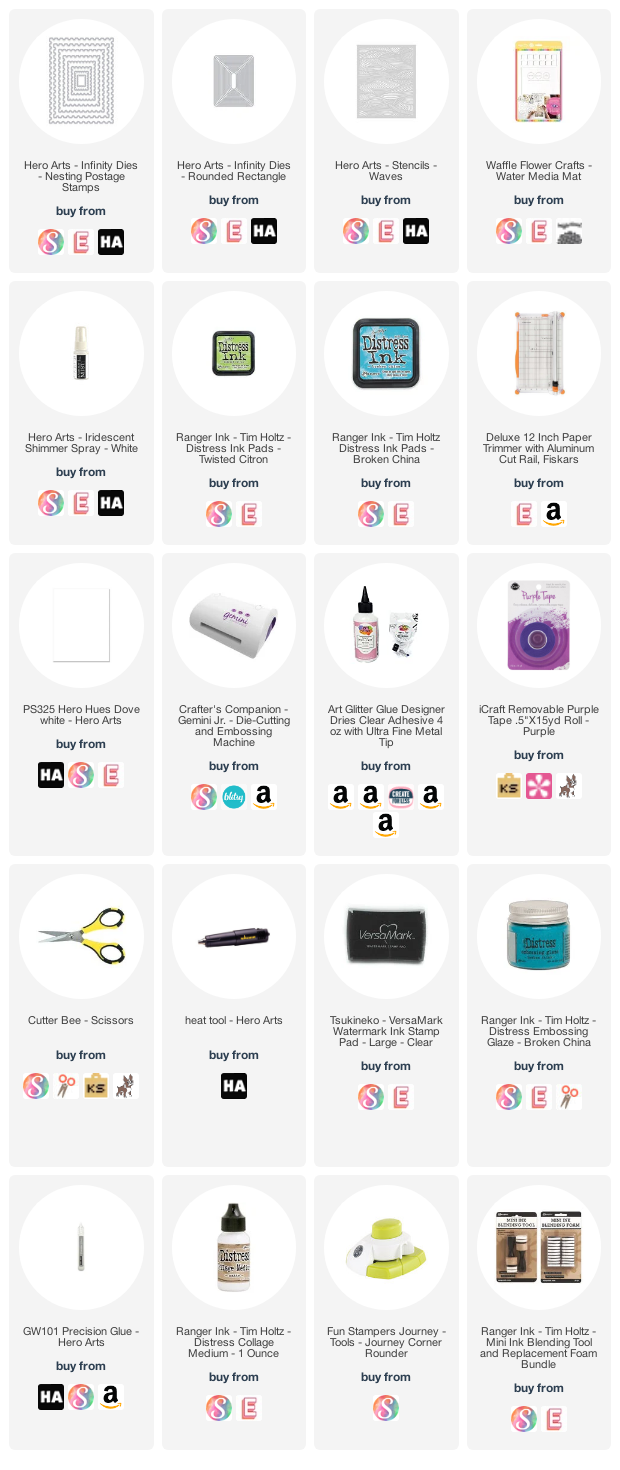
So glad you stopped by for my final post of 2020. Hoping 2021 is much better for everyone! Today I CASE'd fellow "A Blog Named Hero" Facebook Creative Team member Michelle Lupton's see-through card...
The blog with the split personality! A mix of General Humor & How-To posts with a heavy dose of Crafts to inform and entertain! (For CRAFTS/CARDS click on Dropdown Archive, Index By Topic page or Search for Gale's Galleries!) See also my new "Secrets To Success" Pages! Be sure to check out my new YouTube Channel at YouTube.com/c/GaleThompson *Look for exclusive posts on @darbycreekdiaries on Instagram!*
So glad you stopped by for my final post of 2020. Hoping 2021 is much better for everyone! Today I CASE'd fellow "A Blog Named Hero" Facebook Creative Team member Michelle Lupton's see-through card...
Hello!
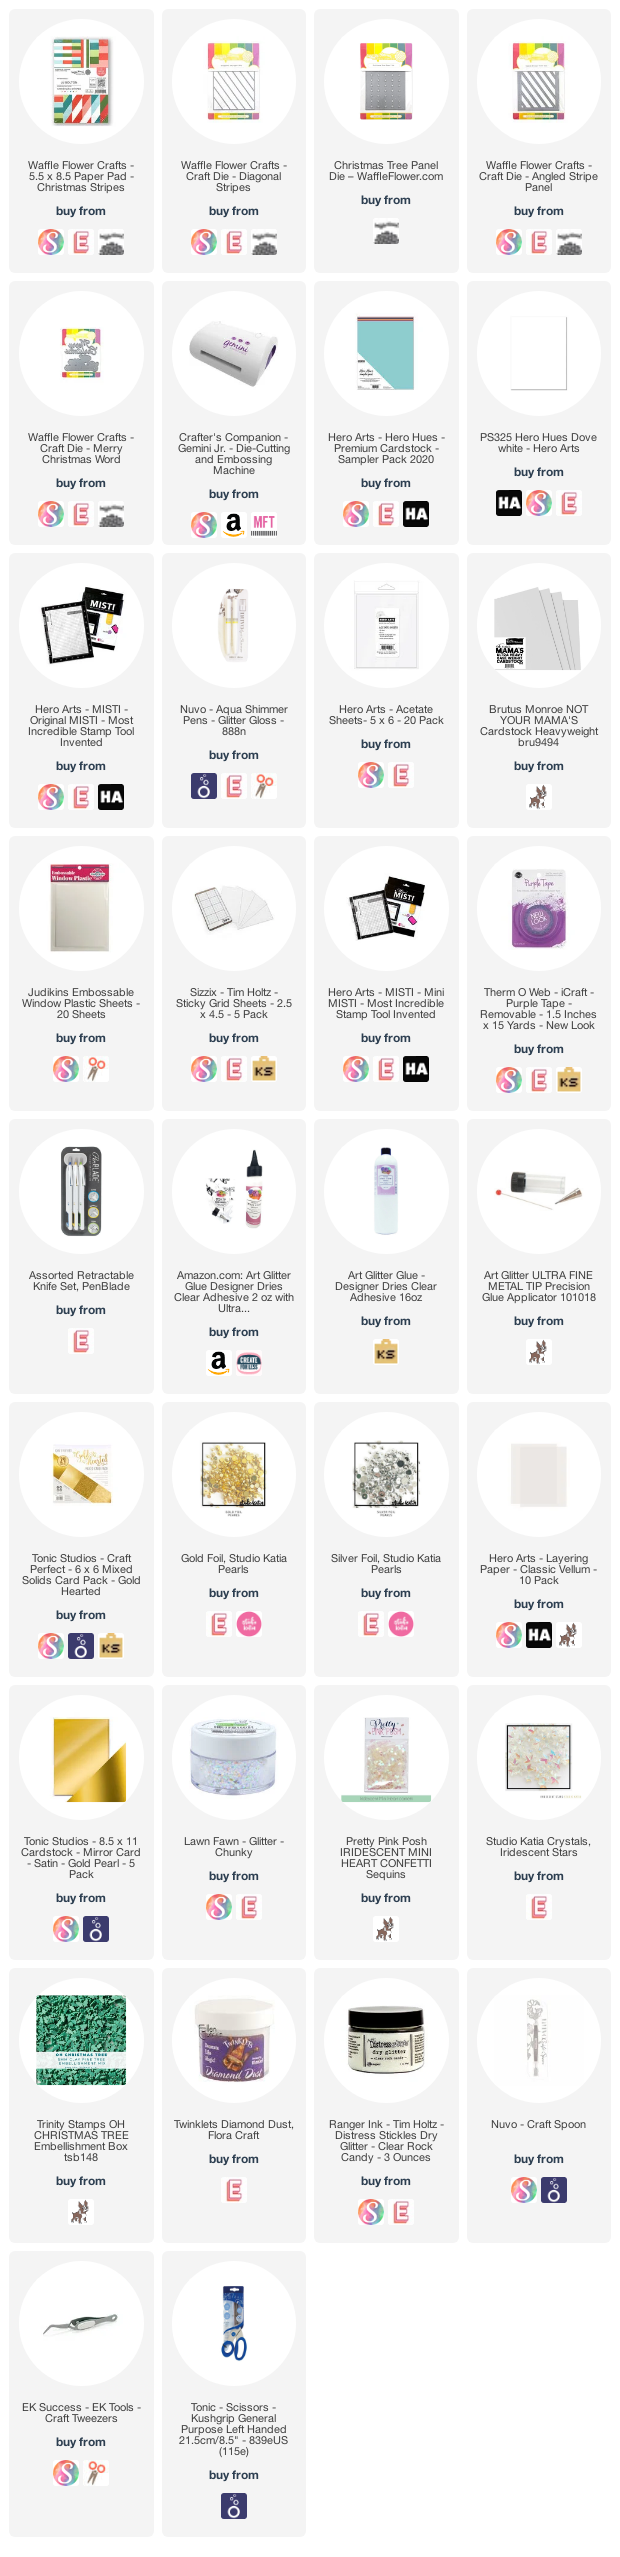
Hope all is well with you! Here is my inspiration for the December Challenge! The supplies and instructions are listed below. If there is interest, I will make a video tutorial too!
Hello again!
I told you I'd be back soon! LOL! Hope you had a wonderful (as much as it could be) Thanksgiving! The holidays will be crazier than ever in a different way, so I'm going old school on several projects this year and using basic supplies. The kids can get involved too!
This project is part of a Youtube video hop (below) that I hope you will enjoy!! Here's what I made (the supplies & free template are also linked below (AFIL-Thank you for your support!):
You can make your own decorative paper or use some of the beautiful pre-made ones to save time! I filled them with lots of candy, but gift cards and small items fit amazingly well.
Stay safe and come back and see me soon!!
Warmest regards,
Gale
Hello!
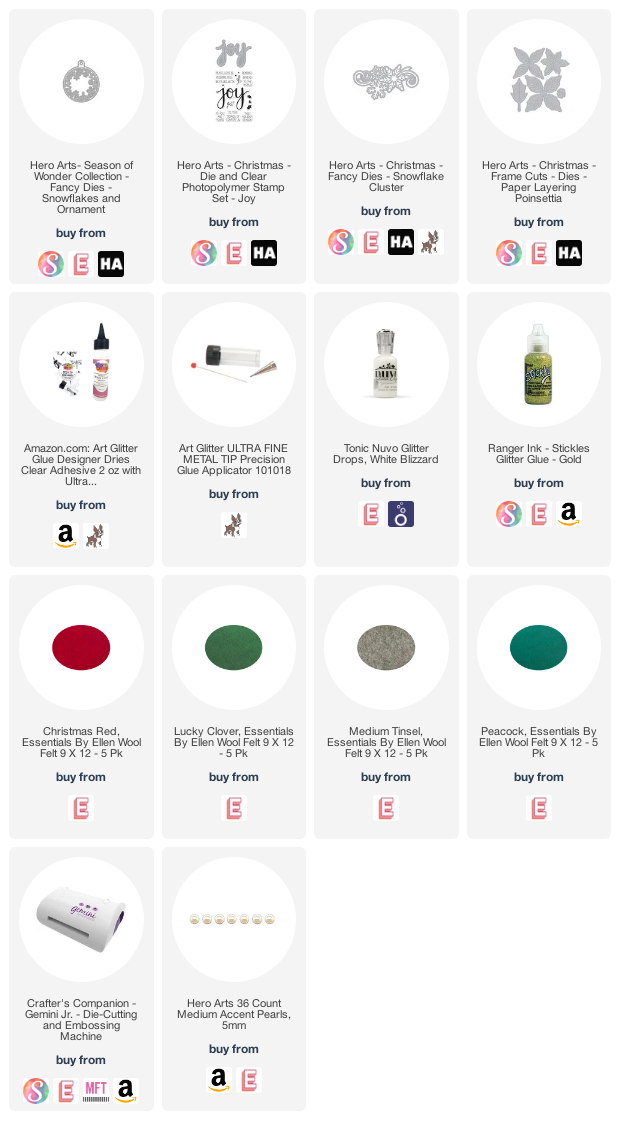
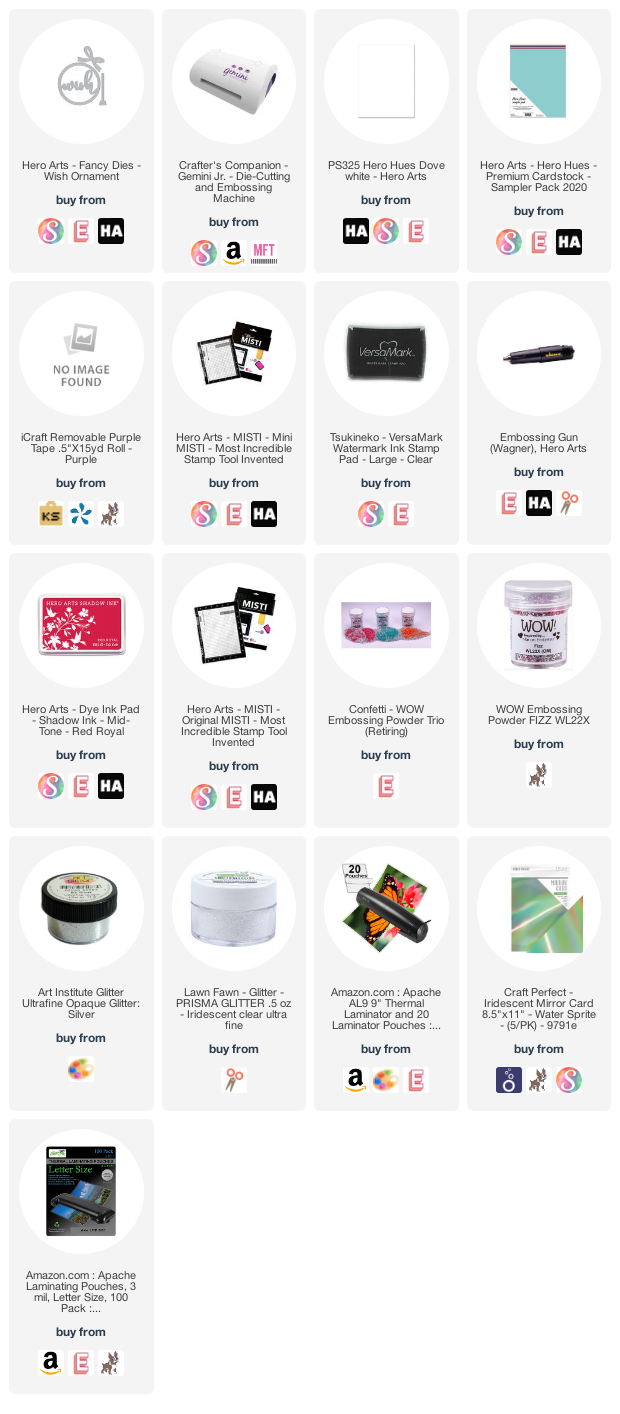
Happy Thanksgiving! Welcome back to my blog! Hope you are doing and feeling well! I made some "old school" glitter ornaments for the current challenge "Glitter & Sparkle." Hurry and enter for a chance to win a generous shopping spree at Hero Arts!

Hello!
Welcome back! I am planning a little challenge this month called "Send Ten!" The details will be coming soon, but there will be a nice prize... stay tuned!
In order to mass produce we need to really on pretty, but simple designs. The recipient will love being thought of whether you took 10 minutes or 2 hours making it. It's the thought that counts! (This year especially!)
Here is a great way to get your crafting and your caring put together easily! The supplies are linked below (AFIL-thank you for your support!!)
Here's the complete tutorial--I hope you will like, subscribe, share and enjoy!!
Hi there!
Hope all is well with you! The current challenge is See-Through at ABlogNamedHero.com You could win a $50 shopping spree! Hurry to enter!
Greetings!
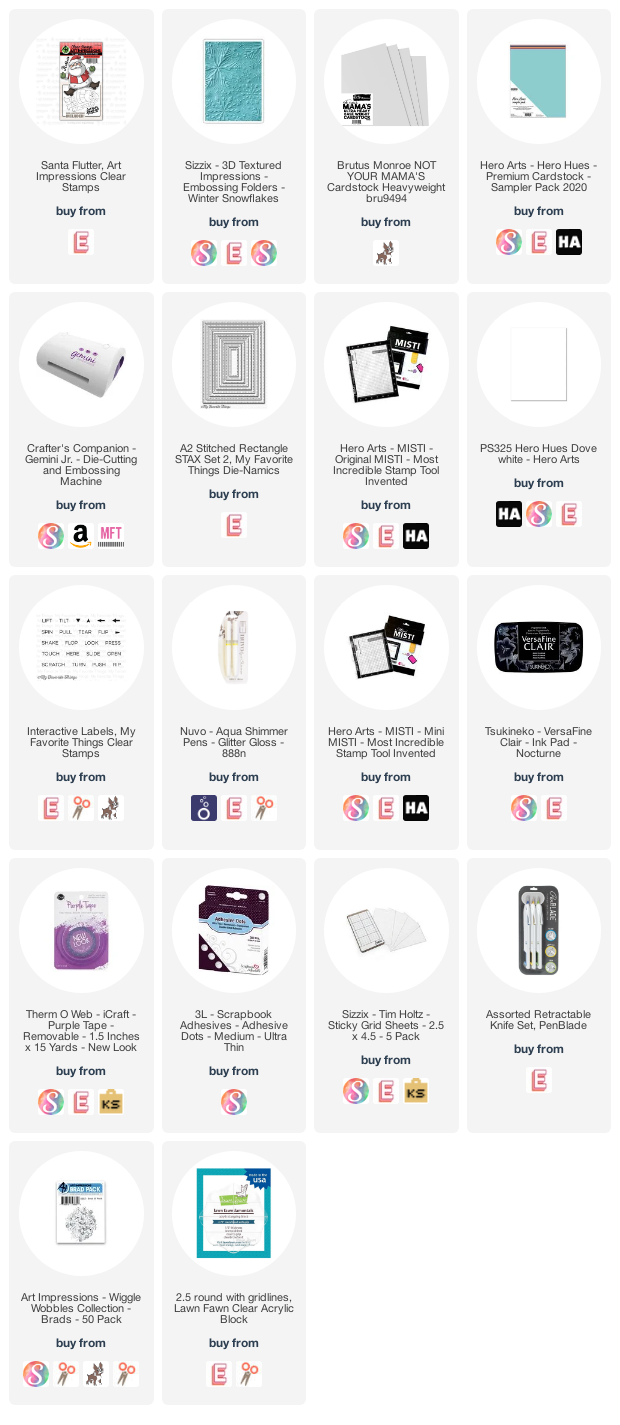
It's not even Halloween yet, but Christmas is starting now (along with cold, early darkness, gray days... but I digress. Here is a fun Santa Flutter set that would also work for ornaments or little toys if you shore them up a bit with thick or layered paper.
Shout out to VianneyCreates for inspiring me to get this set off the to-do pile! The supplies I used are linked below (afil-Thank you!)
Here is the complete tutorial:
Hello again!
This month's challenge is Clean and Simple and this card "mostly" is! I wound up having to glue the scene to the background, but that's our little secret:)
Hello!
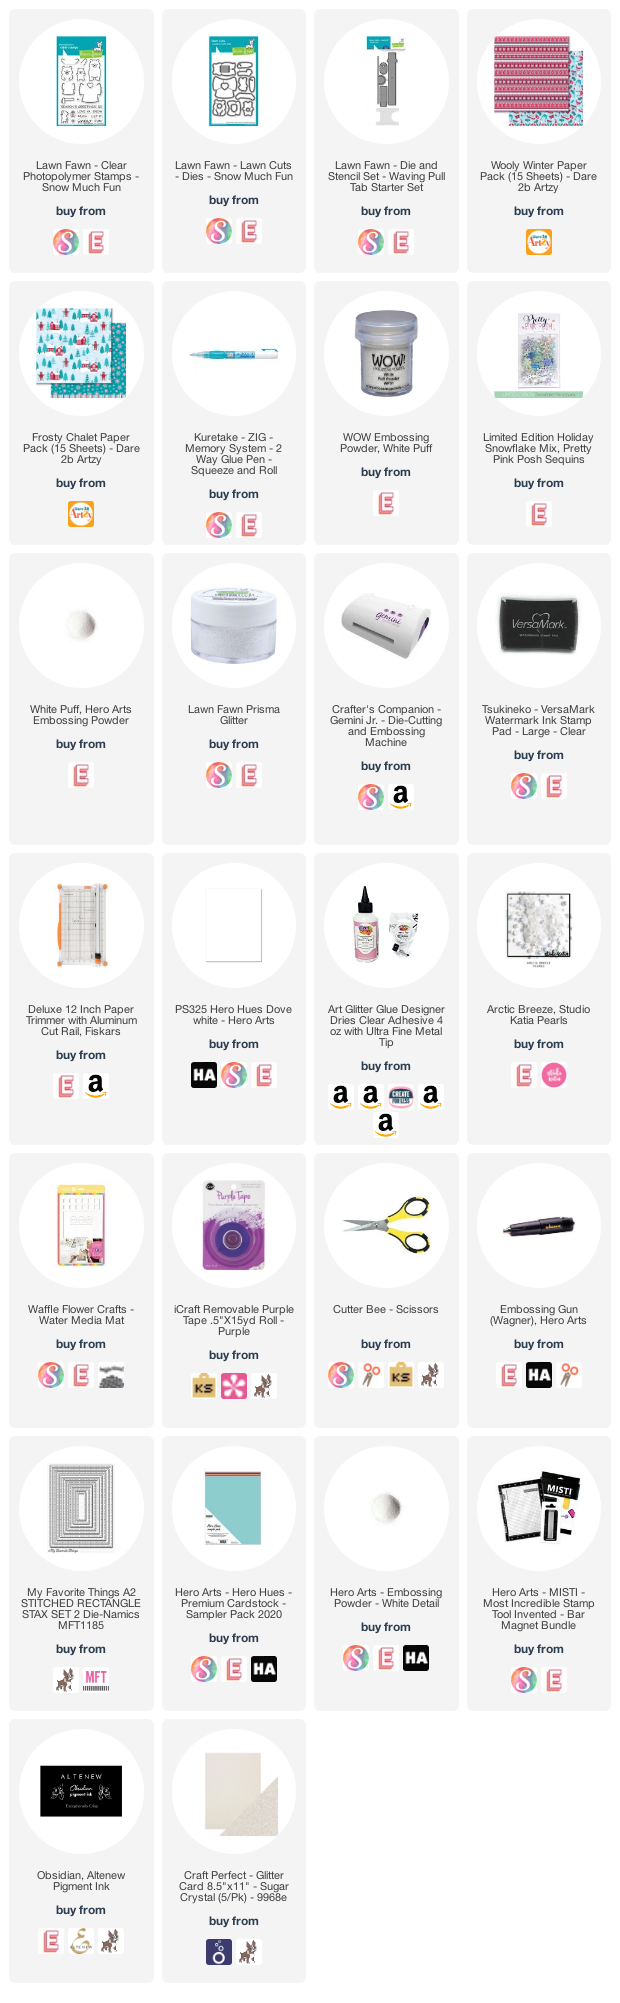
So happy to be a part of another fun Lawn Fawn Fan Hop & Giveaway! I played with the new "Snow Much Fun" Stamps and dies as well as the "Waving Slider Die." The card is so much more sparkly than I could capture with my camera:( But isn't it a fun card???
The instructions are in the Youtube tutorial. Be sure to comment at as many stops as you can for chances to win a $25 gift card to Kat Scrappiness!
The supplies I used are listed below (afil-Thank you!!). I purchase my supplies and my opinions are my own....
Supply list:
Today I am sharing stash-busting tips for things you either don't like or never get around to using. We all have piles of those things don't we? This is a hop with four other great crafters, so be sure to hop along for great ideas!
They are linked below as well as my supply list (afil- Thank you!) If you don't see something on the list, it's because it's on the list of a correlating tutorial mentioned in the video. There isn't room for everything I could list in the video description box, so I did this.
Enjoy the tutorial and please consider subscribing, liking, commenting and sharing everyone's stop:) It helps us out and makes us happy!
Shape-Shifting Bag- https://youtu.be/M24jxCbpnKk (Partial Diecutting) Purses- https://youtu.be/XclkAnMLQuw Angle Fold Card w/Flocking- https://youtu.be/fv-WrnxJtic Quilted Card- https://youtu.be/TePyNpkOqTE Diecut Letter Birthday Card- https://youtu.be/q_rhSc5guuk
Plum_Mashable - https://youtu.be/M4bIOI6mpwQ
Gale Thompson - https://youtu.be/bS6AhyrL_H4
Krystal L. Becker - https://youtu.be/c9QHAMKPNpE
Multiplicity Crafts - https://youtu.be/_WH_XNiSfxM
I think you'll also love their Instagram accounts at:
Here are the supplies I used that aren't in one of the above-mentioned tutorials:
Hello!
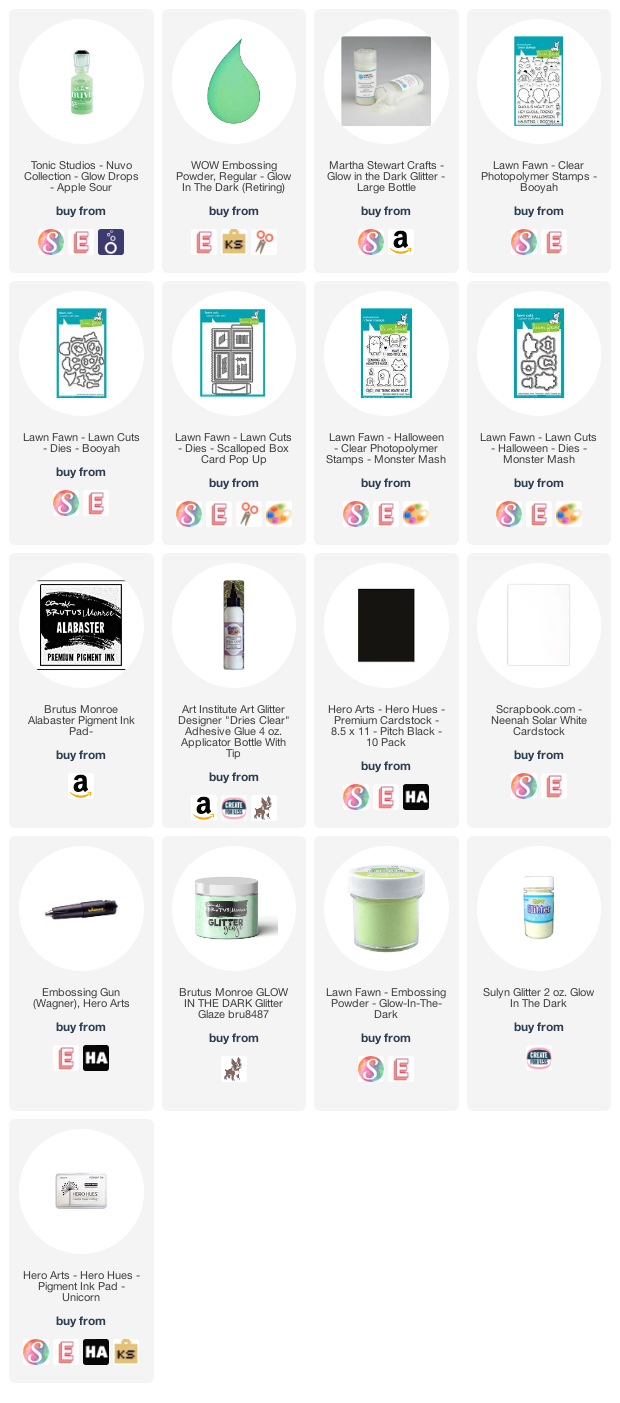
Welcome back to my blog! Today I'm making a Halloween Card for the fun YT Halloween Video Hop. I don't make many, but here's one that's not scary:) The supplies are linked below (afil--Thank You!!) The complete tutorial is on my Youtube Channel linked below. I hope you enjoy it and consider subscribing, liking and feel free to comment and share! Don't forget to look in the description box for the next stop too!
Hello!
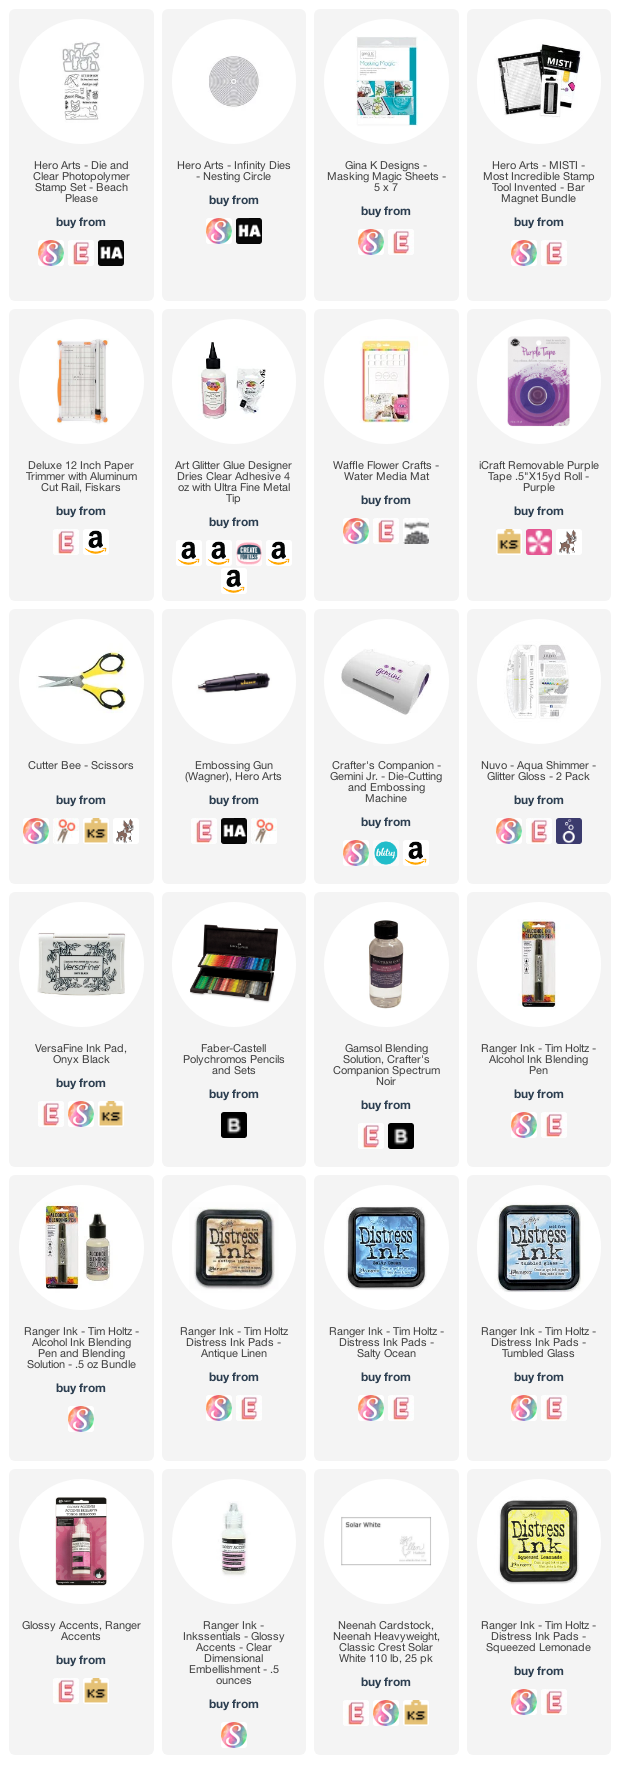
I'm so glad you stopped by! For me, clean and simple cards (aka, CAS) are the hardest to make. You really can't cover the boo-boos and that scares me! Today I'm using the Hero Arts "Beach Please" Stamp'n Cut set, some distress inks, colored pencils and plain 'ol sand. The supplies are linked below (afil--thank you!!)
First, I cut a circle out of masking paper (regular paper would work too!) and diecut the dog on the towel to use as a mask as well. I stamped the dog, then placed the mask over it (trimming it down a hair.) I blended the distress inks a little to make a blurry beach, water, sky scene.
I inked up the sun and misted water over it and the background, patting with a paper towel in a few seconds for droplet effect. I colored the dog with pencils, using Gamsol to blend. I added shimmer to the sun and water line along with sand on the beach. To finish I stamped the sentiment and added Glossy Accents to the sunglasses and necklace.
To finish I put a few clear sequins to brighten things up! That's it! Here are the supplies I used:
Hello again!
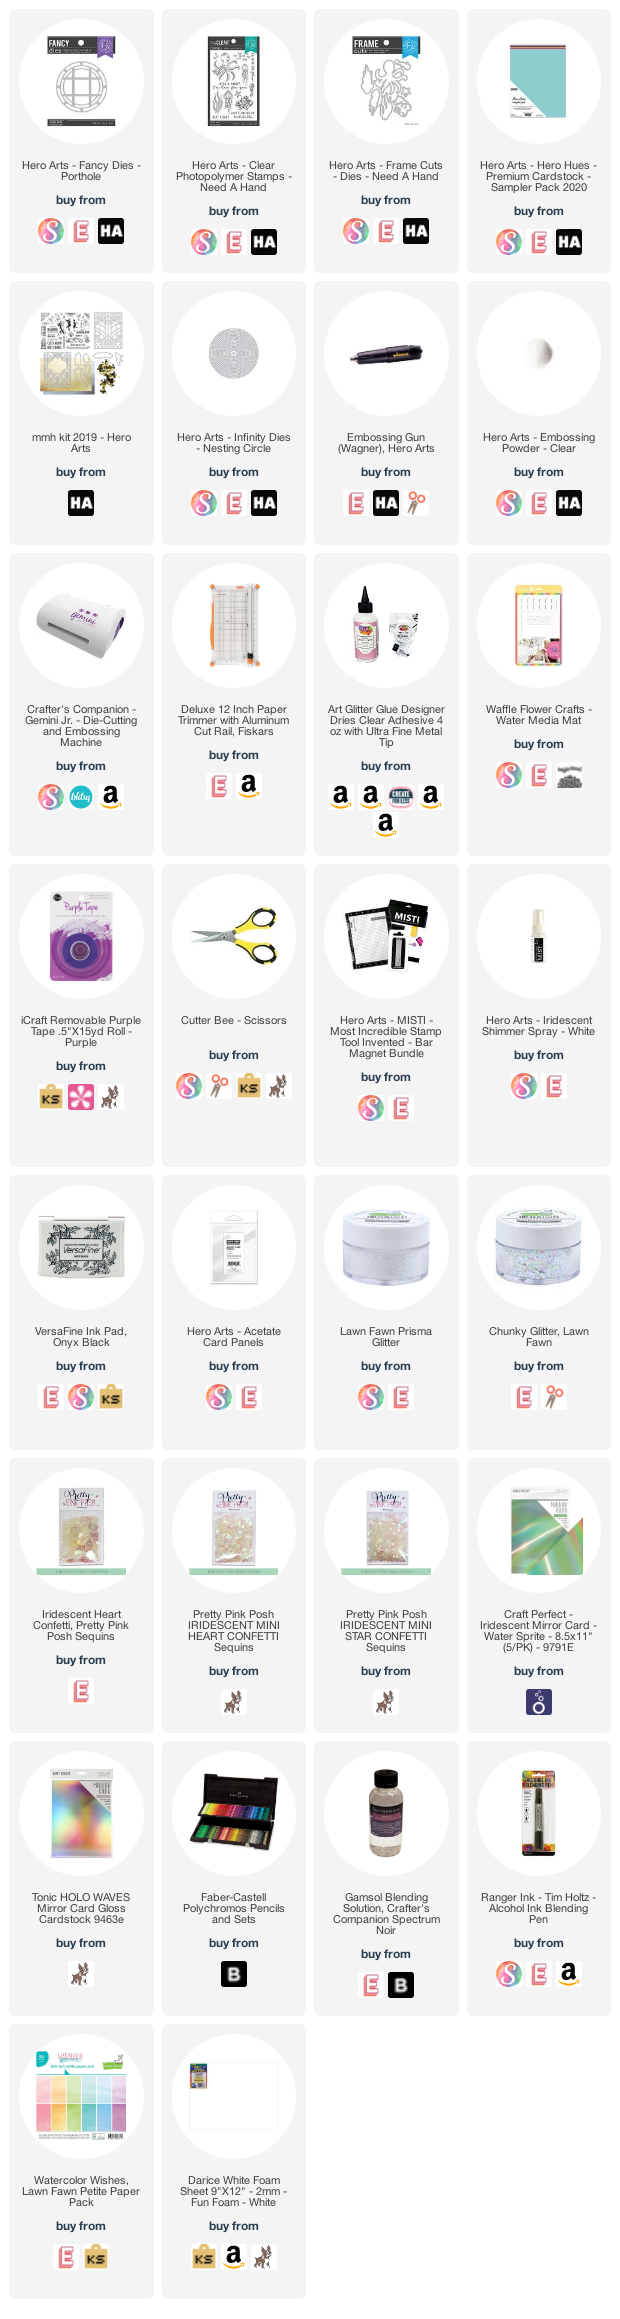
Today's inspiration for the current monthly challenge features the octopus from the Hero Art's "Need A Hand" stamp set. How cute is he??? (Or she:) Supplies are linked below (afil--thank you so much!) Be sure to get your entry in soon as this challenge is nearly over! Enter at ablognamedhero.com.
I started by die cutting the fancy porthole so I could frame my stamping area. Then, I die cut two circles out of fun foam from the infinity set and set aside for them to puff back up.
Next, I diecut the circle for the background out of Lawn Fawn Watercolor Wishes paper, stamped and clear embossed, then colored with colored pencils and gamsol.
I cut an acetate circle slightly smaller than the porthole, then diecut the background (from the MMH Art Deco kit in 2019.) I layered it on a pool colored card base, then built my shaker, gluing first the foam pieces together, then to the acetate, then to the bottom of porthole.
I placed the shaker bits in the center of the stamped circle and glued down the shaker. I added a heat embossed sentiment to finish it off.
Hope you will give it a try!
Here are the supplies I used:
Hello!!
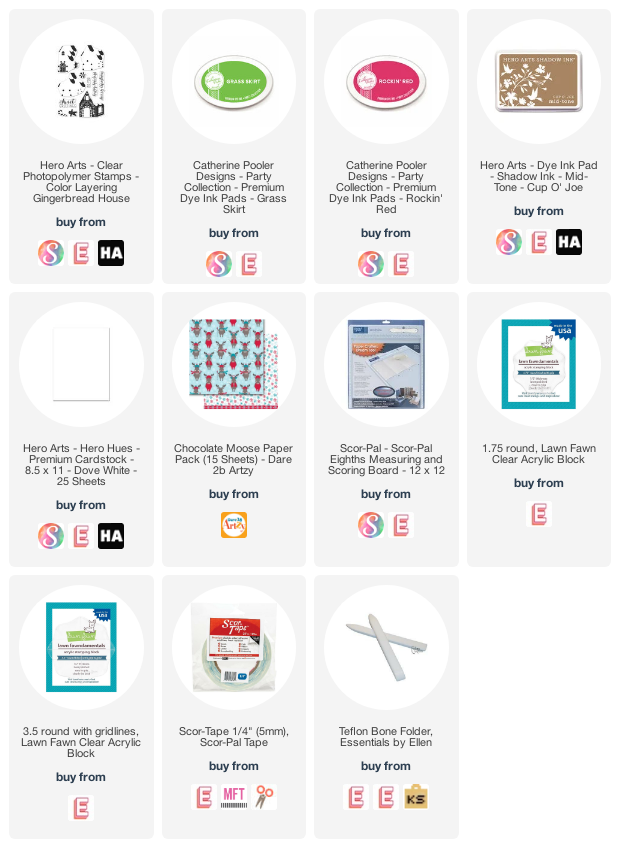
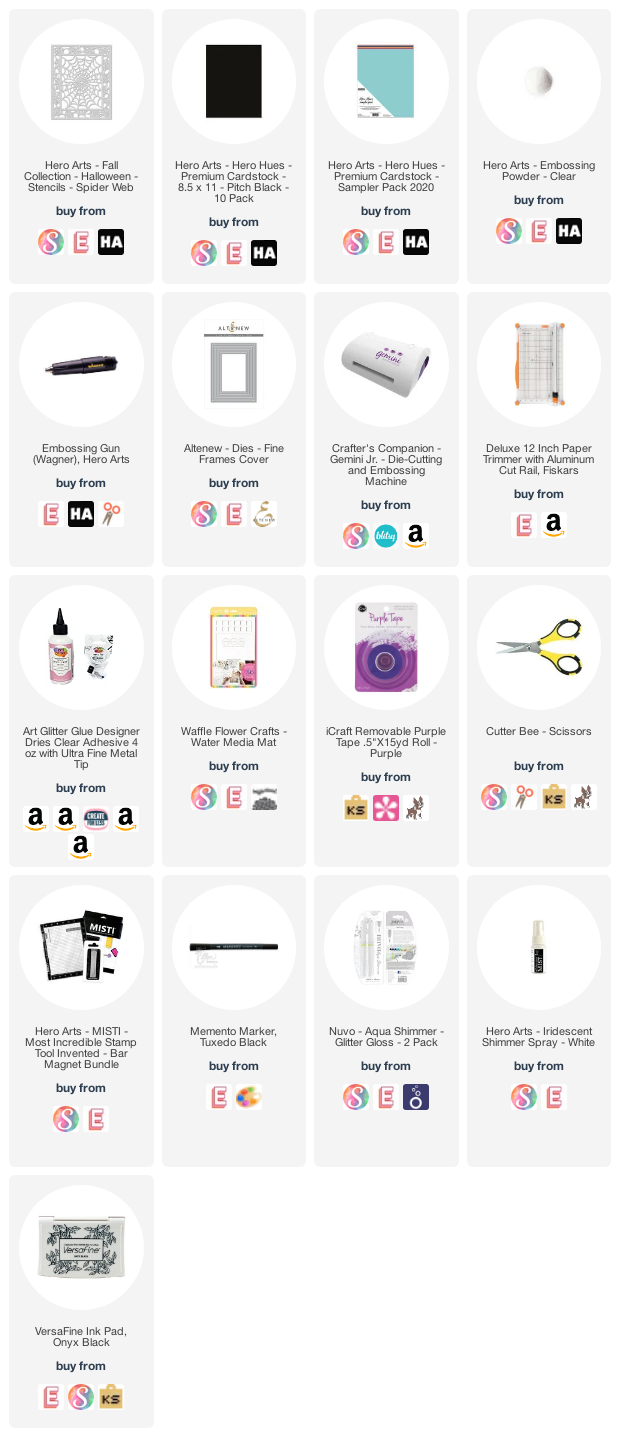
Welcome back to the "Diaries!" Today's "A Blog Named Hero" Cute Challenge inspiration project features a spider slider!
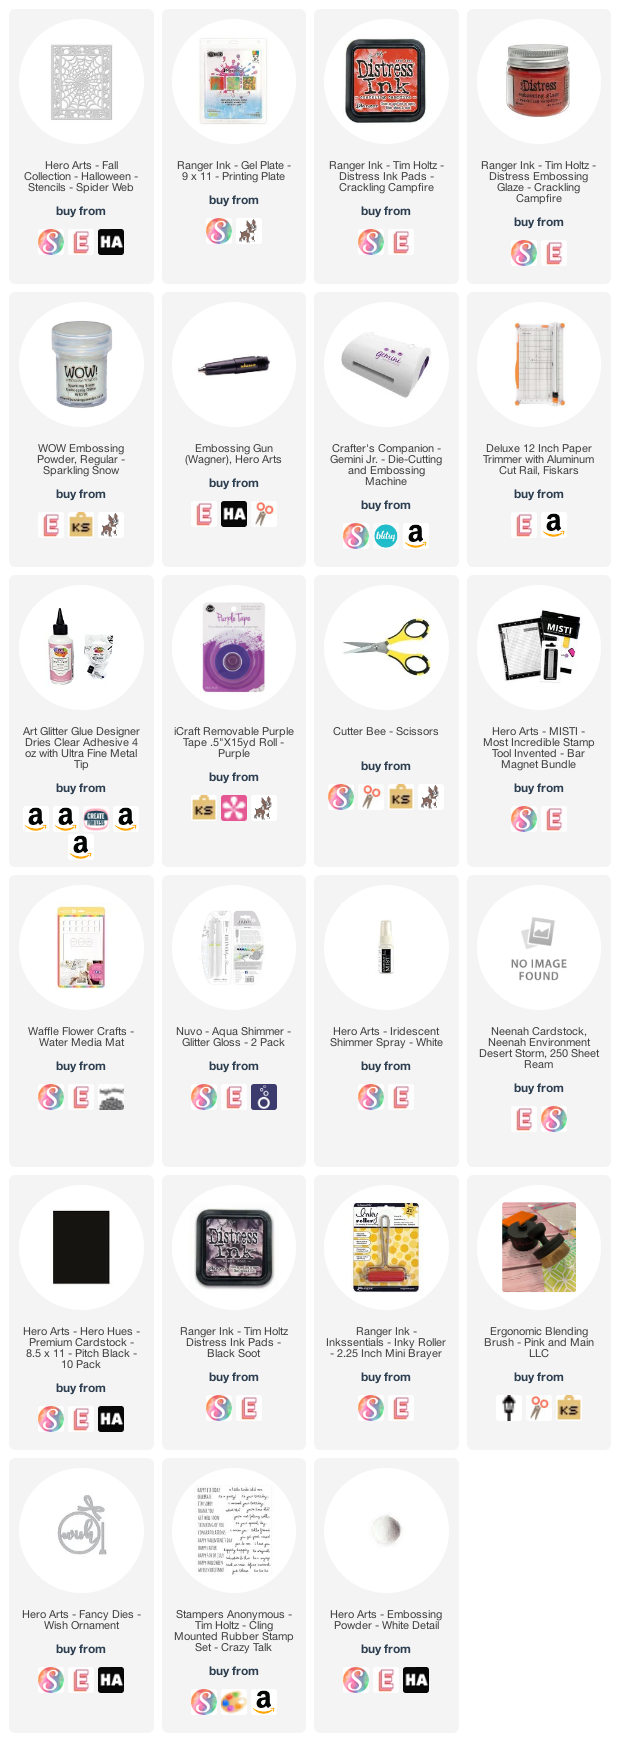
It's really pretty simple to make and fun for the recipient! I started with a full sheet of Hero Art's Pitch Black card stock and cut in half the short way. (The final card is A2--4 1/4" x 5 1/2.") Trim both pieces down to 5 1/2" x 6 1/4." The supplies are linked below--AFIL--thank you!!
Score both ends of the 6 1/4" sides at a half inch and one inch. The inside panel is slightly less than 5 1/2" by 4 1/4." I spritzed shimmer spray on the black panel over the spider web stencil. Then I lined up the orange panel so webs would match and lightly brushed Soot distress ink over it. Then I glued the black panel to the orange.
I added the sliding spider on by cutting two strands of clear thread and running through the ring on the back of the spider (it was a button, origin unknown.) Then I taped the thread on the back of the panel in a diagonal, tight enough to hold the spider, but loose enough to let him be moved.
I glued that panel on to one of the black scored panels. I used a rectangular die to cut the window on the other panel. I used a bone folder to make a crisp fold, then glued the two outside edges of the of the folds (between the 1/2" and 1" crease.) Then pushed those edges into a valley fold and used the bone folder to set the fold. This allows the card to flatten for mailing, but pop up when out of the envelope.
I added a Boo sequin and a sentiment to the inside panel and a thin orange frame around the front. Then used a shimmer pen to give it a little shine.
Here are most of the supplies I used:
Hello!
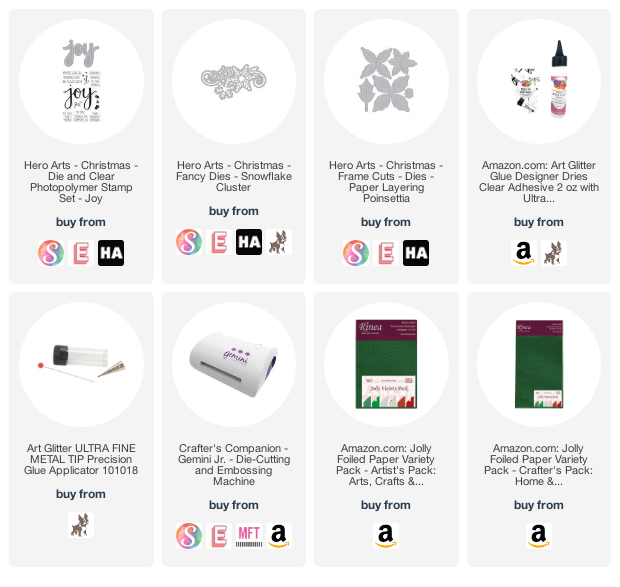
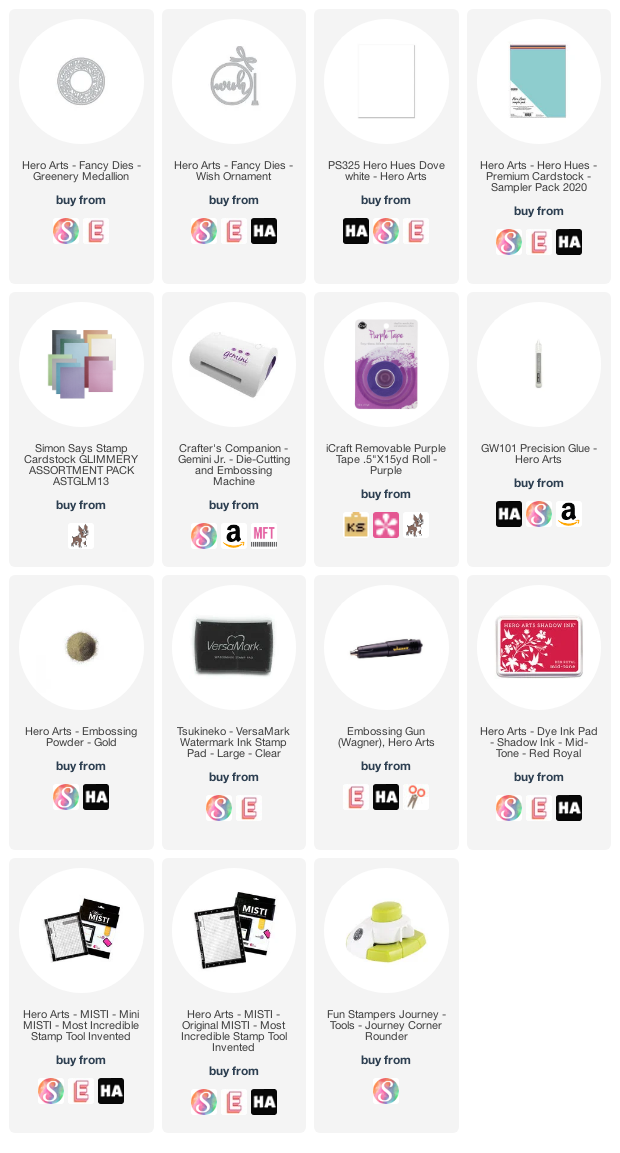
Today's project has a jungle feel to it! Here's how I made it (supplies are linked below (afil)-thank you!!)
This easy card was dry embossed by running cover die through diecutting machine using a rubber embossing mat to just get the impression of the die. I then blending distress oxides in three shades of green, starting with the lightest.I trimmed the edges off the diecut to make it a little different shape than the layer below. I splattered with shimmer spray and some of the darkest green. I added a heat embossed sentiment strip, a few droplets and a gold flower to finish it off.
Here are the supplies: