Thursday, August 22, 2019

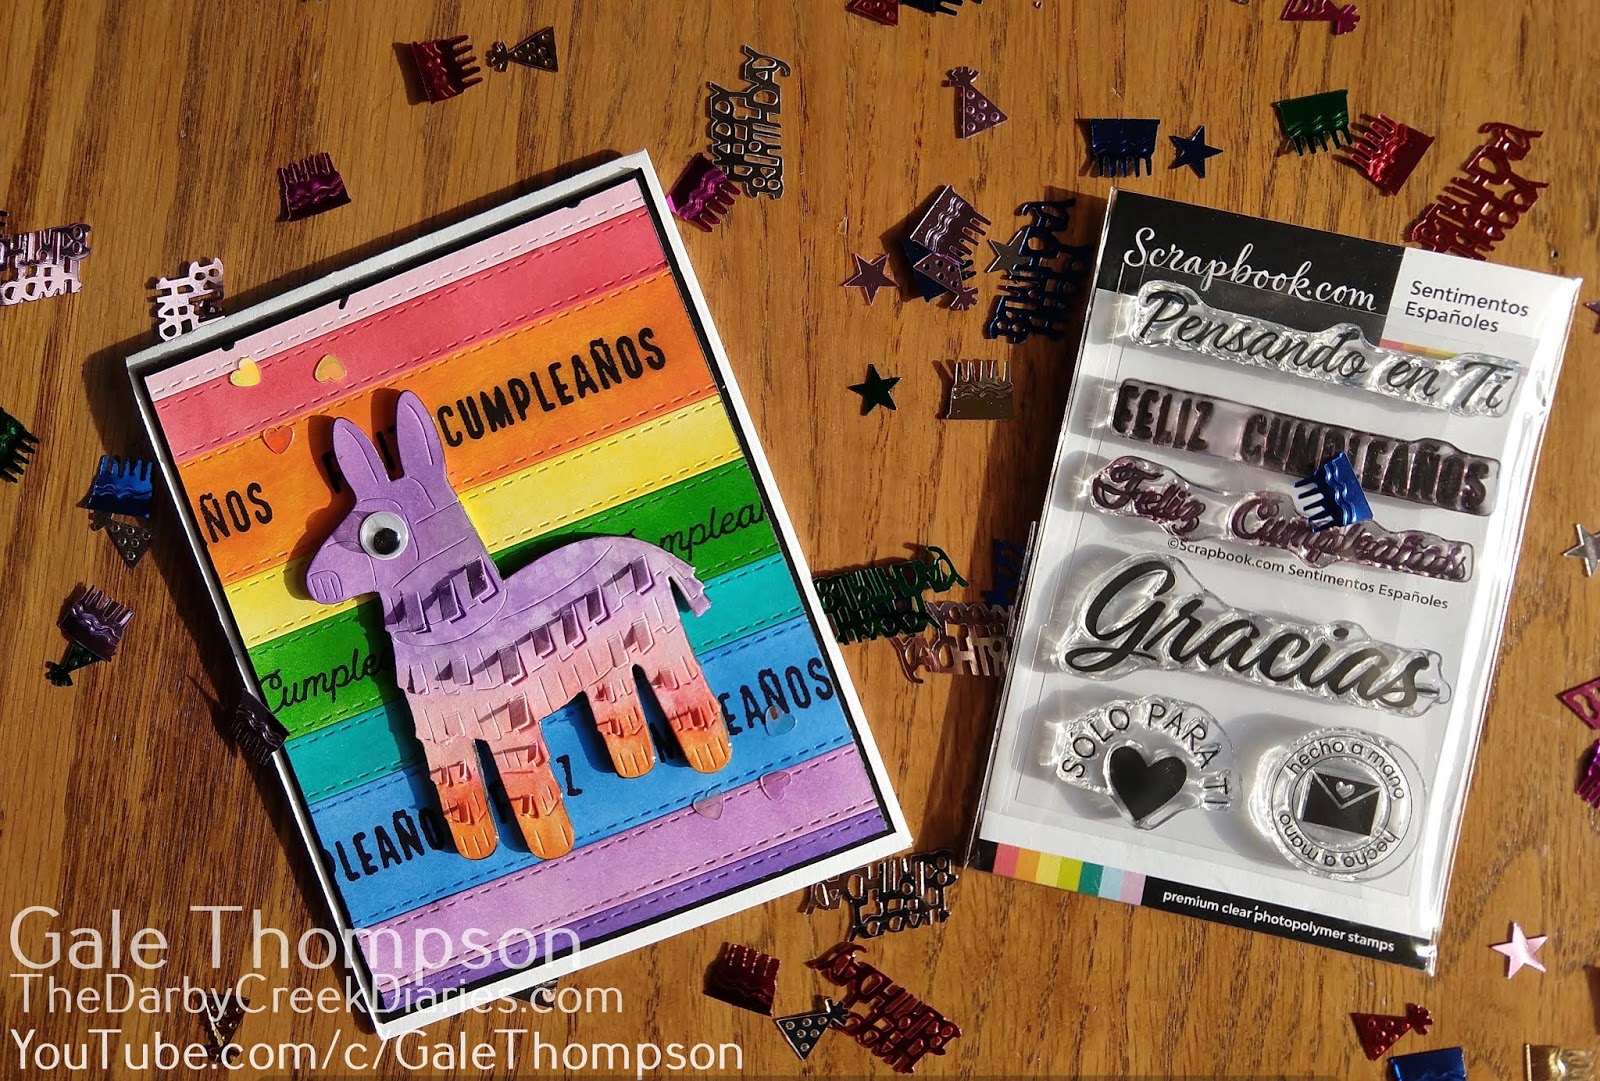
Feliz Cumpleanos Card To Celebrate Scrapbookdotcom's 20th Birthday!!

HELLO! (Hola!)

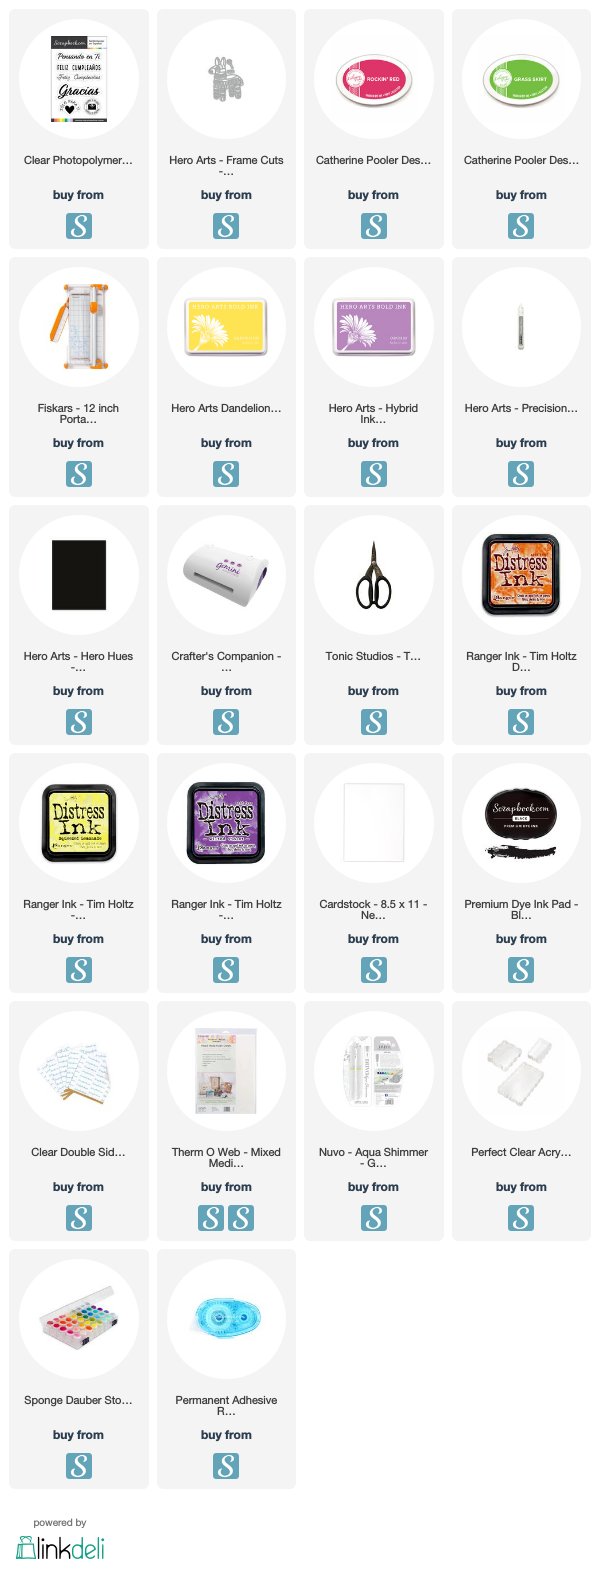
Today I'm posting a card to celebrate Scrapbook.com's 20th Birthday!  They wanted to expand their offerings with an exclusive "Sentimentos Espanoles" stamp set for our Spanish speaking friends!  All of the supplies are linked below (afil) and I really appreciate it when you those links or or the ones on the right margin to support the blog/channel so I can bring you new, free content!

(FYI, be sure to come back often as there are many cards that I don't post a Youtube tutorial on, that I place here:)


Here is a close up of the card: There is shimmer, but it's hard to see, however, it's there in real life!


Here is what I did (I actually have a few step outs since I didn't video!):

I coated an A2 size sheet of heavy card stock with a double sided-adhesive sheet and trimmed down.


I die cut sentiment strips in different widths.


 Next, I stamped the sentiment on the strips so that it appeared to wrap around.

Then I direct-to-paper colored the strips to make sort of a rainbow.


I started in the middle with the widest strip and laid on the exposed adhesive (very carefully as it's sticky!) with a ruler to help keep things straight.  To keep from being too busy, I used blanks in between. 

 I was sad to lose most of the top and bottom sentiment lines, but I still needed to trim so I could have a small border around the card front.


I place the trimmed piece on a slightly larger black rectangle, then mounted to my top fold card base.

Fun and done!  If you have any questions or comments please leave them below.  I love hearing from you!!  Once again, Happy 20th Birthday to Scrapbook.com!


Until next time,
Gale

(Disclosure:  Part of the supplies I used were provided by Scrapbook.com for me to try out.  However, my opinions are my own and if I didn't like them, I would say so!)

Monday, August 19, 2019

How To Make An Angle Flap Card--A Blog Named Hero August "Stretch Your Stamp" Challenge!


Welcome!

(8/30/2019 Update:  Here's a new YouTube tutorial!!)  The video link and supplies are linked below:) This also features Hero Arts stamps and dies.


Original Post:)

Hope you are enjoying what is left of Summer!  My pneumonia is slowly going away.  I promise to get some fun YouTube tutorials up soon!  

Fall will be here before you know it, so I decided to pull out some Fall colors of Distress Oxides and my Hero Arts "Grateful Leaves" stamp set.  (The supplies are linked (afil) below.  I really appreciate it when you use them and the links on the right side:)  Thank you!!!)


This month's "A Blog Named Hero" Challenge" is to Stretch Your Stamps!  This leaves set is a color layering one, but I only used the "bottom" one (without any detail.)  I used several Distress Oxides and inks, by applying and blending them with daubers on my stamp to get a "blendy" look.  This was on watercolor paper as I originally intended to watercolor.

Then I sprayed with Shimmer Mist and that kinda made the background "fade back."  I flicked gold ink to liven it up a bit.  I used coordinating card stock.  The base is cut from an 8.5 x 11" sheet on the diagonal.  Next, I scored one corner at 4.25 and the opposite at 5.5"


This is how the fold looks.

I used a stitched rectangle die to cut the orange mat, cut on diagonal and adhered to base.  Then used a smaller stitched rectangle to cut background.  I cut that on the diagonal and adhered.  

Next I used a Pretty Pink Posh stitched leaf die in the card base color, then daubed on some gold and red ink.  I stamped the sentiment in red.

I hope you will join the challenge and maybe win a prize in the drawing!  

Here are the supplies I used:

/div>
Have a great week and I will be back soon!
Gale

Thursday, August 8, 2019

How To Make An Easy Pop Up Card!

Hi there!  

So glad you stopped by!  Just wanting to share my "A Blog Named Hero" post celebrating their "Christmas In July" Challenge.  It's hard to tell until you look at the bottom of the photo that there is a lot of dimension!


Before I get into the details, this card is a "combo CASE."  Mary M. Reiner designed the card below for our Ohio Stamp Junkies Meetup last month.  She CASEd Jennifer McGuire. 

Stamps by Newton's Nook.

The Flamingo card combines several stamp sets, but it is really only three layers...

There is a front, back and a section spanning the middle.


The supplies I used are linked at the bottom of the post.  I'm planning on posting a YouTube tutorial on this soon with a different twist, so be sure to subscribe to my channel and hit the bell for notifications.  I can't say for sure when as I am recovering from pneumonia and am way behind on everything in my life...here's a brief explanation.


The basic card starts out as two 6 1/4" x 5 1/2" sheets of card stock.
You need to score both tall sides at 1/2" and 1".  The center strip can be any size as long as long as it allows the card flatten down to mail.  I decorated my Hero Arts Color Layering Flamingo with a random Santa die cut and added snow marker.  I added shimmer to the whole flamingo.  

The background is simply blended Distress Inks with a little shimmer spray.  The water is Hero Arts Color Layering Waves that I heat embossed with clear powder.  I added Snow Tinsel embossing powder at water's edge.  The frame is completely covered with Hero Arts Sand embossing powder.

I cut out a couple of plants from the Flamingo set and glued to front for more dimension. 

To assemble use strong double sided adhesive and place on the top edge of each side that was scored and folded back accordian style.  Add the center section and tape as well.  It takes a minute of working with it to flatten and spring back, but it will!


I'll be back soon with another post, so stay tuned and take care!
Gale