HELLO! (Hola!)
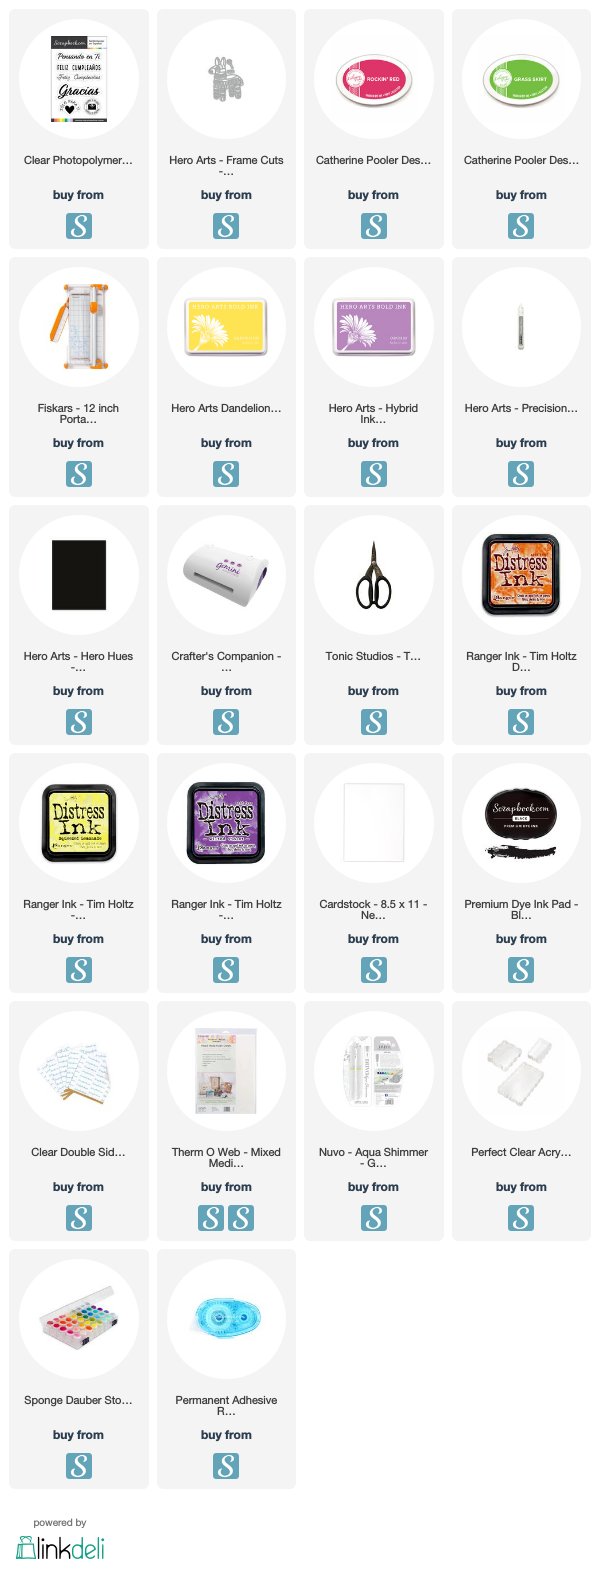
Today I'm posting a card to celebrate Scrapbook.com's 20th Birthday! They wanted to expand their offerings with an exclusive "Sentimentos Espanoles" stamp set for our Spanish speaking friends! All of the supplies are linked below (afil) and I really appreciate it when you those links or or the ones on the right margin to support the blog/channel so I can bring you new, free content!
(FYI, be sure to come back often as there are many cards that I don't post a Youtube tutorial on, that I place here:)

Here is a close up of the card: There is shimmer, but it's hard to see, however, it's there in real life!

Here is what I did (I actually have a few step outs since I didn't video!):
I coated an A2 size sheet of heavy card stock with a double sided-adhesive sheet and trimmed down.

I die cut sentiment strips in different widths.

Next, I stamped the sentiment on the strips so that it appeared to wrap around.


I place the trimmed piece on a slightly larger black rectangle, then mounted to my top fold card base.
Fun and done! If you have any questions or comments please leave them below. I love hearing from you!! Once again, Happy 20th Birthday to Scrapbook.com!
Today I'm posting a card to celebrate Scrapbook.com's 20th Birthday! They wanted to expand their offerings with an exclusive "Sentimentos Espanoles" stamp set for our Spanish speaking friends! All of the supplies are linked below (afil) and I really appreciate it when you those links or or the ones on the right margin to support the blog/channel so I can bring you new, free content!
(FYI, be sure to come back often as there are many cards that I don't post a Youtube tutorial on, that I place here:)
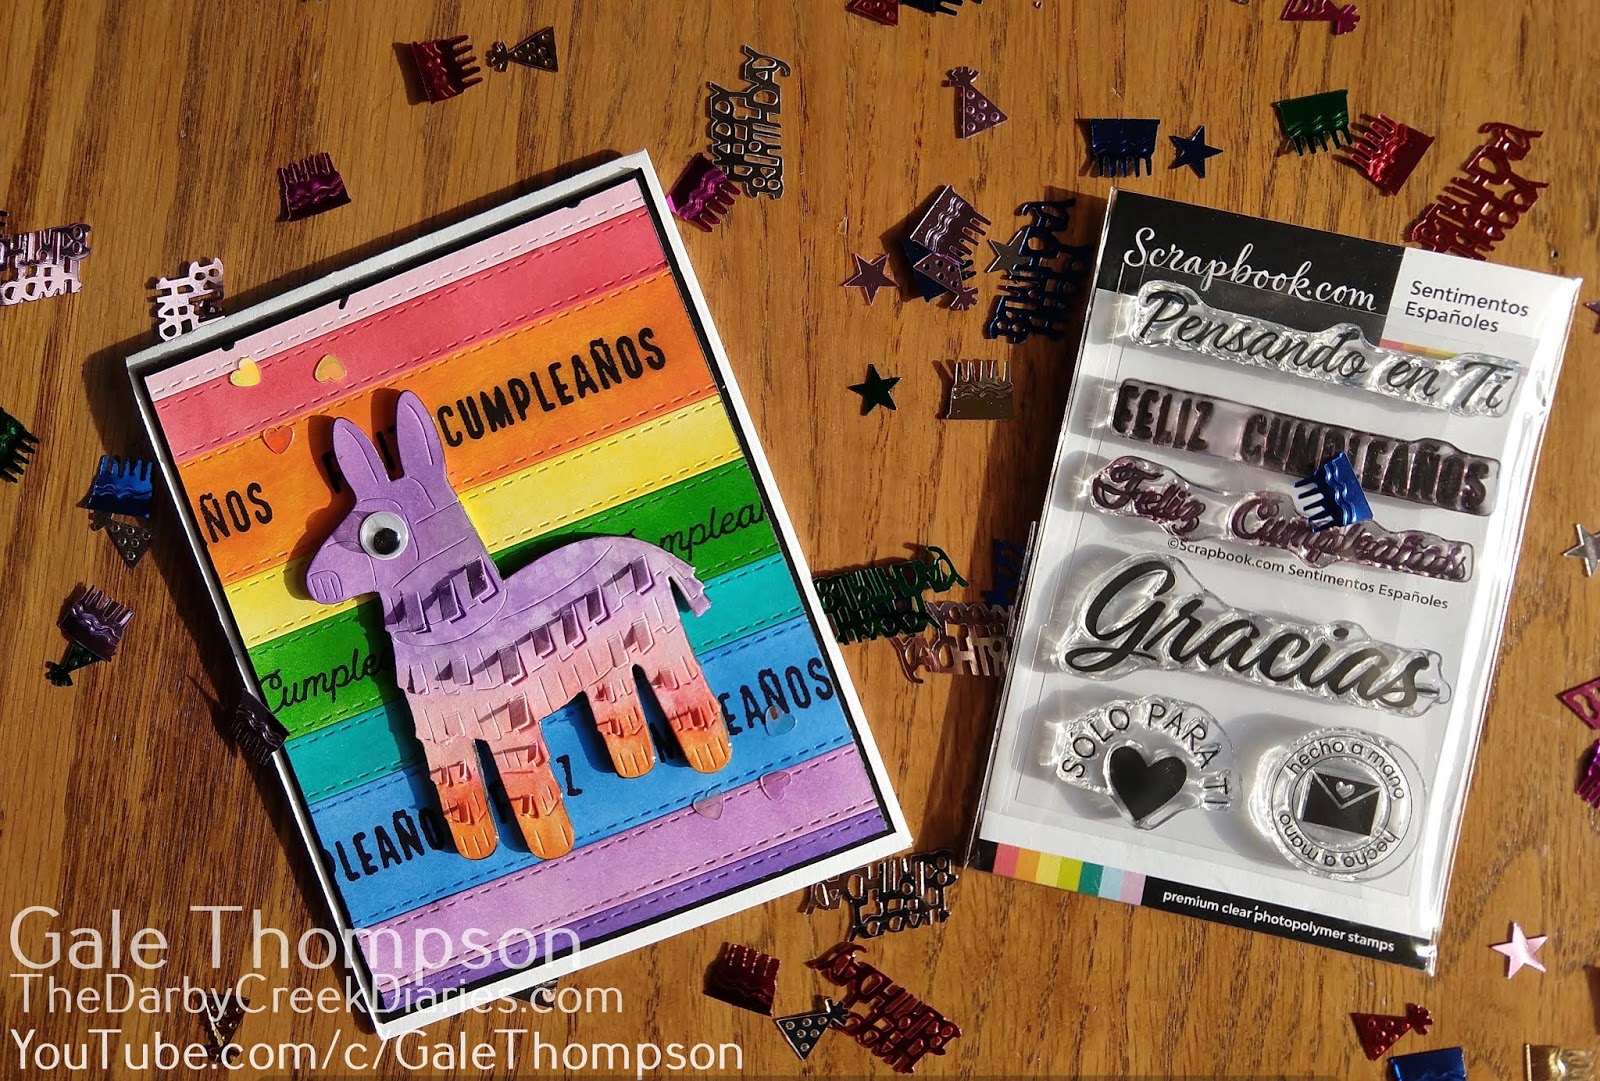
Here is a close up of the card: There is shimmer, but it's hard to see, however, it's there in real life!

I coated an A2 size sheet of heavy card stock with a double sided-adhesive sheet and trimmed down.

I die cut sentiment strips in different widths.


Then I direct-to-paper colored the strips to make sort of a rainbow.

I started in the middle with the widest strip and laid on the exposed adhesive (very carefully as it's sticky!) with a ruler to help keep things straight. To keep from being too busy, I used blanks in between.

I was sad to lose most of the top and bottom sentiment lines, but I still needed to trim so I could have a small border around the card front.

I place the trimmed piece on a slightly larger black rectangle, then mounted to my top fold card base.
Fun and done! If you have any questions or comments please leave them below. I love hearing from you!! Once again, Happy 20th Birthday to Scrapbook.com!
Until next time,
Gale
(Disclosure: Part of the supplies I used were provided by Scrapbook.com for me to try out. However, my opinions are my own and if I didn't like them, I would say so!)