Showing posts with label #Ablognamedherofacebookteam. Show all posts

Wednesday, February 3, 2021

Super Easy Valentine!--"A Blog Named Hero's" Anything Goes Challenge Inspiration!


 Hello!

I'm baaaaack!  I'm so happy to announce I am again on the "A Blog Named Hero" Facebook design team!  Stayed tuned (and follow to be notified) because there are lots of fun things planned for this year!  There is still a chance every month to win a $50 Hero Arts gift card too!


I don't make many Valentines, so I have to scrounge through what I have that will work!  This project features the panel die from an unbelieveably still available My Monthly Hero Kit linked below-(afil-Thank you!) 

This card is very quick to put together and perfect to mass-produce!  All you need is a heavy white card base (4.25 x 5.5"), some silver glitter cardstock, some lighter weight white card stock to die cut the panel and some contrasting paper for the love die that's cut out of the Hero Arts Love ornament.

Die cut 2 or 3 of the panels, glue and stack together.  Do the same with the love die, but add a special color one on top.  

Glue the glitter paper to the front of the card base.  Then glue the panel diecut over it.  Add the love in the center.  Then, add a thin black sentiment strip and decorate however you like!

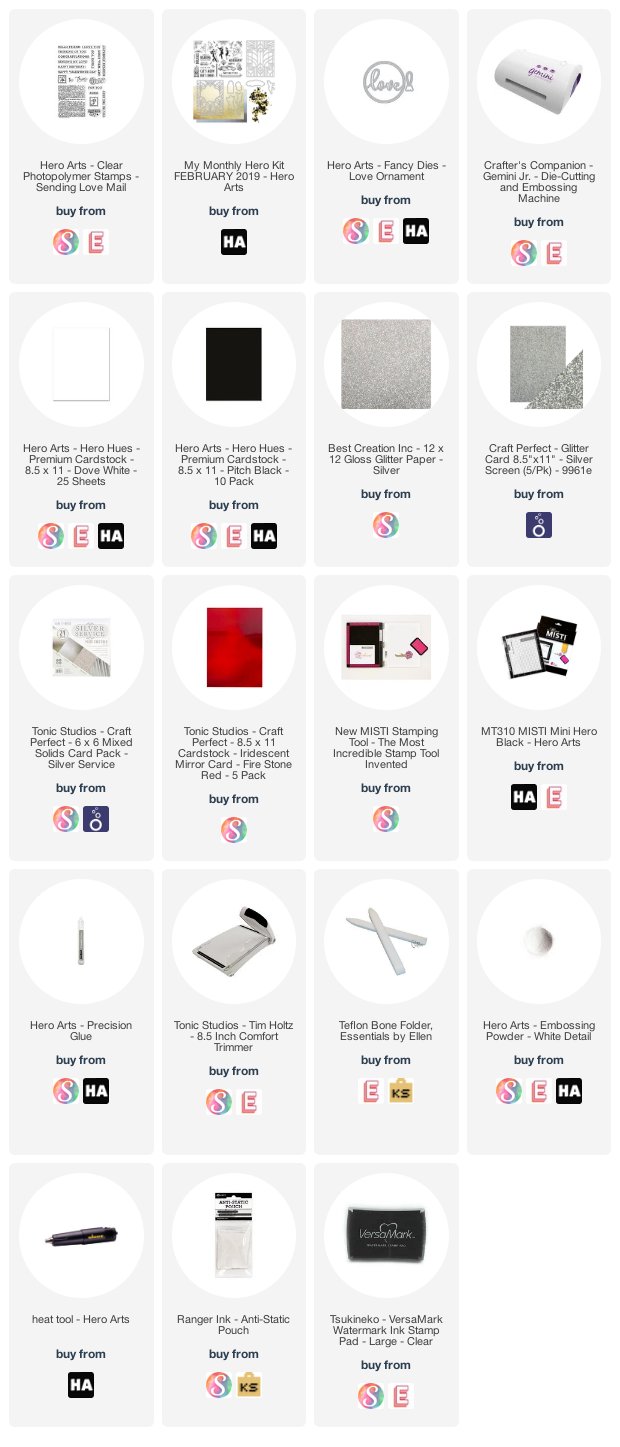
Here is the supply list:
Wednesday, August 19, 2020

Slithering Spider Shadowbox Card-- "A Blog Named Hero" Cute Challenge Inspiration!

Hello!!

Welcome back to the "Diaries!"  Today's "A Blog Named Hero" Cute Challenge inspiration project features a spider slider!  


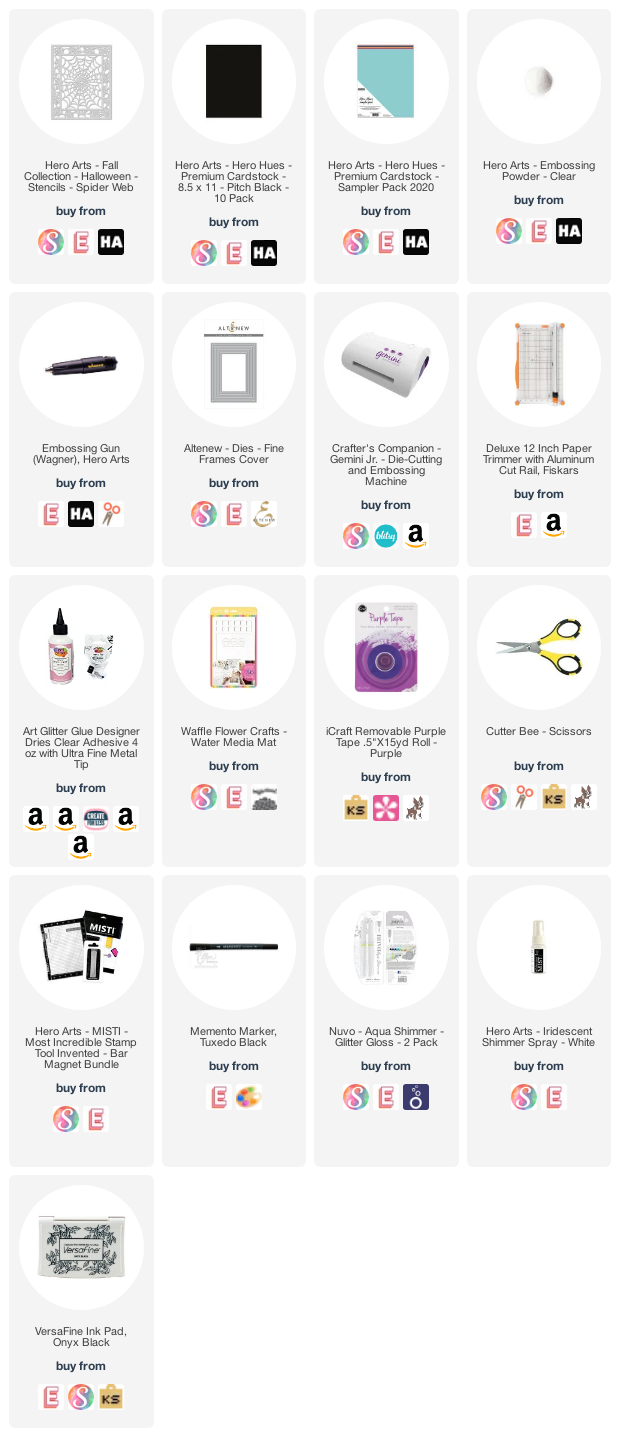
It's really pretty simple to make and fun for the recipient!  I started with a full sheet of Hero Art's Pitch Black card stock and cut in half the short way.  (The final card is A2--4 1/4" x 5 1/2.")  Trim both pieces down to 5 1/2" x 6 1/4."  The supplies are linked below--AFIL--thank you!!


Score both ends of the 6 1/4" sides at a half inch and one inch.  The inside panel is slightly less than 5 1/2" by 4 1/4."  I spritzed shimmer spray on the black panel over the spider web stencil.  Then I lined up the orange panel so webs would match and lightly brushed Soot distress ink over it.  Then I glued the black panel to the orange.  

I added the sliding spider on by cutting two strands of clear thread and running through the ring on the back of the spider (it was a button, origin unknown.)  Then I taped the thread on the back of the panel in a diagonal, tight enough to hold the spider, but loose enough to let him be moved.

I glued that panel on to one of the black scored panels.  I used a rectangular die to cut the window on the other panel.  I used a bone folder to make a crisp fold, then glued the two outside edges of the of the folds (between the 1/2" and 1" crease.)  Then pushed those edges into a valley fold and used the bone folder to set the fold.  This allows the card to flatten for mailing, but pop up when out of the envelope.  

I added a Boo sequin and a sentiment to the inside panel and a thin orange frame around the front.  Then used a shimmer pen to give it a little shine.

Here are most of the supplies I used:

I hope you will join the challenge at http://ablognamedhero.com for a chance to win a Hero Arts gift card! 

Take care until next time,
Gale

Tuesday, May 19, 2020

Hugs From A Distance-- "A Blog Named Hero's" May 2020 Challenge!


Hello!

Spring is here, though it was sleeting here last week!  Today's project features Hero Arts Cherry Blossom Fancy Die and some watercoloring!  The supplies are linked below (afil- thank you!) and there will soon be a YouTube tutorial about the background which is an old, yet fun technique!   Update 06/19/20--video uploaded and linked below!  


I watercolored a scrap of watercolor paper with my Kuretake Gansai Tambi watercolors and die cut the cherry blossom branch out as well as extra flowers.  

I also die cut a branch from a scrap of Neenah Desert Storm.  I added a little color to add interest to that branch as well as some dry embossing.  I layered the blossoms over top of the Desert Storm piece and cut out the flowers from the pink die cuts ( I realized too late all I really needed were a bunch of extra flowers, lol!)

The first flower layer was glued flat to the Desert Storm branch, then I took a dry embossing tool and rolled over the top flowers before gluing just the centers over the first layer of flowers.  I added some Sherbet Nuvo drops to the centers and let dry.

Here's the link to the background technique video: https://youtu.be/lji8Sg3EfN0

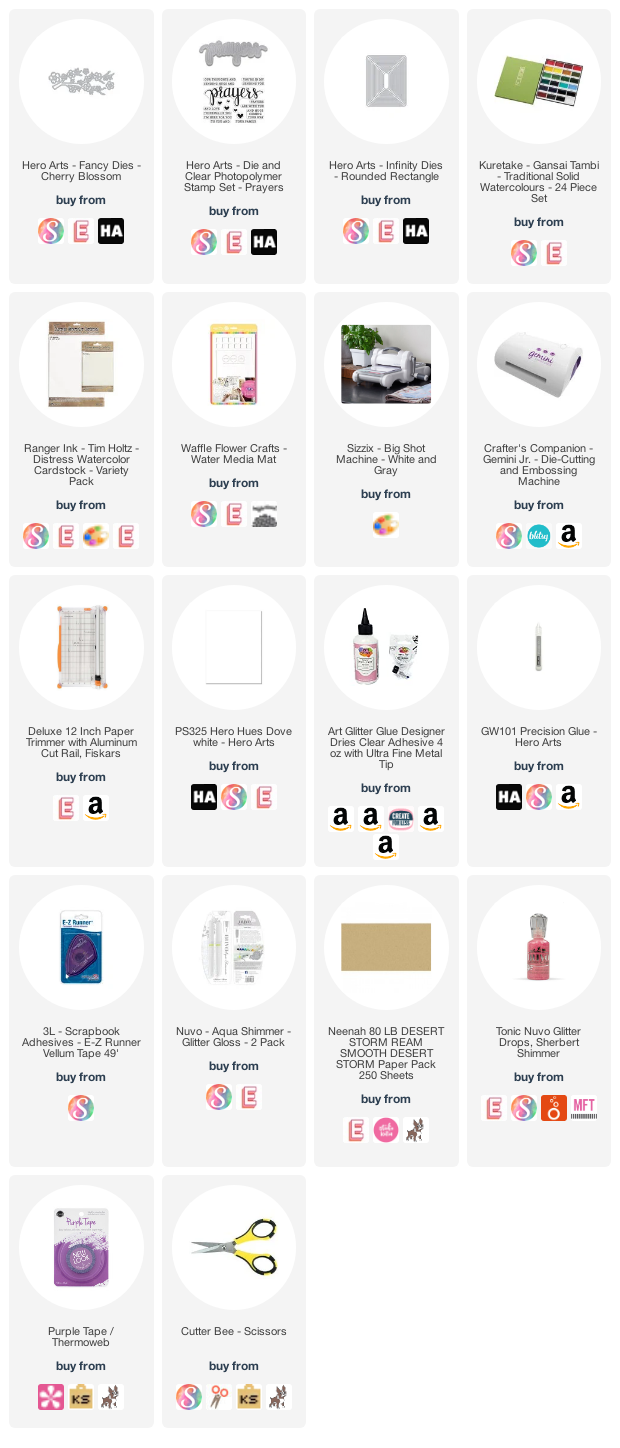
I die cut prayers out of the background thinking I would raise up, but it looked lost, so I cut three layers of it in white scrap paper and one in pink glimmer cardstock.   I added to a white card base.  I had to inlay the diecut, but I offset the pink just a little so the white would show. 

Here are the supplies I used:

Until next time, stay safe and send someone a card!
Gale

Friday, May 8, 2020

Life's A Beach Right Now! A Blog Named Hero's Watercolor Challenge!

Hello!

Welcome back to another "A Blog Named Hero" post featuring our current Watercolor Challenge.  It's not too late to enter for one of two Hero Arts Gift Certificates!!

This card features a watercolor background made with plastic wrap!

The background was easy to make.  I pulled it from a stash so I can't show you, but I promise to make a video tutorial of a simular card soon!  Please check back or even better, subscribe to my YouTube channel https://youtube.com/c/GaleThompson and hit the bell so you will get notifications of my new posts!The supplies that are still available are linked (afil--thank you!) below.  Basically, just saturate your watercolor paper with color and when you are happy with the blend, lay a square of plastic wrap over it, then twist it up.  Allow to dry at least overnight.  When you pull it up you will get a surprise.  No two will be alike!

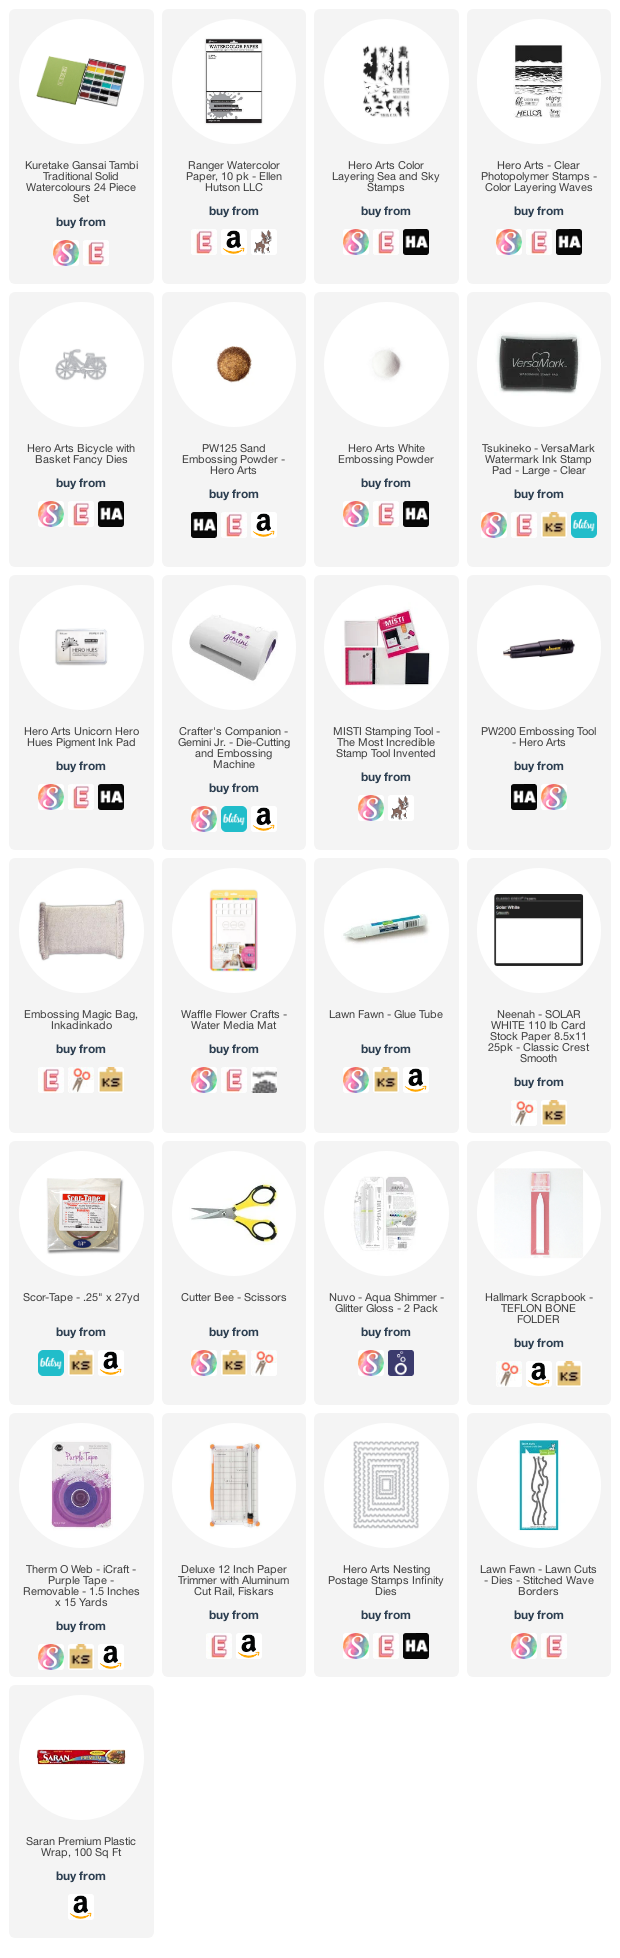
I heat embossed some Hero Arts Sand Embossing powder on some white card stock, then used a wave die to cut out beach.  The bike is from Jan '19 MMH kit.  I linked a simular one, but hurry as it's being discontinued!   I die cut the panel with a Hero Arts Postage Stamp Infinity die and attached to the base for a simple, clean look.  

Here is the supply list:


Until next time, stay safe and keep crafting!!
Gale

Thursday, December 19, 2019

A Blog Named Hero's New Challenge---Sparkle!!


Hello!  

 This month's "Blog Named Hero's" Challenge theme is Sparkle!  Here is my inspiration project for today... 
     

I kept it pretty simple as we all like quick cards to mass produce this time of year.  Supplies are linked below (afil.)

I started by using Altenew's (a Stamping Village partner) Quilted Cover Plate die on white card stock using an embossing mat so it wouldn't cut clear through.

Next, die cut Joy 3-4 times out of white card stock and once out of gold glitter paper.  Die cut the paper-layering poinsettia out of a couple colors of red and a green.  

Mount quilted piece on a card base (A2 size shown.)  I sprayed with shimmer spray (though it's hard to see in photo.)  Then, build the poinsettia on card base.  Cut off what hangs off the edge.  Use glitter glue in red and green for sparkle.

Layer up your joy diecuts and place gold one on top.  Stamp sentiment on green paper with Versamark ink.  Heat emboss in gold.  Cut into thin strips and attach to card.  That's it!

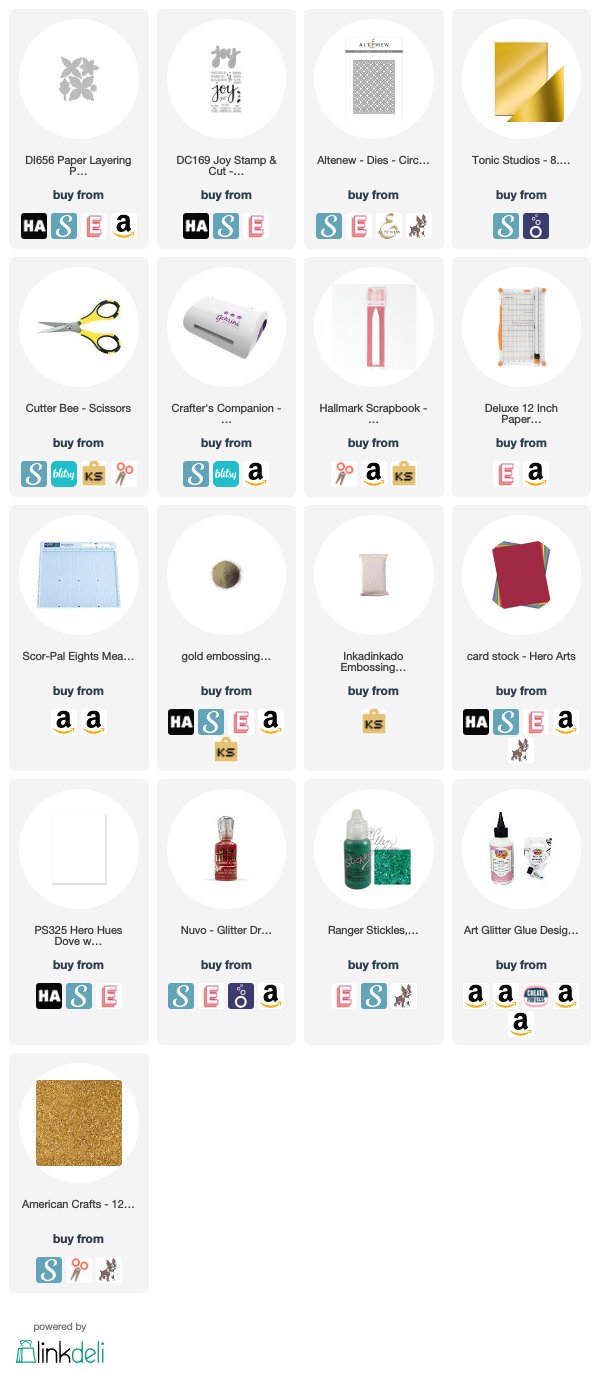
Here are the supplies:

I'll be back soon with a fun quick ornament!  Until then,
Gale

Tuesday, October 8, 2019

How to Make An Alcohol Ink Card: Inspired By A Fellow Creator For A Blog Named Hero Sept. Challenge!

Hello friends!

Today's card is inspired by Michelle Lupton, a fellow "A Blog Named Hero" Facebook Team member!  She loves to do clean and simple cards featuring alcohol inks.  

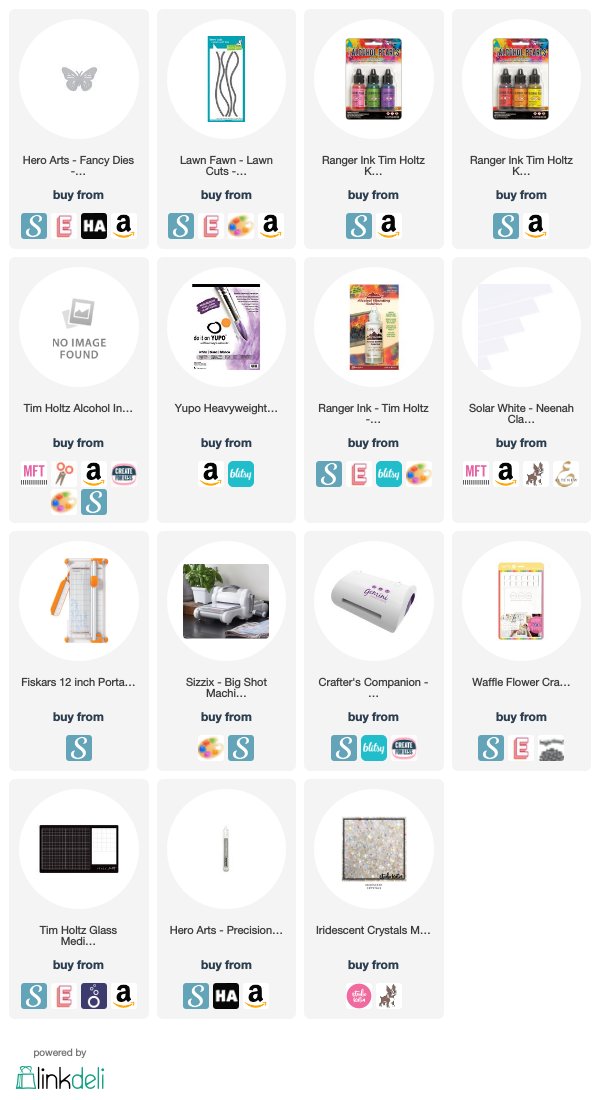
All I did was make a top folding A2 card base and use a stitched hillside die to make the cuts.  I added a glitter paper Hero Arts Monarch Fancy die and some Studio Katia iridescent gems to complete it.  Supplies are linked below (afil).

For the tutorial on how I did the inking, please visit this link:


It's not too late to enter the challenge!  Just visit http://ablognamedhero.com/2019/09/september-challenge/  and post your project to perhaps win a gift card to Hero Arts!

Be sure to show Michelle some love and visit her blog at Handmade By Michelle !


I'll be back soon with some Christmas cheer!  (and some Youtube tutorials--be sure to subscribe and hit that bell to be notified:)

Until next time,
Gale

Sunday, September 8, 2019

A Blog Named Hero's "Stretch Your Stamp" Challenge!

Hello and Welcome Back!

At first this photo may appear "puzzling."  Let me explain how I made it (and my trials/errors too!)  The August "A Blog Named Hero" Challenge is "Stretch Your Stamps."  I took it quite literally this time:)

The supplies I used are linked below (afil) and I am so grateful when you shop with those links!  I don't get rich, but it helps with supplies so I can show you more free projects!


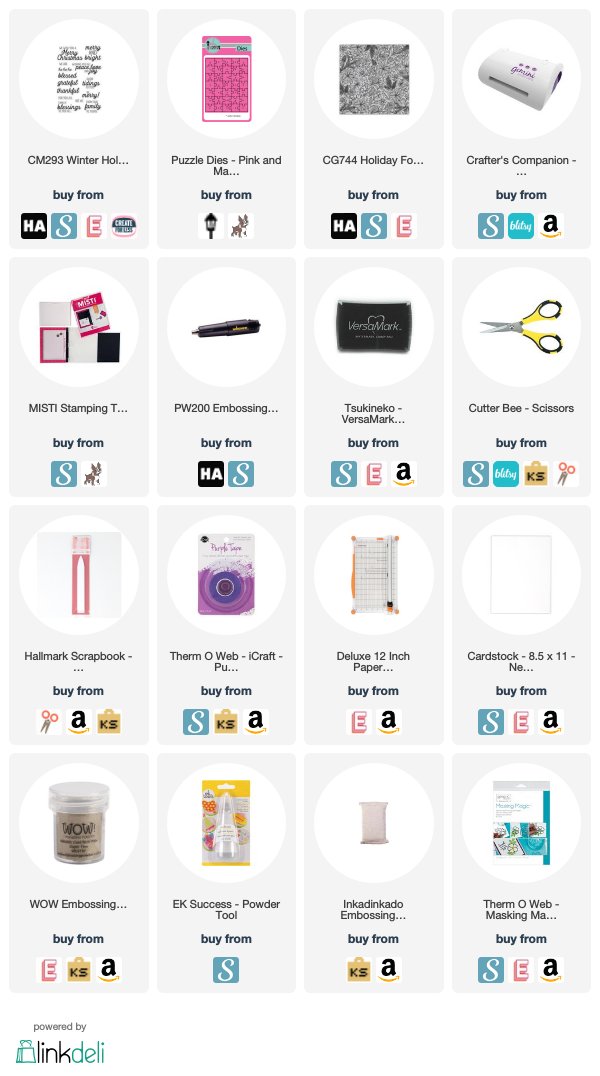
I stamped/heat embossed the sentiment on 110# Neenah card stock for sturdiness.  Then, diecut a circle mask and placed over it.  Next, I used Versamark ink and stamped the background, heat embossing in gold detail powder.

Then I colored with Tombow markers some of the background and die cut it with the puzzle die.  

Here is the finished puzzle:


Supplies:
/div>
Have a great week!
Gale