The blog with the split personality! A mix of General Humor & How-To posts with a heavy dose of Crafts to inform and entertain! (For CRAFTS/CARDS click on Dropdown Archive, Index By Topic page or Search for Gale's Galleries!) See also my new "Secrets To Success" Pages! Be sure to check out my new YouTube Channel at YouTube.com/c/GaleThompson *Look for exclusive posts on @darbycreekdiaries on Instagram!*
Hello! I am back with another interactive card! This one is mesmerizing to flip through! The tutorial is thorough and it's really not hard to make using the Concord & 9th Birthday Infinity Die Set.
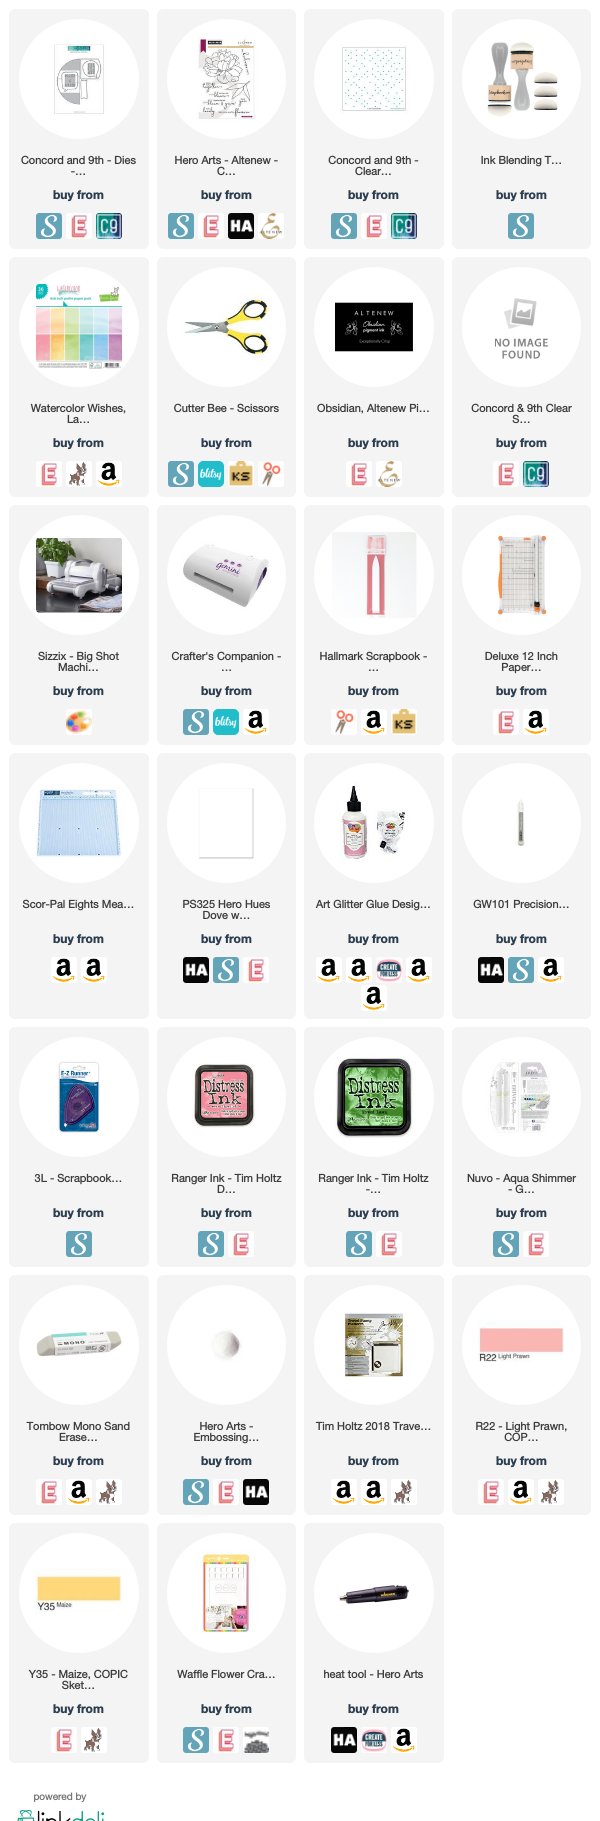
All of the supplies are linked below (afil--thank you!) Here is the tutorial link---please consider subscribing!
Welcome back! Today I'm showing how to use stencils to make easy backgrounds for cards. I'm part of the Craft Collab's Happy Holidays YouTube Stencil Hop sponsored by A Colorful Life Designs. They are giving away ten $15 gift certificates if you comment on posts with their unique secret code! All the details are in the description box below the YouTube tutorial. My tutorial is linked below:) Here is the main project:
This project showcases A Colorful Life Designs "Heartflakes" Stencil!
Here's the link to my tutorial: (Supplies are linked below (afil) and over on the YT description box. Thank you so much for using these links!)
Enjoy the hop and I will be back soon (ish!) Trying to get over yet another broken rib:(
Today's card is inspired by Michelle Lupton, a fellow "A Blog Named Hero" Facebook Team member! She loves to do clean and simple cards featuring alcohol inks.
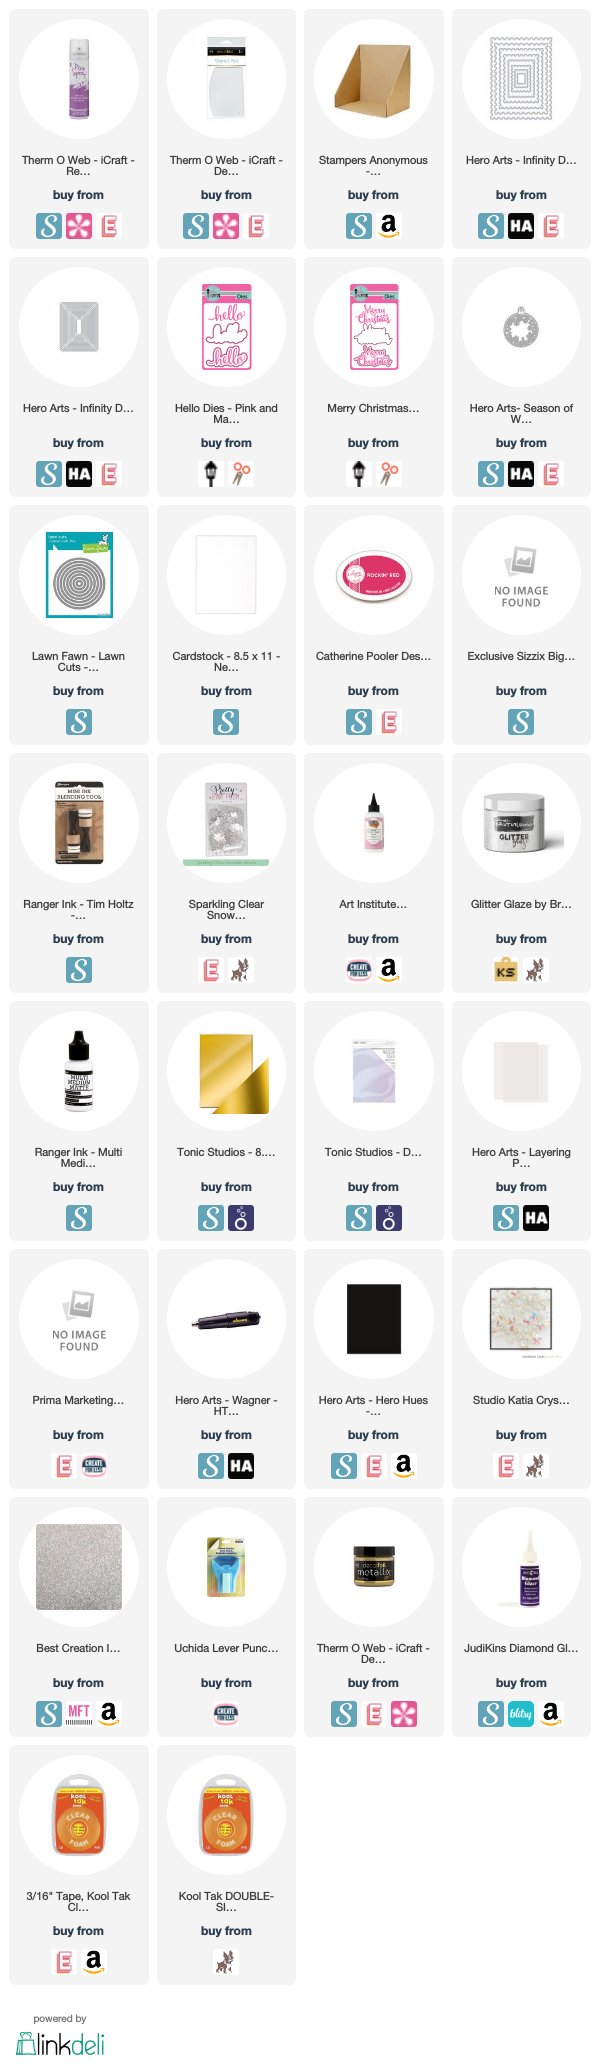
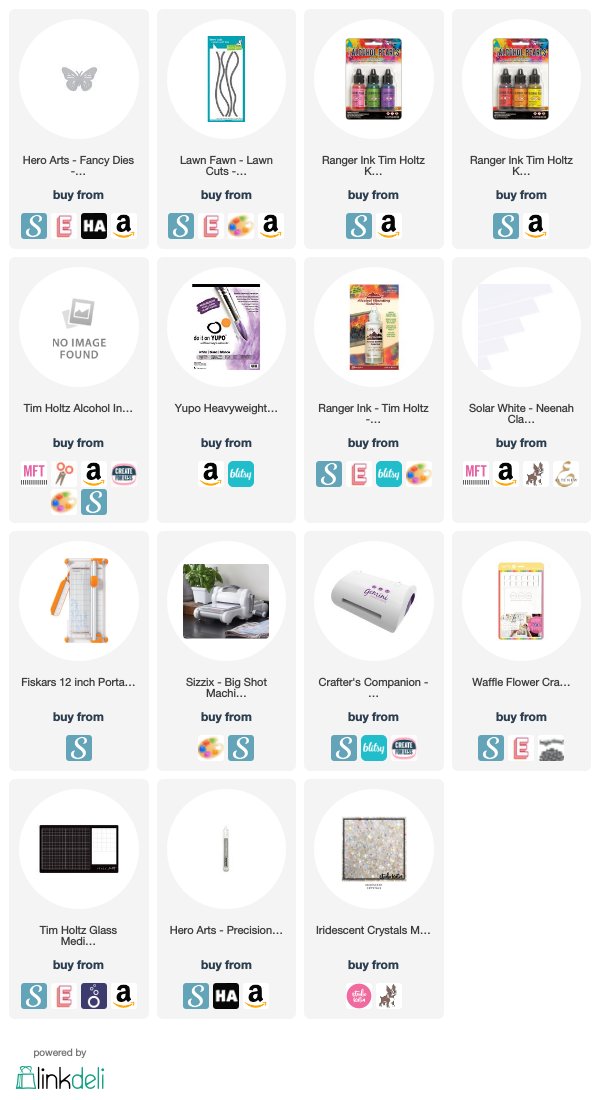
All I did was make a top folding A2 card base and use a stitched hillside die to make the cuts. I added a glitter paper Hero Arts Monarch Fancy die and some Studio Katia iridescent gems to complete it. Supplies are linked below (afil). For the tutorial on how I did the inking, please visit this link:
I'll be back soon with some Christmas cheer! (and some Youtube tutorials--be sure to subscribe and hit that bell to be notified:) Until next time, Gale
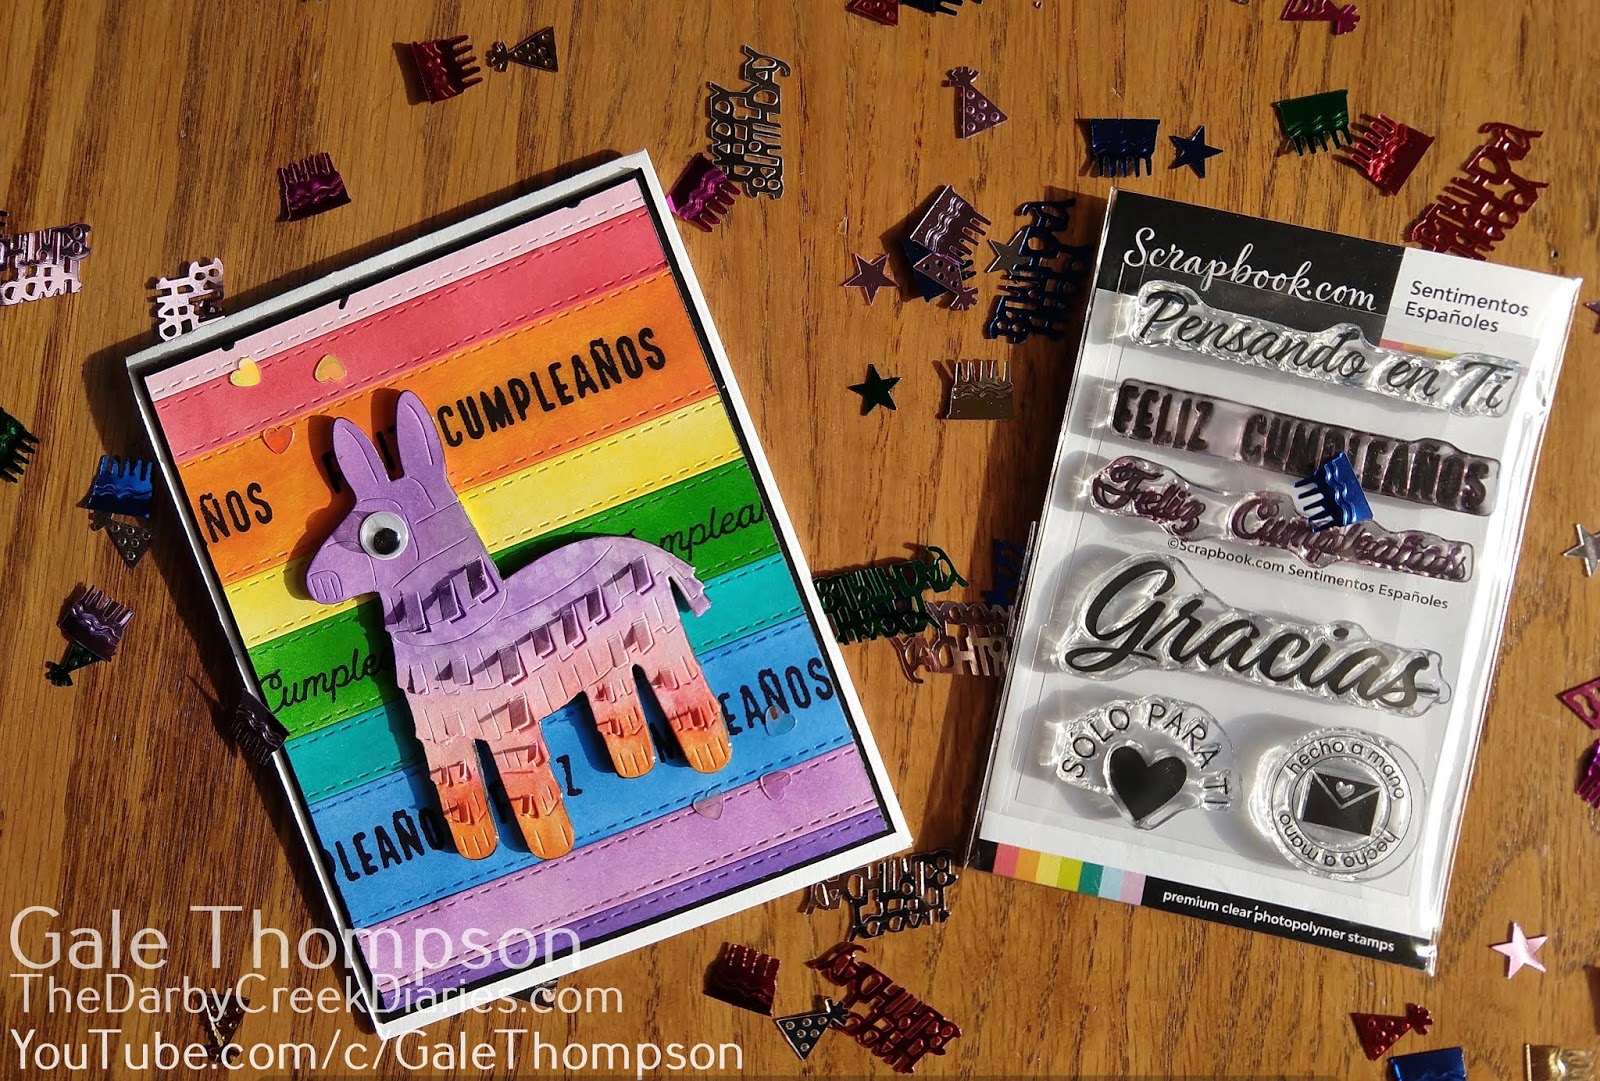
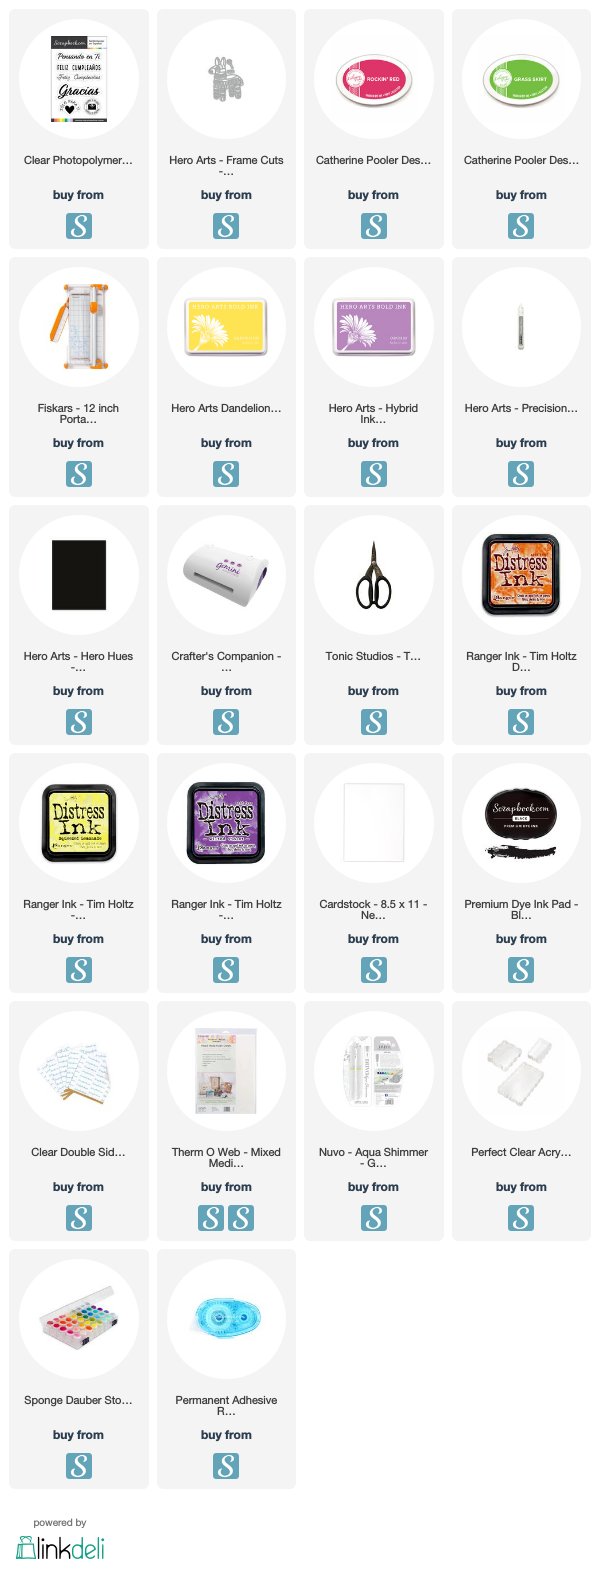
HELLO! (Hola!) Today I'm posting a card to celebrate Scrapbook.com's 20th Birthday! They wanted to expand their offerings with an exclusive "Sentimentos Espanoles" stamp set for our Spanish speaking friends! All of the supplies are linked below (afil) and I really appreciate it when you those links or or the ones on the right margin to support the blog/channel so I can bring you new, free content! (FYI, be sure to come back often as there are many cards that I don't post a Youtube tutorial on, that I place here:)
Here is a close up of the card: There is shimmer, but it's hard to see, however, it's there in real life!
Here is what I did (I actually have a few step outs since I didn't video!):
I coated an A2 size sheet of heavy card stock with a double sided-adhesive sheet and trimmed down.
I die cut sentiment strips in different widths.
Next, I stamped the sentiment on the strips so that it appeared to wrap around.
Then I direct-to-paper colored the strips to make sort of a rainbow.
I started in the middle with the widest strip and laid on the exposed adhesive (very carefully as it's sticky!) with a ruler to help keep things straight. To keep from being too busy, I used blanks in between.
I was sad to lose most of the top and bottom sentiment lines, but I still needed to trim so I could have a small border around the card front.
I place the trimmed piece on a slightly larger black rectangle, then mounted to my top fold card base. Fun and done! If you have any questions or comments please leave them below. I love hearing from you!! Once again, Happy 20th Birthday to Scrapbook.com!
Until next time, Gale (Disclosure: Part of the supplies I used were provided by Scrapbook.com for me to try out. However, my opinions are my own and if I didn't like them, I would say so!)
Hope you are all having a great start of 2019! This is my first technique tutorial of the new year! (Check out my Black Ink Basics video if you haven't already!)
Today I'm joining other crafty YouTubers (linked below) to make a Valentine's Pocket Letter, which includes hidden stash building supplies, that we will be giving away. The details are in the video (linked below) to enter (it's easy and though I hope you will consider subscribing...it's not required:)
Here is my part of the project- My project features what I call "hot stamping" for lack of a better term. It's fun and easy, but only to be done with red rubber stamps as they are vulcanized to withstand heat. Most of the products I used are listed below (afil.)
Basically, a pocket letter starts with a plastic baseball card page with nine 3.3 x 2.5 sections. There are nine of us in the hop doing a project for each of the sections. We are also including a tiny bit of stash building items that will fit in that pocket as well. Then the page is folded and put in to a basic legal size envelope where it allegedly can be sent with one first class stamp (USA.) At least it normally would without the stash building stuff. The winner of the giveaway will get the letter and supplies!
Here is the finished project:
Here is the tutorial link: the giveaway instructions are in the video:) Enjoy!
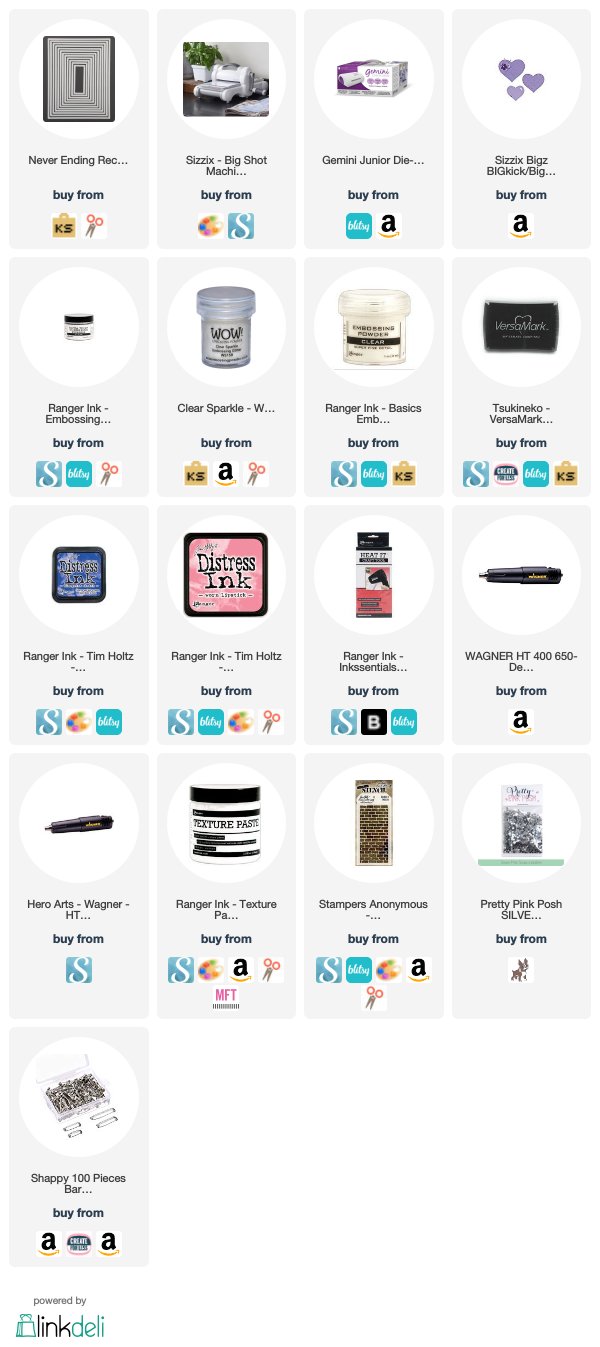
Here are the supplies!!! I really appreciate you using these links as I get a small commission at know additional cost to you!!
I hope you enjoy the hop and will support the crafty youtube artists participating! I will be back soon with another tutorial (I promise!) Until next time, Gale