So glad you stopped by for my final post of 2020. Hoping 2021 is much better for everyone! Today I CASE'd fellow "A Blog Named Hero" Facebook Creative Team member Michelle Lupton's see-through card...

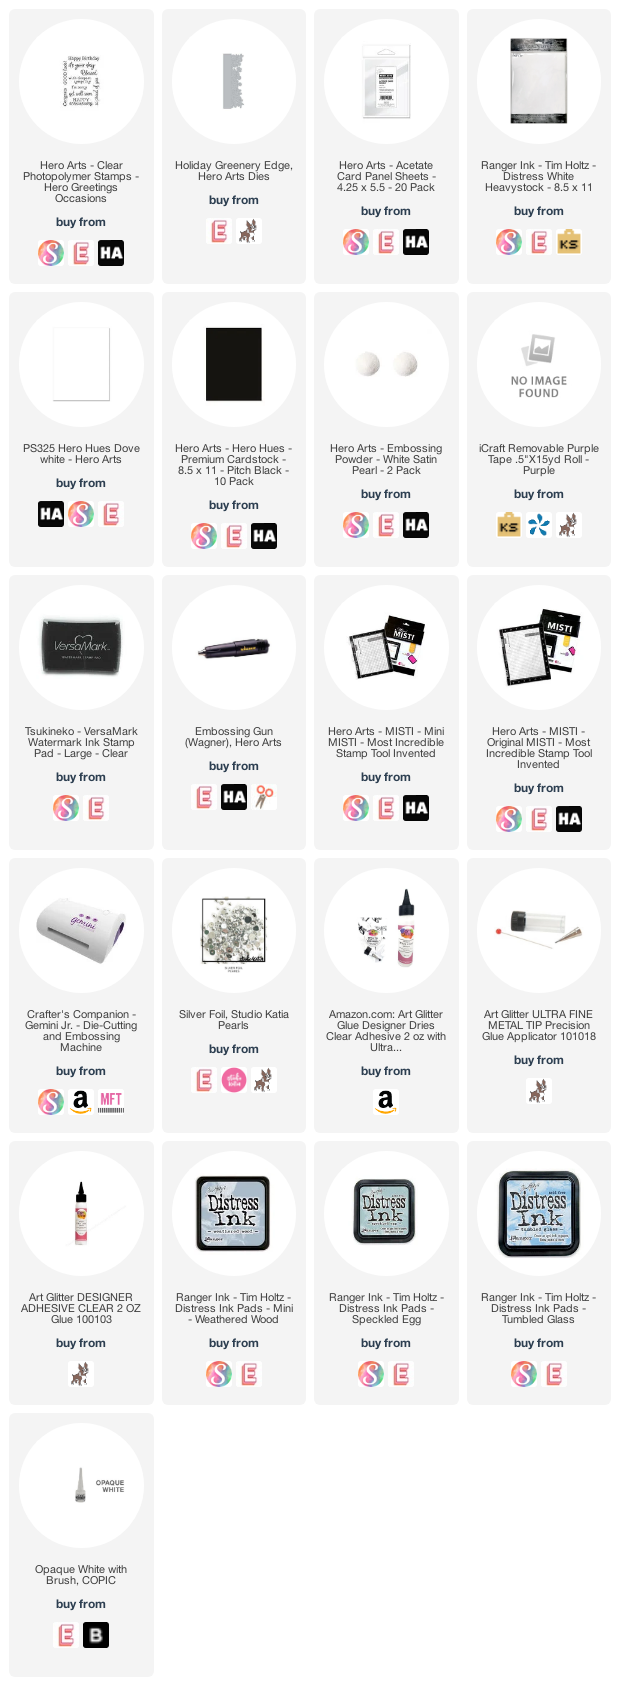
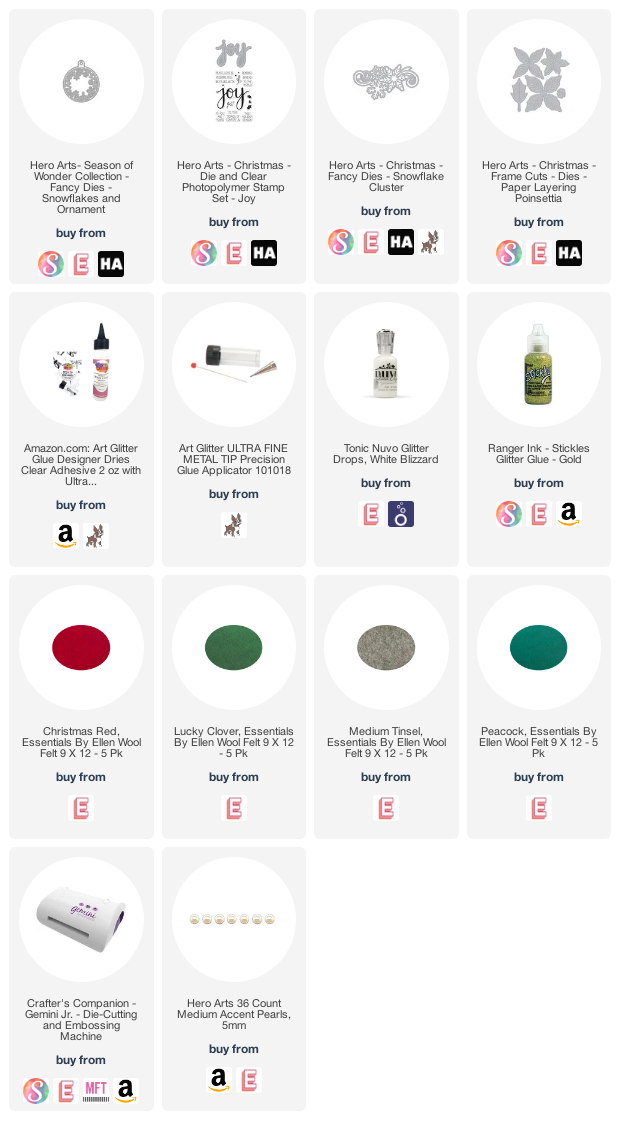
The supplies I used are linked below (afil--thank you for your support!)
Here is Michelle's original card:

I ink-smooshed a panel of distress heavystock with distress inks. Next I cut two Hero Arts Greenery edge diecuts on white card. I cut a strip of the inked paper and positioned the edge diecuts underneath leaving about a 1/4" border. After gluing together, I glued to the acetate based and trimmed excess.
I added some silver foil pearls to accent the diecuts. Inside the card, cut 3 rectangles the same size as the middle strip in plain white card. Glue one to the inside front to cover up glue, etc. Next, flip over and place another strip on the back lining up with the front strip.
Finally, position the last white strip over the one on the back of the card and glue down. This is where you can stamp a sentiment or write a message.
I'm off recovering from surgery and doing well. I am hoping to get some Youtube projects uploaded for you before I return to work. So please check there and on instagram @darbycreekdiaries!
Fingers crossed!!
Here is the supply list