Showing posts with label the Darby Creek Diaries. Show all posts

Tuesday, February 10, 2026

Fun Felt 3D Eggs!

 Hello!

Hope all is well with you! 
We went from below zero to 55 degrees in a week.  I can hear the melting snow and am watching over my sump pump because I saw a pipe broken outside.  I MacGyvered it as best I could until I get the correct parts.  Fingers crossed!   


I spent the weekend stitching these eggs and dreamt of Spring.  These are from Spellbinder's 3D Egg dies by Sandi MacIver that I was sent to try out.  There are two sizes.  The smaller one is in the middle.  They make sweet, un-breakable decorations and are addicting to sew!  I love super-quick projects!  I added decorations with dies in the set as well as pulling from some other sets.  Any die will cut the felt.

I die-cut an "egg-stra" set of pieces so I can make a brief YouTube tutorial very soon.  Please "hop" over to my @Darbycreek channel and set the notification bell so you won't miss it!  (Video scheduled for 6 p.m. EST on March 4th.)


Please note these are made with a wool blend felt you can get from several shops (I'll link them below for you!).  The felt diecuts just like paper!  I use the same setting on my machine with no problem.  It does however, make a bit of a mess with all the little holes in the dies, but the Spellbinder's Tool 'n One works great to get the felt that gets stuck.  You can also bounce the dies off the table to get them out.  I flicked them on the side of my trash can too.

I've got to run and check on the water situation again, but will be back again very soon!  Happy early Valentine's Day!

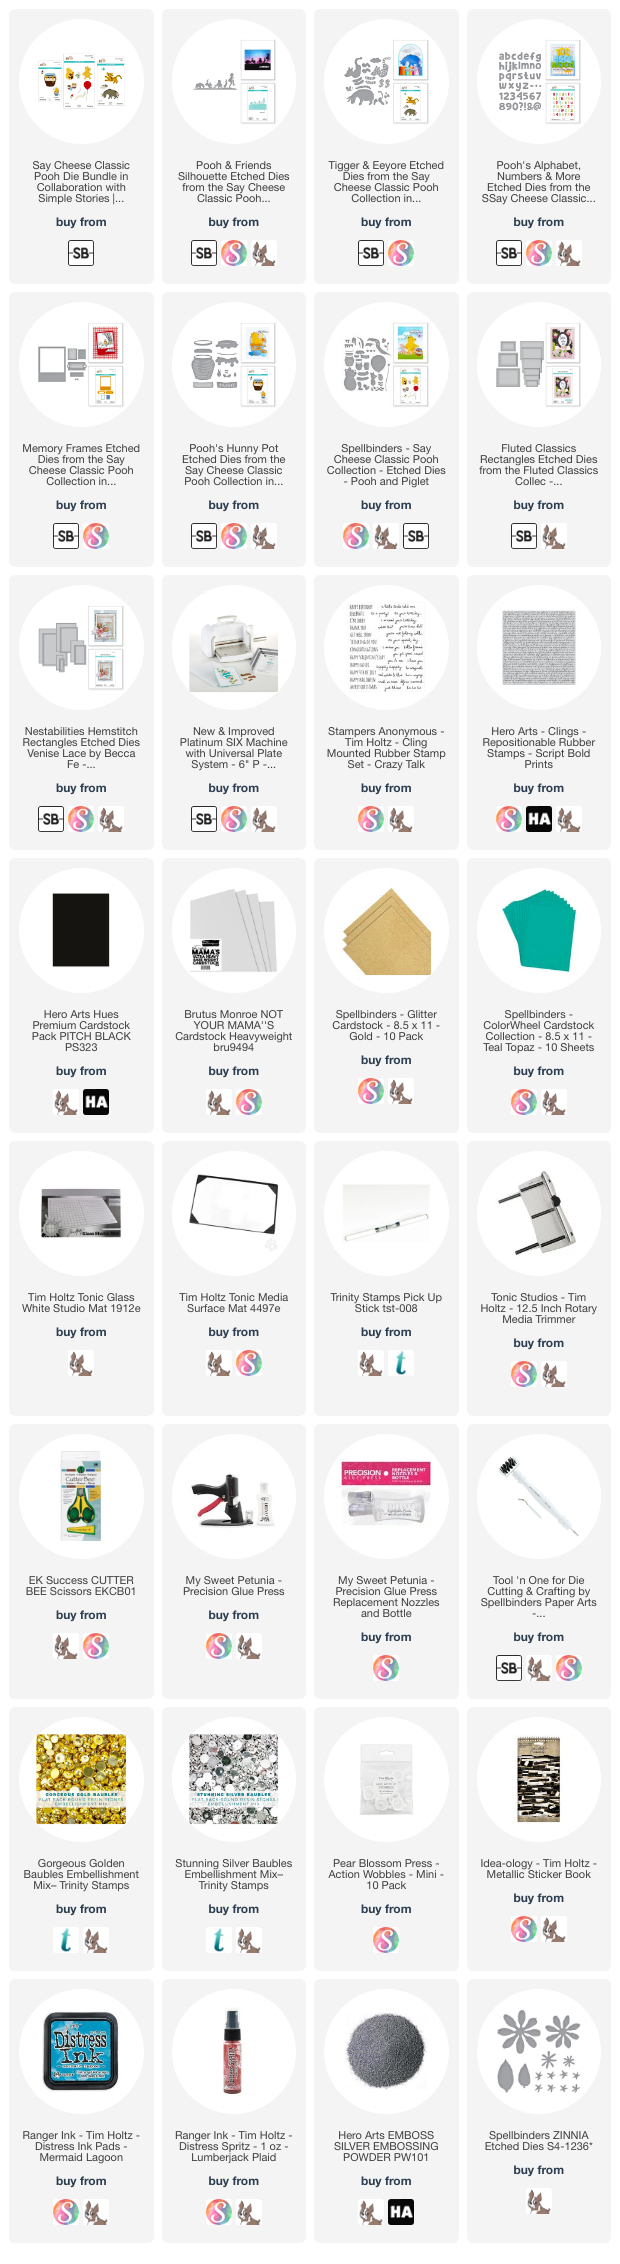
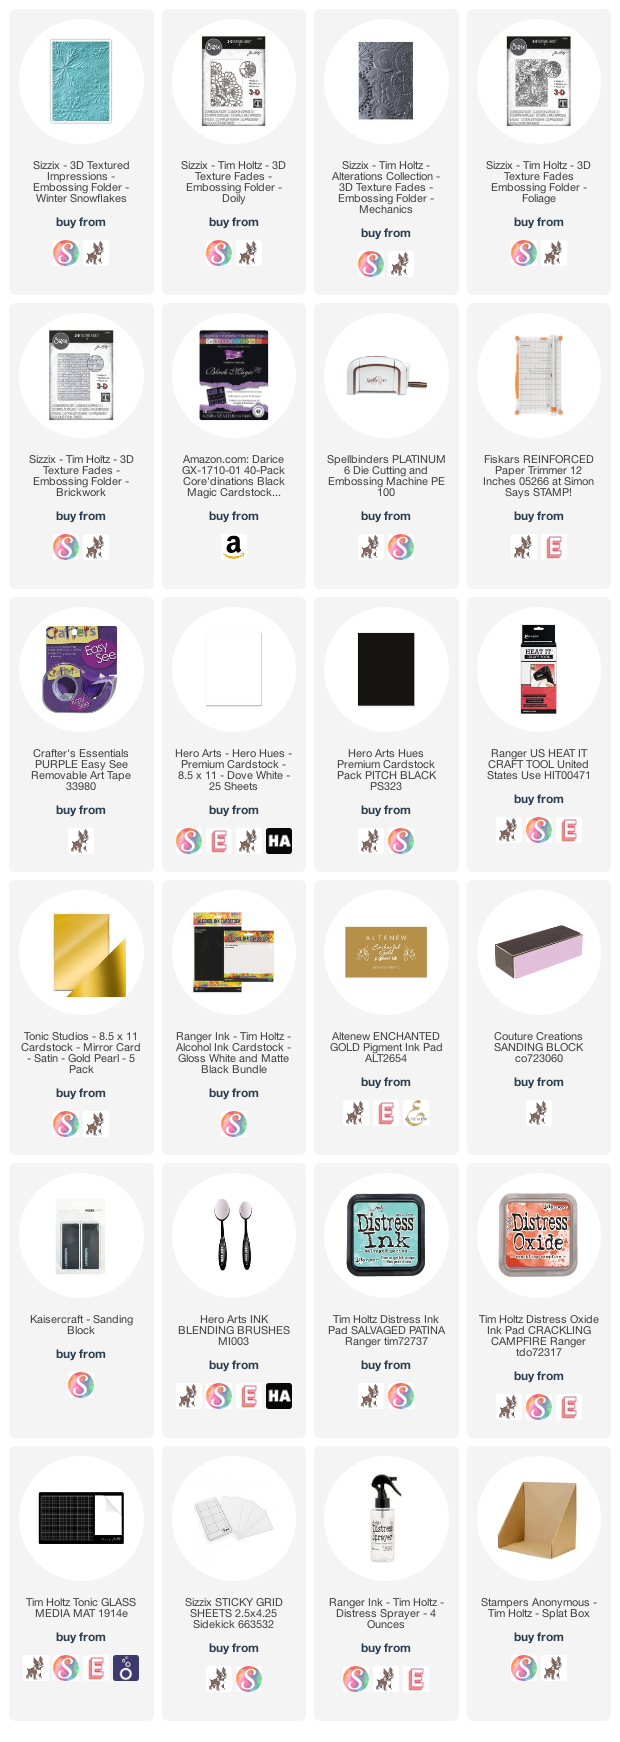
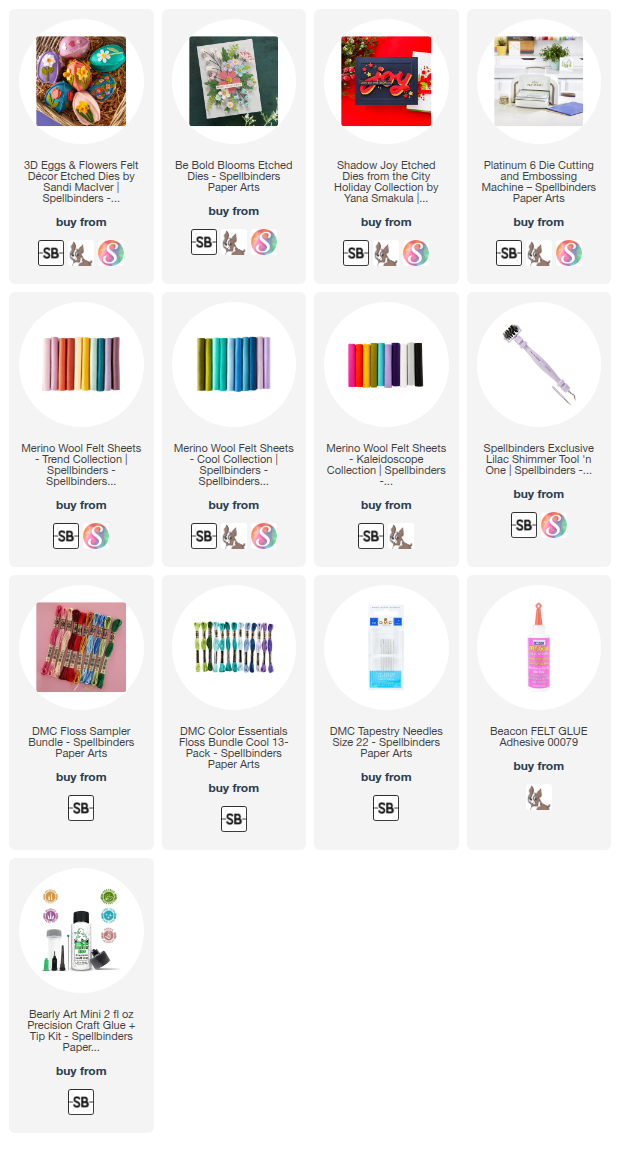
Here are the supplies I used:
Tuesday, February 4, 2025

"Show 'N Tell" Featuring Spellbinders New "Classic Pooh & Say Cheese!" Collections!


 Hello!

Today I'm sharing several cards using the Spellbinders "Classic Pooh" and "Say Cheese" die sets.  A special "Thank You" to Spellbinders for sending me some of the dies to play with!  However, as usual, my opinions are strictly my own.  The products are listed below.  (These are affiliate links, so I may make a small commission if you purchase using these links;). Thank you for your support!!  

Here is a show ‘n tell video with extra info!  I thought I’d try something a little different;) 


First, I added an action wobbler to Tigger to create an interactive Valentine!  I added the Spellbinders "Hemstitched Die" so more of the black would show through.


My second project uses the Classic Pooh Silhouette die and some gold glitter paper to highlight it.  Some many sunset examples had already been posted, so I tried something different.


The third project is using the "Hunny Pot" die a bit differently!  I didn't have Pooh or Piglet, so I had to get really creative.  The flowers are from a retired Spellbinders Zinnia set.


The fourth card features the "Say Cheese" and "Fluted Rectangles" frame die.  The stamp set is from Gina K and is stamped on glossy photo paper.


Photo Paper Inking Video:
https://youtu.be/QIgbYq-RHxE

Last, but not least is "Eeyore" who is paired with "Tigger" in a die set.  I also used the Spellbinder "Hemstitched Rectangle" die to add some variety.  I had some scrap distress inked paper that had a matte finish, so I used it to make balloons like conversation hearts!


Distress Ink Videos:  https://youtu.be/0H7oGN7hZnw
                                https://youtu.be/0gvlms-gGwA

I hope you enjoyed this visit to "Pooh Corner" in the Hundred Acre Wood!  Let me know if you have any questions on the projects!

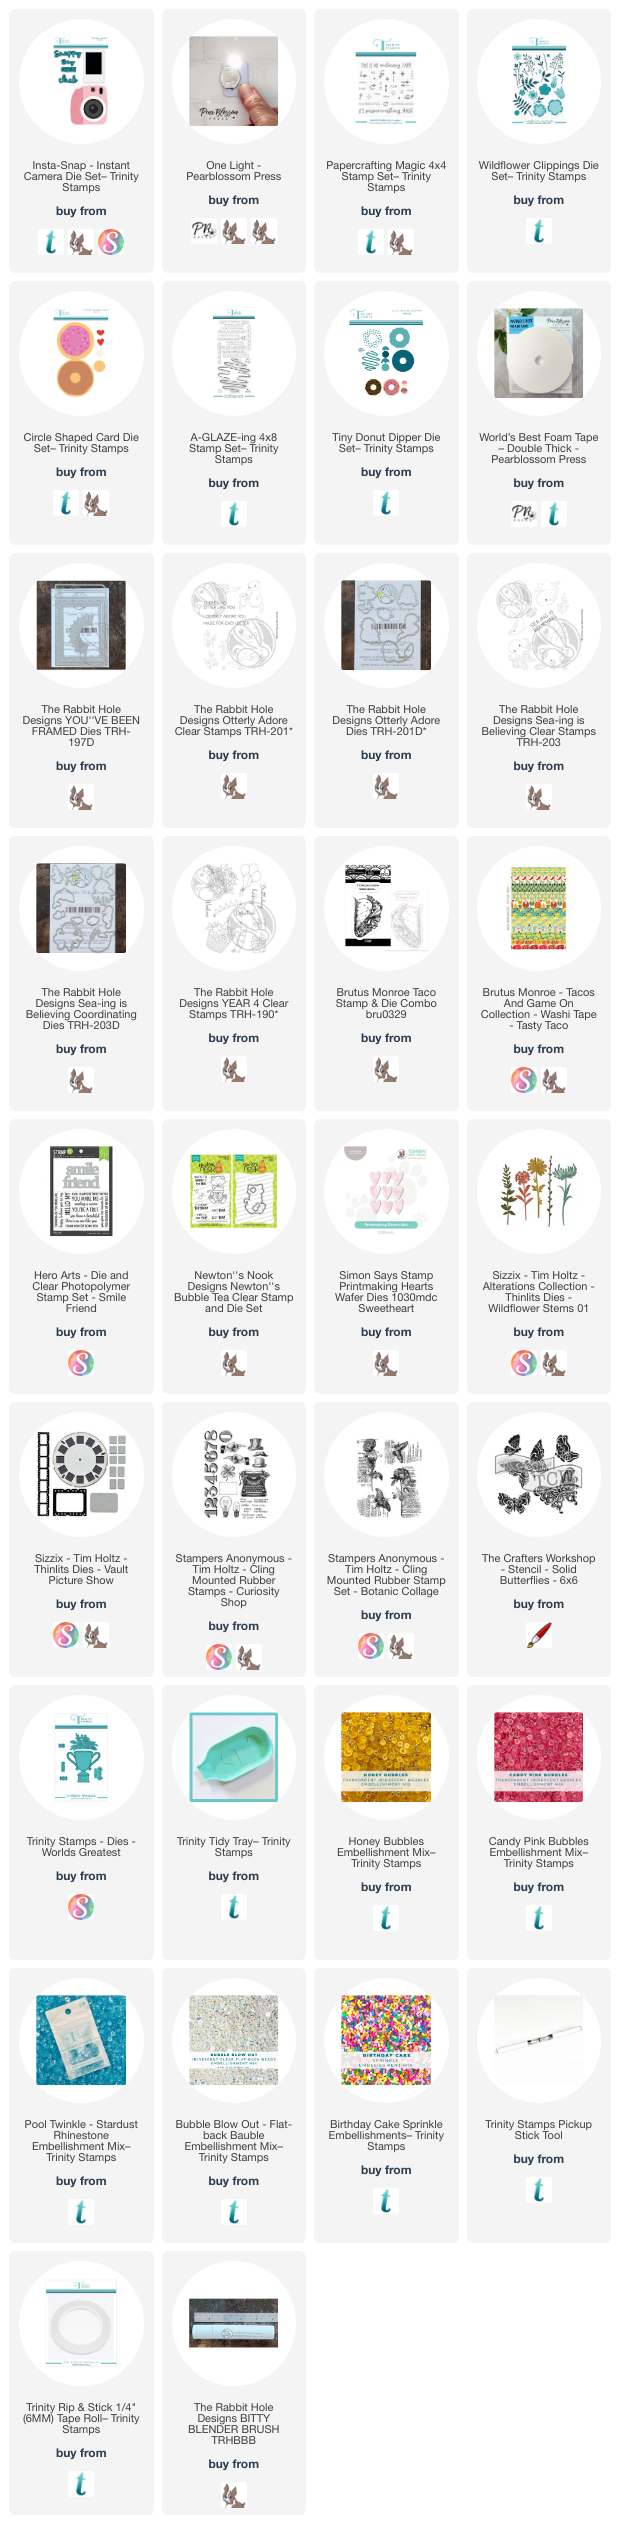
Here are the supplies is used:

Take care & I'll be back soon!  Please consider subscribing here, IG, FB and YouTube--it's all free and you won't miss any new posts!

Gale

Wednesday, May 22, 2024

Scenes, Projects and People From Simon Says Create 2024!

 Hi!

It's fun to meet so many creative people in one place!  I'm fortunate enough to just live up the road from the "Create" venue, so I went both days.  I didn't do classes this time because they sold out in 11 minutes!  Good for them!


I took some video while wandering around doing Create 'N Takes and will also share the projects I made in this video.  I also have many of the supplies linked below for your convenience!  (Thank you for your support!  It's much appreciated!)

Please consider subscribing if you haven't already and sit back and enjoy!


Here are most of the supplies:

I'll be back very soon with a new tutorial!  Take care!
Gale

Friday, March 17, 2023

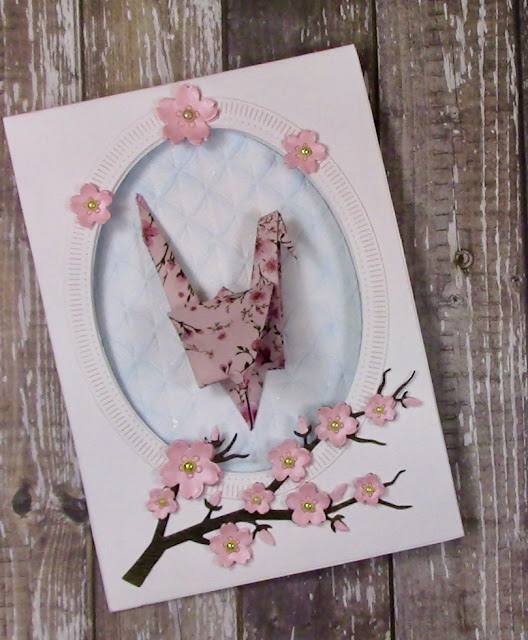
How To Make An Origami Crane and Spinner Card!

 Hello!

Nothing says Spring like the arrival of cherry blossoms  We aren't quite there yet, so I made some of my own! Below is a link to the complete tutorial!  


I know it looks a bit fussy and difficult, but I take it step by
step.  If I can do it, you can too!  You may want to play the folding part a few times, but you'll get the hang of it!

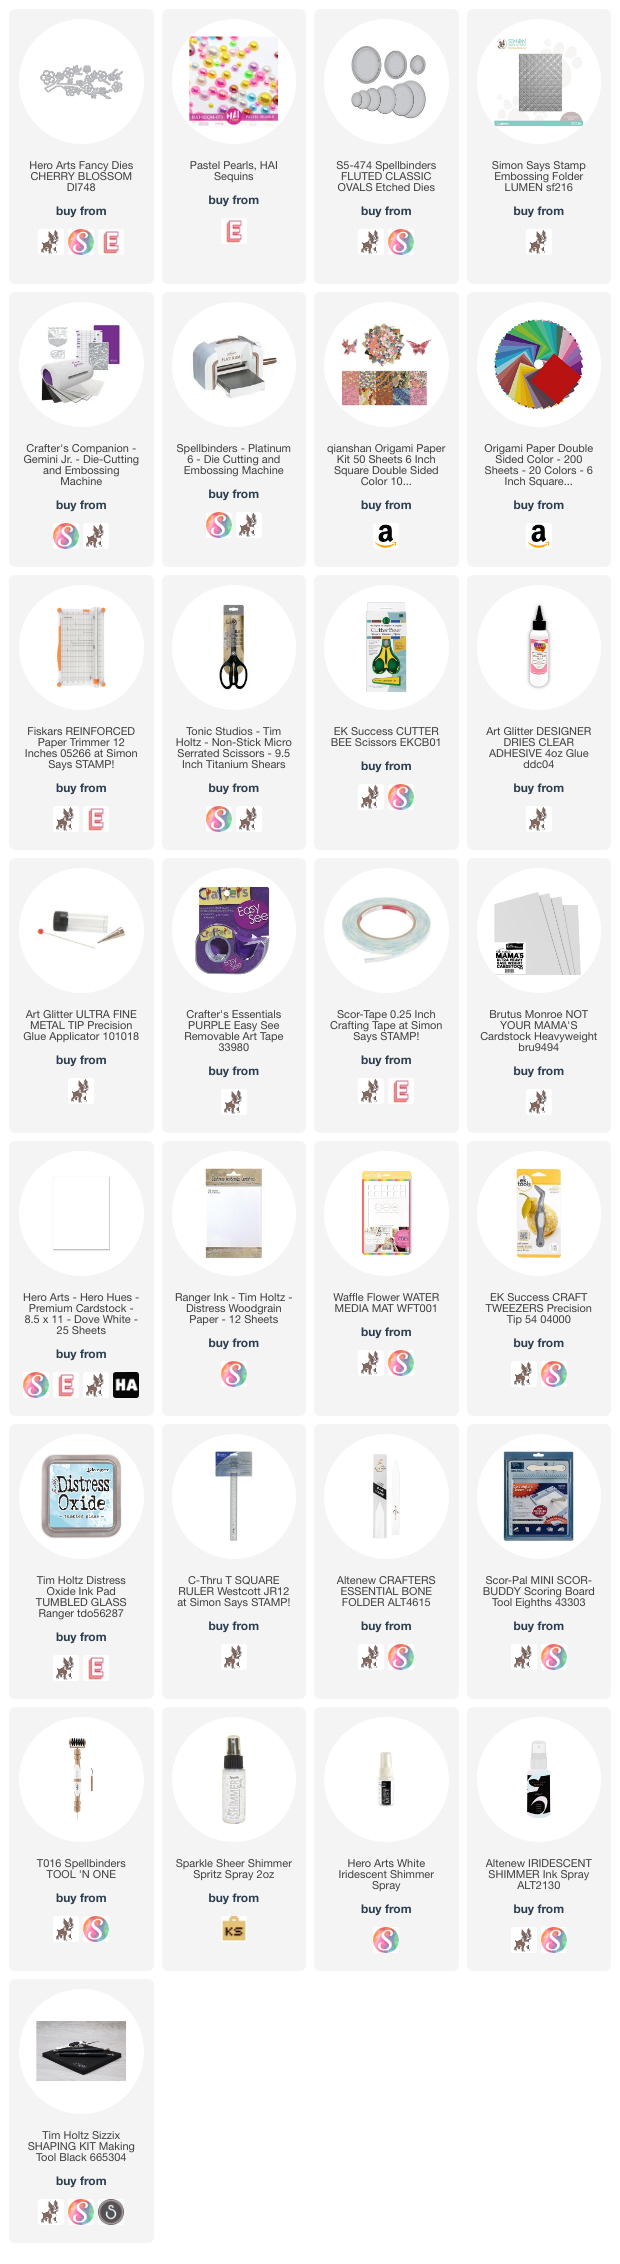
Here are most of the supplies I used: (these are affiliate links where I may earn a small commission if you use these links to purchase items.  I really appreciate the support so I can create more content for you!)

I'll be seeing you again with a new project very soon! Actually, March 22, 2023 in a special celebration hop for a friend Maranda Mathis  #MC19Kcelebration.  Hope you'll hop by!

Until next time,

Gale

Sunday, October 16, 2022

Favorite Halloween Projects!

Hello!! 

Thought I'd share some past favorite projects for Halloween while there's still time to make!  All of projects are linked below photos--all on blog (most with supplies linked), but many have Youtube tutorials as well!  Enjoy!


In order of appearance:

Slithering Spider


Lawn Fawn Treat Bags


Spooky Tree


(Supply list upon request)


Shape-Shifting Treat Bags (Using only 1 die)


Hero Arts Spider


Treat Pillow Boxes (using wreath maker)


(Supply list upon request)

See you again soon!
Gale

Tuesday, July 26, 2022

Get Out Your Sanding Block!! Five Techniques In Five Minutes!

 Hello!

I'm back today with another installment of "Quick Tips!"  This time we are focusing on that forgotten little sanding block.  Get it out of the drawer and have some fun adding texture to your next project!


Here is the link to the YouTube tutorial--supplies are linked below (Afil--tha
nk you for supporting my blog!) and in the YT description box.


Supply List:

Take care!
Gale

Wednesday, September 1, 2021

Clean 'n Simple Halloween Card For "A Blog Named Hero's" September 2021 Challenge!

 Hello!

Seems a little early for Halloween, but Fall is only a weeks away! 


This month's challenge is "Clean 'n Simple" truth be told, I am cheating a little bit.  My understanding is a clean and simple card is one layer, mostly white (or lots of empty space) with little or no adornments.  I simply can't wrap my head around it! 

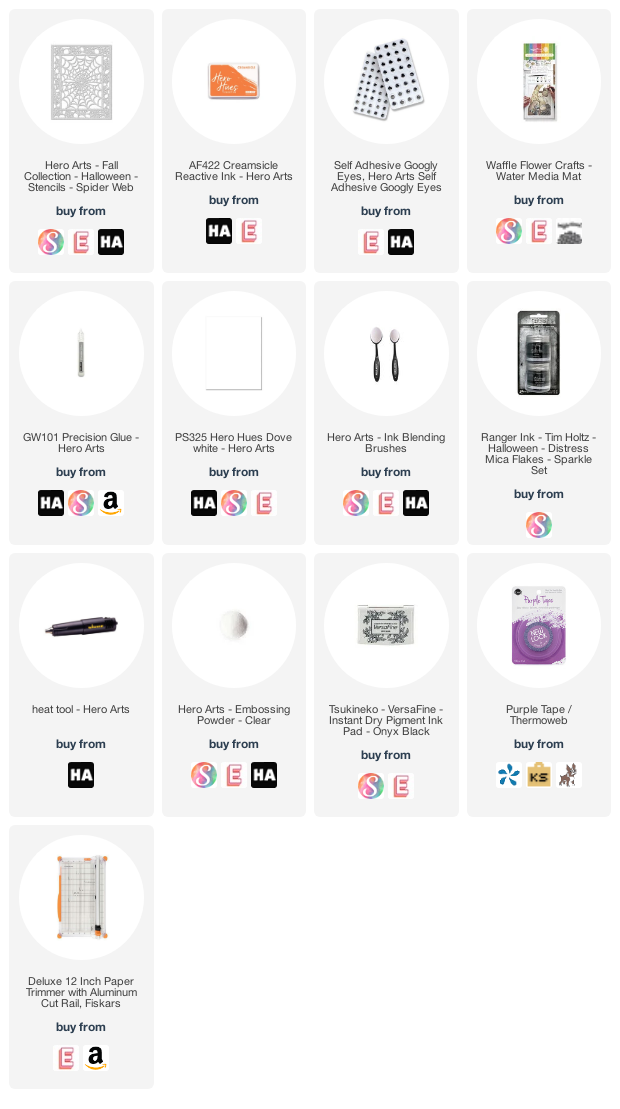
Most supplies are linked below (some aren't available and are left out.)  All I did was mask off the center of my Hero Arts Spider Web stencil and applied orange ink.  Since it was showing the positive area as white, I applied Ranger's Halloween glitter using a fine tip glue along the strands.  Let dry before removing excess.  (Pro Tip:  this glitter is awesome, but super fine and super hard to clean up.  Ask me how I know!  It's so full of static it sticks to my water mat and everything else.  So contain the bling carefully!

I heat embossed blank ink with clear powder for the sentiment (from a past MMH kit that's sold out.)  I added a couple googly eyes and a few spider confettis I had in my stash.

The "A Blog Named Hero" challenges are now held over on our Instagram page @ablognamedhero so be sure to enter there for a chances at a $50 and $25 Hero Arts shopping spree!  The challenges go from the 1st through the 26th of each month.

Here are the links (AFIL-Thank you!):

I hope you are beating the heat and enjoying what is left of Summer!
Until next time,
Gale

Tuesday, July 13, 2021

Repeat After Me! "A Blog Named Hero's" July Repetition Challenge!

Hello!


I'm finally back crafting a bit!  Hope you are doing well!  The complete tutorial is at my YouTube Channel linked below.


Our "A Blog Named Hero" challenge this month is "repetition."  When I started in the 1990s (horse and buggy days for stampers) repeating was a daunting task.  Although there are other ways to repeat now, the MISTI tool was a game changer for me and most every other stamper I know.  So may new techniques!  A higher price point than some tools, but save up because it's worth it!

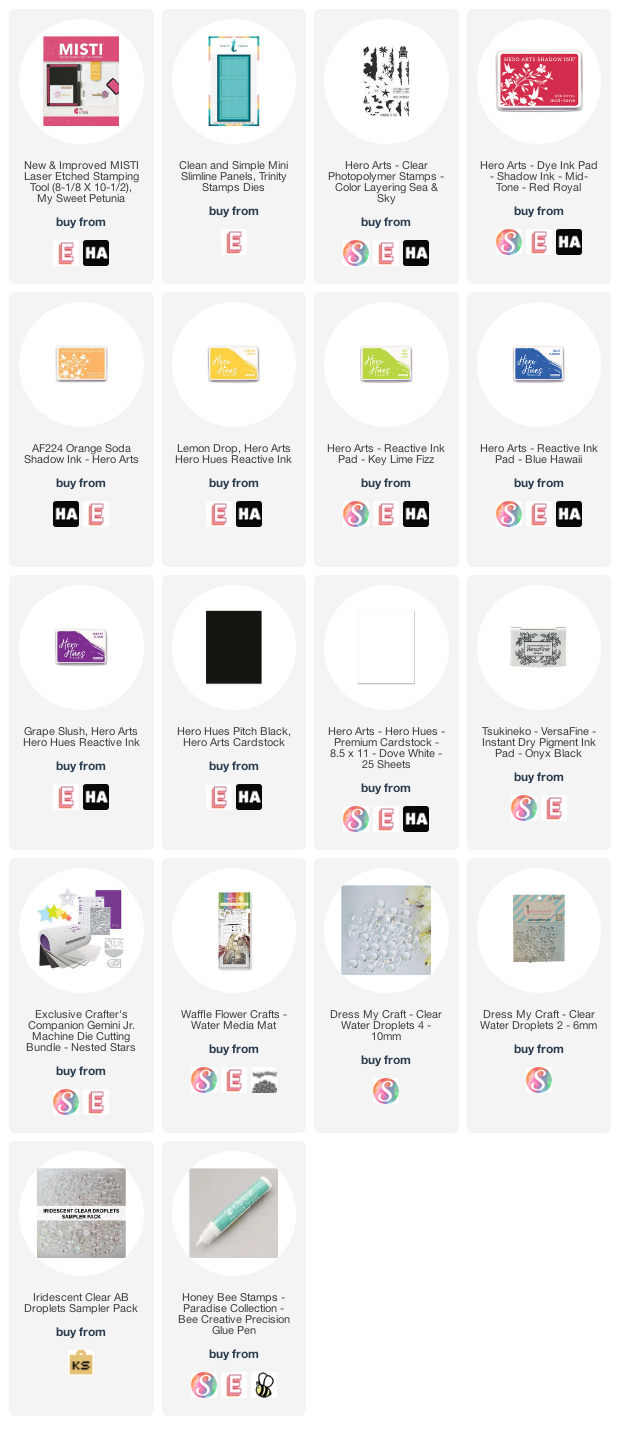
Today I used a tiny stamp from Hero Arts "Color Layering Sea and Sky."  I'm not great at scene building, so was glad to find a use for this Adirondack chair!  Once it's set up (I'll show you on YT tutorial--hard to explain here) it's easy, peasy!  I stamped on the smallest Trinity Mini-Slimline Die rectangle, then layered on the medium one with yellow cardstock, then layered onto the largest black rectangle and adhered to a mini-slimline base.  I added a few embellishments and I was done.  One of the cards is actually a salvaged boo-boo!  Guess which one!  The answer will be in the tutorial!  

Be sure to enter the challenge for a chance to win one of two generous Hero Arts gift cards!!!

The supplies are linked below (AFIL-Thank you so much!):

Take care,

Gale

Friday, April 16, 2021

How to Layer Papers, Paint, Powders & More! Featuring Mondo Hydrangea!

Hello!!  

Hope you are well and enjoying Spring (if you're here in the Northern Hemisphere!)  Today I brought out an older set that deserves some love as it's pretty and versatile!  All the supplies are linked below (AFIL- Thank you!)


All the details are in the tutorial below which is part of the "How Does Your Garden Grow Youtube Hop."  Some of the stops are offering prizes, so I'll list below for you to check out or the next stop will be in my video description box!


Here's the hop list:

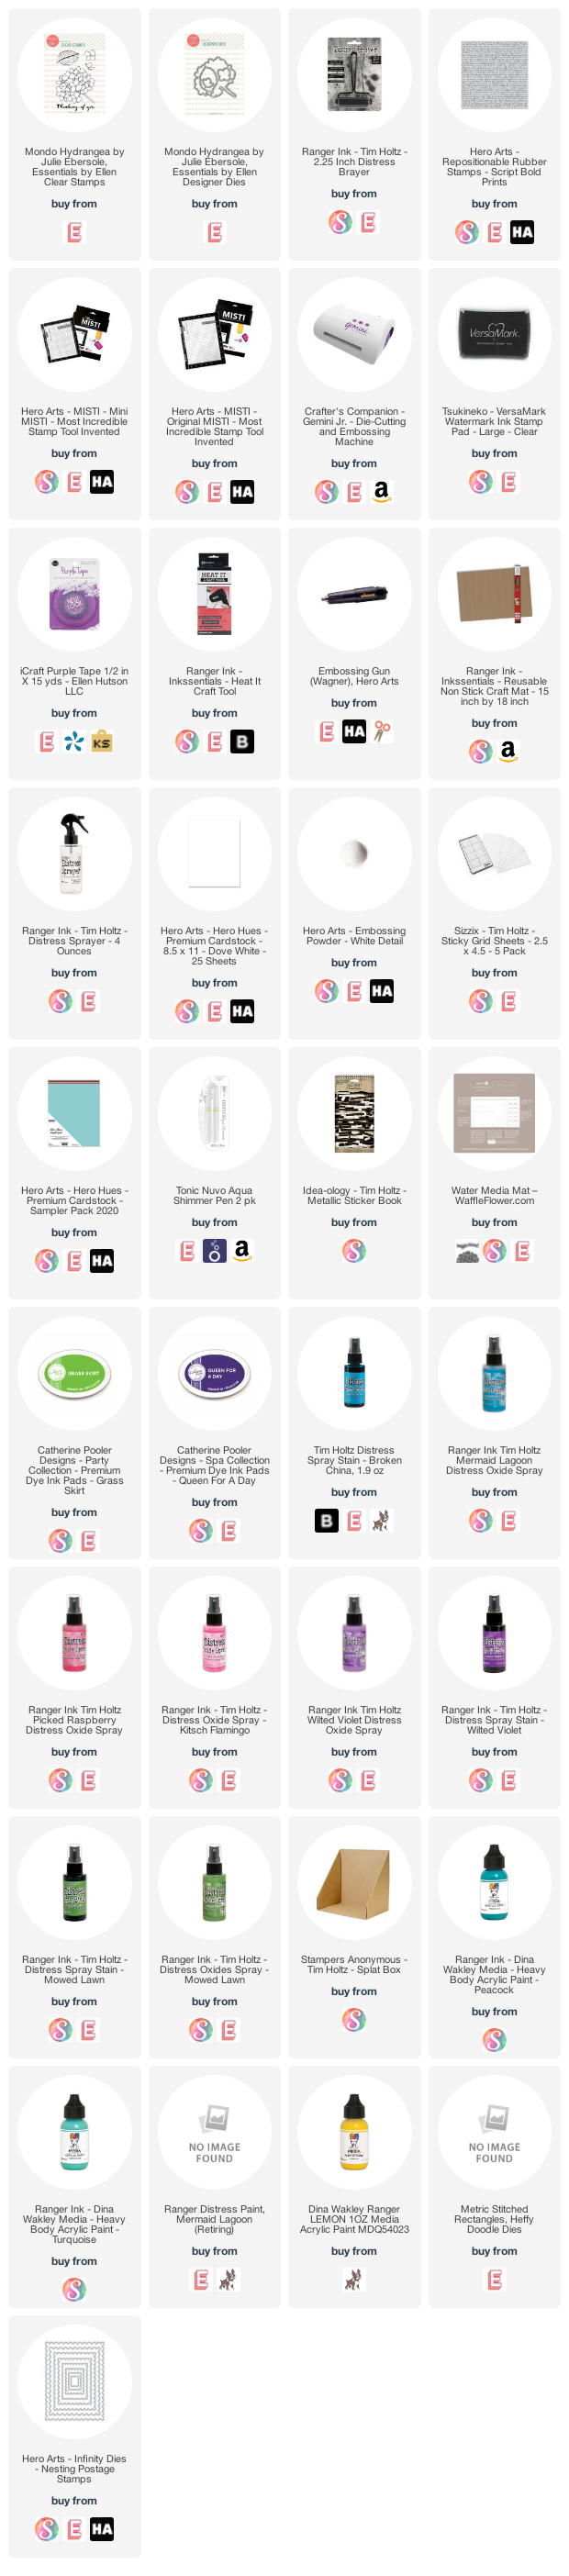
Here's the supply list:

Sunday, July 29, 2018

How To Block Stamp With Watercolor! (Viewer's Choice)

Hi everyone!

Hope you are having a great summer!  The winner of the "card remake" vote was:


It is really weird to CASE your own card and of course no two are ever exactly the same.  However, mine isn't anywhere near it LOL!  However, the techniques are the same!  The supplies are listed below (affil).  Enjoy!


Here's how I did it:


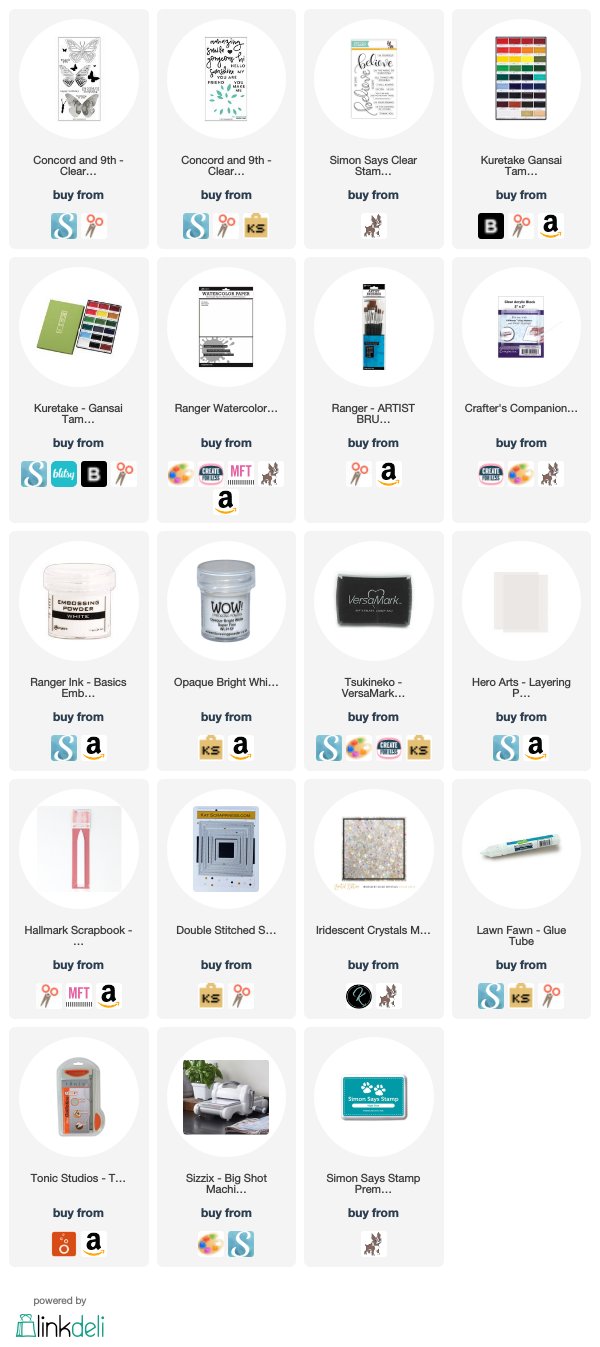
Here are the supplies I used!


Until next time,
Gale