Showing posts with label distress inks. Show all posts

Tuesday, December 24, 2024

How To Make A Festive Wreath Ornament!


Hello!

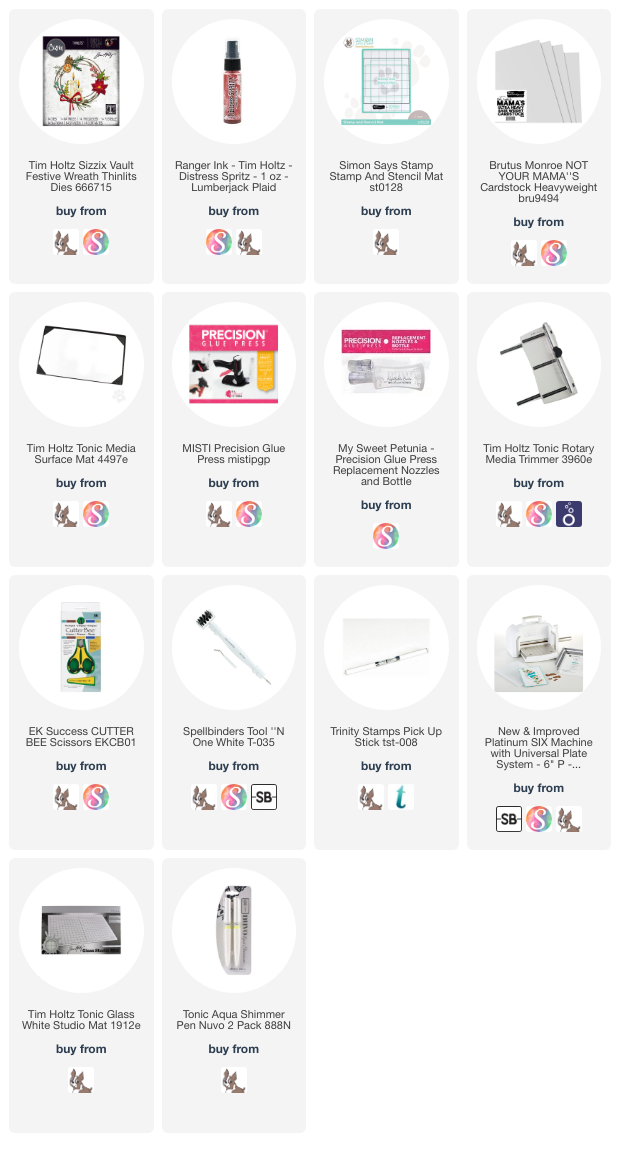
I wanted to share one last holiday tutorial with you!  This ornament uses the Sizzix/Tim Holtz Vault Festive Wreath die set and is fun to make!  Instead of cutting out a zillion little colored pieces, I cut everything out of white and inked them myself.  Not sure it was quicker, but I want to believe it was!


The supplies I used are linked below (AFIL, Thank you!!). Here is the short 'n sweet tutorial:


Supply List:

Wishing you a very Merry Christmas and a Happy New Year!  I'll see you in 2025!
Gale


Sunday, February 18, 2024

Printmaking Heart Set Four Ways +Bonus Masculine Card!

 Hello!

Welcome back!  Hope you had a nice Valentine's Day, but don't put away those heart sets!  They can be used for all occasions, even guys! 

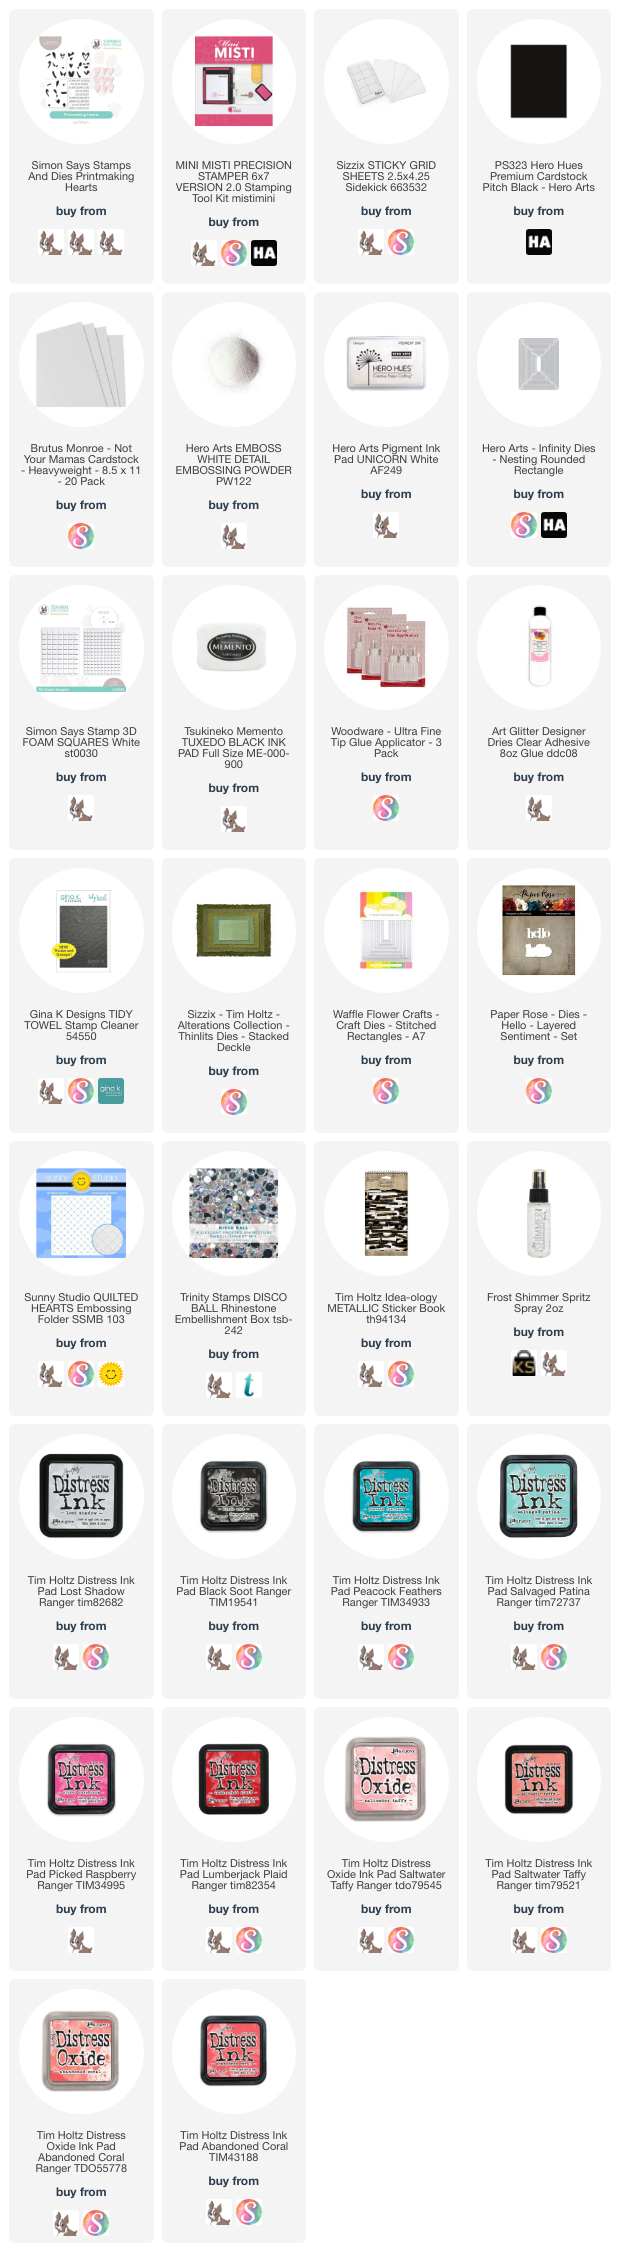
I used Simon Says Stamp's Printmaking Hearts stamps and die set along with several Distress Inks.  All of the tips and tricks are in my Youtube tutorial linked below along with supply links!


Regular Layering Stamping

3D Diecuts

Faux In-laid Die Cuts

Bonus Card for Guys!

Youtube Tutorial Link: (I hope you will like, subscribe and comment;)


Here are the supplies I used:

I'll see ya soon!!
Gale

Thursday, November 23, 2023

How to Make Moons Many Ways Part 2!

 Hello!

Welcome to Part 2!  This time I use the textured side of the Tim Holtz Distress watercolor paper for a different effect than in Part 1.  I also used the Sizzix Moonlight Thinlit dies for a 3rd way.  All are cool, it just depends on the mood you're trying to set.  Supplies are linked below (AFIL thank you for your support!) as well as the YouTube tutorial link.  I hope you enjoy it, like and subscribe;)

Here's the link to the tutorial:


Here are the supply links:
Wishing you a Happy Thanksgiving!  I'll see you real soon!
Gale

Monday, November 13, 2023

How To Make Moons Many Ways!

 Hello!

Welcome back!  I was inspired by Tim Holtz's YT lives to play with fun ways to make regular and "spooky" moons!  

This is Part 1:  I split the tutorial because it was going to be pretty long, so the first one is this card.  The video tutorial link is below as well as the supplies I used for all of the tutorials.  (Affil--Thank you so much for your support!)

I was pretty happy with the result, but it took a few attempts:)


Here's the video link:


Here is my supply list:

I will be back with the second part very soon!   
Take care!
Gale

Sunday, October 16, 2022

Favorite Halloween Projects!

Hello!! 

Thought I'd share some past favorite projects for Halloween while there's still time to make!  All of projects are linked below photos--all on blog (most with supplies linked), but many have Youtube tutorials as well!  Enjoy!


In order of appearance:

Slithering Spider


Lawn Fawn Treat Bags


Spooky Tree


(Supply list upon request)


Shape-Shifting Treat Bags (Using only 1 die)


Hero Arts Spider


Treat Pillow Boxes (using wreath maker)


(Supply list upon request)

See you again soon!
Gale

Sunday, April 10, 2022

Layering Tulip Tips, Tricks & Trips!


Hello!  

Happy Spring (at least in North America:)  It snowed yesterday here in Ohio, so I'm not rid of Winter yet!  

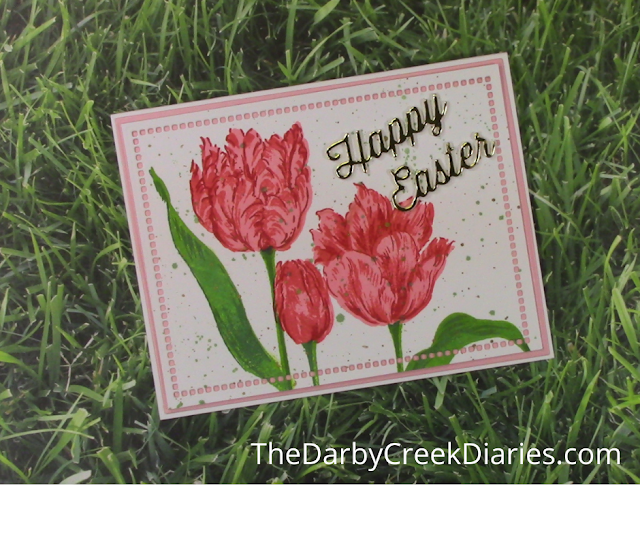
I've had this Altenew Exotic Tulips set on my desk forever and really wanted to use it.  I also have the masking stencils and can see where they could come in handy!  I had only a general plan, which was good, because the card took on a life of it's own through various boo boo's etc!


 Here's the YouTube tutorial:  (I hope you will like, subscribe and share with friends!)


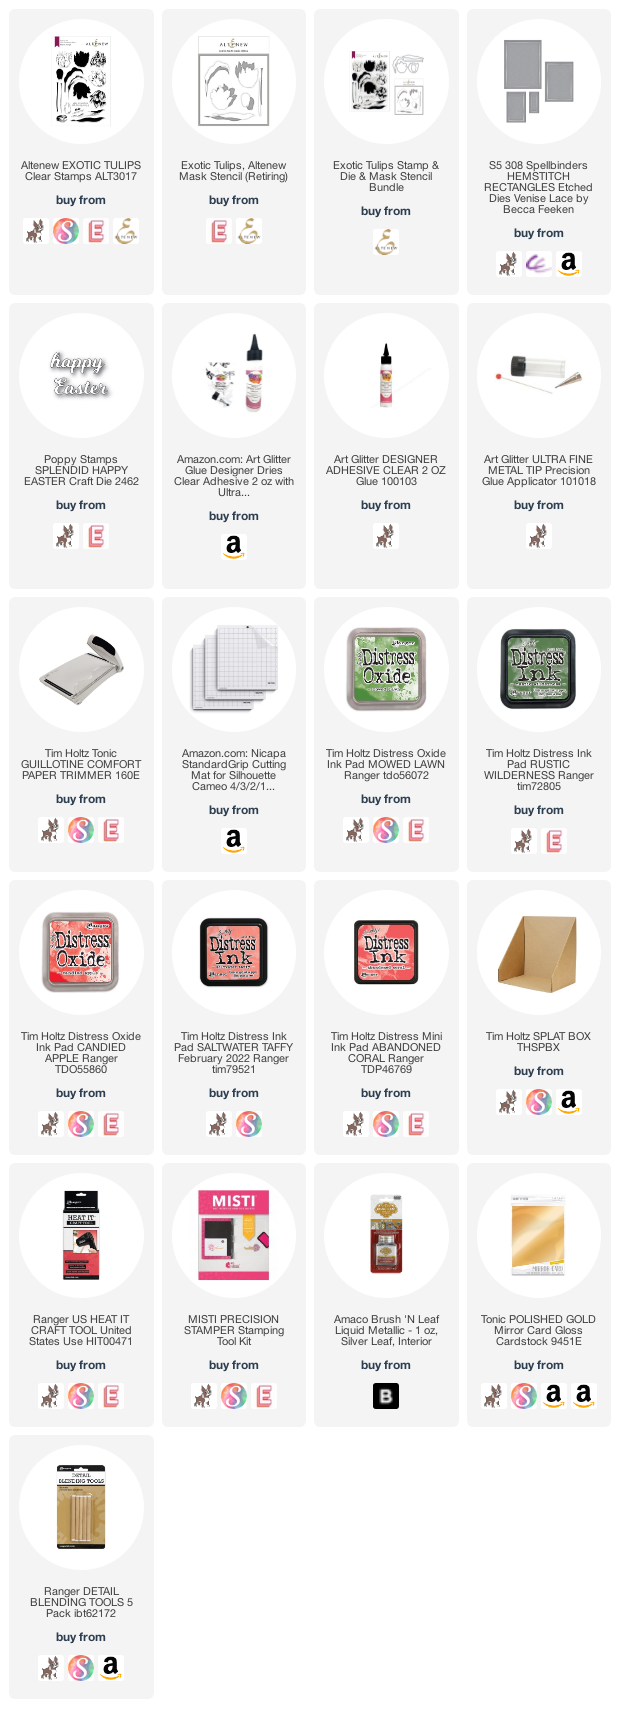
Here are the supplies I used (AFIL- Thank you for your support at no additional cost to you!)


Have a wonderful Easter!!
Gale

Friday, May 14, 2021

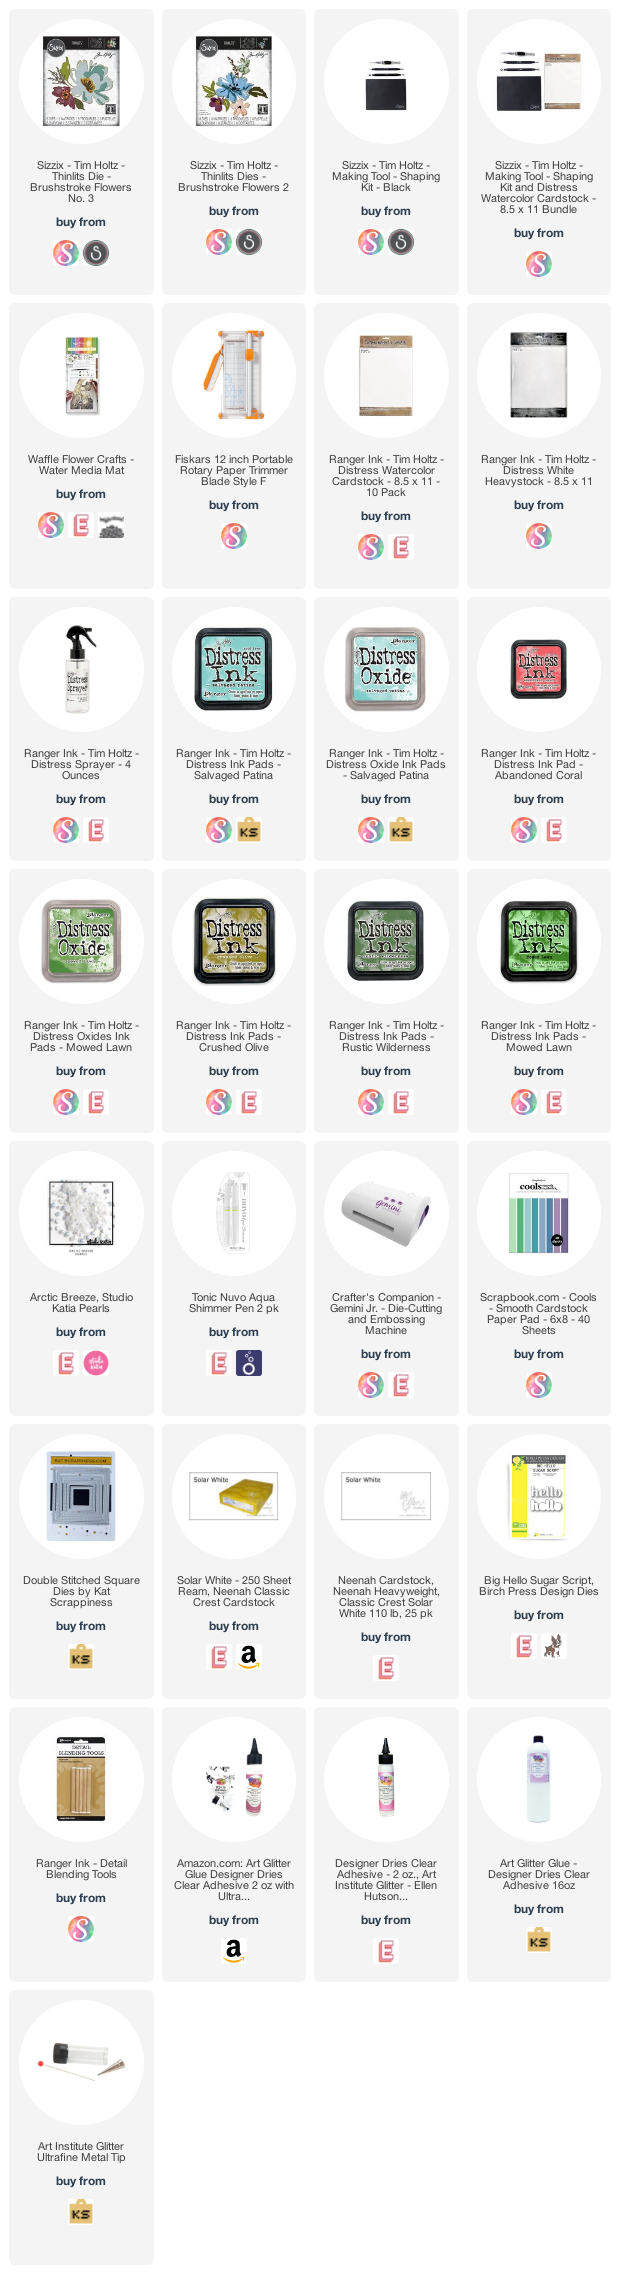
How to Make & Shape Brushstroke Flower Cards That Pop!

 Hello!

I hope all is well with you!  I had a blast making this card because it's easy, colorful and dimensional!  There are a ton of ways to make it, but I hit the highlights in my Youtube tutorial:


If you like it, please consider subscribing, liking, commenting and sharing!  Here are the supplies I used (Afil links--Thank you for your support and no extra cost to you!)

I will see you again soon!  Take care!
Gale

Friday, April 16, 2021

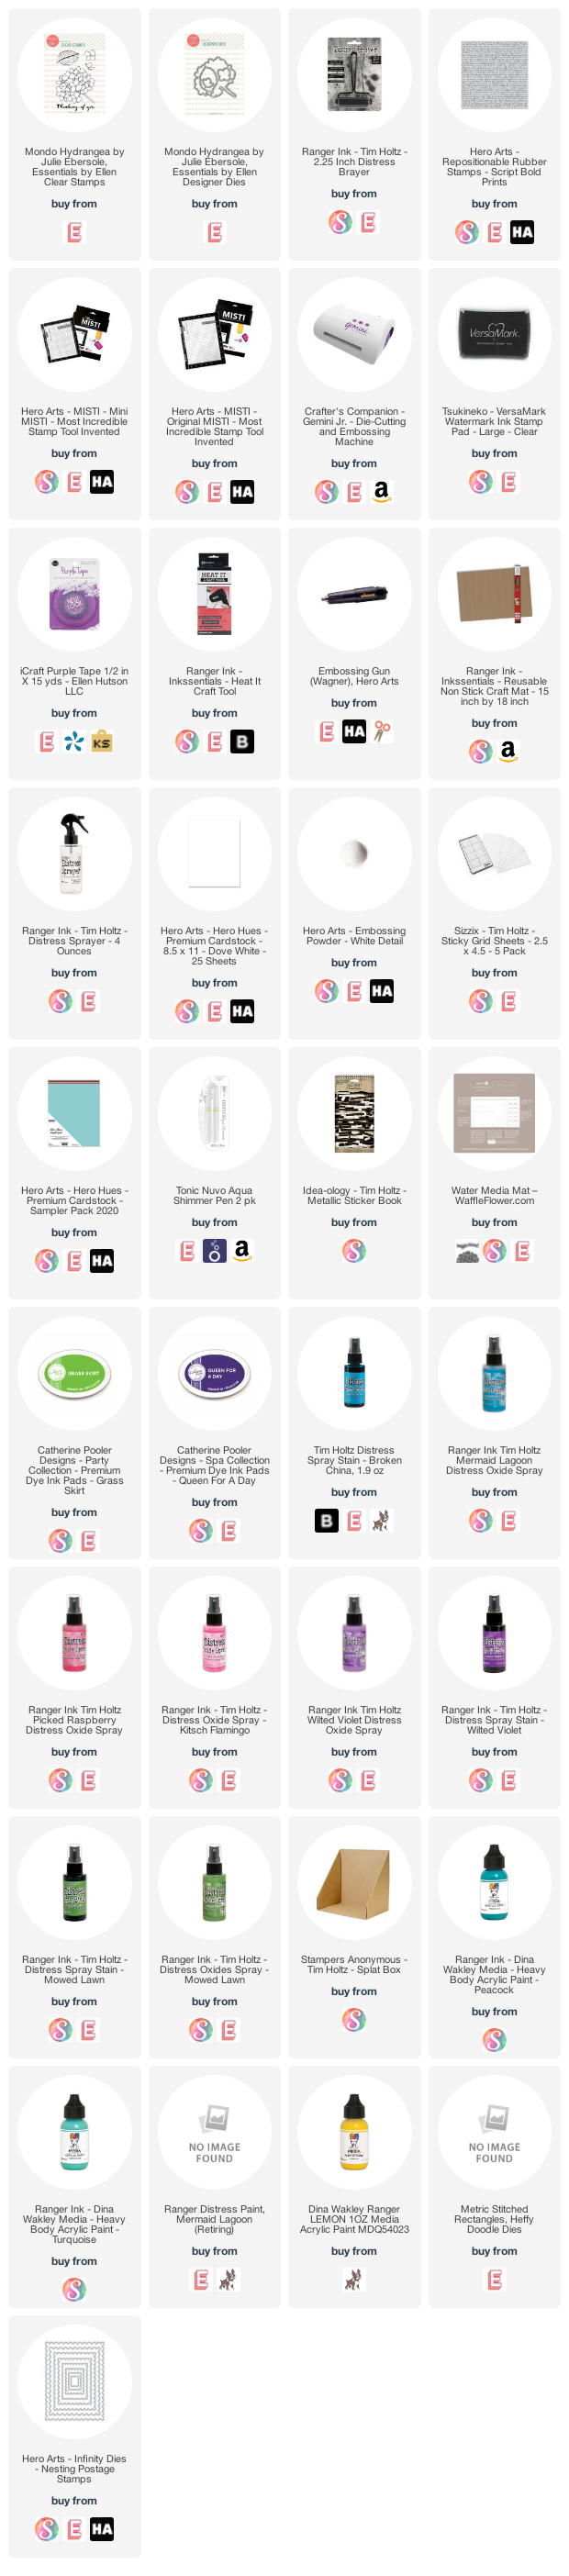
How to Layer Papers, Paint, Powders & More! Featuring Mondo Hydrangea!

Hello!!  

Hope you are well and enjoying Spring (if you're here in the Northern Hemisphere!)  Today I brought out an older set that deserves some love as it's pretty and versatile!  All the supplies are linked below (AFIL- Thank you!)


All the details are in the tutorial below which is part of the "How Does Your Garden Grow Youtube Hop."  Some of the stops are offering prizes, so I'll list below for you to check out or the next stop will be in my video description box!


Here's the hop list:

Here's the supply list:

Friday, April 2, 2021

Happy 9th Anniversary "A Blog Named Hero!"

 Hello!

I'm back again with yet another anniversary card!  This is part in conjunction with an Instagram Hop celebrating "A Blog Named Hero's" 9th anniversary on April 1st-April 2nd.  There is a gift card drawing so visit as many stops as you can both days for more entries and please follow your favorite designers too!  (I'm @darbycreekdiaries)

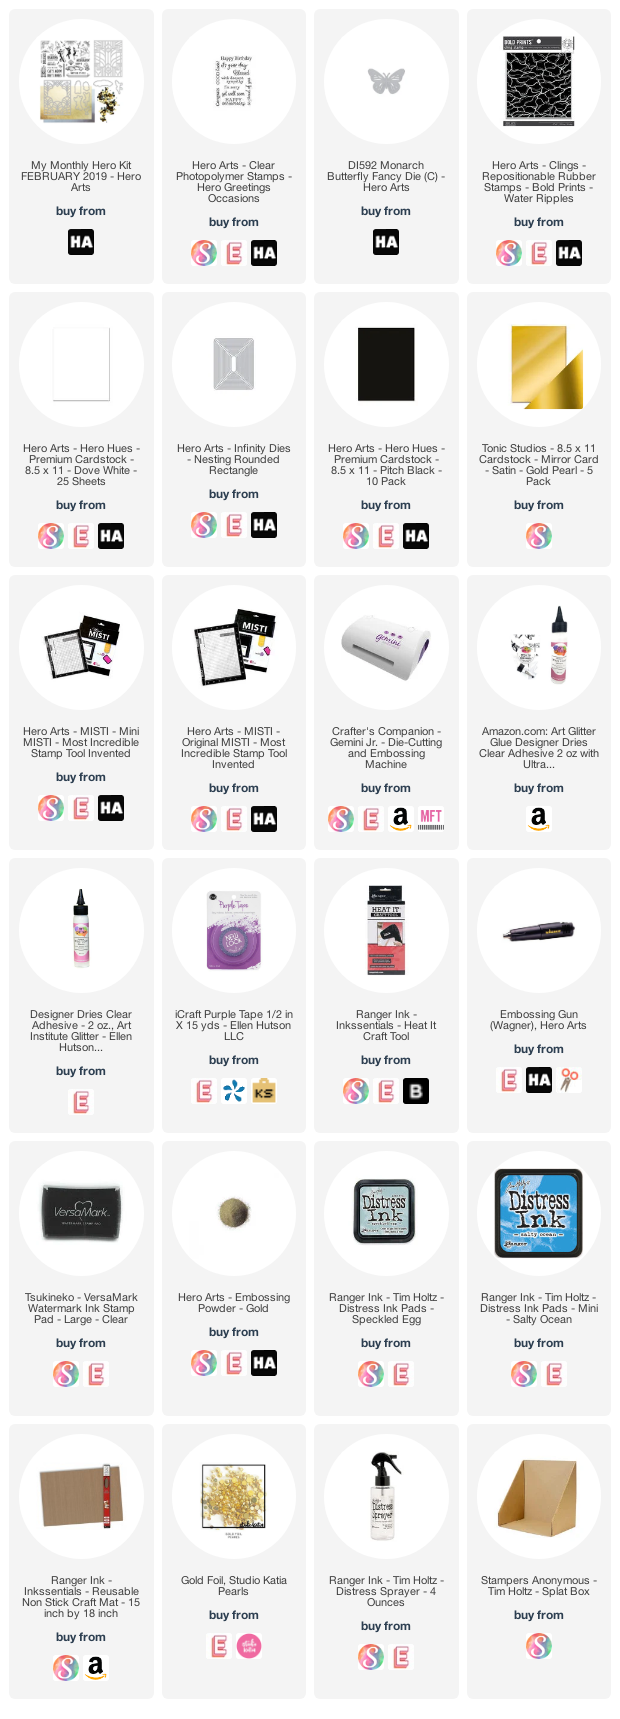
Here is my project: (Supplies linked below AFIL-Thank you!)


The butterfly was die cut from leftovers from an earlier project.  Here is the link to that Youtube tutorial with supply list (it was done with alcohol inks/foil):


The background is the water ripples stamp.  It was a happy accident as I inked it up with a few distress inks, then sprayed it with too much water for the image to be crisp.  But I kept it in my background pile and it's perfect for this!

I die cut the art deco cover out of gold card stock then stacked it on four white ones for dimension.  I laid it on the blue background, added it to a card base, then added the butterfly and sentiment.

The lesson here?  Save those scraps and imperfect backgrounds!

Here are the supplies I used:

Once again, Happy Anniversary "A Blog Named Hero!"  I'm proud to be a small part of your history.  Here's to many more years!  Don't forget to hop over to IG and comment to enter in the drawing!

Happy Easter,
Gale

Thursday, March 11, 2021

Elegant 'N Easy Get Well Card-- "A Blog Named Hero" Challenge Inspiration!

Hello!  

Spring is here if only in my dreams!  It will be here soon--turning back our clocks this Sunday...

Here is some floral inspiration for the current "A Blog Named Hero Challenge."  Hurry and enter for a chance to win a $50 gift card!

So shiny:)


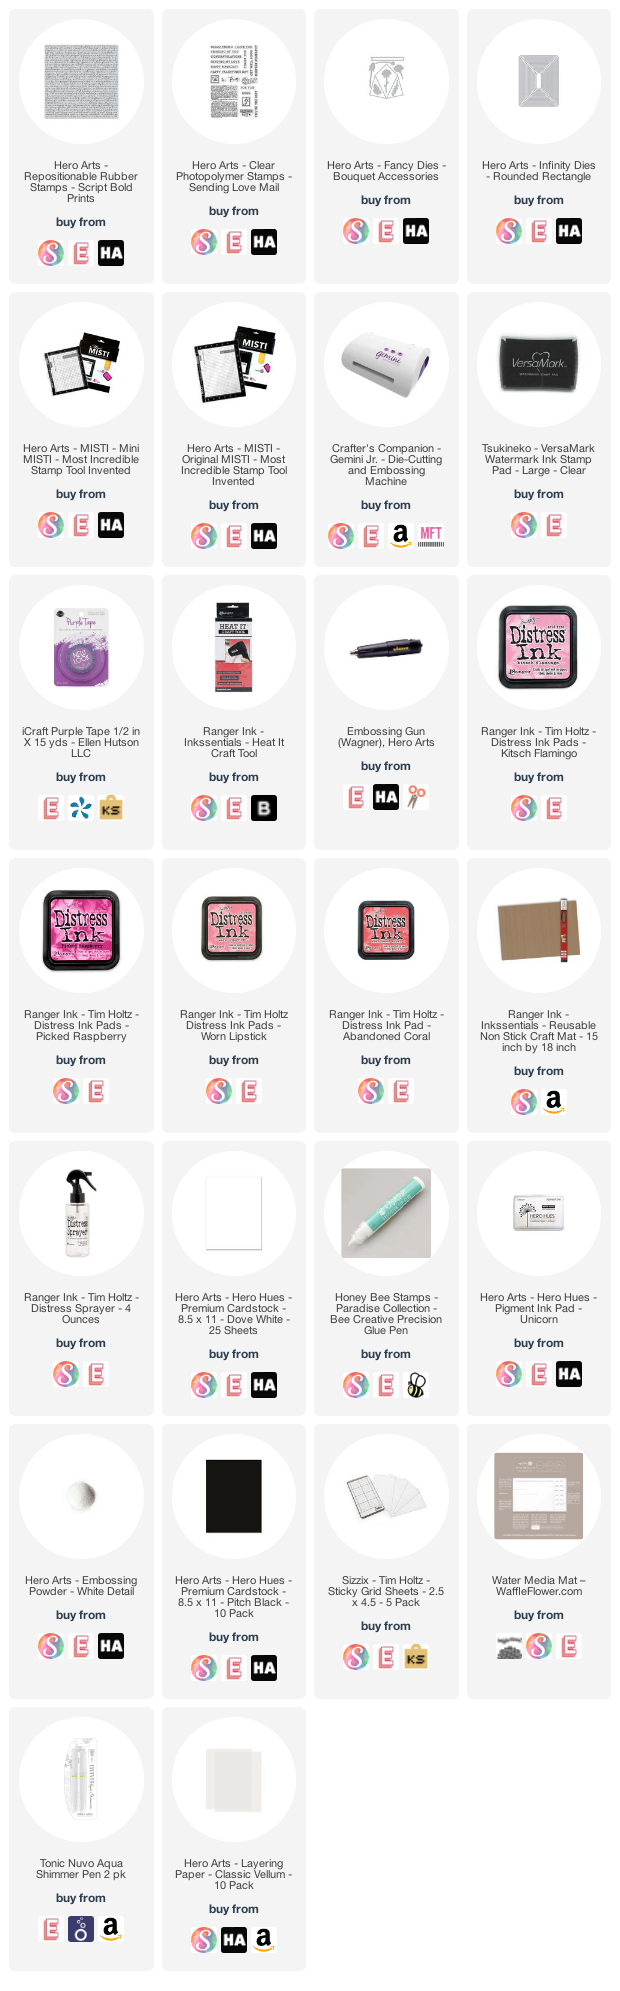
This card is pretty simple and quick (my favorite kind!)  The supplies are linked below (AFIL-Thank you!)

I chose several shades of pink/coral Distress inks and smooshed them, drying between layers.  I stamped the bold script background in white pigment ink.  I used the second largest rounded rectangle die to trim panel.  

I added it to an A2 top folding base, then carefully glued on my vellum envelope and flowers from a My Monthly Hero kit so popular, they now sell the dies!  I added a little ink and glitter pen to the flowers to add some interest. 

I stamped the sentiment strip and laid it over the foliage to hide glue I used to apply them.  Then added a few sequins for some additional shine.

Here are the supplies I used:

Thank you so much for stopping by!  I'll see you again soon!
Gale

Thursday, September 17, 2020

Beach Please! -Clean & Simple "A Blog Named Hero" Current Challenge

 Hello!

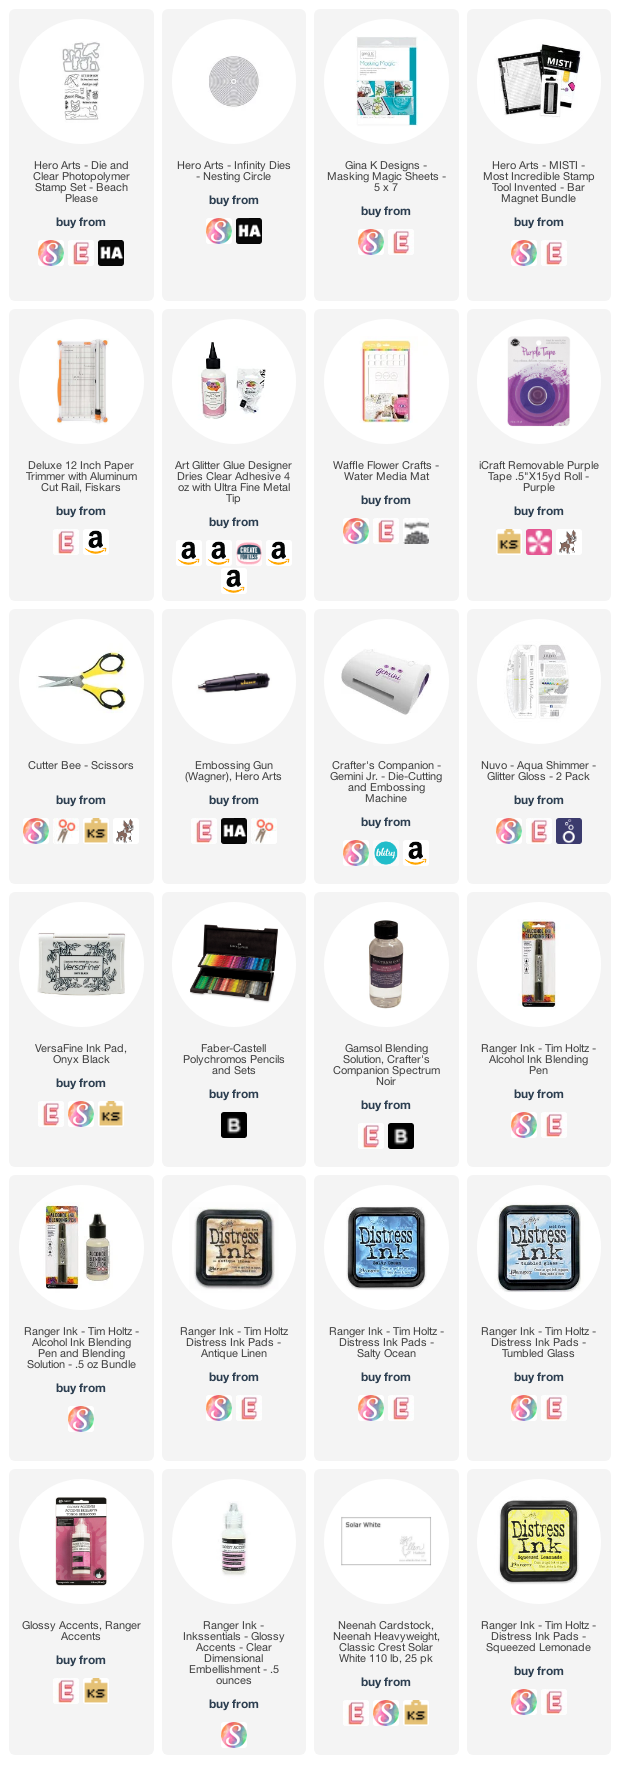
I'm so glad you stopped by! For me, clean and simple cards (aka, CAS) are the hardest to make.  You really can't cover the boo-boos and that scares me!  Today I'm using the Hero Arts "Beach Please" Stamp'n Cut set, some distress inks, colored pencils and plain 'ol sand.  The supplies are linked below (afil--thank you!!)


First, I cut a circle out of masking paper (regular paper would work too!) and diecut the dog on the towel to use as a mask as well.  I stamped the dog, then placed the mask over it (trimming it down a hair.)  I blended the distress inks a little to make a blurry beach, water, sky scene.  

I inked up the sun and misted water over it and the background, patting with a paper towel in a few seconds for droplet effect.  I colored the dog with pencils, using Gamsol to blend.  I added shimmer to the sun and water line along with sand on the beach.  To finish I stamped the sentiment and added Glossy Accents to the sunglasses and necklace.  

To finish I put a few clear sequins to brighten things up!  That's it!  Here are the supplies I used:
Be sure to enter your project at Ablognamedhero.com for your chance to win a gift certificate!!

Take care and see you again very soon!
Gale

Friday, June 19, 2020

A Blog Named Hero Challenge Inspiration: Combining Old and New!

Hi there!

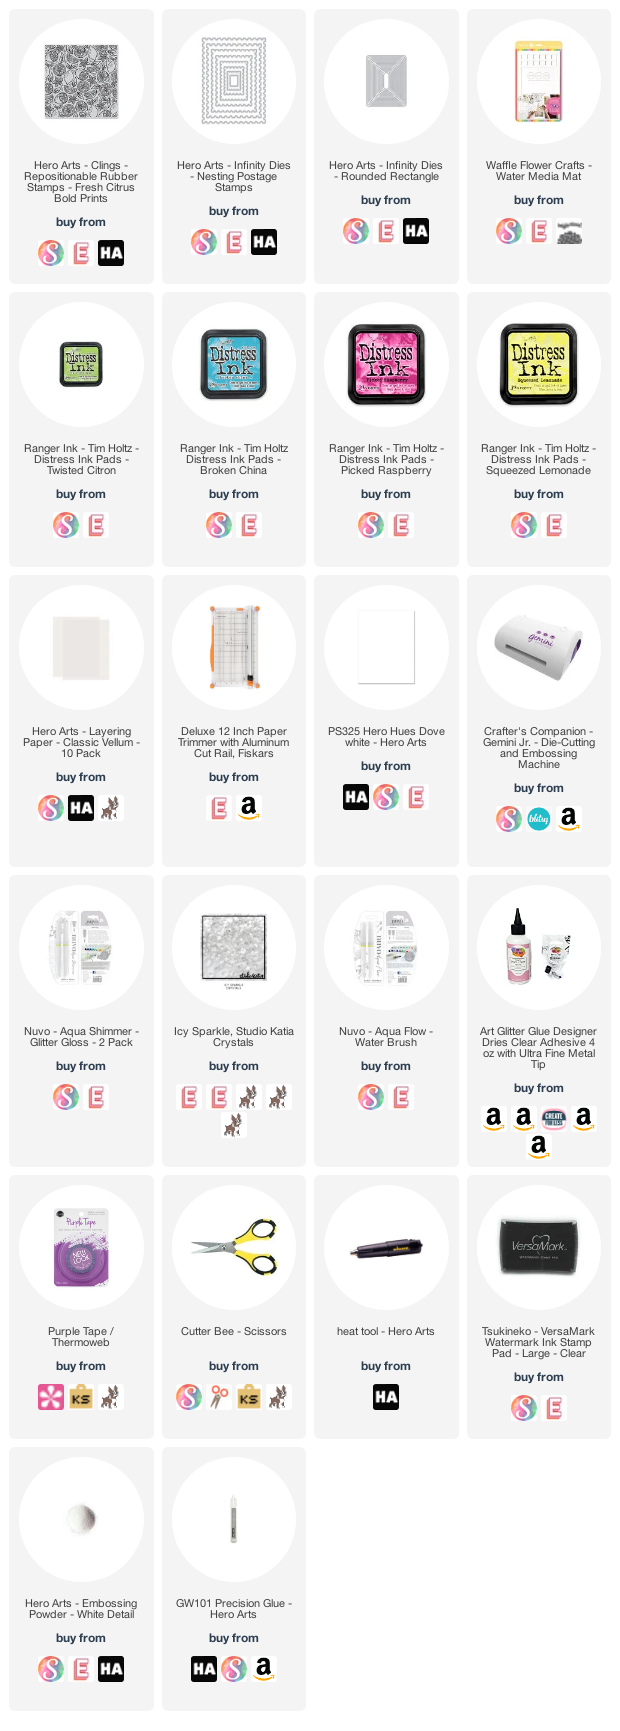
Here's a bright and cheery get well card using Hero Art's Fresh Citrus Bold Background Stamp and a sentiment from 1995... I am old... the supplies are linked below (afil- Thank you for your support!)


There isn't a ton of technique involved.  Just fun playing with coloring the fruit!  I used original distress ink smooshed on plastic as a pallet for my water brush.  I white heat embossed the fruit stamp.  Then diecut the panel with the Nested Postage dies.  I diecut a slightly larger panel of glimmer cardstock from a previous MMH kit with a Rounded Rectangle die and added to a white base.  I wrapped the panel with the sentiment on vellum and added some iridescent jewels in the centers of the flowers and lemons.  Easy peasy!

Here are the supplies I used that are still available:


 Have a great week and I'll see you again soon!  I also will be posting some video tutorials shortly:)  
Take care,
Gale