Showing posts with label #simonsaysstamp. Show all posts

Saturday, June 28, 2025

How To Make A Diecut Inlay Birthday Card! It's "Groovy!"

 Hello!

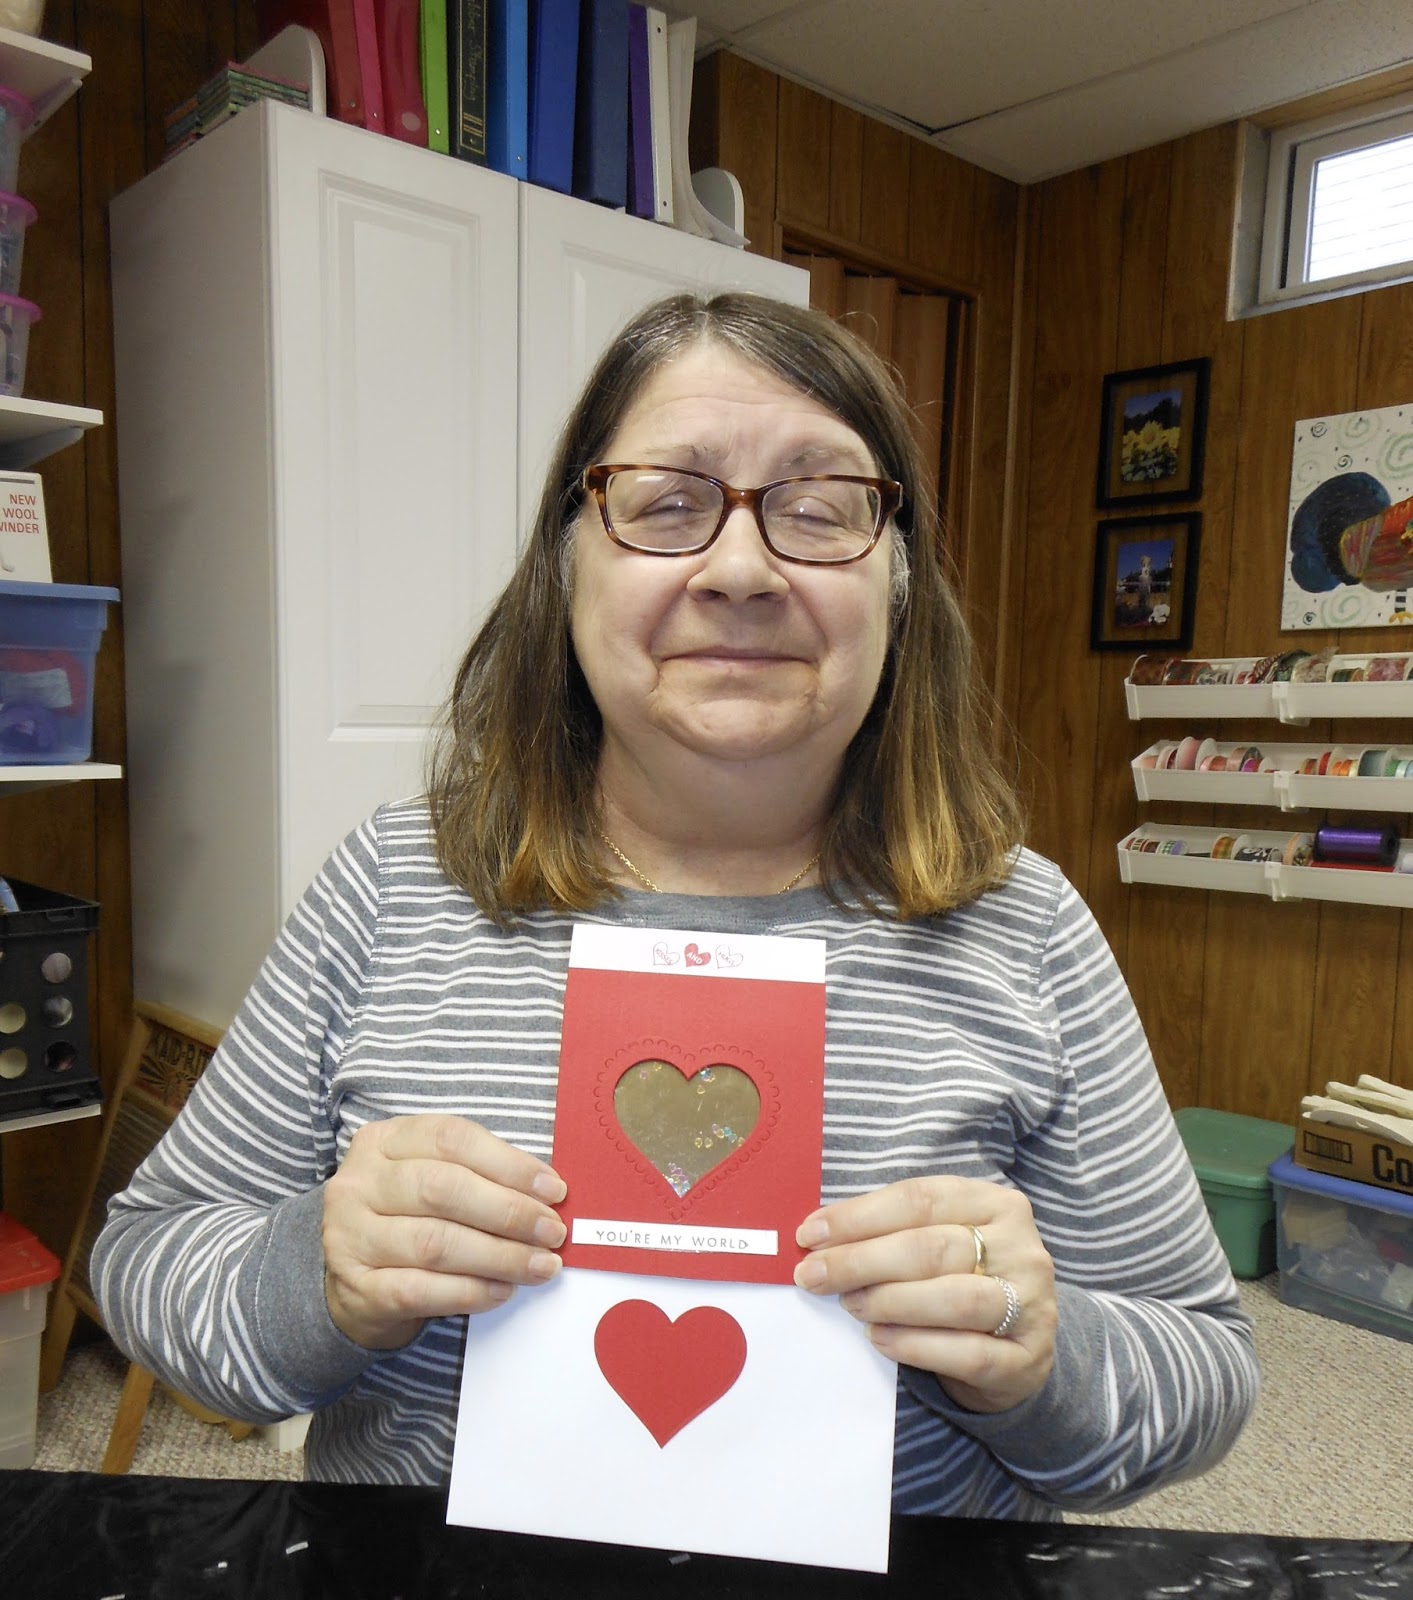
Hope all is well with you!  I can't believe we are nearing the end of June already!  I want to share a birthday card that I mass-produced for a card swap at Paperganza.  Paperganza is an event sponsored by the Craft Roulette Youtube channel and Pear Blossom Press at the end of July in Kansas City.  I'm looking forward to going with friends and sharing some highlights with you!


This card features a diecut inlay and a rainbow inked background stamp that is super fun to make and no two are the same.  Most of the products I used (except the die set) are probably unavailable (Links are below for things that are;). However, you probably have everything you need already!

Here's the link to the full tutorial:

I hope you enjoy it and try it yourself!  Please consider subscribing if you haven't already and like, comment and share with your friends!

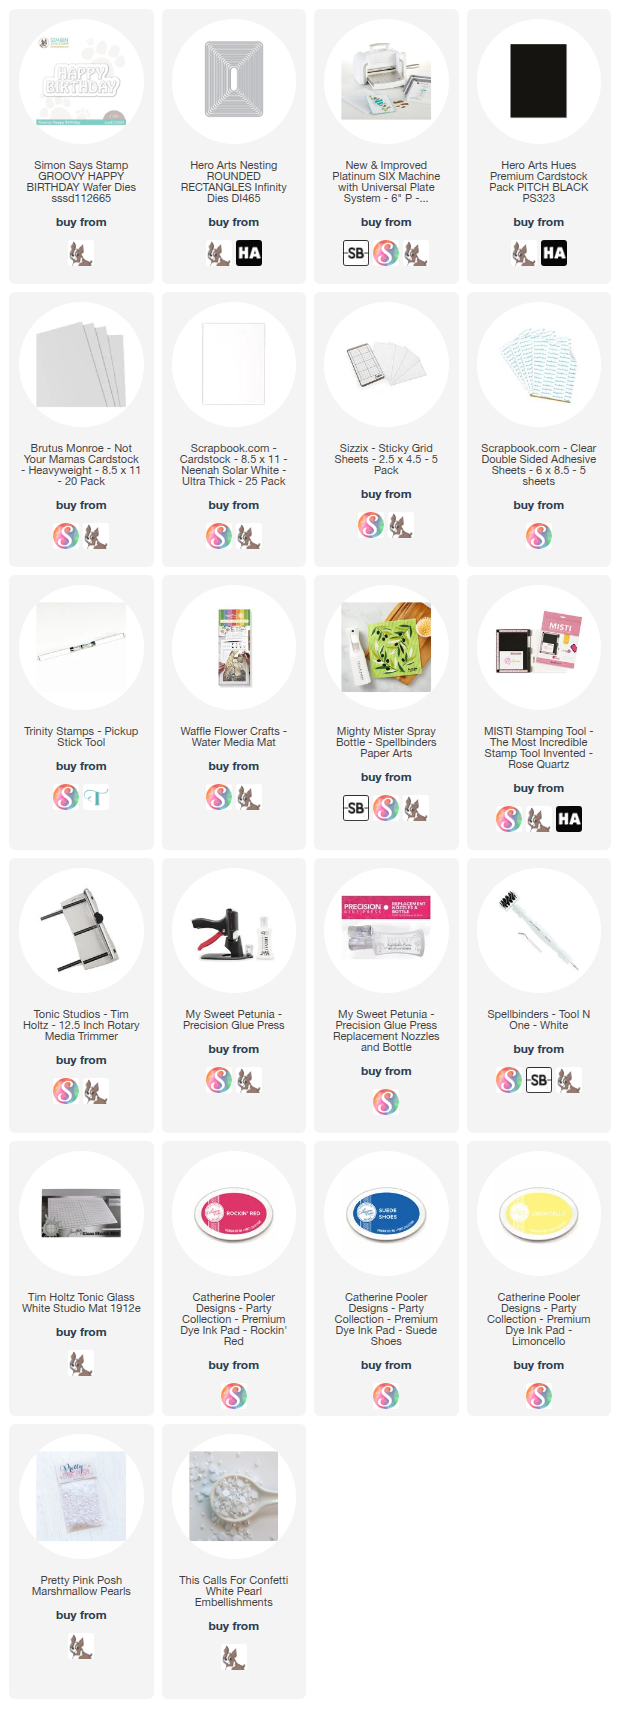
Here are the supplies I used (& some substitutes):

Take care and I'll be back soon!
Gale

Thursday, June 21, 2018

How To Make A Realistic-Looking Baby Quilt Card! (With Bunny That "Hops")

Hi!

I've been thinking about how to make this card since March and finally have the "bugs" worked out!
Please see the tutorial under the photo for complete instructions.  Affiliate picture links are at the bottom of this post.  (I receive a small commission if you purchase using these links at no cost to you.)


Basic Instructions:

1. Choose an odd number of decorative papers.  
2. Die cut using stitched rectangle dies.  
3. Cut similar-colored copy weight with the same rectangle die.
4. Apply StickIt adhesive to the back of all the diecuts.
5. Make a pattern of how you would like to cut it (unless you have a heavy-duty guillotine cutter--then stack 'n whack all at once!)
6. Cut the patterns and keep together
7. Adhere to the copy paper diecut
8. Run through die-cutter with the Lawn Fawn Quilted Backdrop die.
9. Place on Lawn Fawn Fancy Rectangle die with eyelet edge.
10.  Place on A2 size card base.
11.  Decorate as desired!  Enjoy!


Enjoy!
Gale

Friday, June 15, 2018

How To Make A Quick Celebration Card "Just Cards" Video Hop

Hello!

Welcome to the June "Just Cards" Hop--the theme is Wedding/Anniversary cards.  Please visit all the stops on the hop as everyone has worked hard to make it inspiring for you!  Just find the list below and hop along!  My product order took 3 weeks to get here, so I improvised with things that could be used for either.


This card features Altenew's Leaf Burst Stencil with Tonic's mirror card stock.  It is perfect for any occasion and easy to make!  The supplies are listed below with picture links.  (These are affiliate links meaning I receive a small commission on products purchased through the links at no cost to you.  As Jennifer McGuire stated perfectly "It's like tipping your waitress for good service." I really appreciate it!)

Here is the list of the hop stops:


I hope you enjoy this and will consider subscribing here to the blog and on my YouTube Channel 
YouTube.com/c/GaleThompson  I plan to start posting sales and things on the The Darby Creek Diaries Facebook page, so you might want to check in on that too!  If you hit like I believe you will be sent the post.  Trust me, I don't post there a lot, so don't worry about that!

Have a fabulous week!!!

Gale


Monday, October 30, 2017

Mirrored Paper Inlaid Christmas Card

Hi!

Here's the latest YouTube video!  Enjoy!  All of the supplies are listed below...


and a photo without the arrow in case you want to pin...

Watercolor with Saran Wrap background will be shown in a future video.  But don't these diecuts look great???

Please excuse a few seconds of extra close up on video, I must have hit a button while editing:)


Have an awesome day!!!
Gale

Saturday, April 29, 2017

Gale's Gallery XXX: Simon Says Create! Event- Part I

Hello from rainy Central Ohio!

We may not have fun in the sun this weekend, but indoors we had a great time at the Third Annual Simon Says Create! event!  Fortunately, it is a local event for me, but folks came from everywhere to enjoy some crafty goodness from the best in business.  The event is still on today until 5:30 p.m. So, if you are in the Columbus area, there is still time to make it (pun intended!) to the Nationwide Insurance Training and Conference Center in Lewis Center.

Long-time great (& crafty) friends Elesa (left) and Wanda (right) joined me on this adventure, as is usual when it involves shopping or crafts!


There were classes held by stellar teachers such as Tim Holtz, Jennifer McGuire, Kristina Werner, Yana Smakura, Shari Carroll and more for $699, but I only took one day off work and this year, just didn't feel I could spend the money, though I am certain it was worth it.  But fortunately, if you purchased more than $50 in the Simon Shop (like that would be hard...) you got a bracelet for a ton of make and takes from nearly all of the major vendors in stamping.  I only made it to 14 because there was a crowd, but there were at least 10 more.  I learned some quick and new techniques and met lots of enthusiastic folks.  

(I have to finish up a couple cards and gather links, so please come back to Part II in the next few days and I will share my projects!)

Here is a sneak peek below:
Lawn Fawn owner Kelly Marie showed us how to make a quick and cute Pop Up Box card!

Sizzix gals Stephanie Bernard and Kimberly Saldana gave us tips on using our diecutting machines as well as doing make and takes all day long in the corner of the Simon Says Stamp pop up store.


Elesa and Wanda enjoying the Mama Elephant make and take table.


The Waffle Flower demonstrators shown
using their new cross-stitch stamps and doing a simple shading technique.


The Simon Says Stamp pop up store was packed in the morning.  This is just one aisle, but they were all full.  What's amazing was nothing was on sale, but that didn't stop folks from gathering up tons of supplies!


I'll be back soon with my projects!  If you want to go shopping I would be thrilled if you used my affiliate links on the right at no cost to you...please also click to subscribe so you won't miss any crafty goodness!

See ya!
Gale


Monday, March 13, 2017

Gale's Gallery XXIX: Oxide Inks & Other New Toys!

Hello again!

I know, back to back galleries, but I promise to have something for you other guys shortly!  It's just that March is National Craft Month and I have been celebrating it with some new stuff...  I have taken off a week from work to paint the kitchen, so I am sure something funny will arise....

Let's jump right in...
Hero Arts "Paper Layering Koi" set with Ranger Distress Oxide Inks Broken China, Cracked Pistachio and Fossilized Amber on cold press watercolor paper.  

In Loving Memory of Mary LoBianco (1957-2017)


Simon Says Stamp "Some Bunny" set from March kit release.  Background is Distress Oxide (Cracked Pistachio, Broken China Mowed Lawn.) Memento Tuxedo black ink critters colored with Copic Markers.  I added some Wink of Stella and Diamond Glaze to the eggs though it's hard to see here.  I am really not a good colorer, but will keep trying to get better at shading.  Part of the problem is I don't have three markers in the same family, part of it is me...

The Distress Oxide inks are a pigment/dye combination.  They dry chalk-like without rubbing off. The magic happens when you add water.  You can layer these inks as long as you dry after every layer.  I highly recommend anyone interested in learning about these to either go to the Ranger website and/or watch Jennifer McGuire's You Tube video that hits the high spots of what these inks can do.  I really didn't think I needed them, but they really are different then anything else there is.

This card doesn't feature anything new, but I had fun stepping out of my "style"...

This card features Tim Holtz's Stampers Anonymous "Crazy Cats" and "Crazy Sentiments" sets.  Not sure I will have reason to use these much, but hey, they were on sale...LOL!  I used regular Distress Inks on the background attempting to simulate a video tutorial by Sandy Allnock and pretty much failed.  But still a cute card!  I need to get a TV in my craft room as I forget stuff!


The guilt is setting in, so I must go work on that kitchen!  

Until next time,
Gale

Monday, February 27, 2017

Gale's Gallery XXVIII: Greeting Card Roundup

Hello!

I just got several new things that were announced at CHA's Creativation convention.  I can't wait to show you the latest and I think greatest.  There weren't as many "innovative" items, but several new designs from favorite vendors.  The big news seemed to be the Tim Holtz Distress Oxide inks.  I have several and will play with them soon.

Meanwhile, back at the 'Creek I made some cards I'd like to share with you...

This features the Altenew Lotus stamp set (sentiment is from their Beautiful Day set.)  This was done with Inktense watercolor pencils, Versafine Tuxedo black ink with clear embossing on watercolor paper.  Pretty Pink Posh droplets finish it off.  Envelope by Hero Arts.

One of my first stamps 20 years ago (All Night Media) doing one of the first techniques I learned in a local stamp class.  This is white embossed vellum using Copic marker coloring on the reverse.  

This is another Altenew set called Layering Lilies using a technique from a recent Jennifer McGuire Ink You Tube tutorial.  Using the thinnest card stock you have, stamp with dye or preferably Hero Arts shadow/hybrid inks.  Turn over the paper and use a Copic blender pen and completely saturate the image for an easy watercolor effect.  Background stripes with Versamark watermark ink and Simon Says Stamp striped background stamp.
This is a WPlus9 Beautiful Bouquet Mum stamp on Bristol card stock.  I used Tombow markers and blended out with a wet brush, then added Spectrum Noir clear glitter brush marker for some shine.  However, this marker "splopped" all over the upper flower and continues to do that, so I will be going back to my clear Wink of Stella reliable markers, though the glitter is slightly gold.  Simon Says Stamp Audrey Blue card stock.
This is my first attempt at Prismacolor colored pencils on Neenah Desert Storm card stock.  The only way to do this is to stamp a solid image with white pigment ink (Hero Arts Unicorn), then color on top.  The textured background is from  We R Memory Keepers.  The shimmer envelope is from Simon Says Stamp.
This is basically the same technique as above, but I used Glossy Accents to add high gloss.  Card stocks are from Simon Says Stamp.

For some reason my software doesn't want to show any more cards, so maybe it knows best....

Until next time,
Gale

Saturday, December 24, 2016

Gale's Gallery XXVII: Merry Christmas 2016 Everyone!

Greetings!

It's Christmas Eve night and preparations are pretty much wrapped up here (pun intended!) I'm hoping you are ready for the holiday week and taking time to enjoy it.  In my area, we have a special New Year's Eve event--the Fiesta Bowl.  Not only am I happy for the Buckeyes, but since I don't like to go out that night, entertainment is coming to me!  Fingers crossed that we get to celebrate more than a new year!

Didn't bake a thing (or even get to visit any holiday sites,) but did a tiny bit of holiday paper crafting...

I did a couple versions of Christmas cards...Sentiment by #SimonSaysStamp.  The ornament dies , Woodgrain stamp and twine are from #HeroArts on Neenah Desert Storm and White 110# card stock.


This ornament is easy to make if you have nesting star dies.  Couldn't find heavier weight double-sided holiday cardstock in my stash.  Perhaps will find really cheap after Christmas! But you just line up the stars and sew down the middle...

Really easy favor, treat or tiny gift boxes with the die from Hero Arts #mymonthlyhero kit.  The floral is just printed cardstock, the red and white is red cardstock with white heat embossing and the bottom one is vellum with white heat embossing.  Stamps also from same kit.  These would work for any season!

Oh, here is a Thanksgiving one that I wanted to share:
White embossed leaves from Judikins on Tim Holtz #timholtz watercolor paper with Gansai Tambi watercolors, leaf die by Neat and Tangled  #neatandtangled, Grateful stamp #Heroarts
"The stockings were hung (and filled) by the chimney with care...


Merry Christmas to all and to all a good night!"

Wishing you and yours a safe and Happy Holiday Season!

Gale

PS:  Feel free to use the search button on the upper right to find loads of previous holiday posts about all sorts of random things!

Wednesday, October 19, 2016

Gale's Gallery XXVI: Cards and More Cards!

Hi!

I thought I'd share what I've made the last couple months...yes, I am slow...that and busy with everything that goes on around here in the Fall!

Let's just jump in:

A spinner card!


#lawnfawn  Booyah stamp set, distress ink blended background on Neenah Solar White cardstock.  Spider unknown but from Tuesday Morning store...


Yorkie stamp from #creativevisionstamps, but is labeled as Lhasa Apso.


#simonsaysstamp Birthday Wishes Die and diagonal stripe background stamp,  #Heroarts candle stamp/acetate, #darice sequins


Distress ink watercolor, #Hero Arts papers/vellum, red enamel dots and thanks stamp, multi-colored quilting thread.  For Being So Amazing stamp #Wplus9
#Kuretake Gansai Tambi watercolors, #myfavoritethings background stamp, #lawnfawn Scripty Hello die, Just Because stamp from #Hotoffthepress


#lawnfawn Booyah stamp set, blended distress ink background, Inktense watercolor pencil on accessories.


There will be lots more coming...would love to see your creations too!

Until next time,

Gale