April 8th, 2020: A Blog Named Hero Challenge Update!
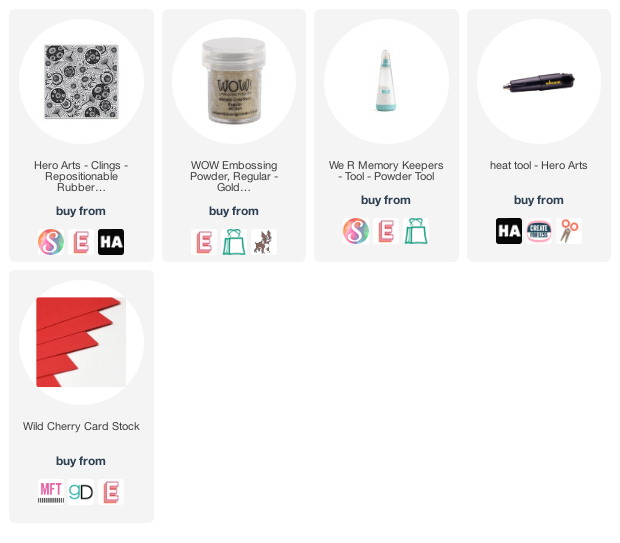
Here is my "Not A Card" example. I have added the additional supplies at the bottom. The video tutorial shows how to make the tote, all I did was gold heat emboss Hero Art's Parasol Bold Background Stamp twice on bright red card stock to create the front and back. The challenge ends in a few days so hurry to enter at ablognamedhero.com!

See you April 19th with a new challenge!!
Hello again!
Today I am a stop on the Craft Collabs Christmas Gift Ideas & Giveaway Hop! I am making and giving away a darling paper tote filled with crafty things (see below)! To enter, follow the instructions on the video linked below. All of the instructions are in the video as well.

Here are some other bags I made... they are addicting!! The die set is from Divinity Designs LLC. I'm not affiliated with them, but really like this tote! I especially like the "Ohio State" one:) Some of the supplies are linked (afil)below.

Here's another view of the prize bag. Please note: The drawing is open to international folks too, but I will substitute an electronic gift card.

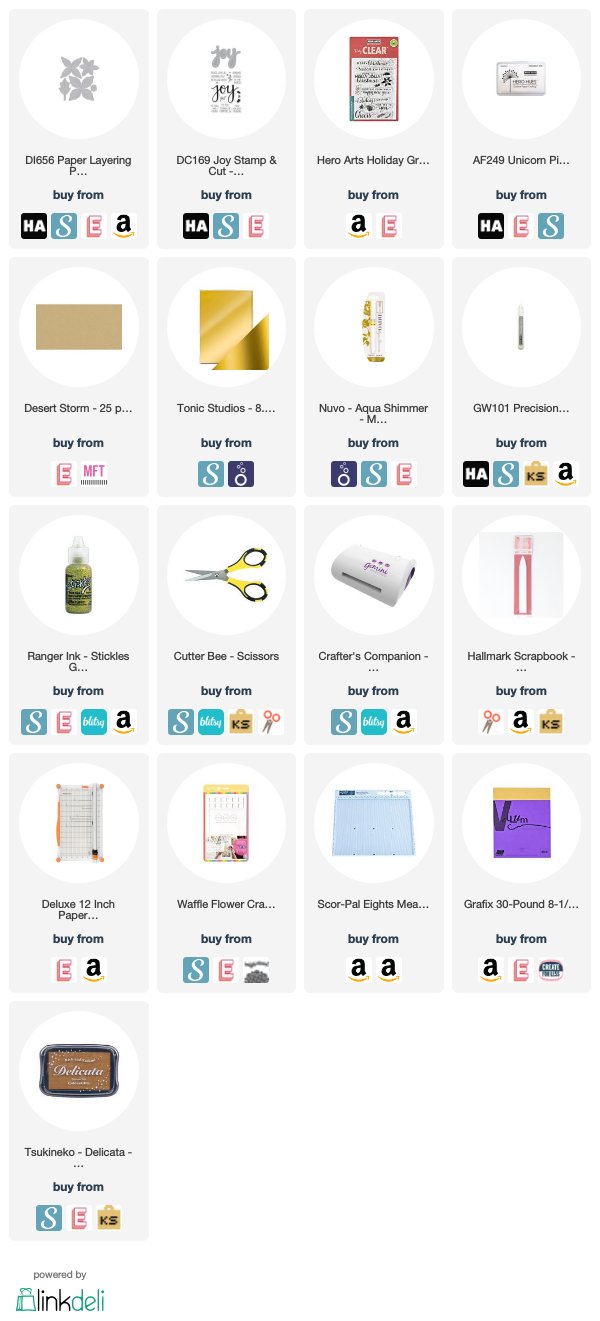
Here is the supply list:
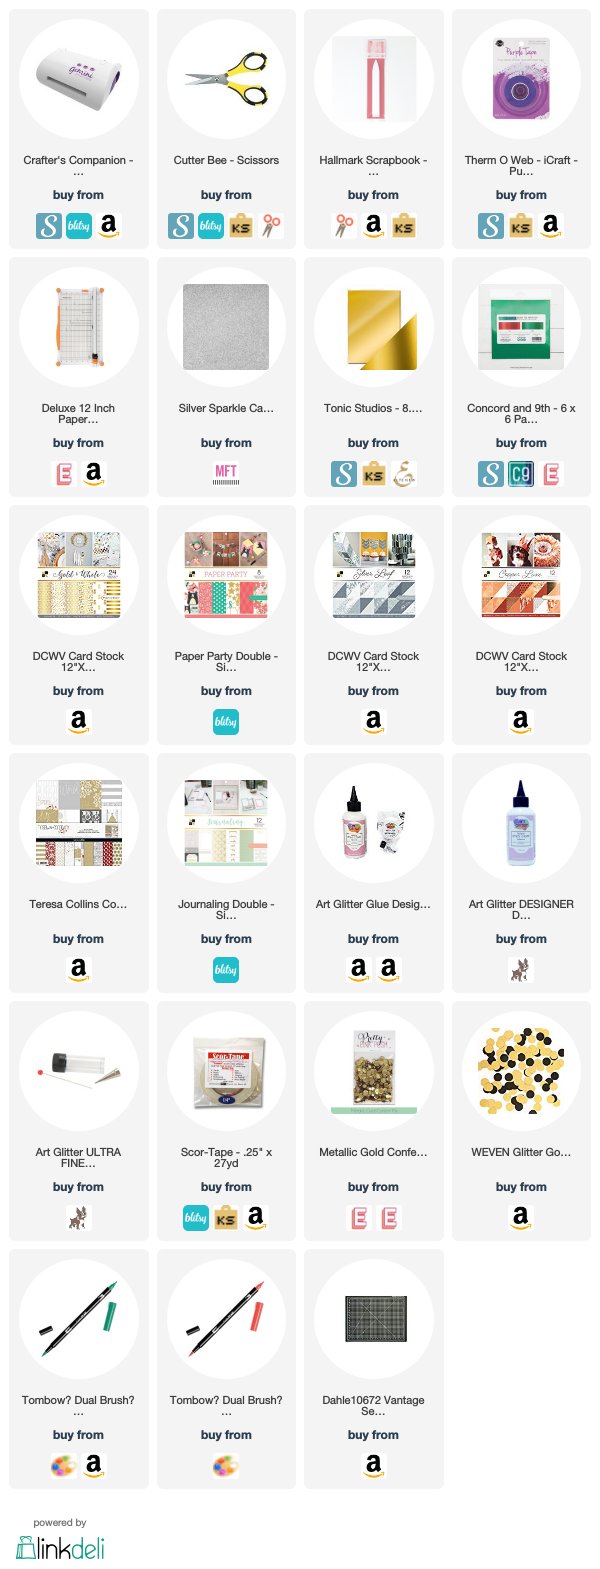
Here is the "A BLOG NAMED HERO" EXTRA SUPPLIES:
The die sets are available at www.divinitydesignsllc.com
See you soon!
Gale